
Since Windows 11 has been officially released about 2 years ago, many users have upgraded to Windows 11 from Windows 10 or earlier versions. However, within the past few years, Windows Defender has evolved and is now no longer just a resource hog, but an actual intrusive activity scanner that might be learning about everything the user is doing. Doing a simple search on how to fully disable it yields many solutions that do not work reliably, since Microsoft wants it to run on everybody's system. To beat this, one would have to go to [rather] great lengths.
I will show you how to do this simply in 10 steps, based on my research and my experience with Windows. This solution works in keeping Windows Defender disabled permanently (but occasional Windows Update may reactivate Windows Defender, because, Microsoft may still want it running "for your security", but you'd know what to do).
Forewarning
Before proceeding, let me warn that non-savvy users ought to learn about the dangers of not having Windows Defender enabled, because it does catch some real trojans.
But this article argues that savvy users do not justifiably need what appears to be doing far more than merely protecting them from extremely rare occurrences of infection, and reasons are discussed further below. Hence it recommends disabling Windows Defender, delegating responsibility to the user with ability and judgement, who would then be responsible for using the system in a way that keeps themselves safe from threats.
Steps
These steps have been performed on Windows 11 22H2, build 22621.525 and have worked. They should be identical on prior Windows 11 versions, and very similar on Windows 10 (which might have fewer settings than Windows 11).

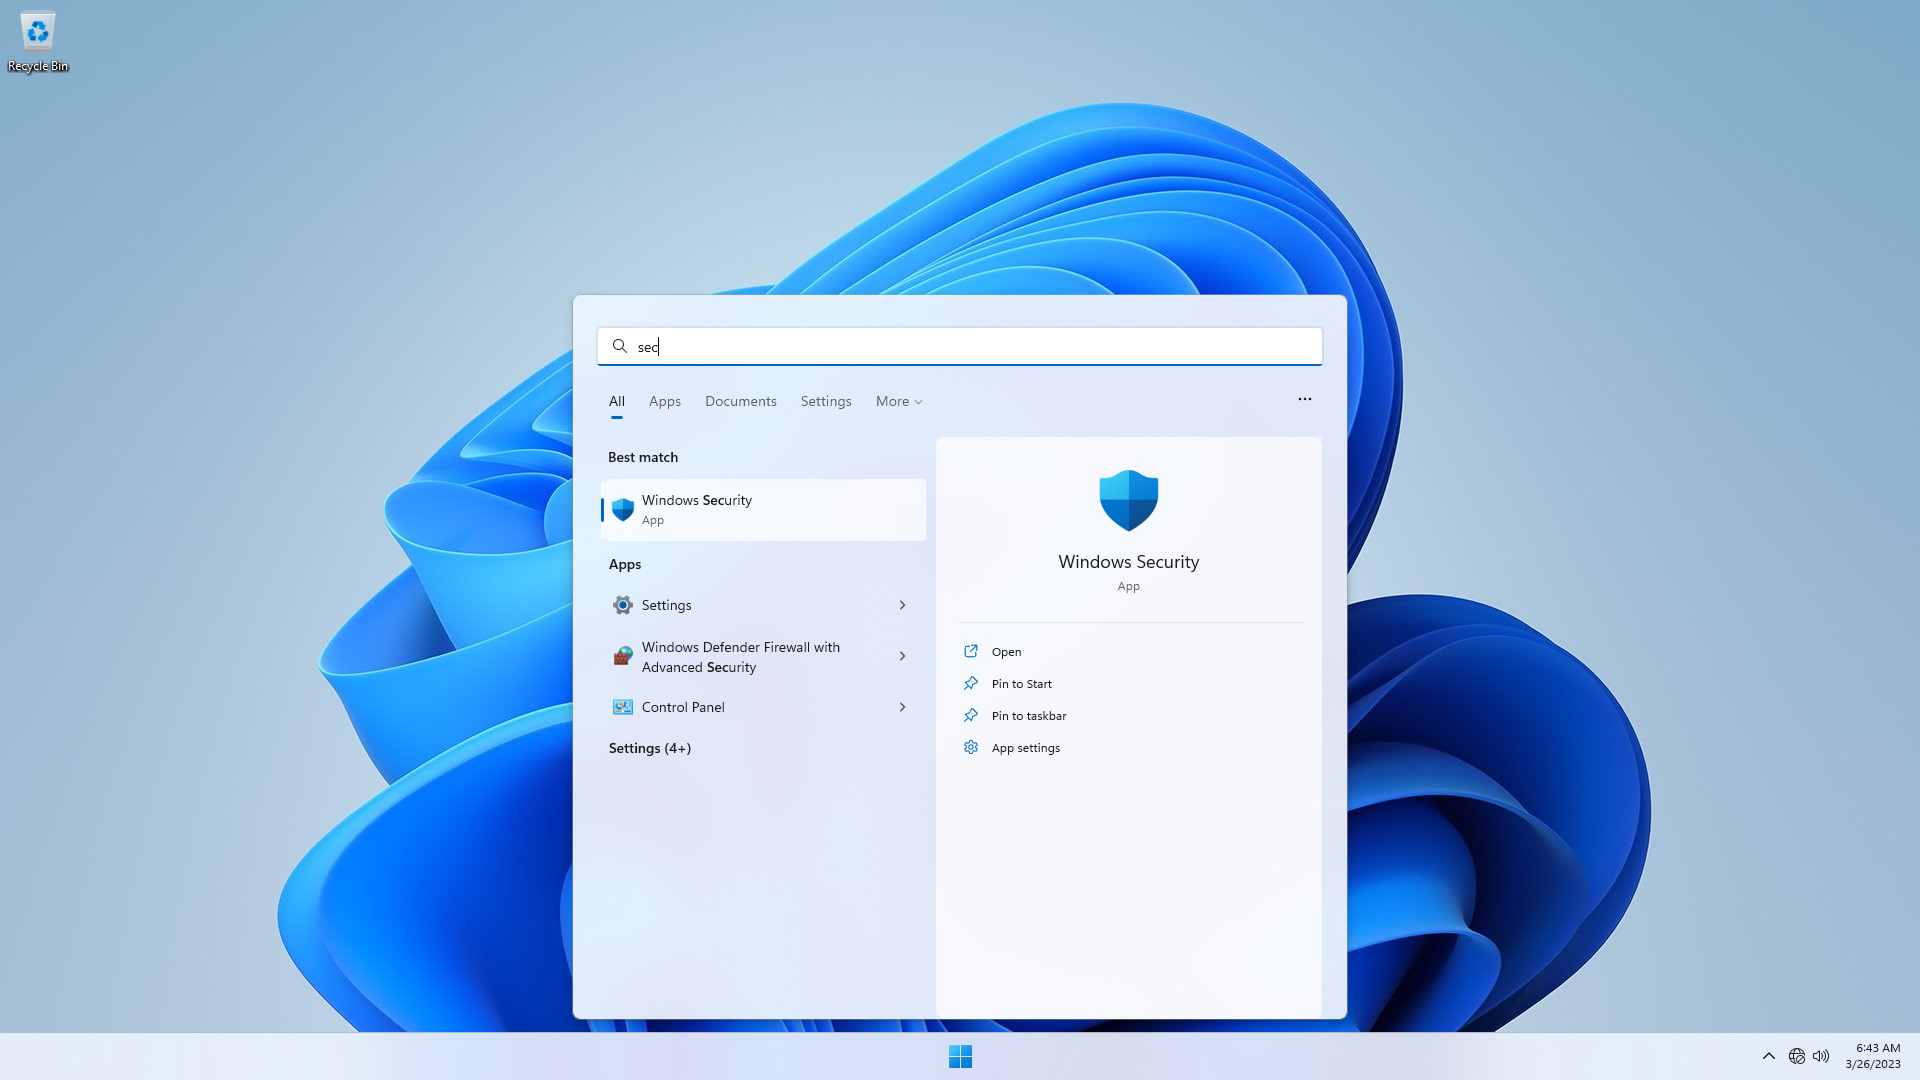
Step 1: Disable Security Center - Virus & threat protection
Click Start and open Security Center.

In Security Center:
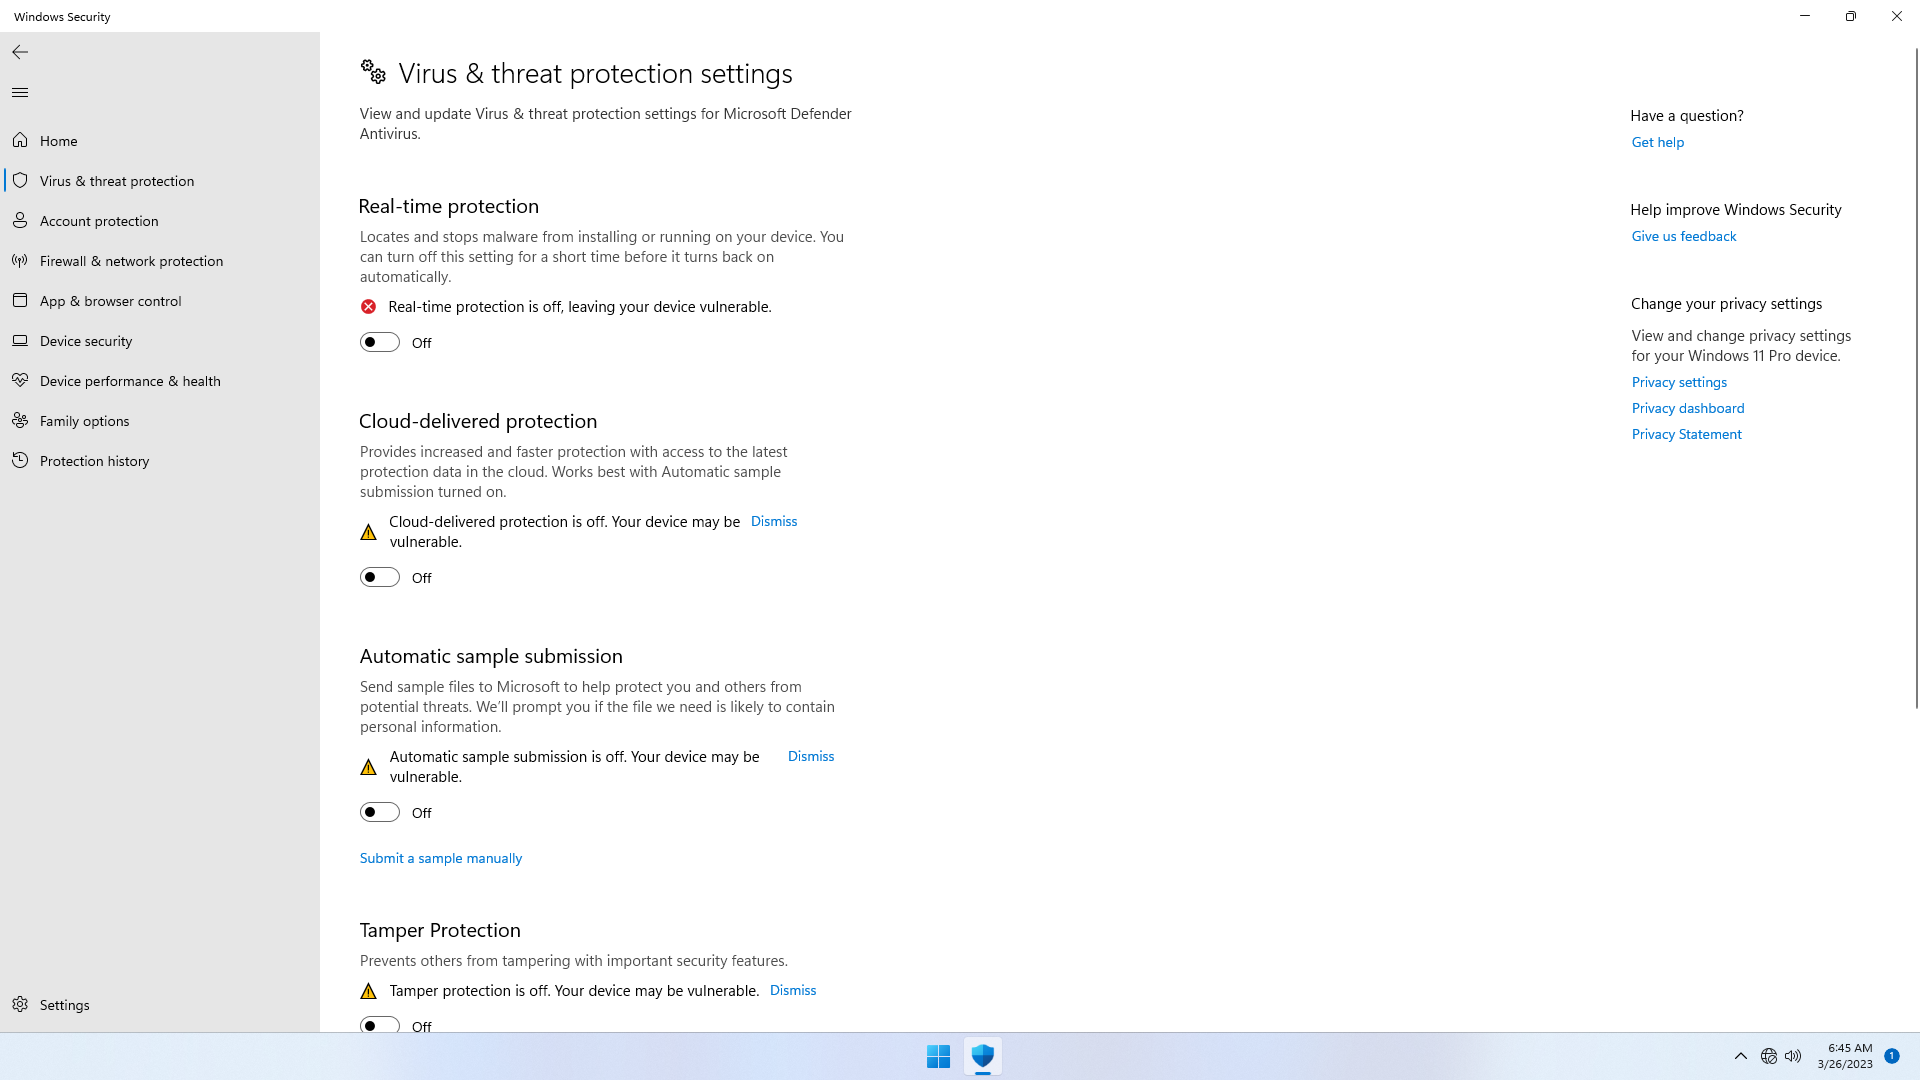
- Under
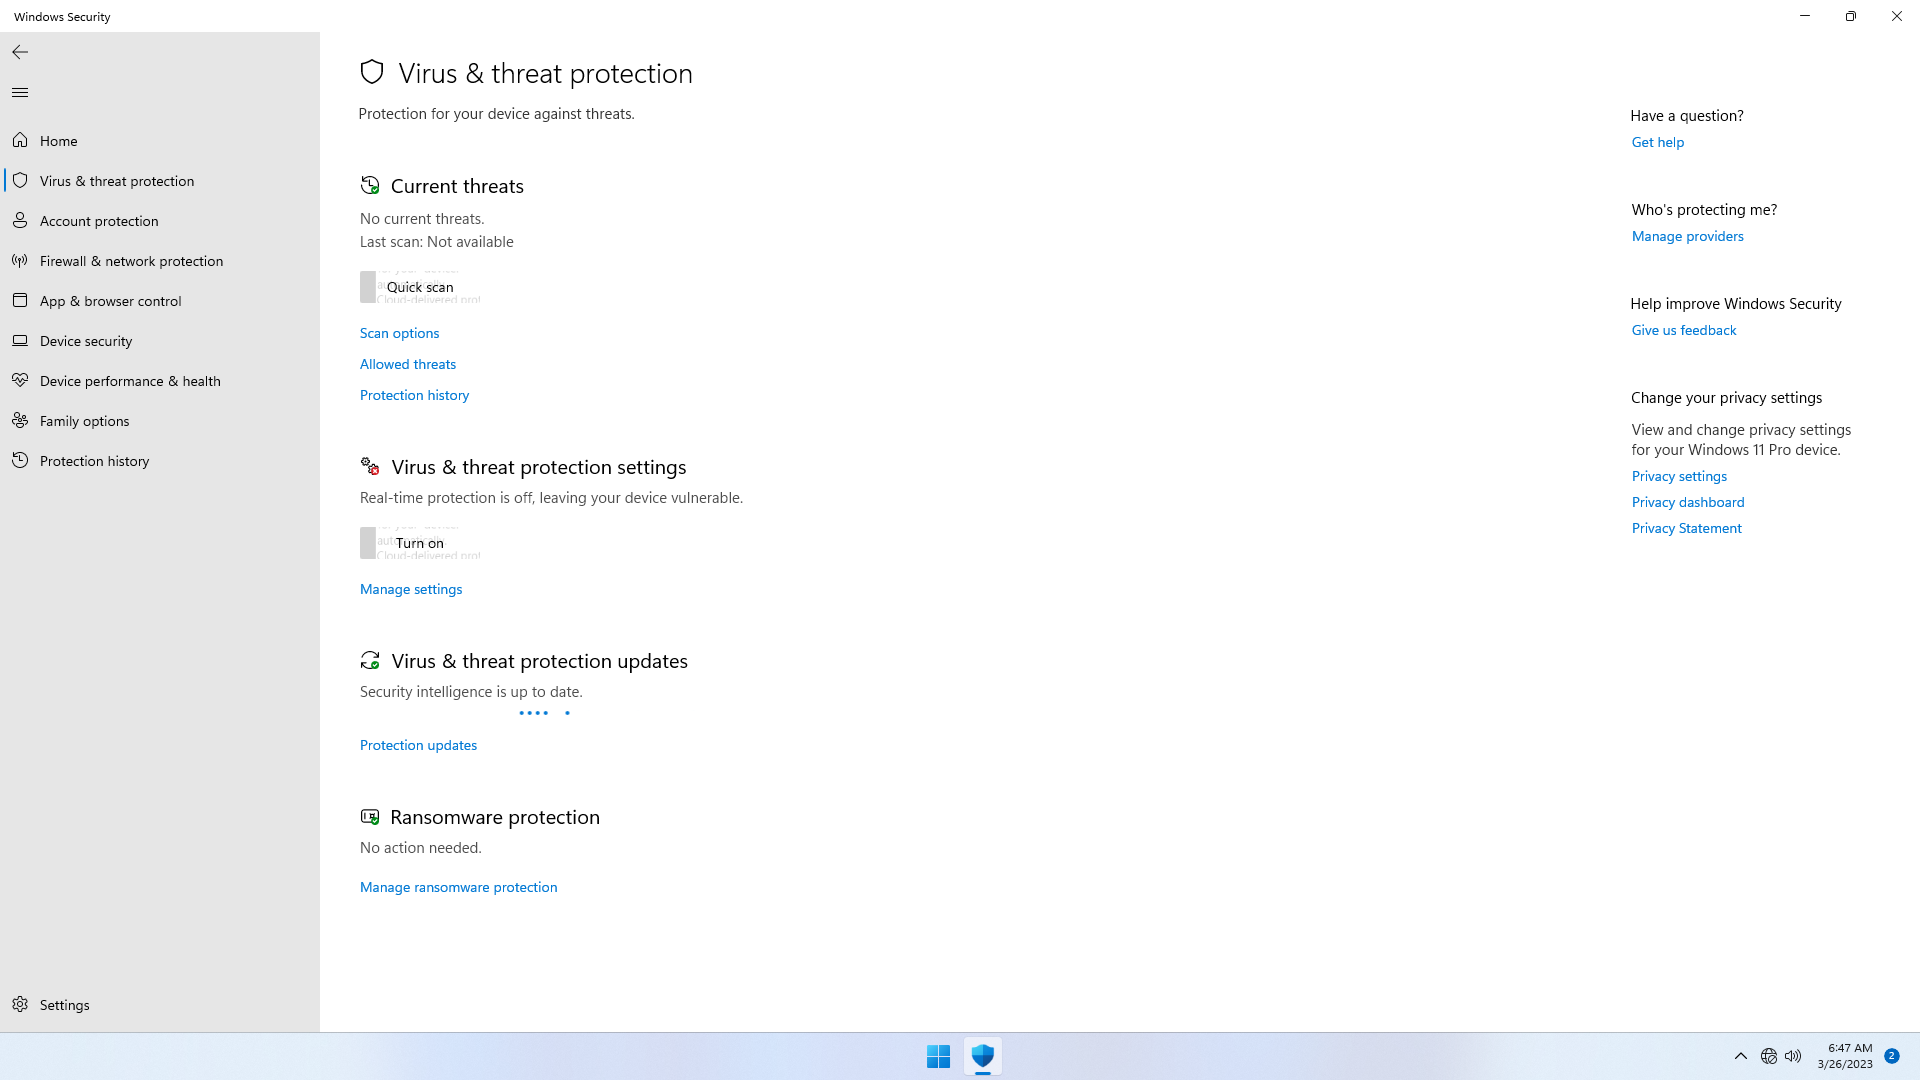
Virus & threat protection > Virus & threat protection, disable all settings, and also clickdismissbutton to dismiss all warnings (important!) - Under
Virus & threat protection > Randomware protection, disable all settings, and also clickdismissbutton to dismiss all warnings (important!)

Step 2: Disable Security Center - App and Browser Control
In Security Center:
- Under
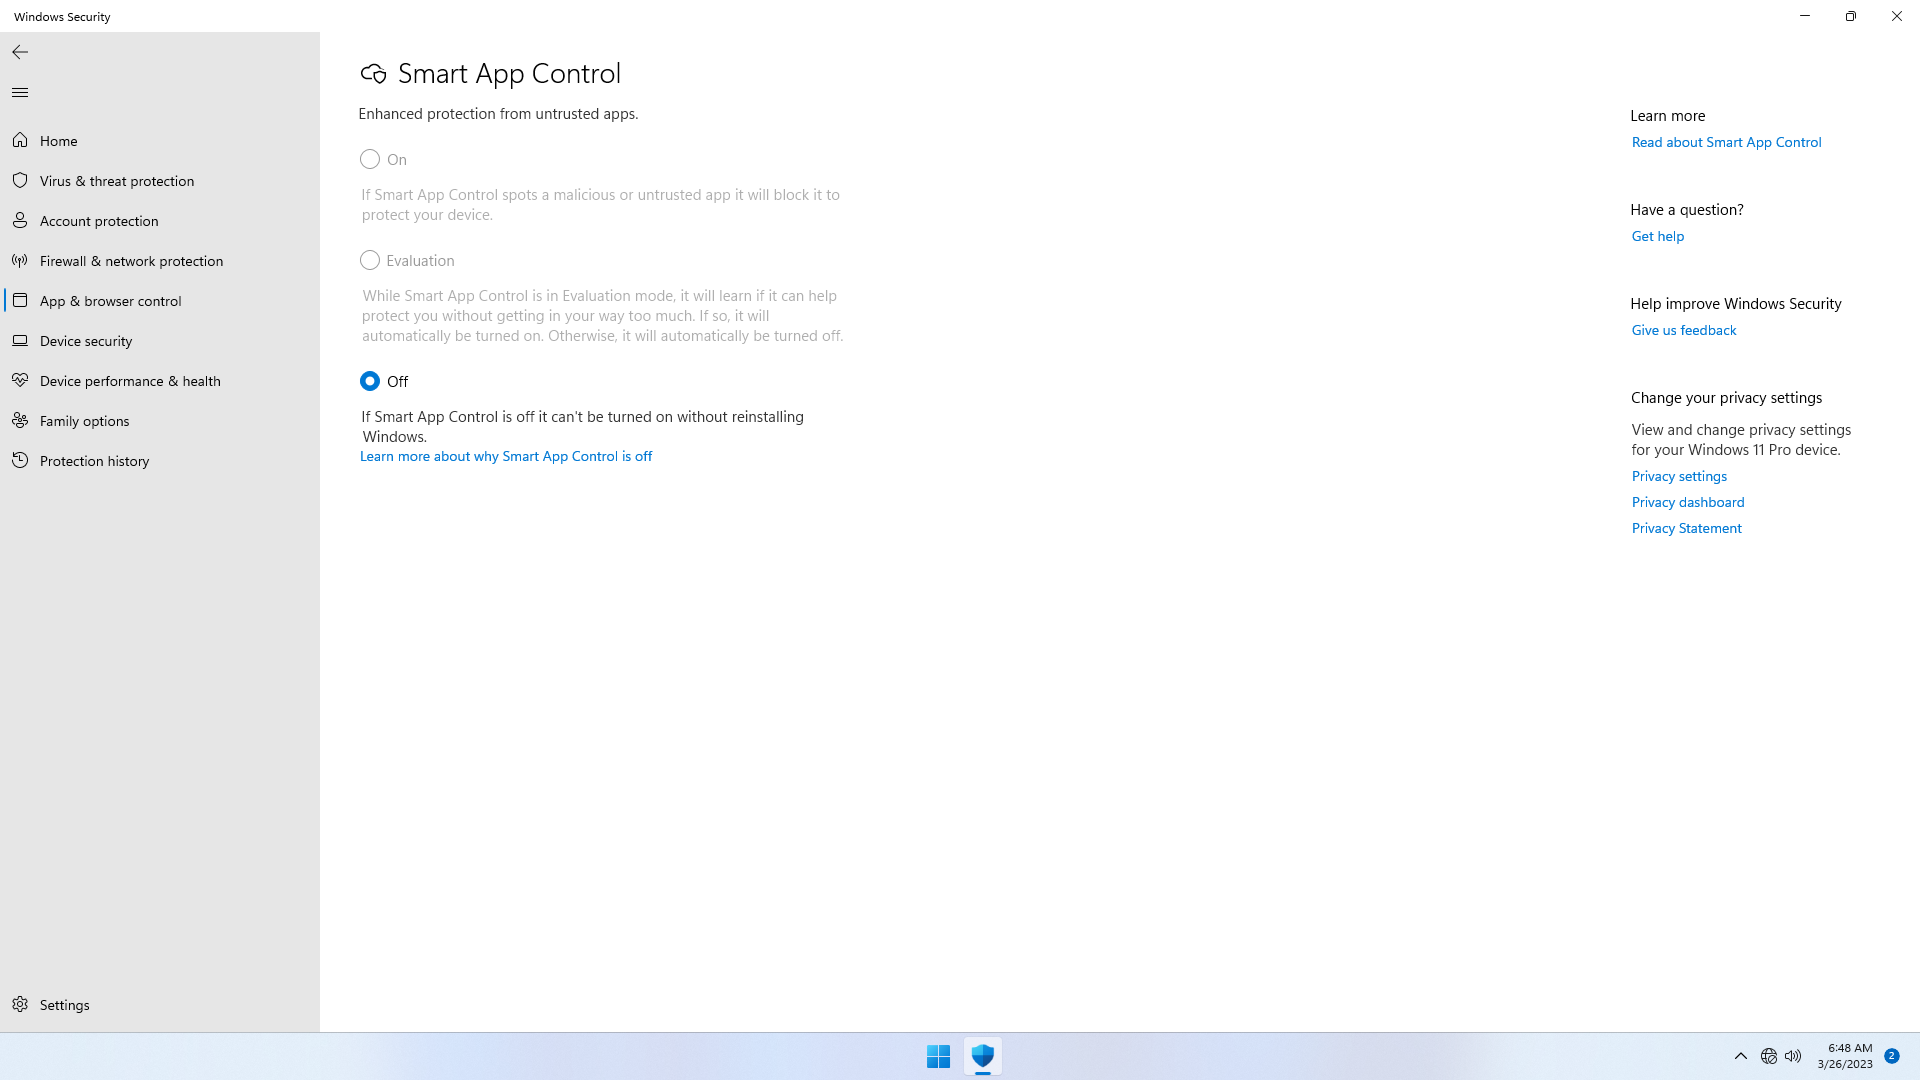
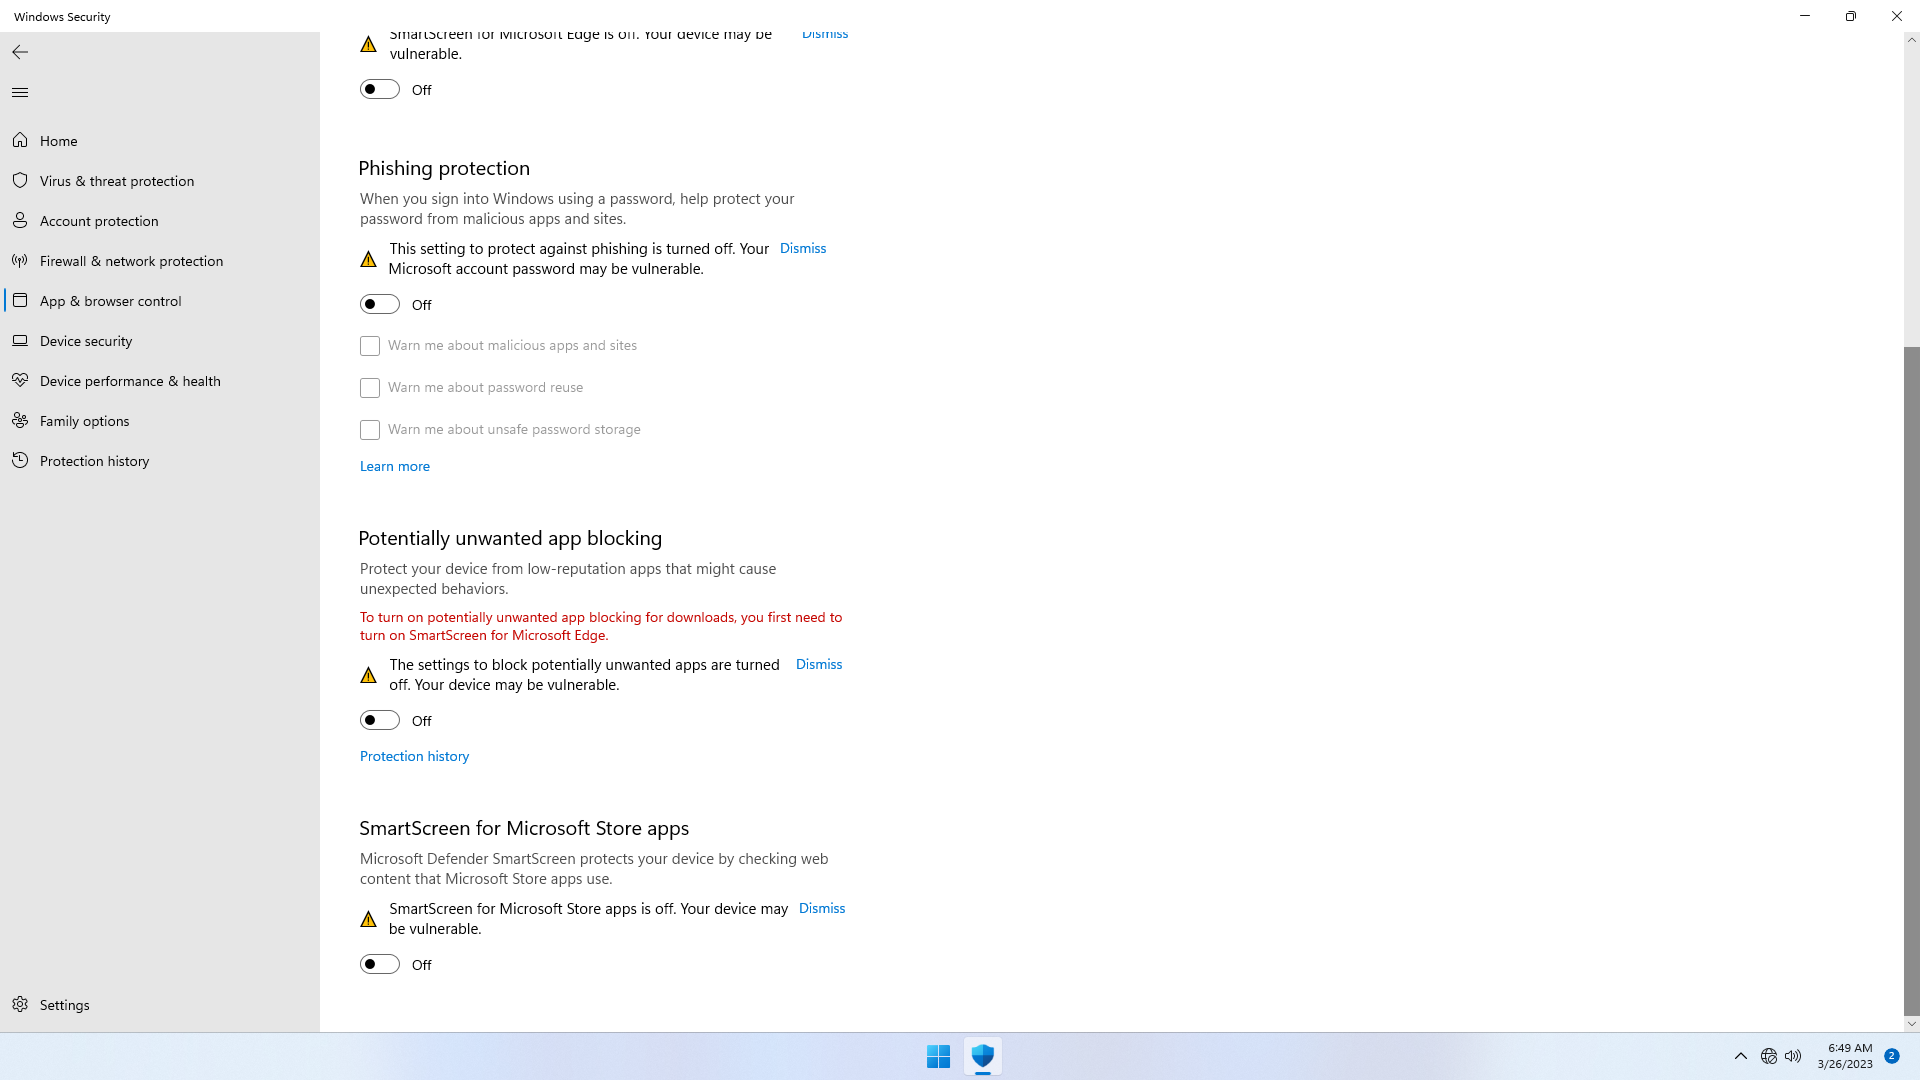
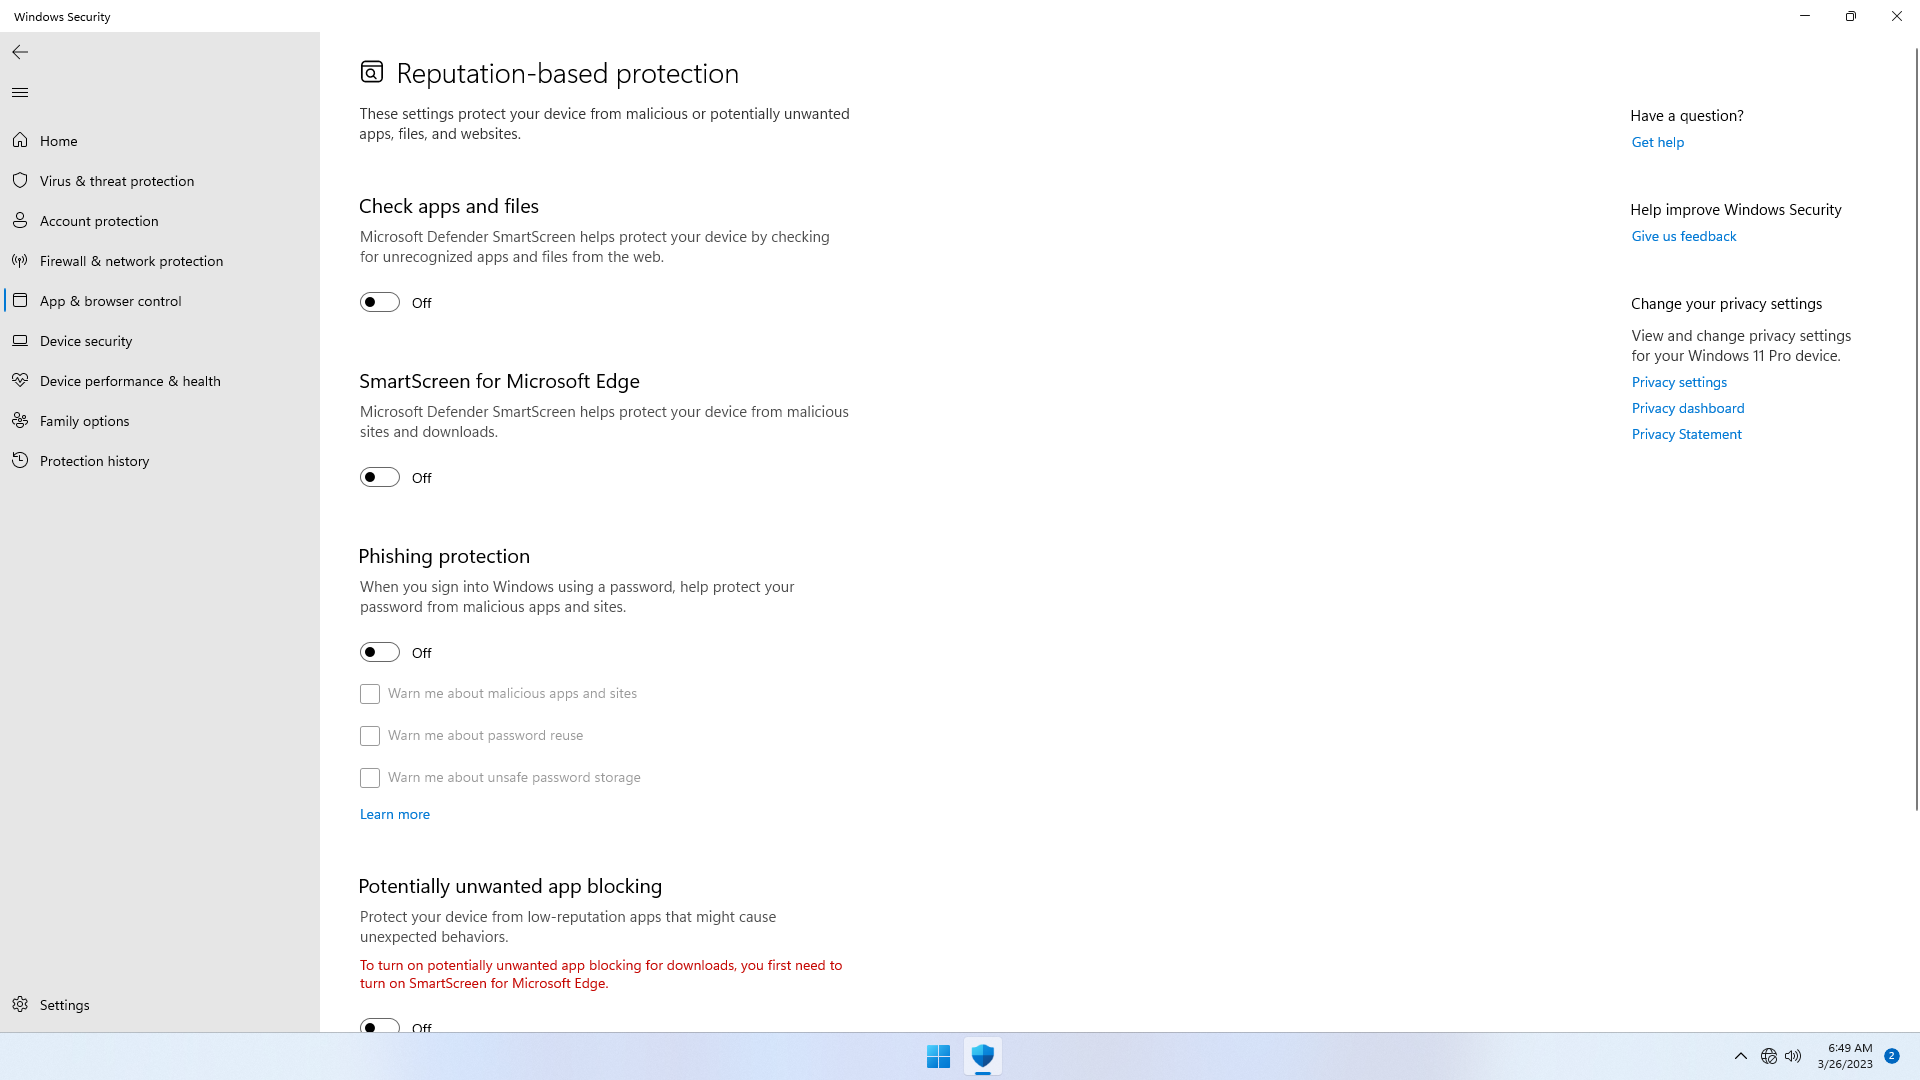
App and Browser Control > Smart App Control, disable all settings, and also clickdismissbutton to dismiss all warnings (important!) - Under
App and Browser Control > Reputation-based protection, disable all settings, and also clickdismissbutton to dismiss all warnings (important!)

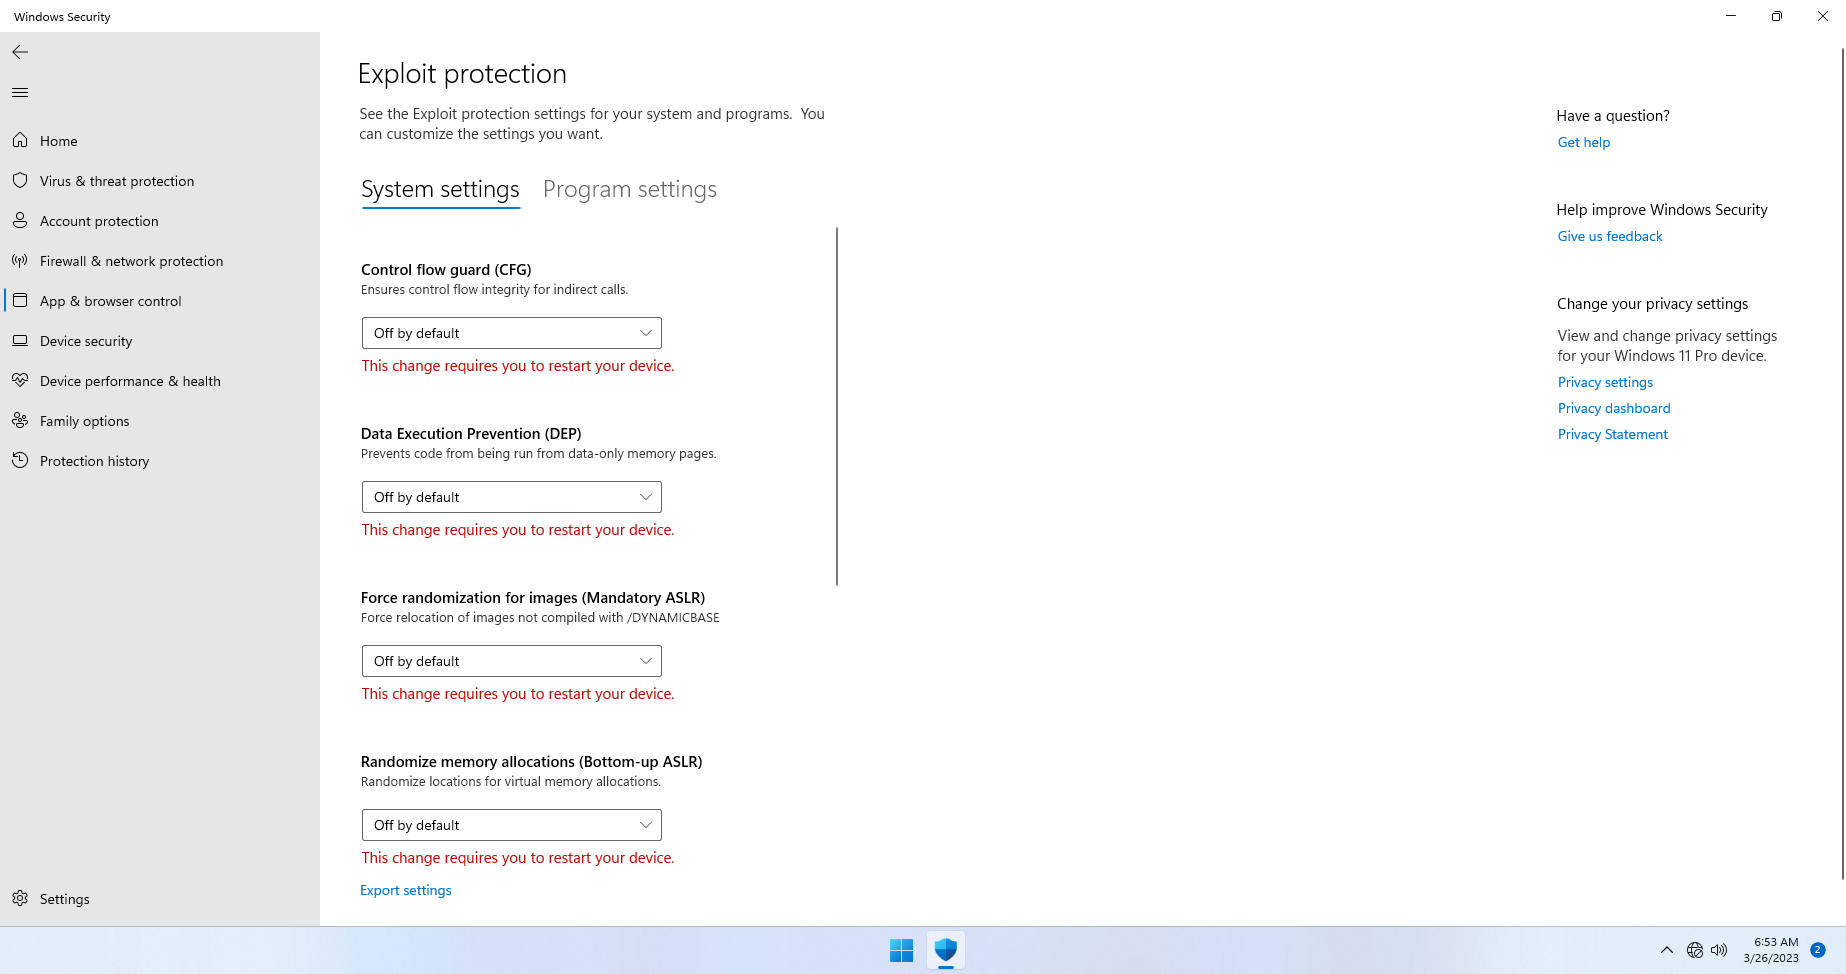
The final step here is optional. This setting is complex (and possibly deliberately so), and you may skip this step if you feel uncomfortable. Yet again, do not allow intimidation because of complexity compel you to accept default settings, by doing some reading up on these settings, and if you think there is no benefit to it (which is what I think), you may disable this section's setting(s).
From my understanding, it's really a low level memory manipulation that appears to make memory more difficult to be exploited by trojans. But, doesn't that sound exactly like what trojans themselves do? I'd rather not have it do that. But please, do not take my advice blindly, do your research!
- Under
App and Browser Control > Exploit protection, disable all settings, and also clickdismissbutton to dismiss all warnings (important!)
Step 3: Disable Security Center - Device Security
In Security Center:
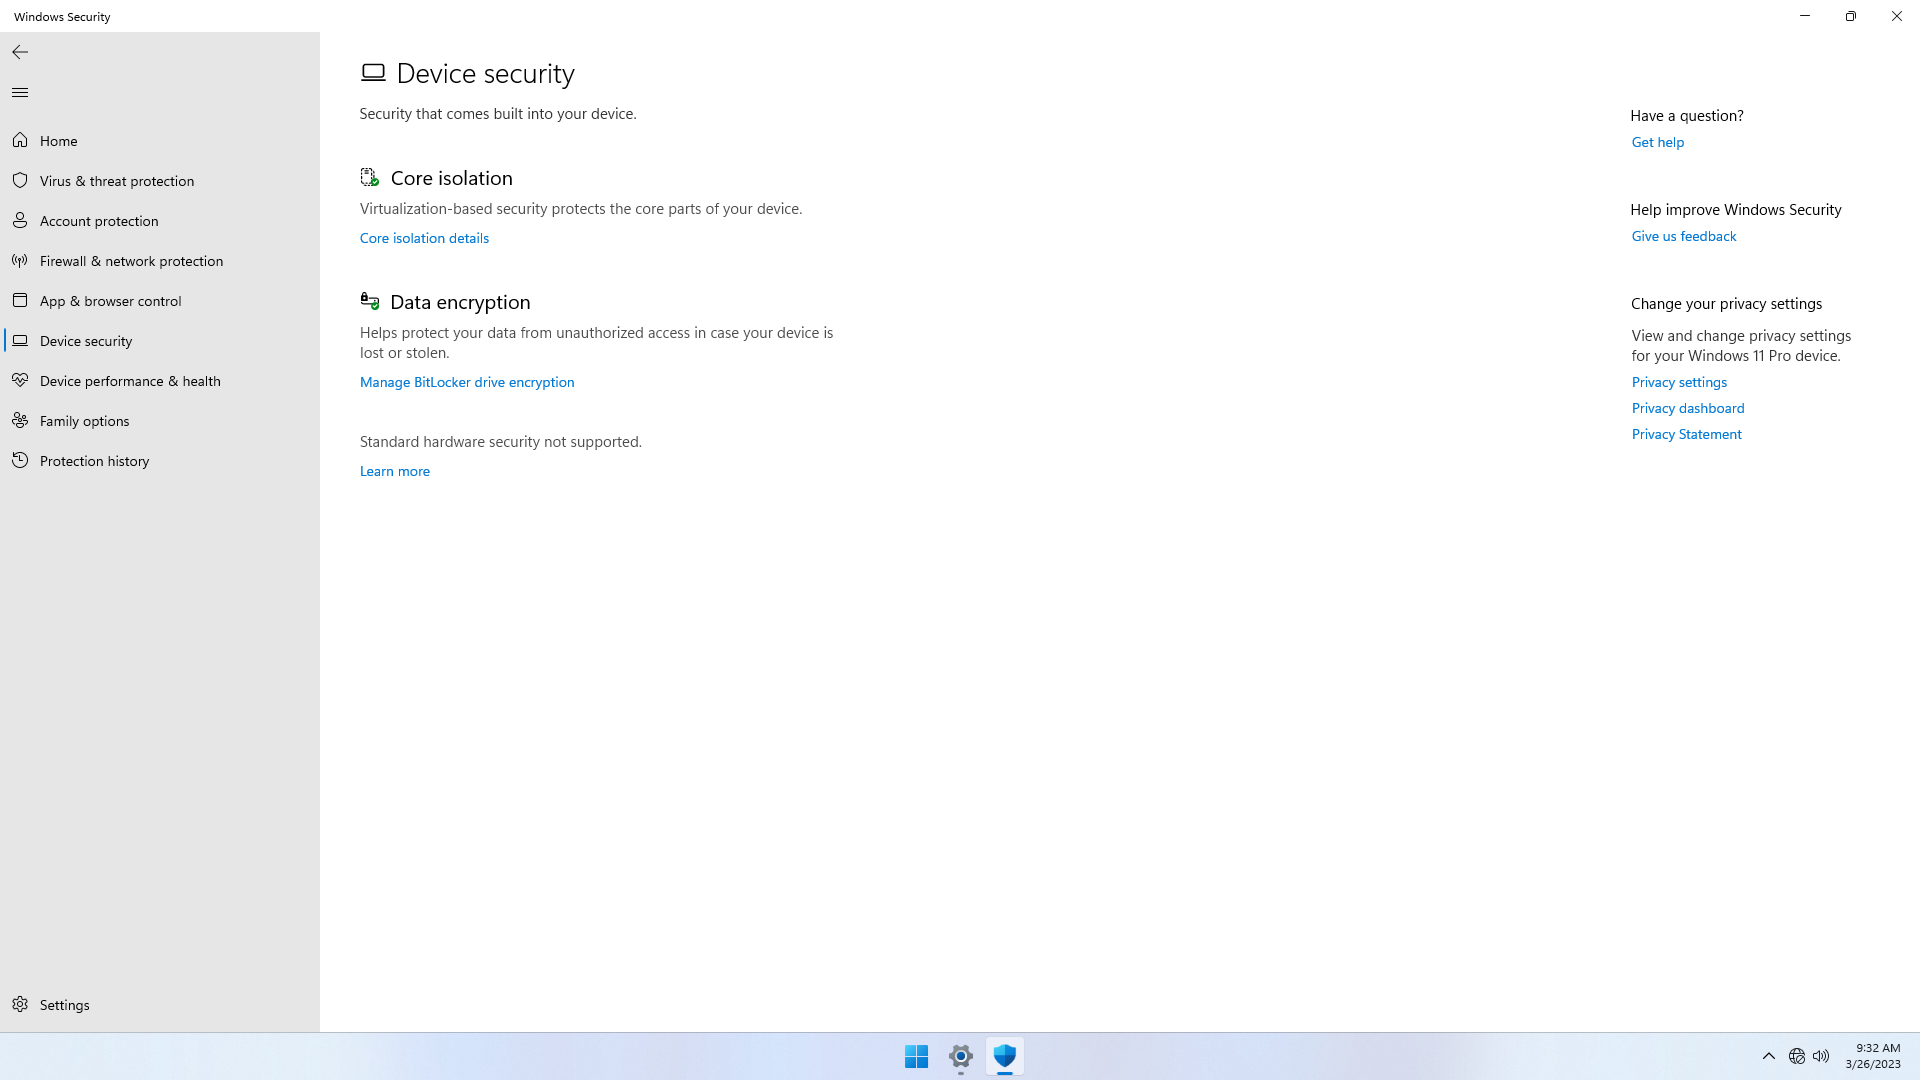
- Under
Device Security > Core Isolation, disable all settings, and also clickdismissbutton to dismiss all warnings (important!)

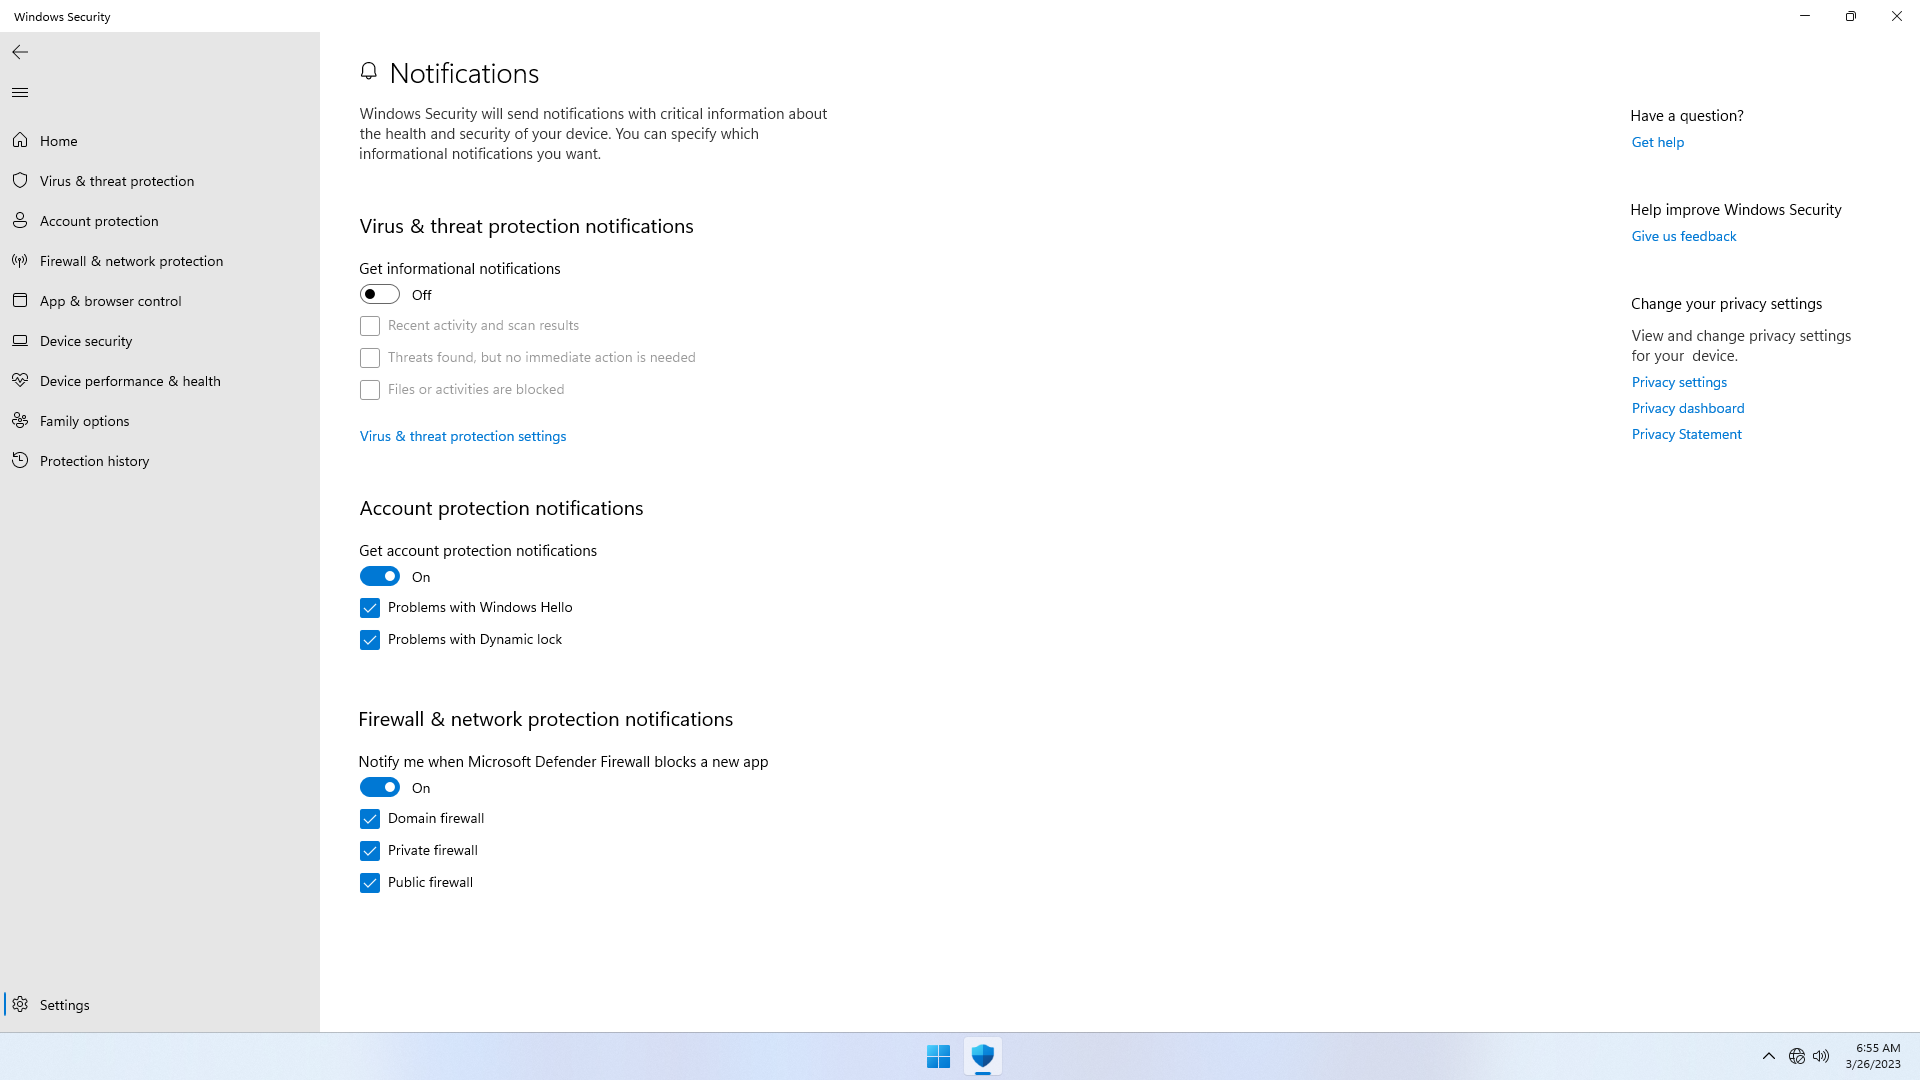
Step 4: Disable Security Center - Notifications
In Security Center:
- Under
Settings > Notification, turn off theVirus & threat protection notifications, and click on 'dismiss' if shown. This prevents mostSecurity Centernotifications from being shown
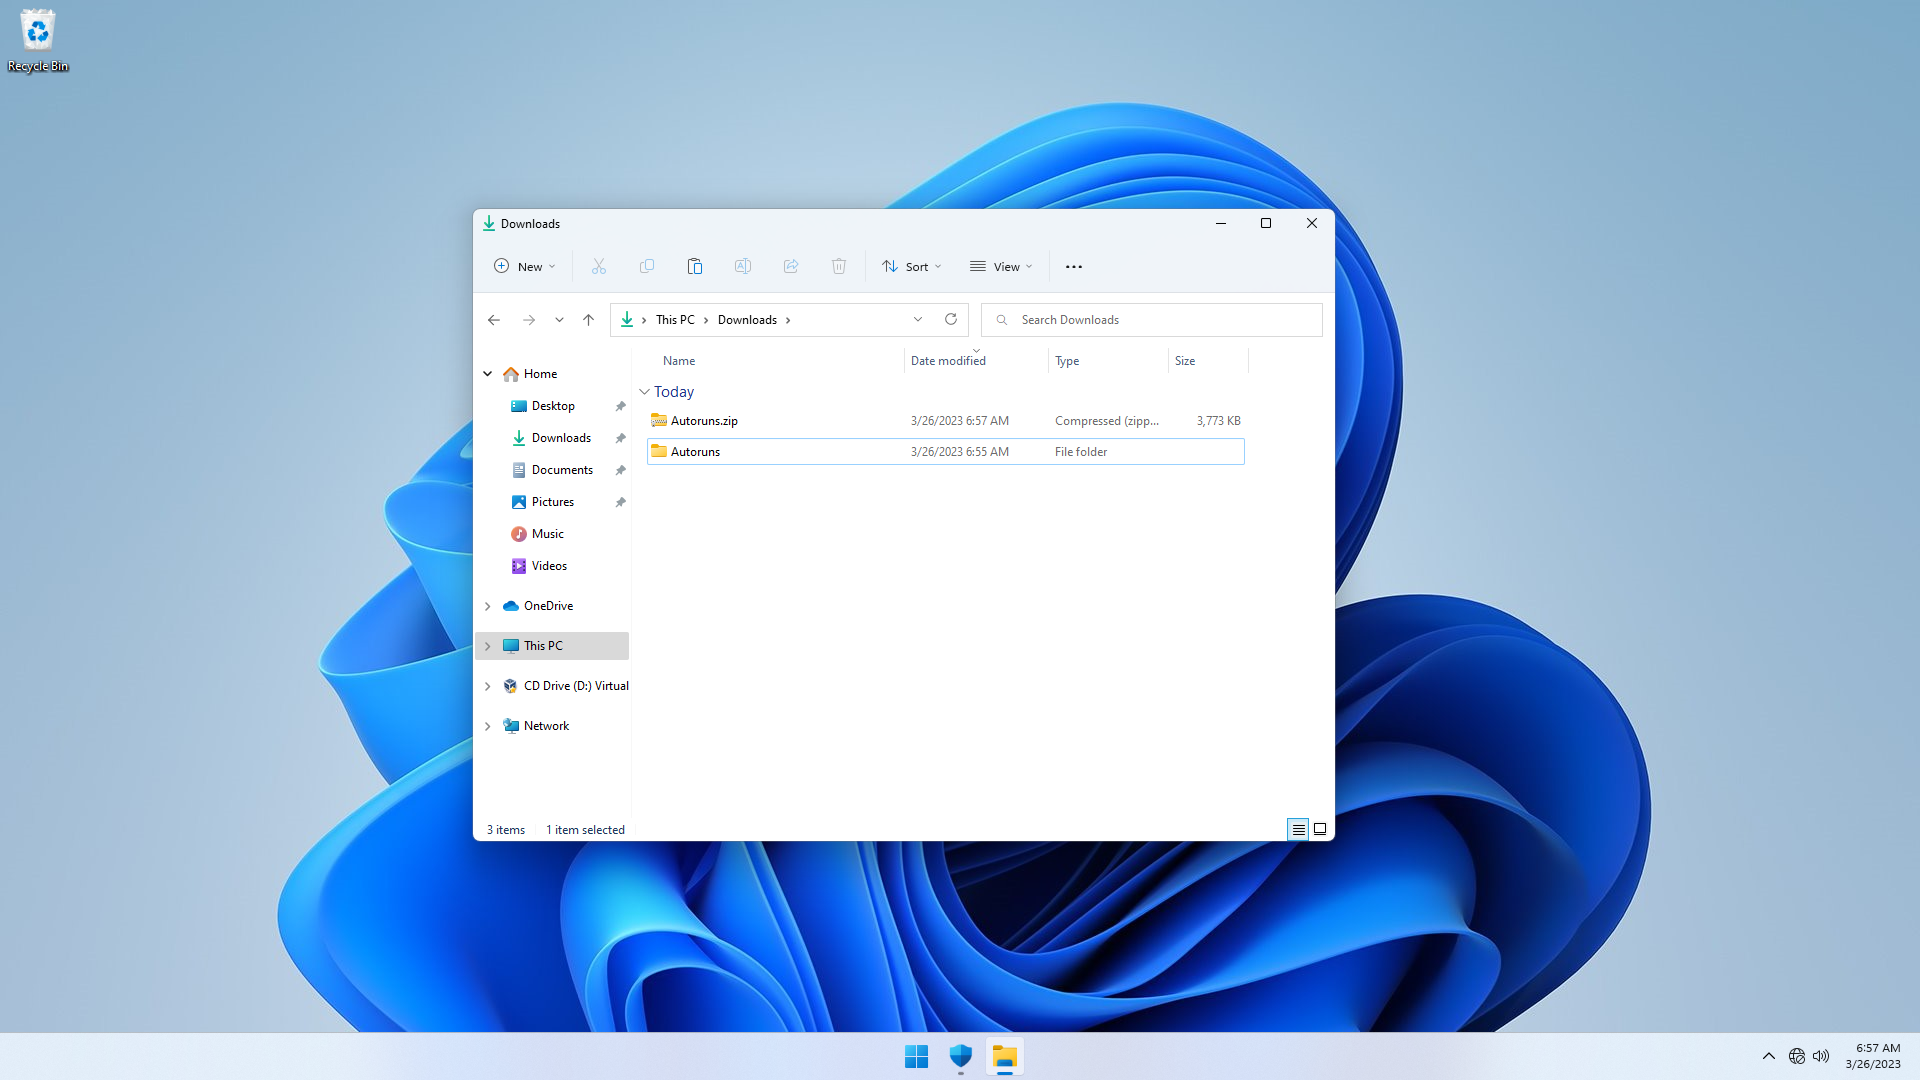
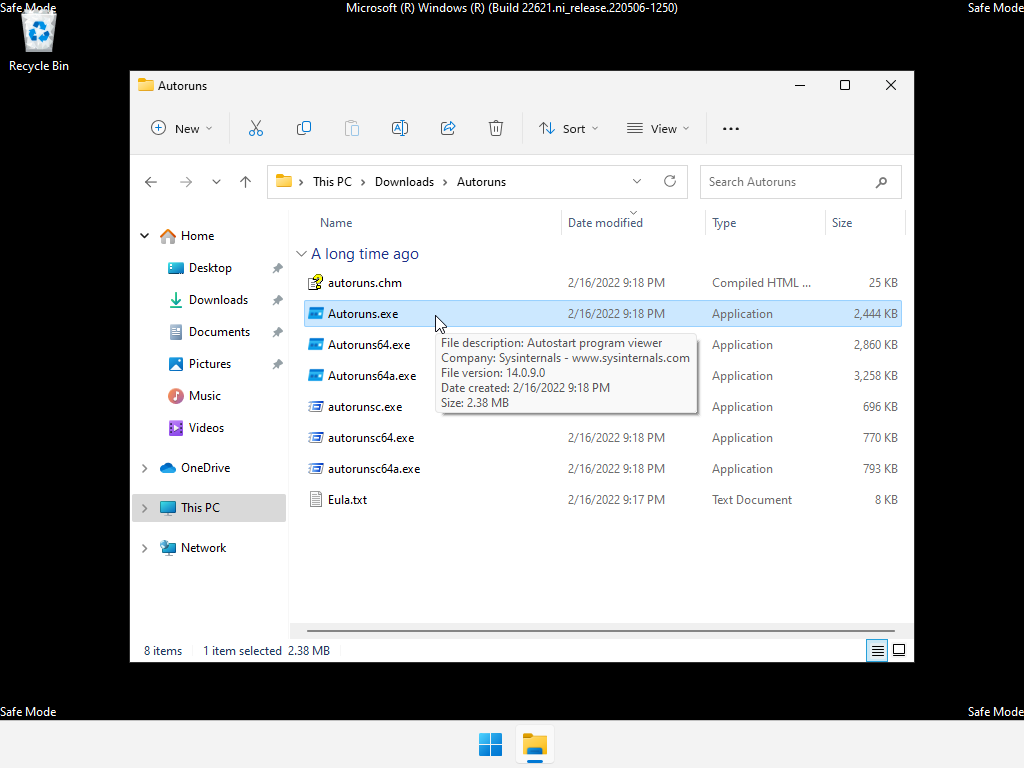
Step 5: Download Autoruns for Windows
Download Autoruns.zip for Windows from Microsoft Sysinternals, and unzip it. This nifty tool will help us disable the Windows Defender service (WinDefend) in Safe Mode.
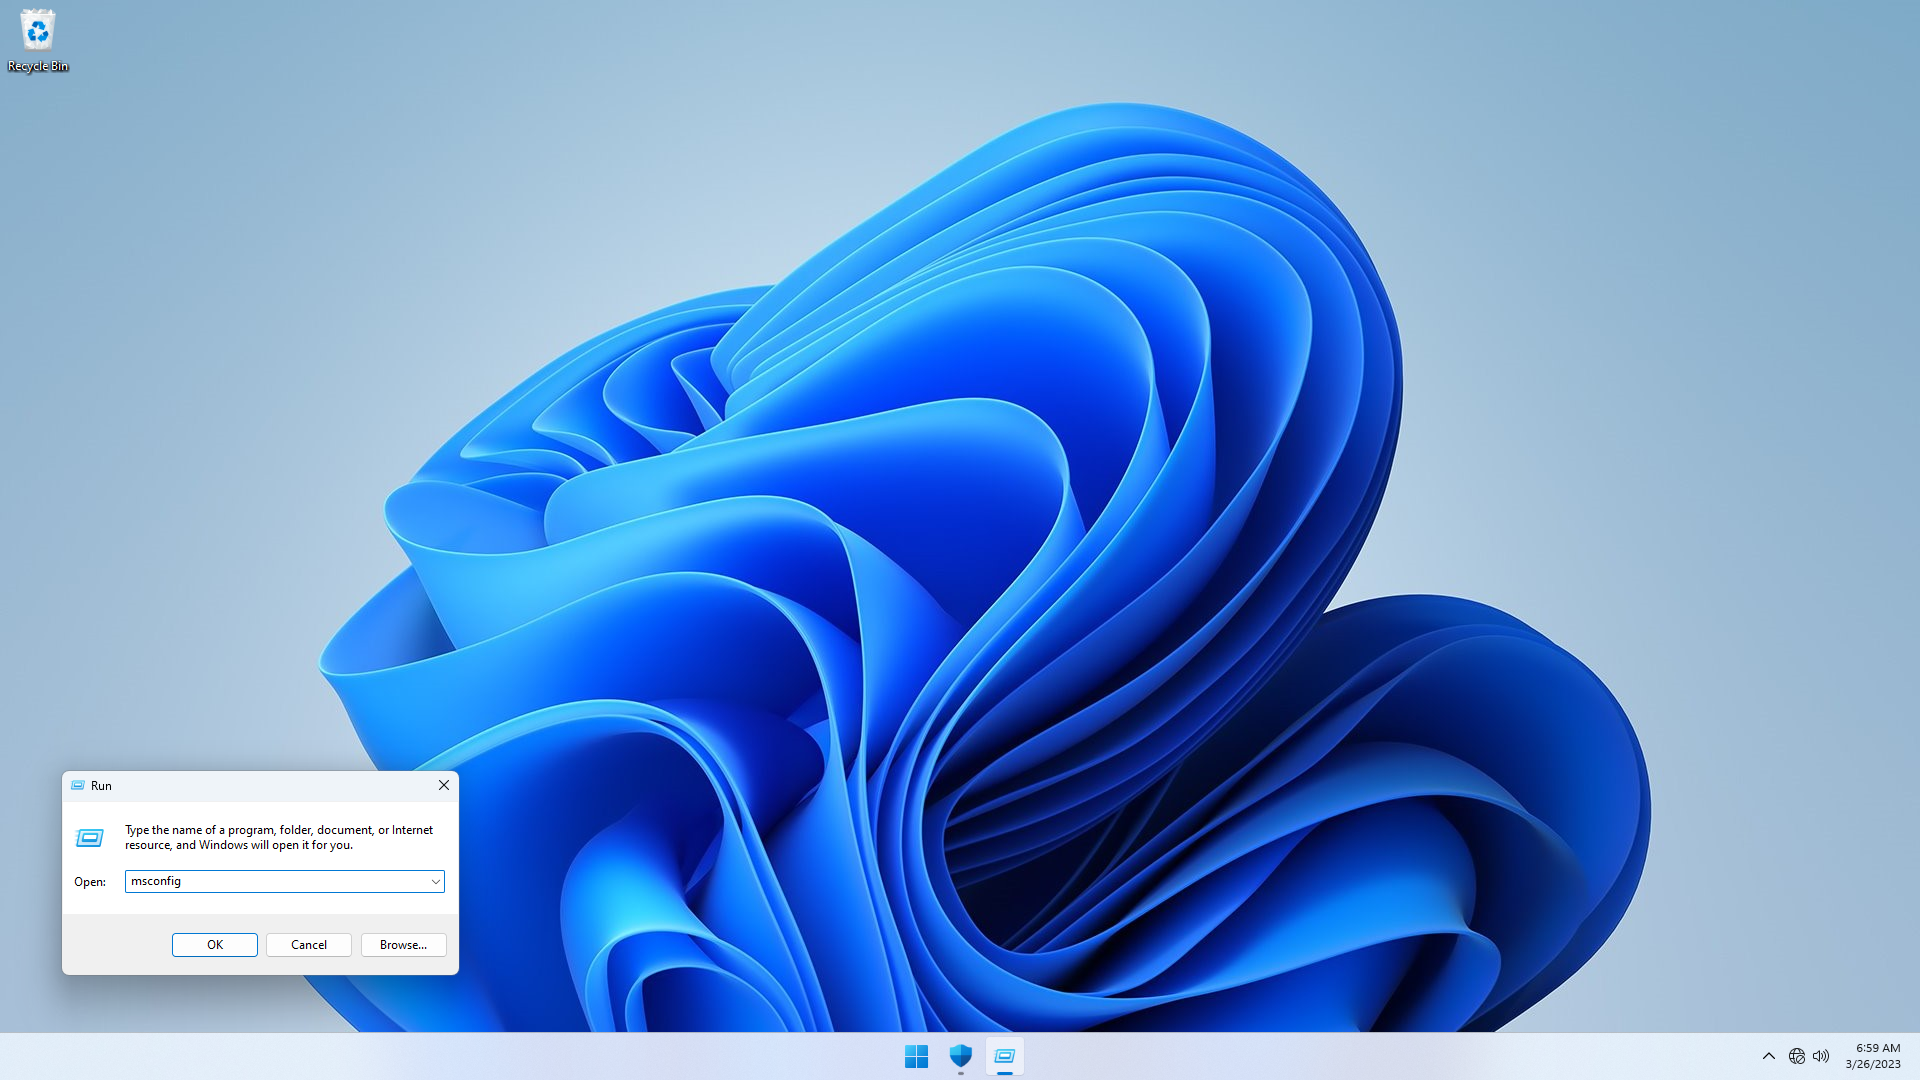
Step 6: Boot to Safe Mode without networking
To boot to Safe Mode without networking:
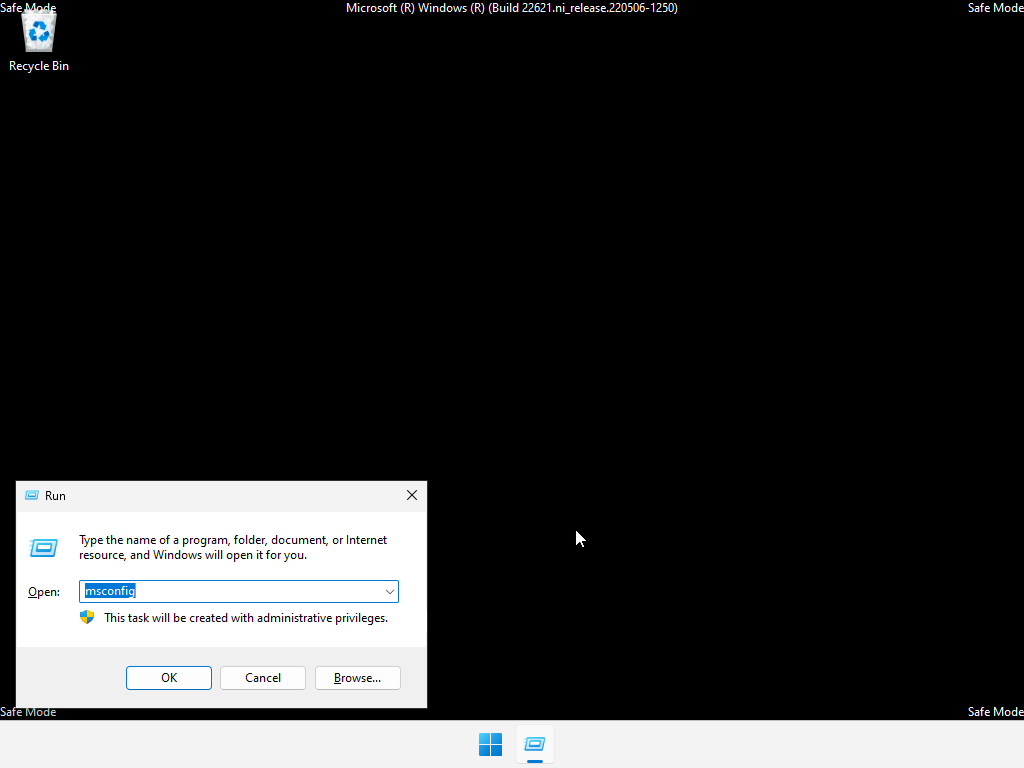
- Click
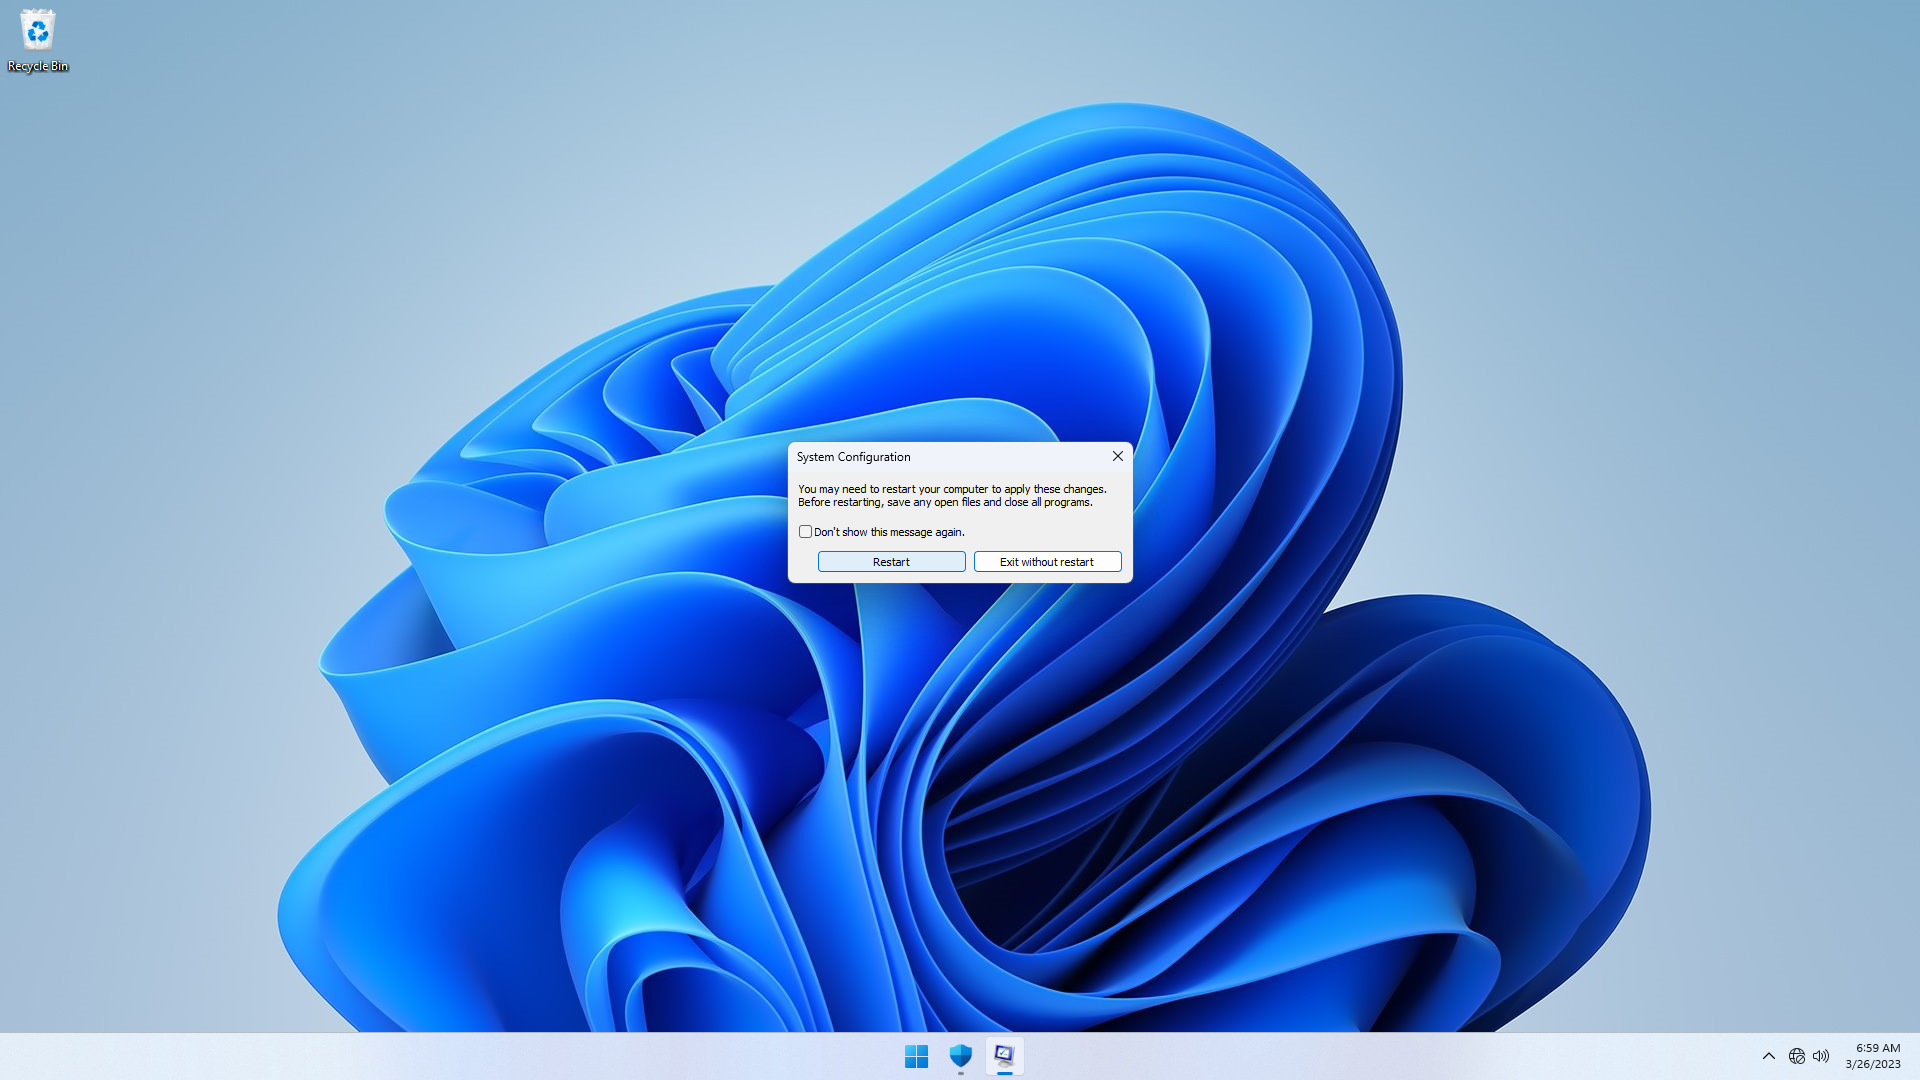
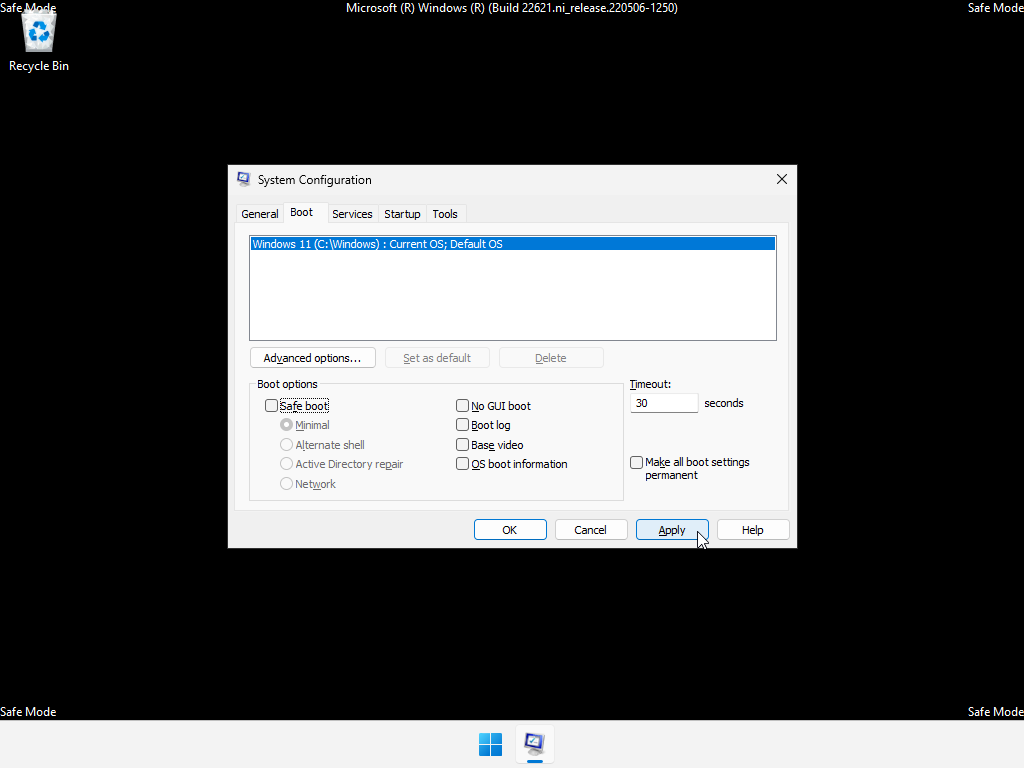
Start, openRun, typemsconfigin the box and hitENTER - In
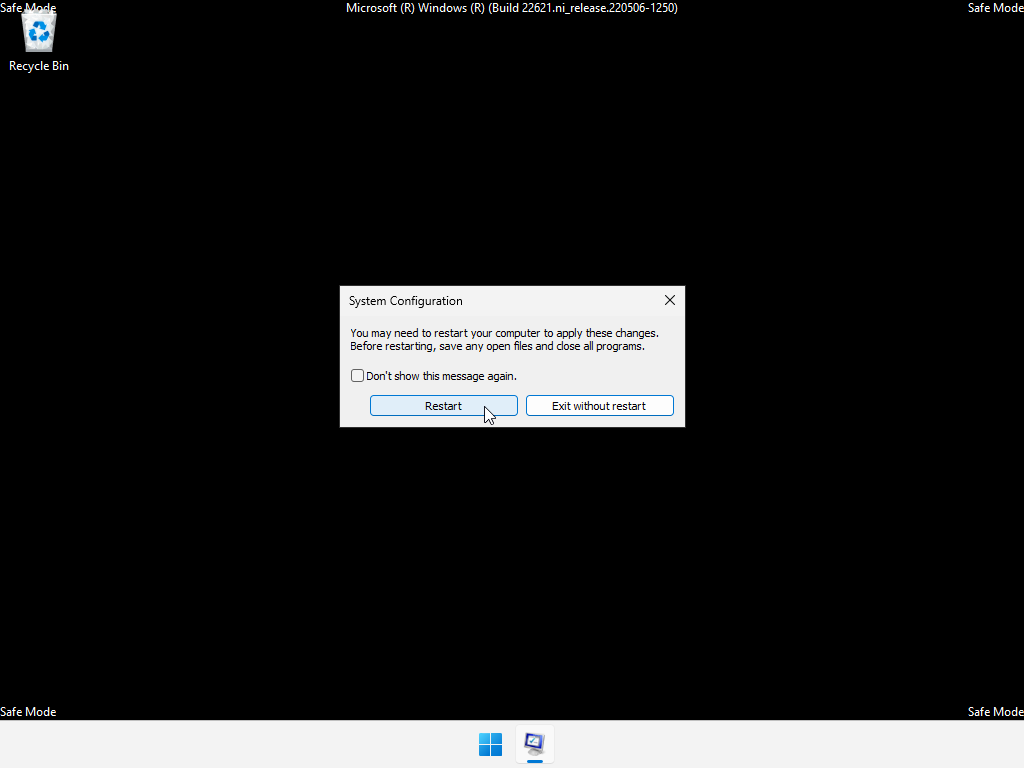
System Configuration, clickBoottab, and checkBoot Options > Safe boot, and clickApply. When prompted to restart, clickRestart

Step 7: Disable WinDefend service in Safe Mode
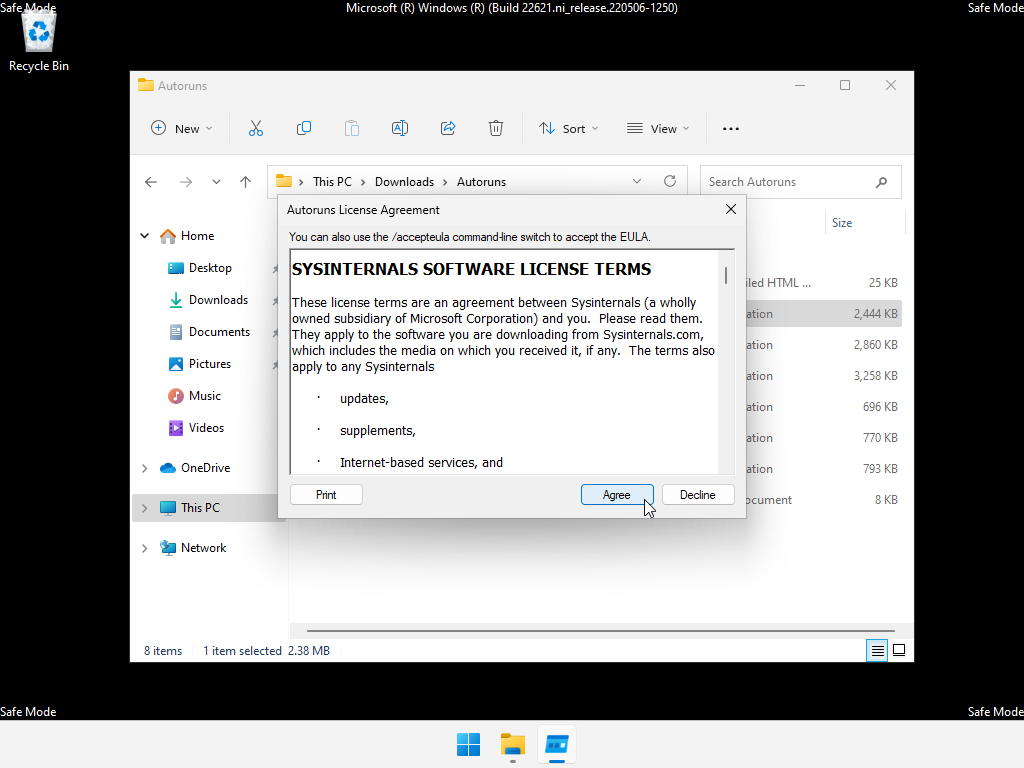
- In safe mode, open
Autoruns.exe. ClickAgreeto accept the license agreement.
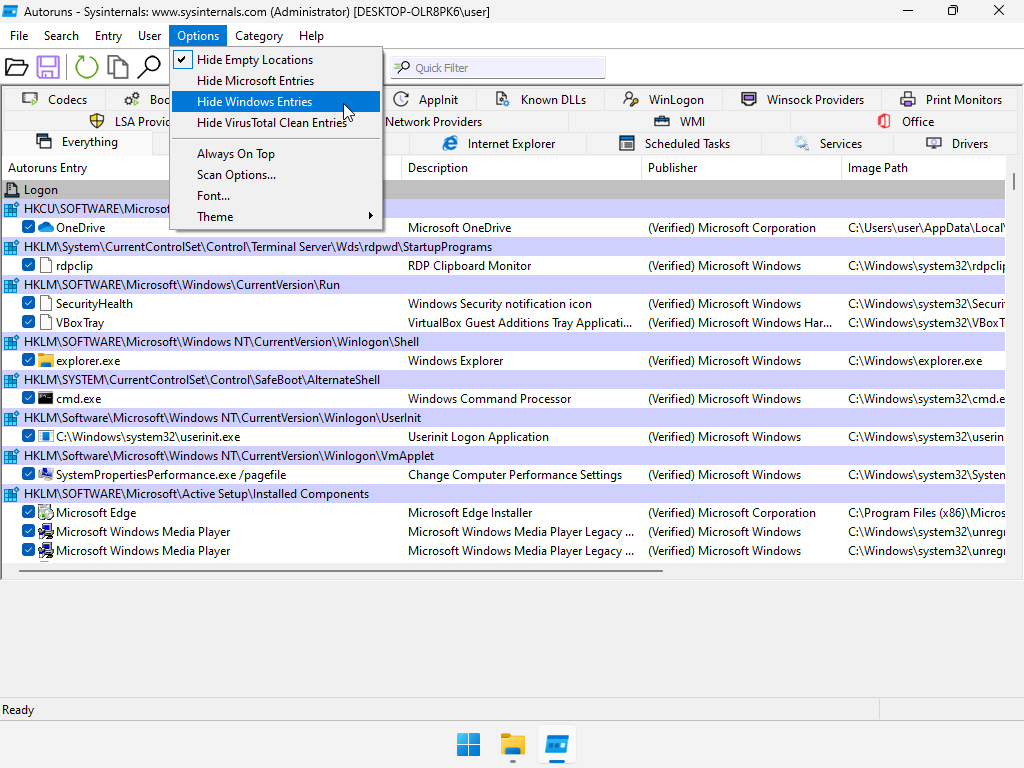
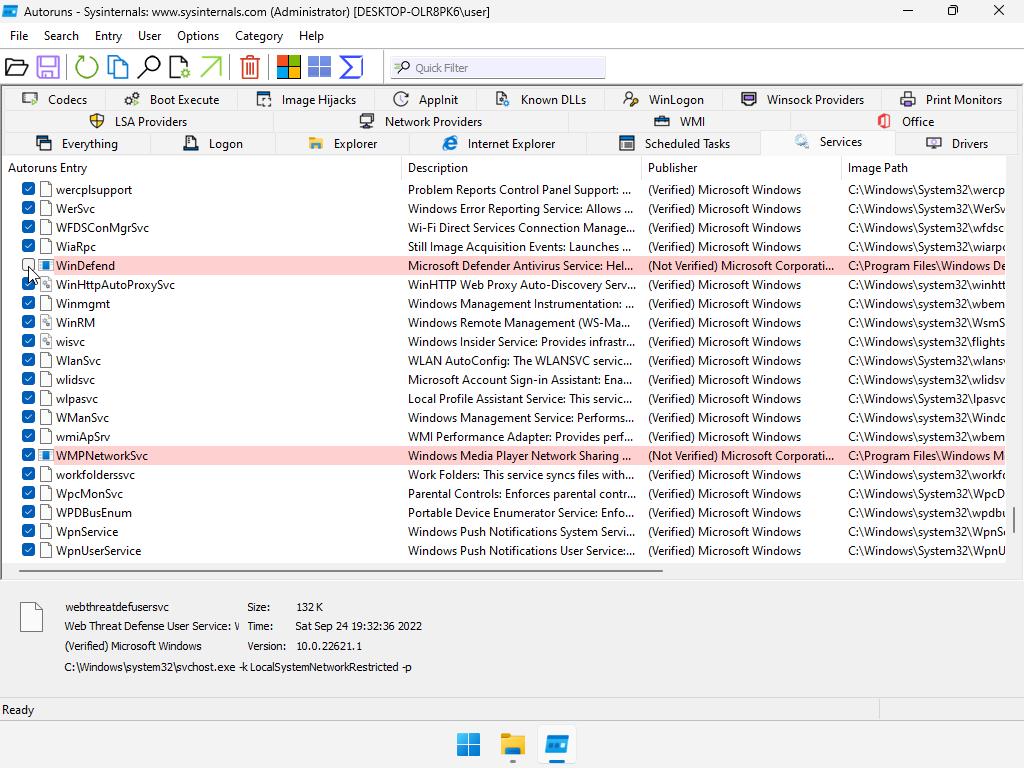
- In
Autoruns, on the menu, clickOptions> and uncheckHide windows entries. Below, clickServicestab, and a list of services is shown. Scroll down all the way and uncheckWinDefendservice. - Close
Autoruns
Step 8: Boot back to Windows 11
Now to boot back to non-safe mode.
- Click
Start, openRun, typemsconfigin the box and hitENTER - In
System Configuration, clickBoottab, and uncheckBoot Options > Safe boot, and clickApply. When prompted to restart, clickRestart
Step 9: Test that Windows Defender is truly disabled
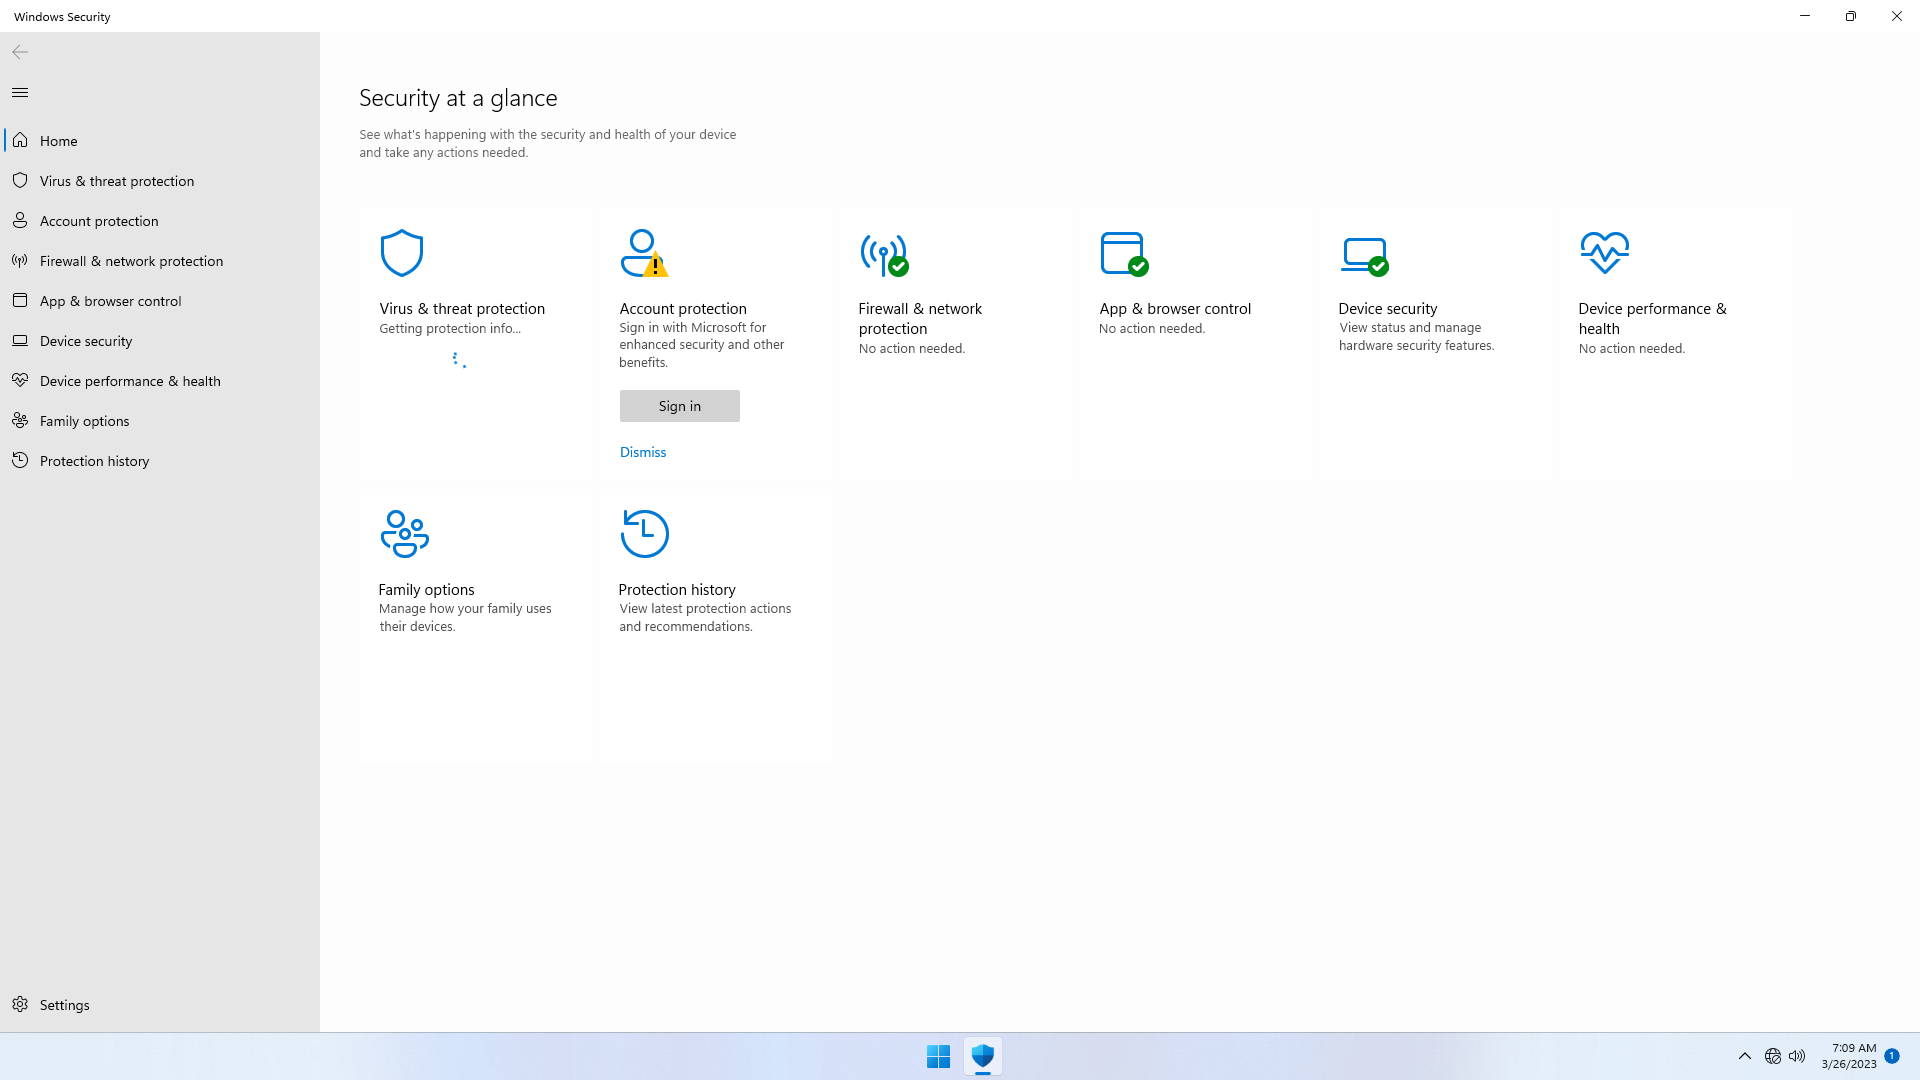
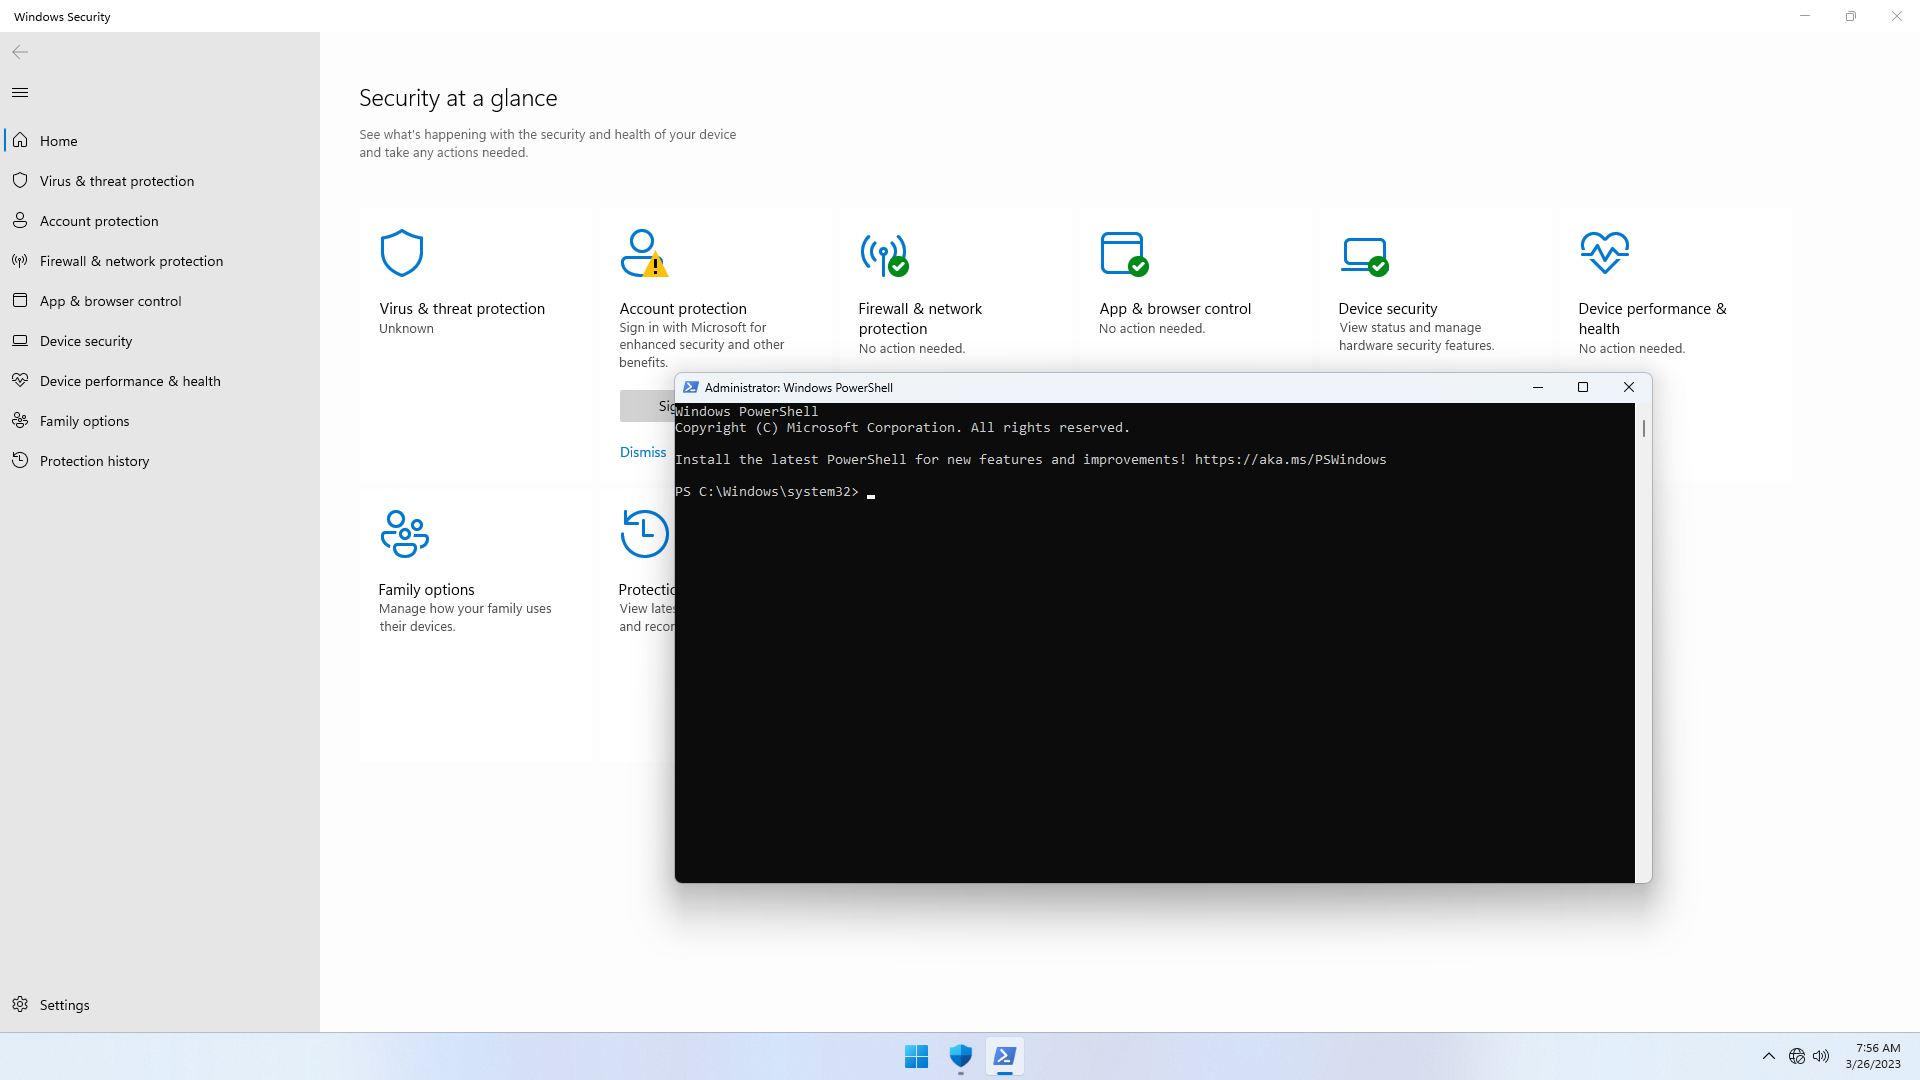
Once booted, click Start and open Security Center.
Within the first minute or so of booting, you may notice Virus & threat protection with a spinner. Wait for a minute or so, for it to finally show Unknown or show a red X icon. If the spinner doesn't change, or if you see something other than Unknown or a red X icon, proceed anyway.


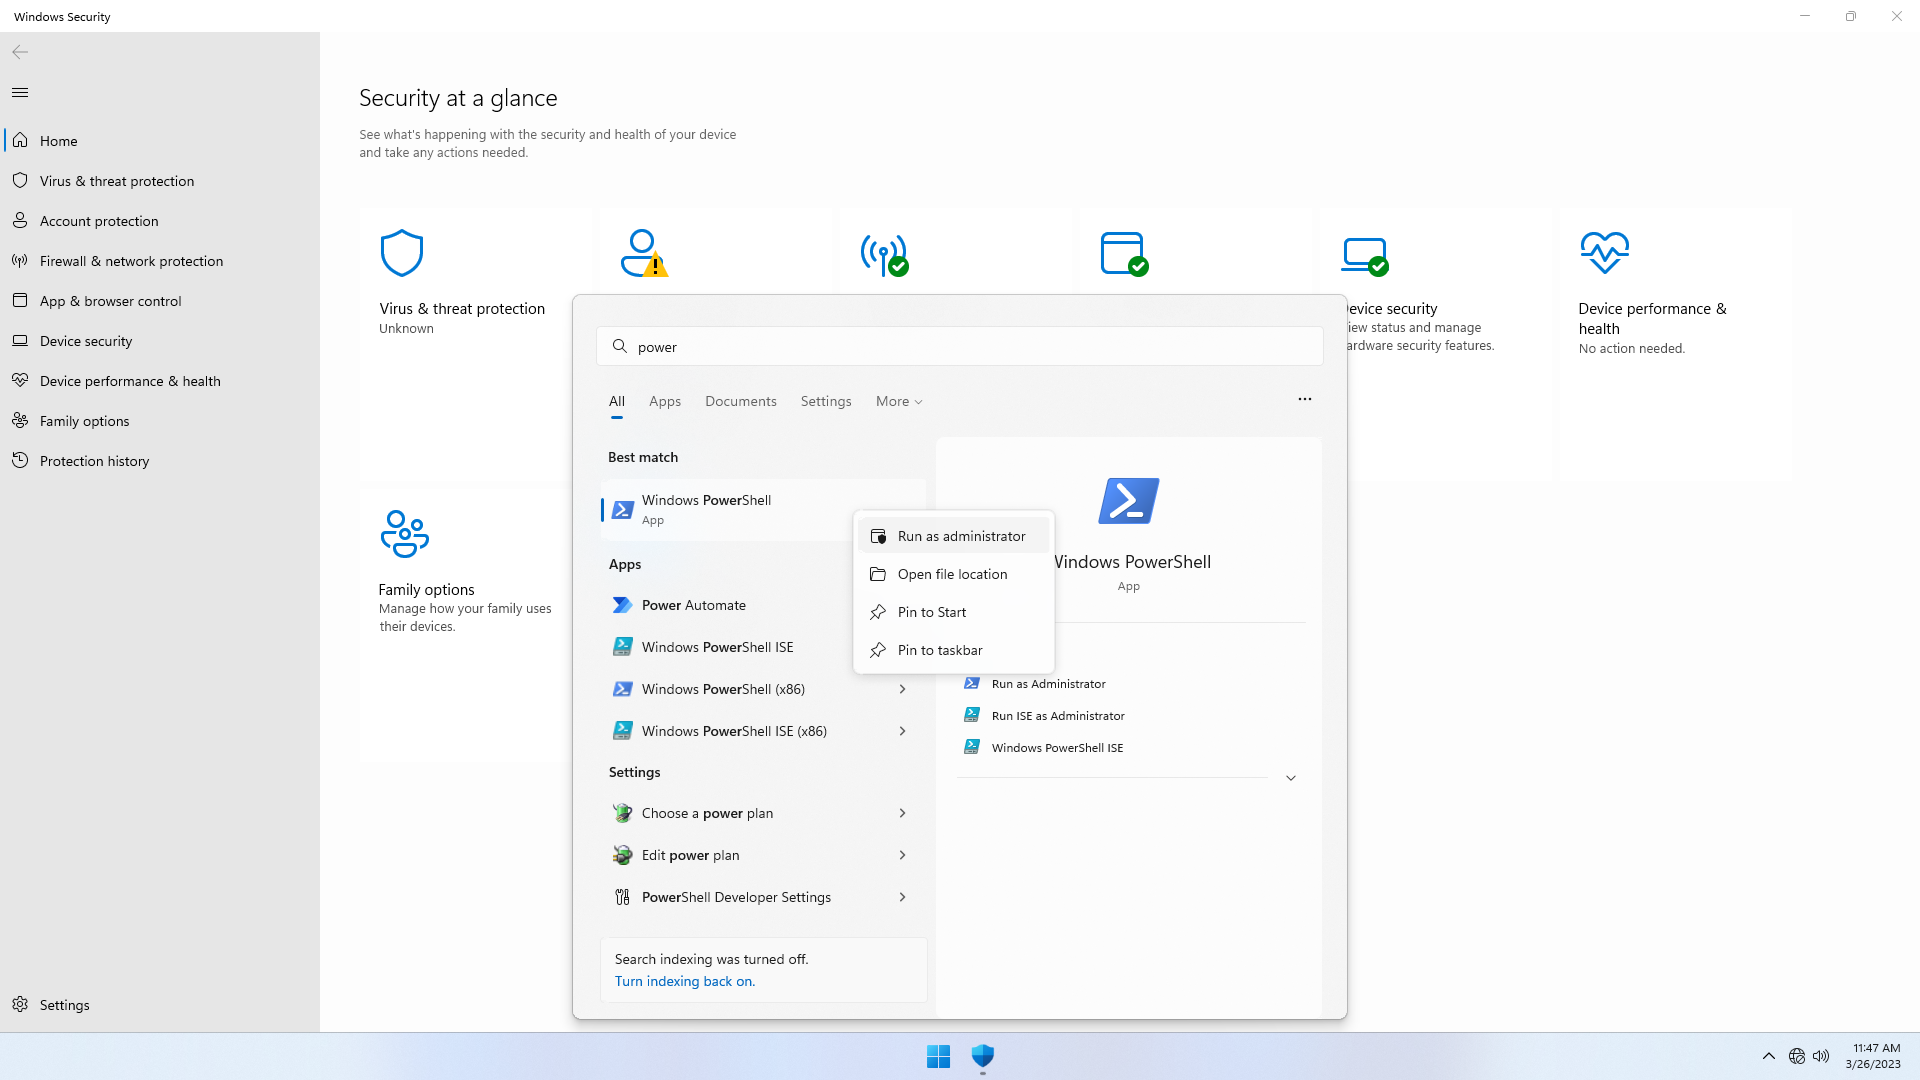
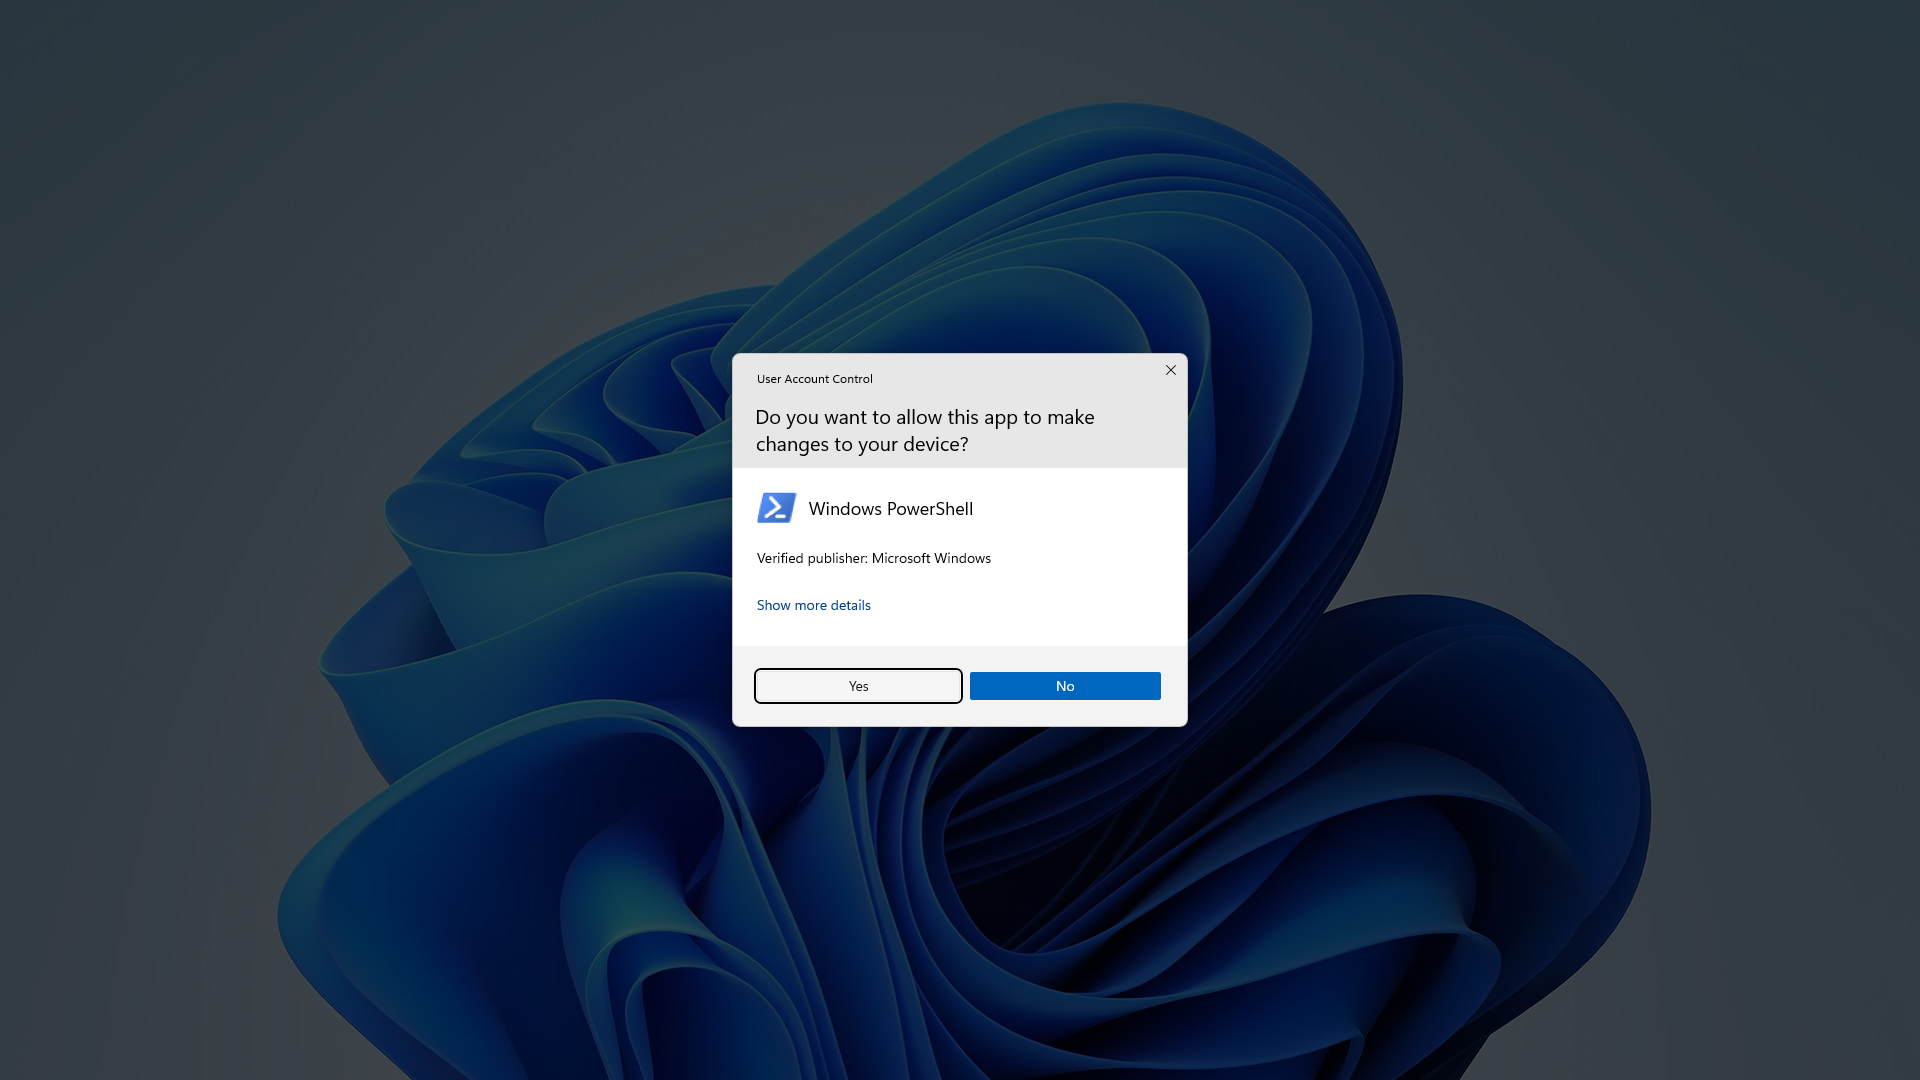
Now, to test that WinDefend service is truly disabled and that it won't get re-enabled silently in the background, click Start > and open Powershell as Administrator:
- If the
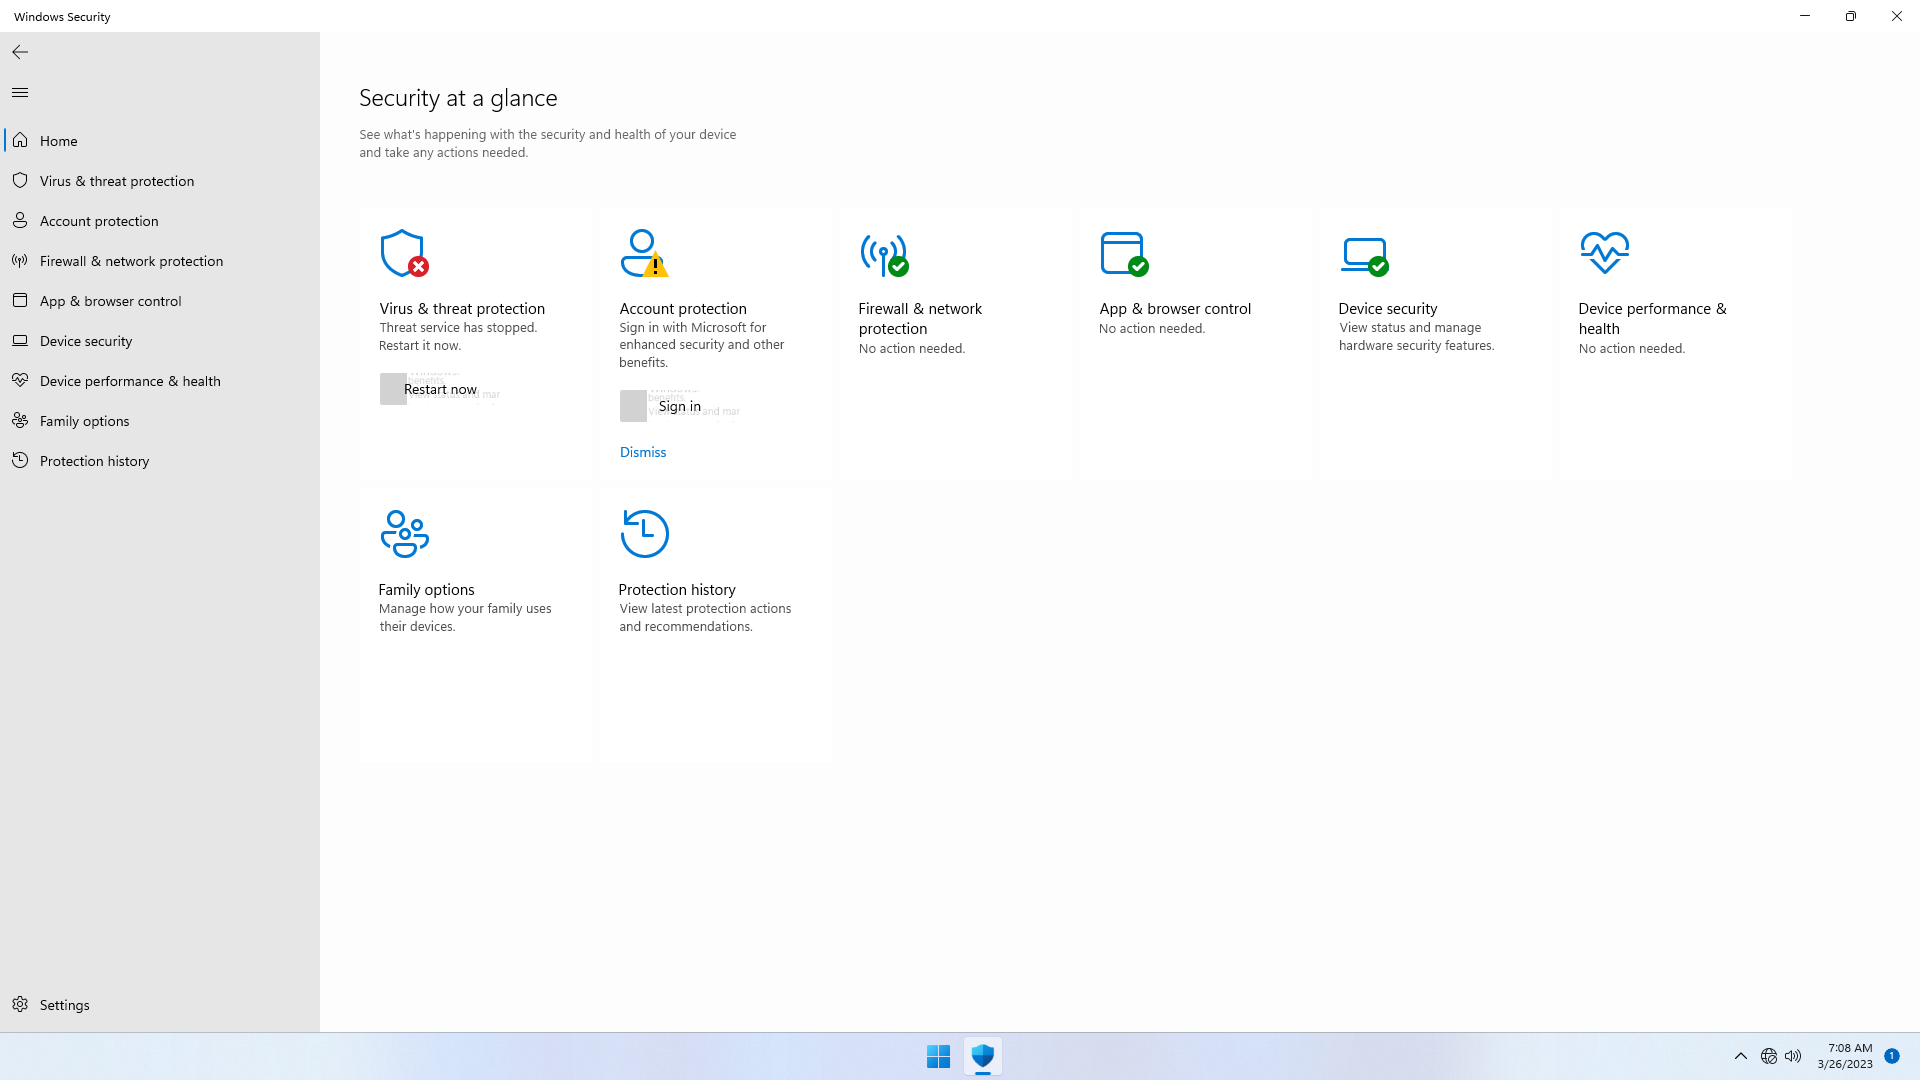
Virus & threat protectionstatus still showsUnknown, or a redXicon, or has aRestart Nowbutton, congratulations, you successfully disabled Windows Defender! - If instead, the
Virus & threat protectionstatus changes into green check mark, you failed because you missed disabling a setting between Step 1 and Step 3. Repeat from the Step 1, ensuring you disable all settings and click all 'dismiss' buttons to dismiss all warnings!
Note! From now on, in Security Center, be careful not not to click Virus & threat protection's Restart Now button, or Windows Defender will be re-enabled.
Step 10: Silence unwanted security notification(s)
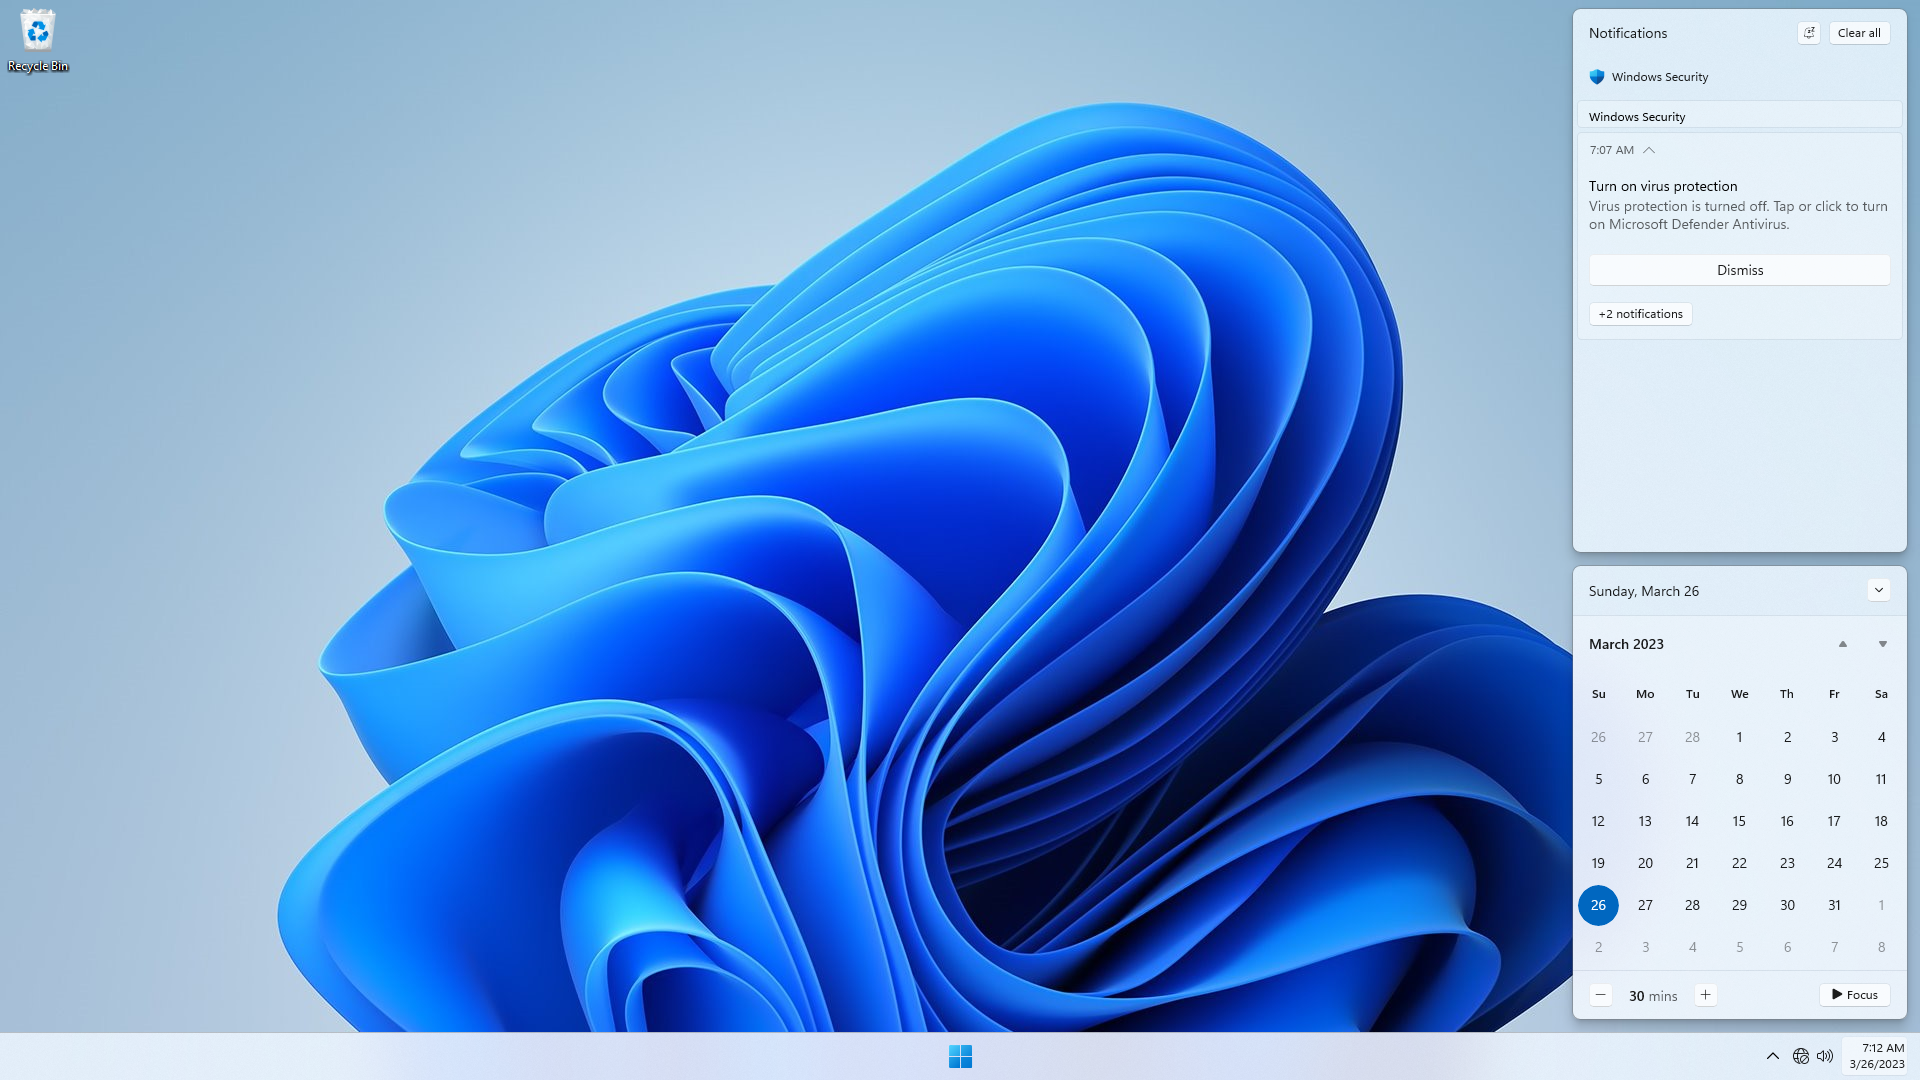
Despite having disable notifications in Step 3, and having Windows Defender off, every hour or so Windows 11 pops up a Security Center notification to re-enable Windows Defender. Unfortunately, there is no easy way to disable that notification that I know of. One workaround is to turn on Focus Session by clicking Focus button on the bottom right.
Evaluation: Keep it disabled
Windows Defender has actually existed since Windows Vista (I believe so), but has never helped much at all in my experience using Windows 7, 8, 8.1, 10, and 11. Over the years, it has never actually found for me one real infected file (e.g. .zip) or program (e.g. .exe), but instead all of its detections have been false flags (my real personal experience). Whenever it flags a file, it quarantines it, and immediately notifies the user that it has taken action without telling the user how to reverse the quarantine or disable its policies. It was difficult to whitelist the trusted file or program or recover the quarantined file. Here is my evaluation of it.
Upsides
- "Free" and built-into windows
- May protect dummy users in very rare cases
Downsides (since inception)
- CPU and memory resource hog (just watch Task Manager while you work!)
- Raises many false flags on downloaded files or programs that may not be infected
- Difficult to recover quarantined files or programs unless one has advanced knowledge
- Difficult to whitelist or add exceptions for user-trusted files or programs unless one has advanced knowledge
- Scheduled scanning of all user's active programs and files has probably rarely identified any real infected files for most users, but has most of the time raised false flags
- Privacy-intrusive. Perpetual scanning of user activity just to be able to identify a suspicious file that in most cases isn't is unjustified. The user activity is mostly then used as data-mining field
- Requires Administrator permissions to disable
- Creates in users a false sense of security, and general complacency. The assumption that anti-virus software knows better may lead users to stop relying on their own ability and judgement when interacting with files, programs, and websites, which actually opens up more attack vectors
Downsides (recent years)
- Greater CPU and memory resource hog. Real-time scanning should not increase CPU usage over the years, except that it could be something doing far more than it ought to be as consented by the user
- Increasingly difficult to disable unless one goes to great lengths. May switch back on anytime unless one knows to flip off and avoid all triggers
- More privacy-intrusive, since it appears to be doing far more in the background
- Complexity (i.e. jargons, abbreviations) in settings (such as
App & browser control > Exploit Protectionsettings) and color priming of warnings (such as red and orange) creates user intimidation that biases them (even the most technical ones) into accepting default recommended settings that they might disable if well-informed - Dishonors user settings. May switch back on after Windows Feature Updates or Windows upgrades
- May cause programs to silently not run, crash, or not work correctly, especially older programs or games. Once Windows Defender is disabled, those very same programs run perfectly fine. Hence, it could actually have inadvertently served to kill off older software.
- Even while disabled, constantly fires "security alert" notifications (that cannot be disabled) which alarm and distract user for no appropriate reason
Final thoughts
Knowing that most infections are caused by user misjudgement made by generally non-technical users (e.g. opening an email attachment, opening a link from email or chat, downloading a spoofed program), and that the trickery used by malicious actors evolves in general with the most popular tech tools that are used, the most effective way to combat computer viruses in today's ever changing technology landscape, is not for users to blindly rely on constantly surveilling software (in spite of whether they are free) made by security experts to protect them from threats, but for the very users themselves to become the equivalent of security experts having the ability to recognize general threat patterns, in order to as accurately as possible identify both non-threats and threats. This ability is key for users to live, and rightfully so, without vigilance in the face of what may be deemed a threat by security experts that turns out not being so, and to be vigilant, and rightfully so, only in the face of true threats that they would be as very well able to identify as those who claim to be the experts.