
Microsoft Edge is a browser included as part of Windows 11 by default, and has fully replaced its predecessor, Internet Explorer 11. It runs on the same engine as the Chrome Browser, and is now very powerful.
However, out-of-the-box, Microsoft Edge does not come with proper privacy and permission settings to protect user data from being compromised or data-mined by advertisers.
This article reveals the shortcomings in Microsoft Edge's' default settings, and then provides steps to harden its configuration to protect user privacy and data.
Shortcomings
In this section, you will see how the default settings in Microsoft Edge makes unnecessary remote web requests that compromise user privacy and data.
Home page and new tabs
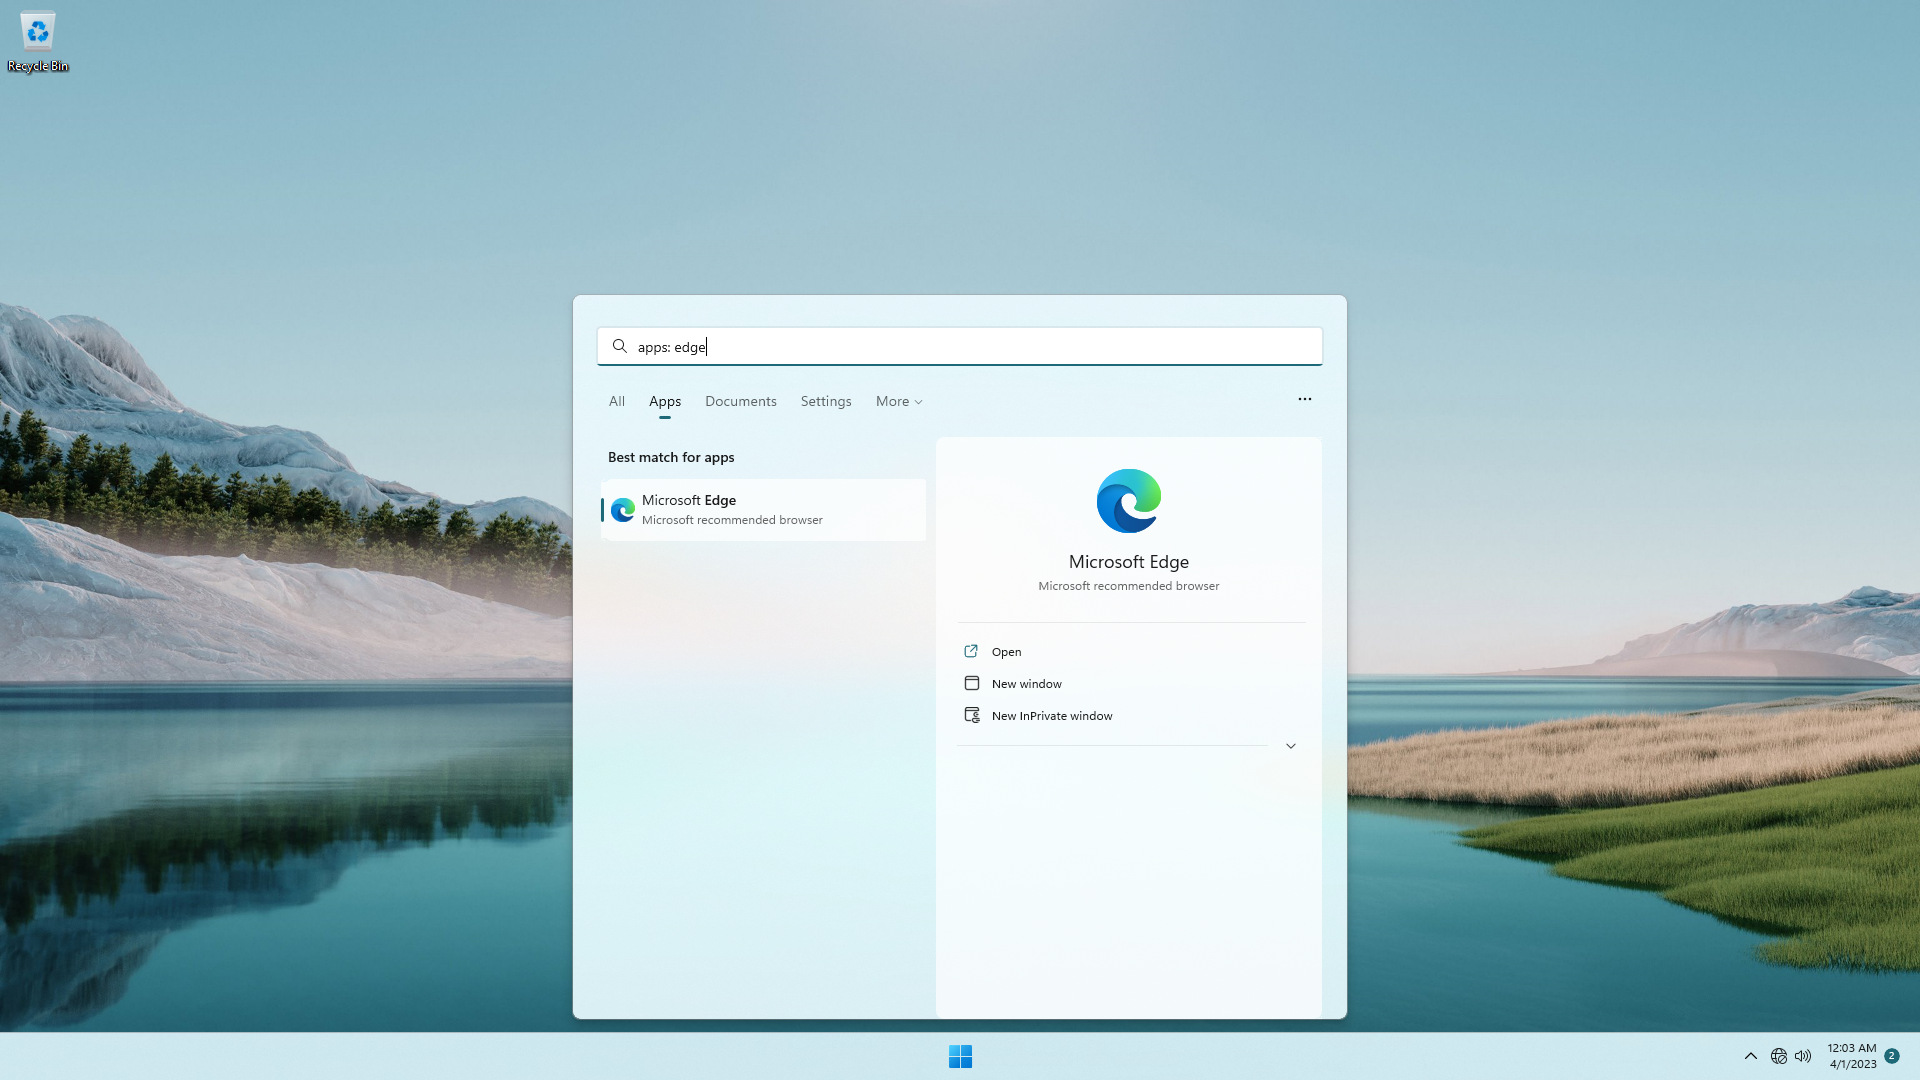
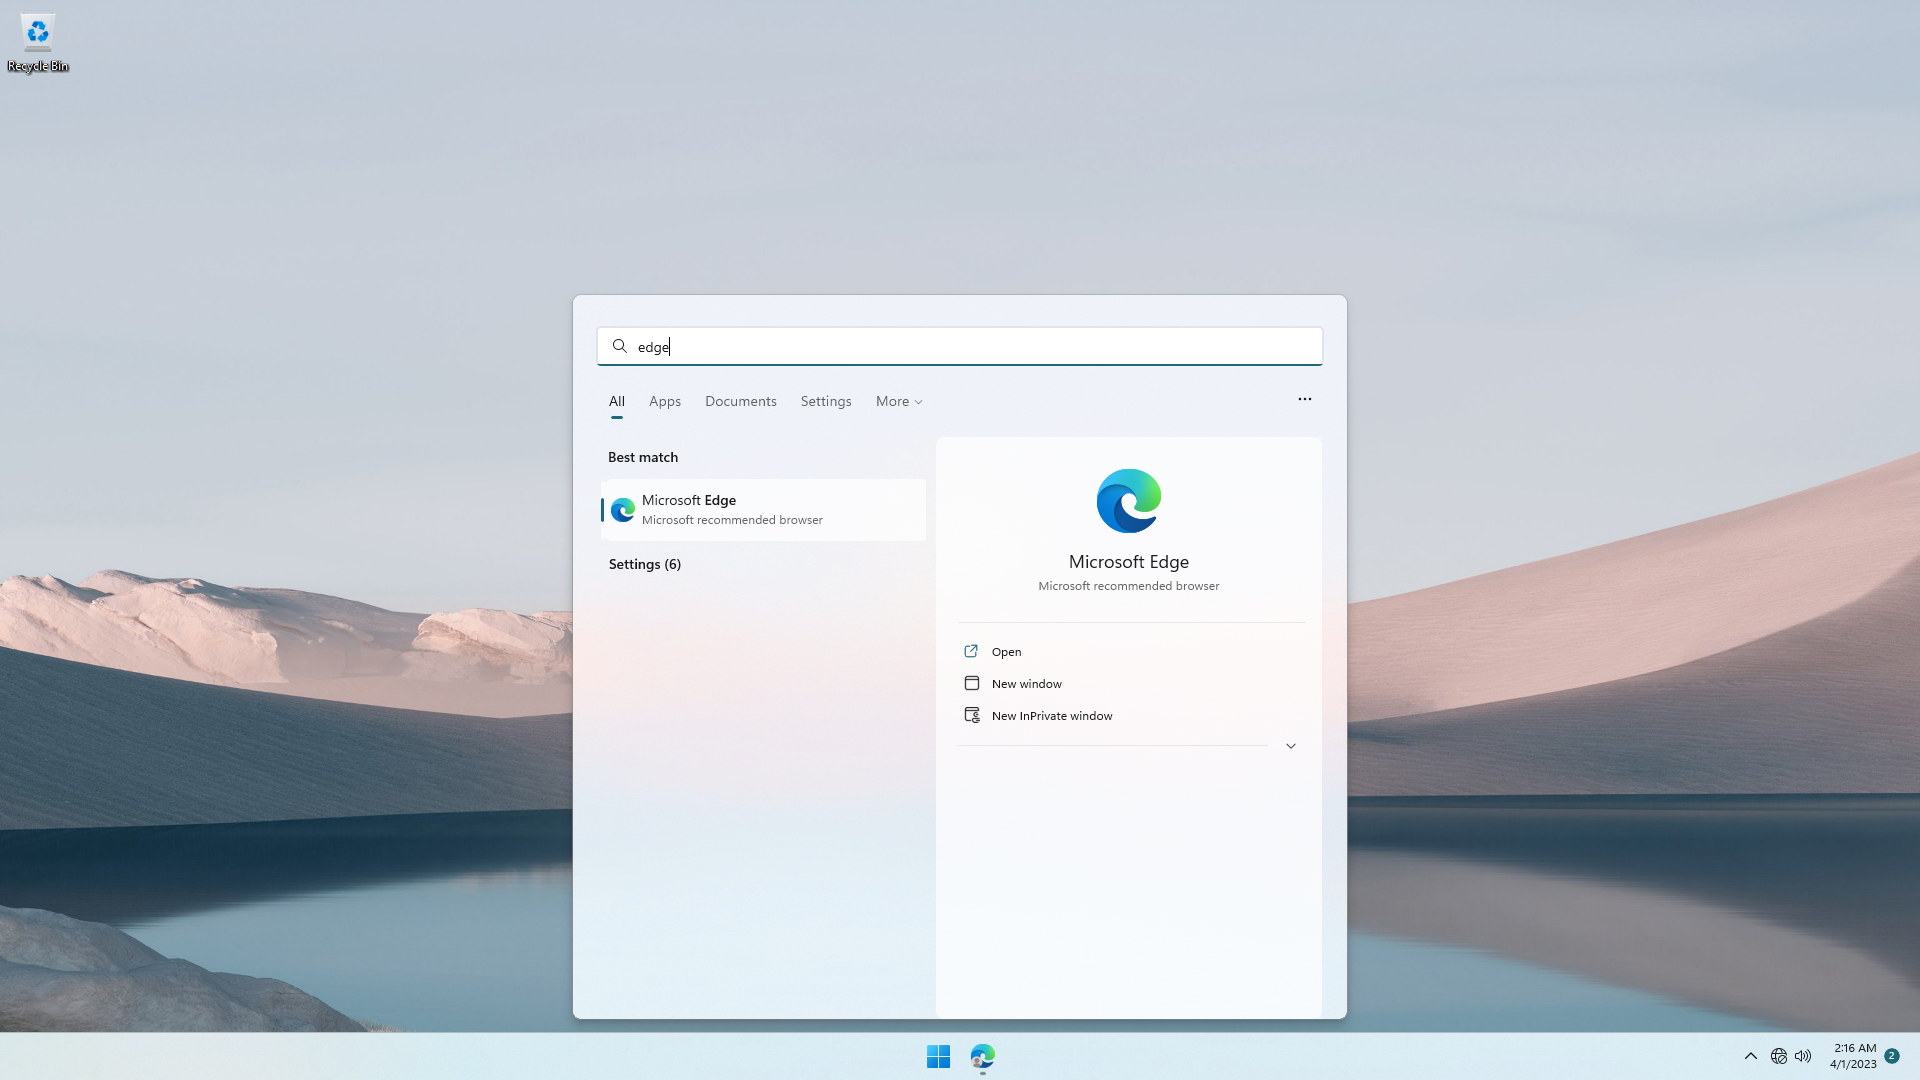
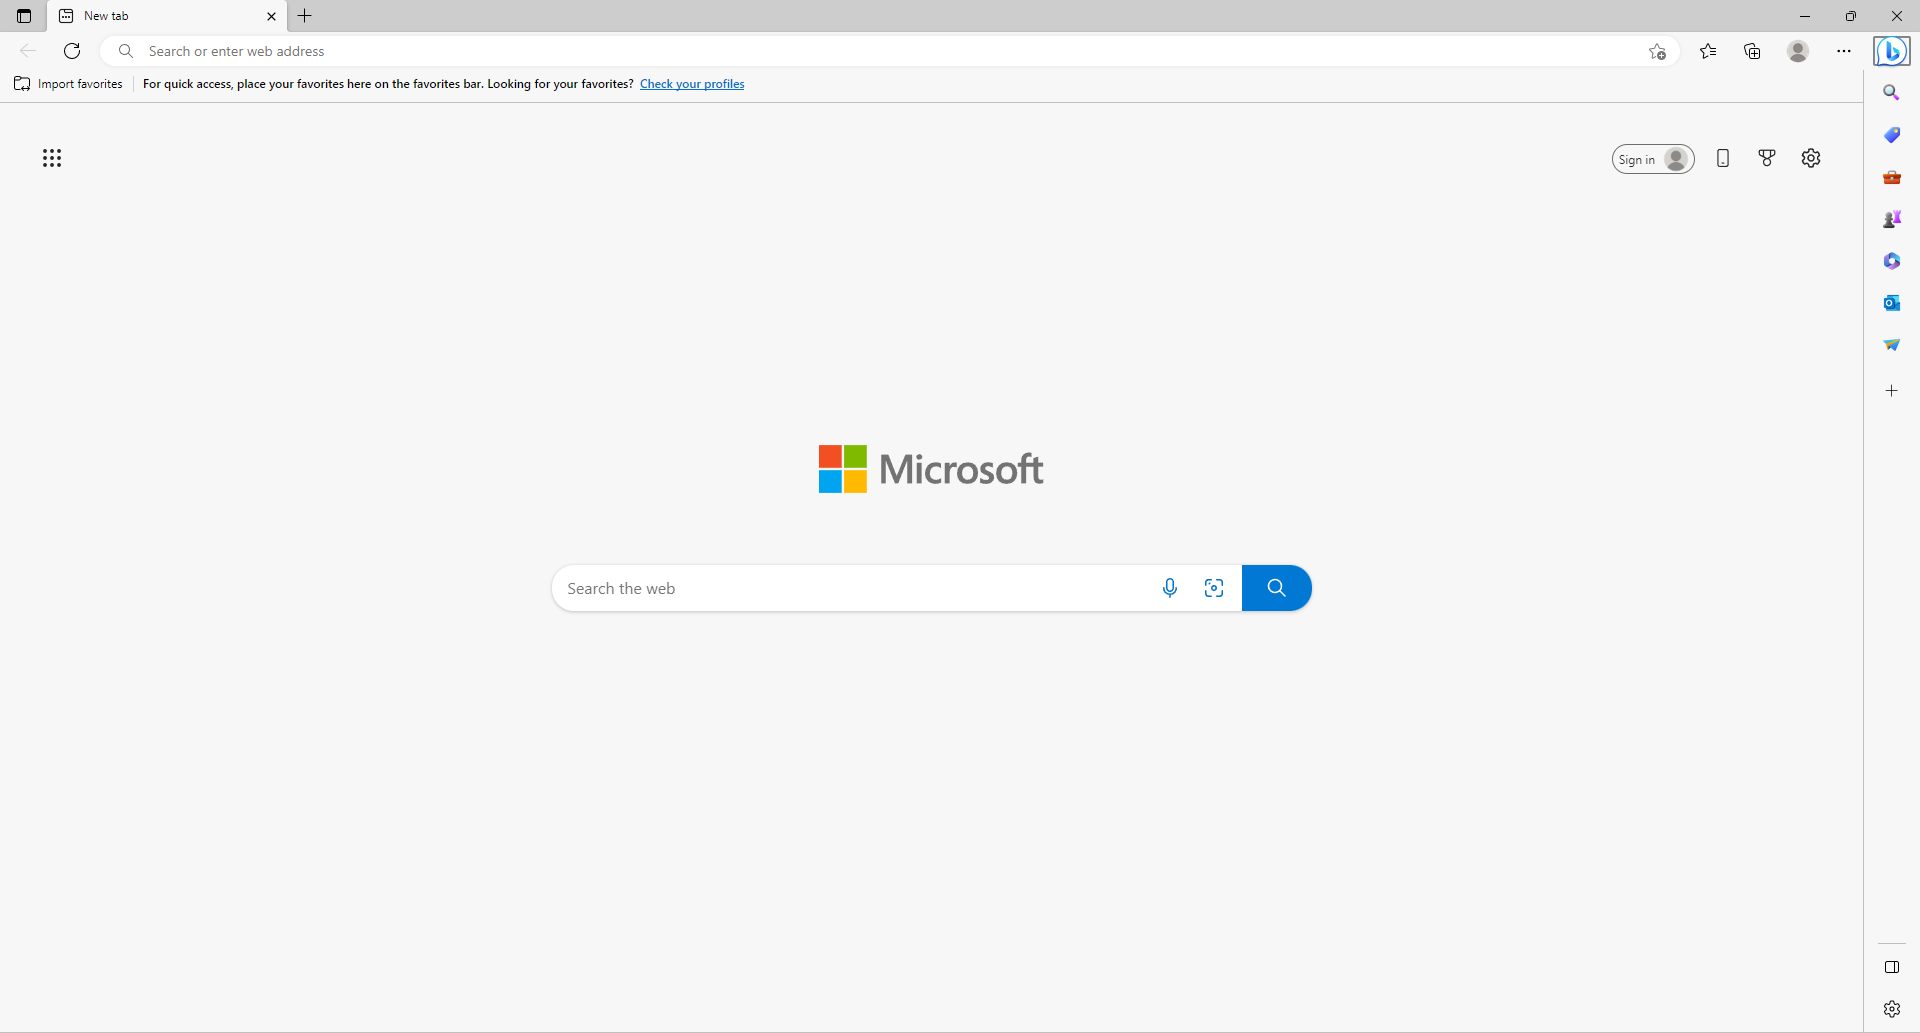
Open Microsoft Edge in its default settings:
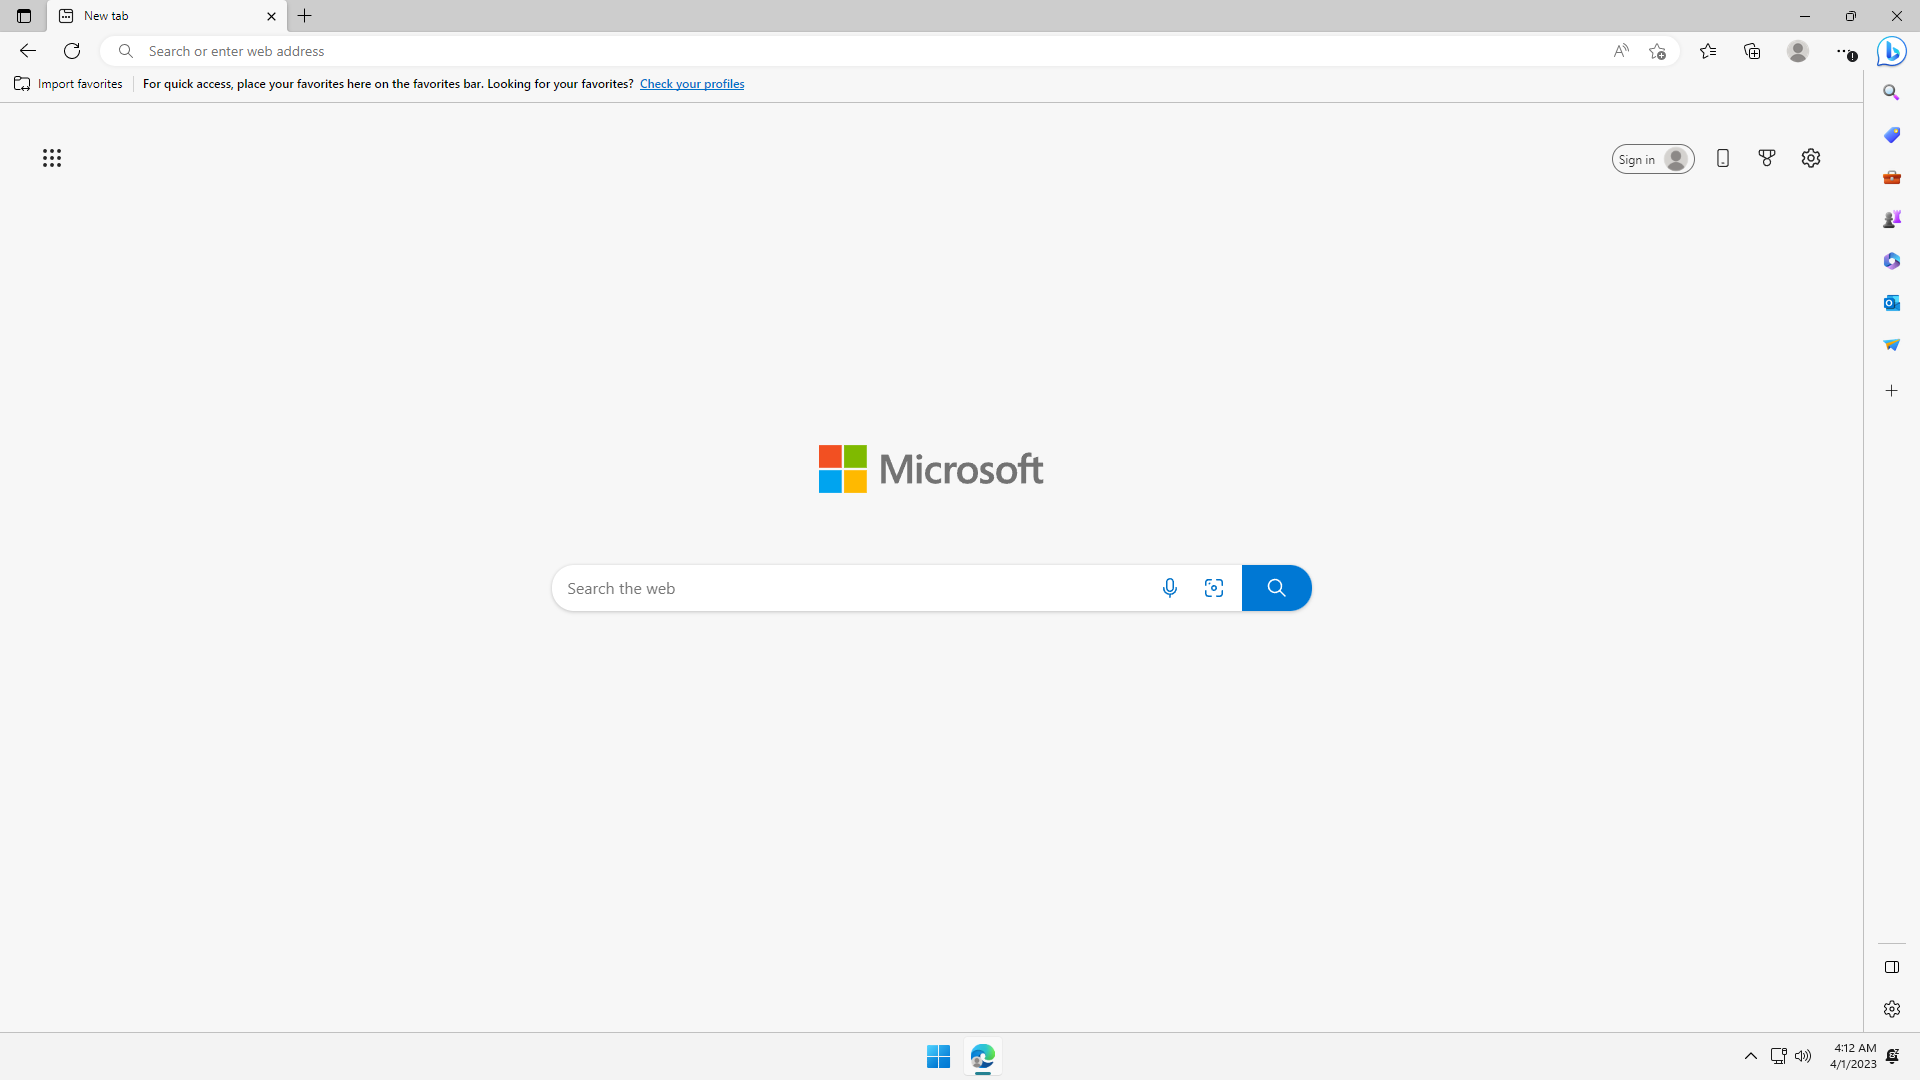
Even after declutting the Start page or New Tab page, the home page is still doing remote web requests.
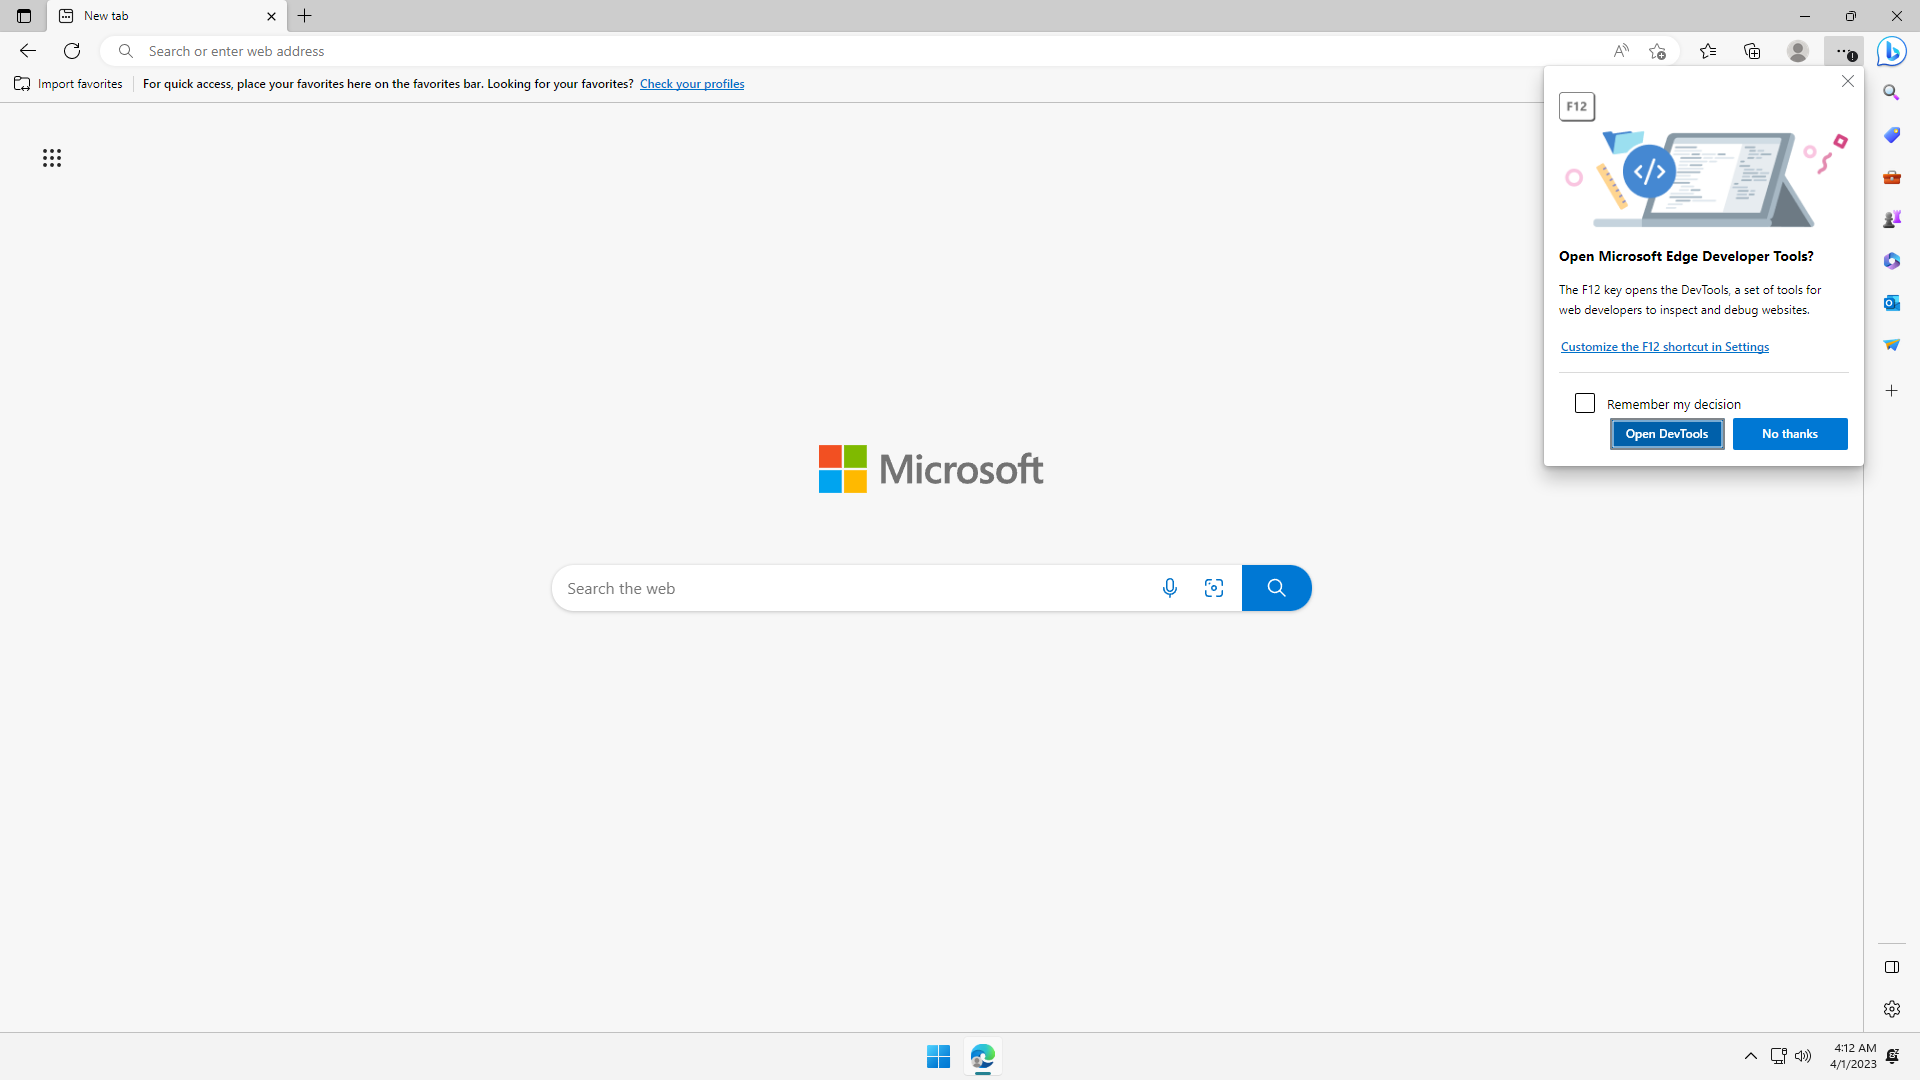
To show this is true, let's open DevTools by pressing F12:
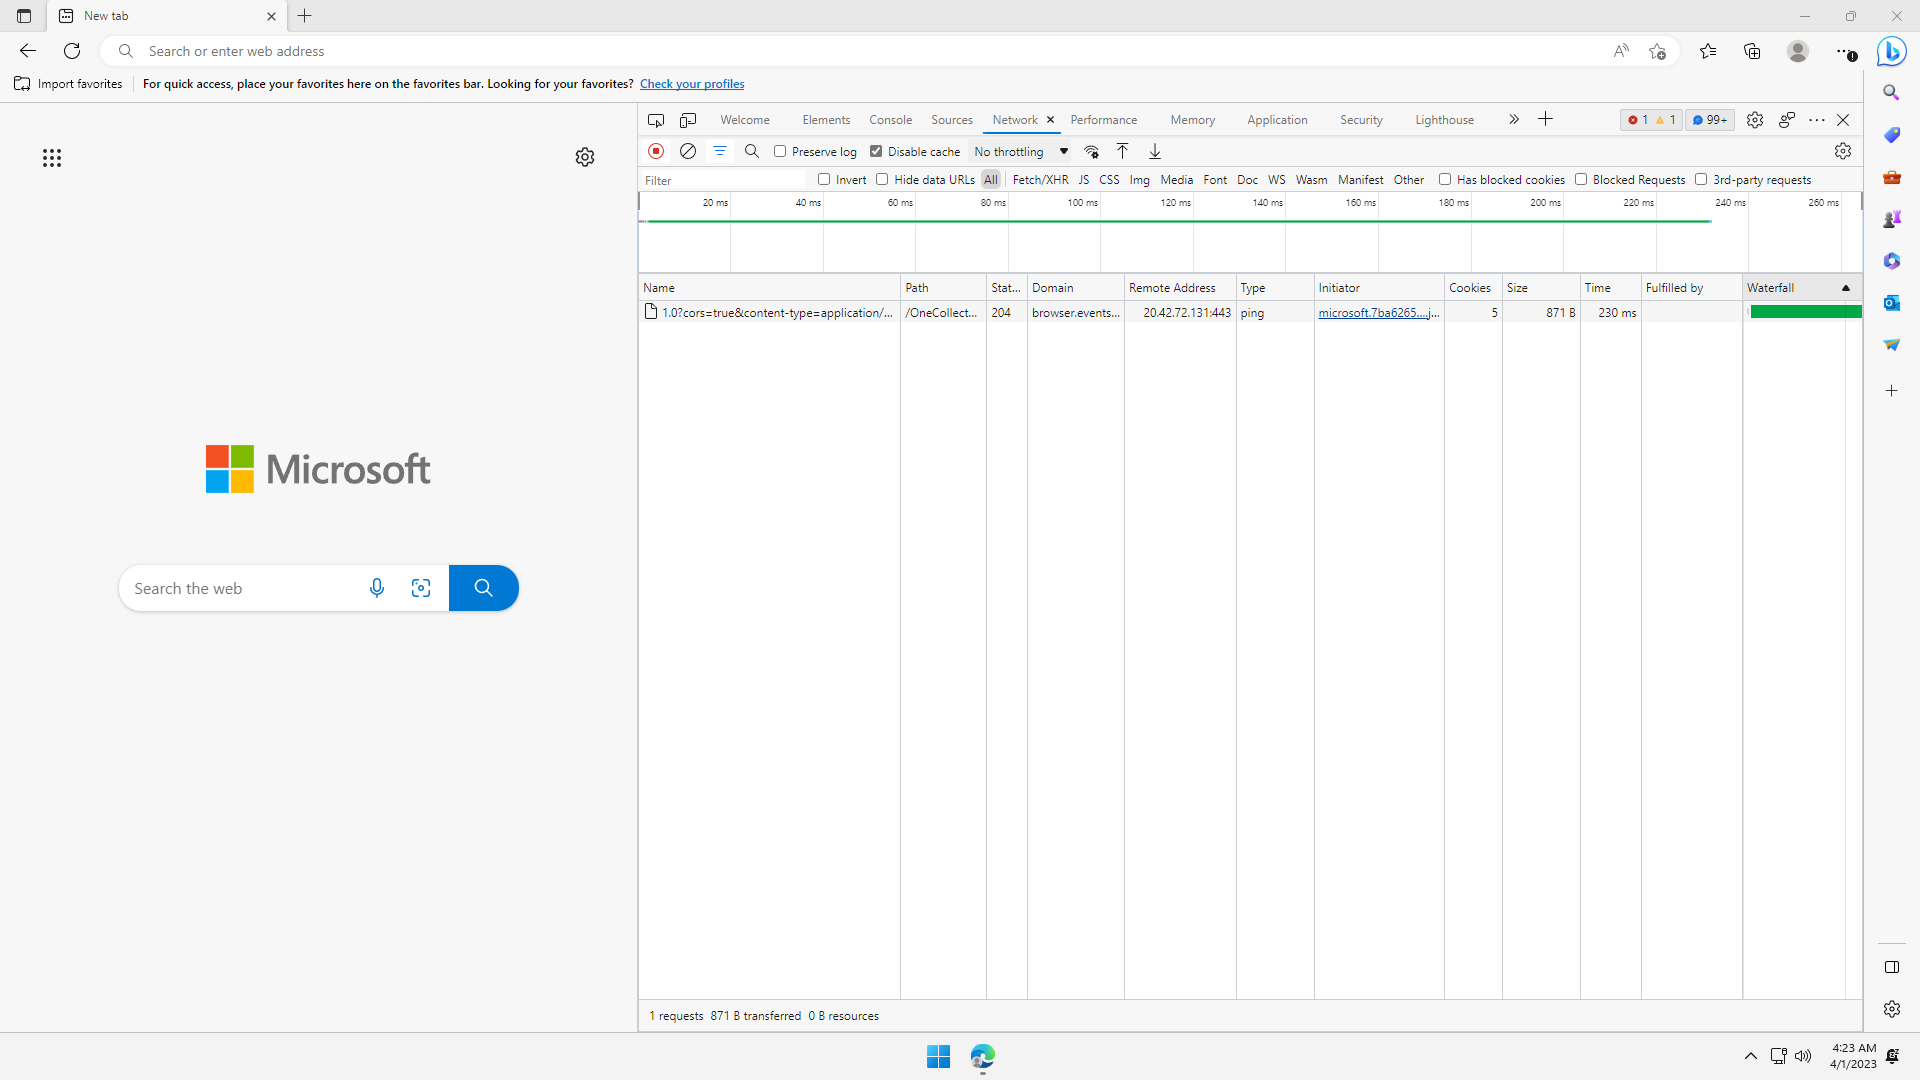
Under Network tab, we already see a web request to https://browser.events.data.msn.com/OneCollector. That is basically Microsoft analytics:
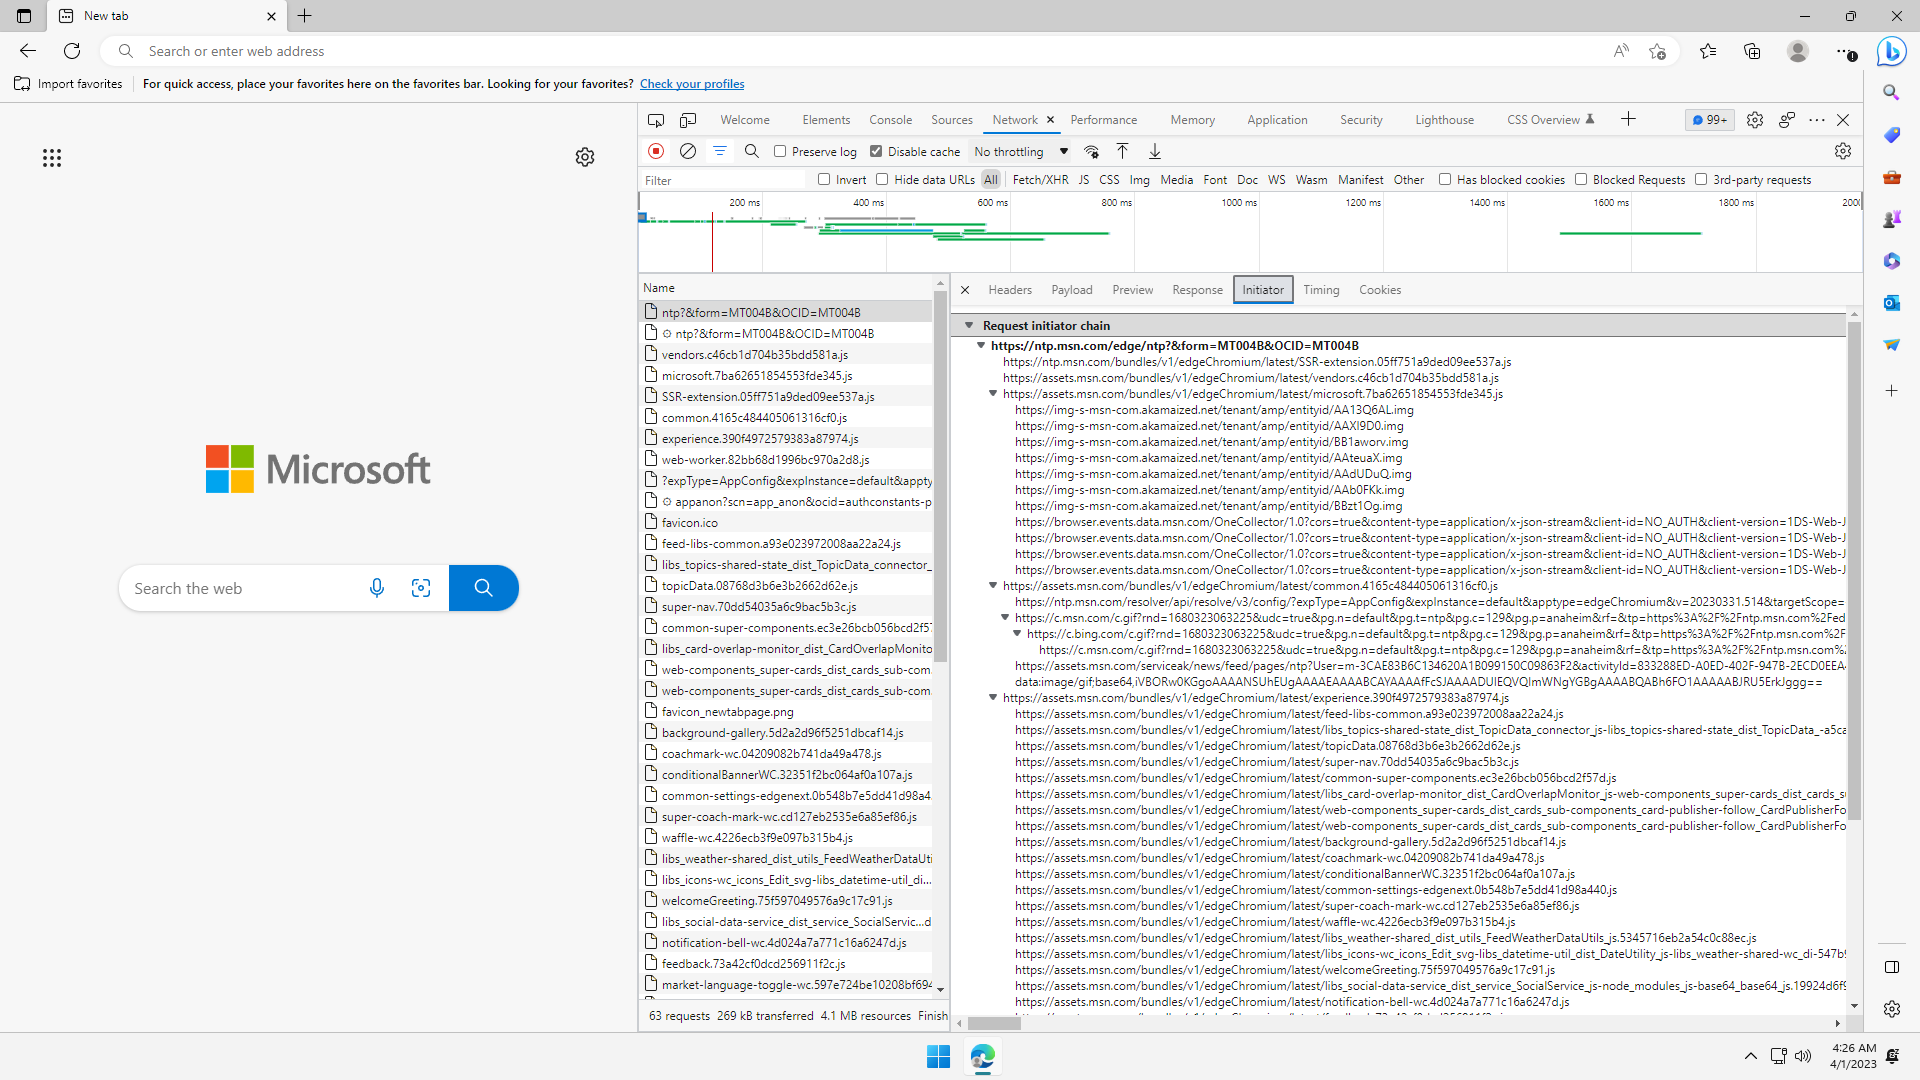
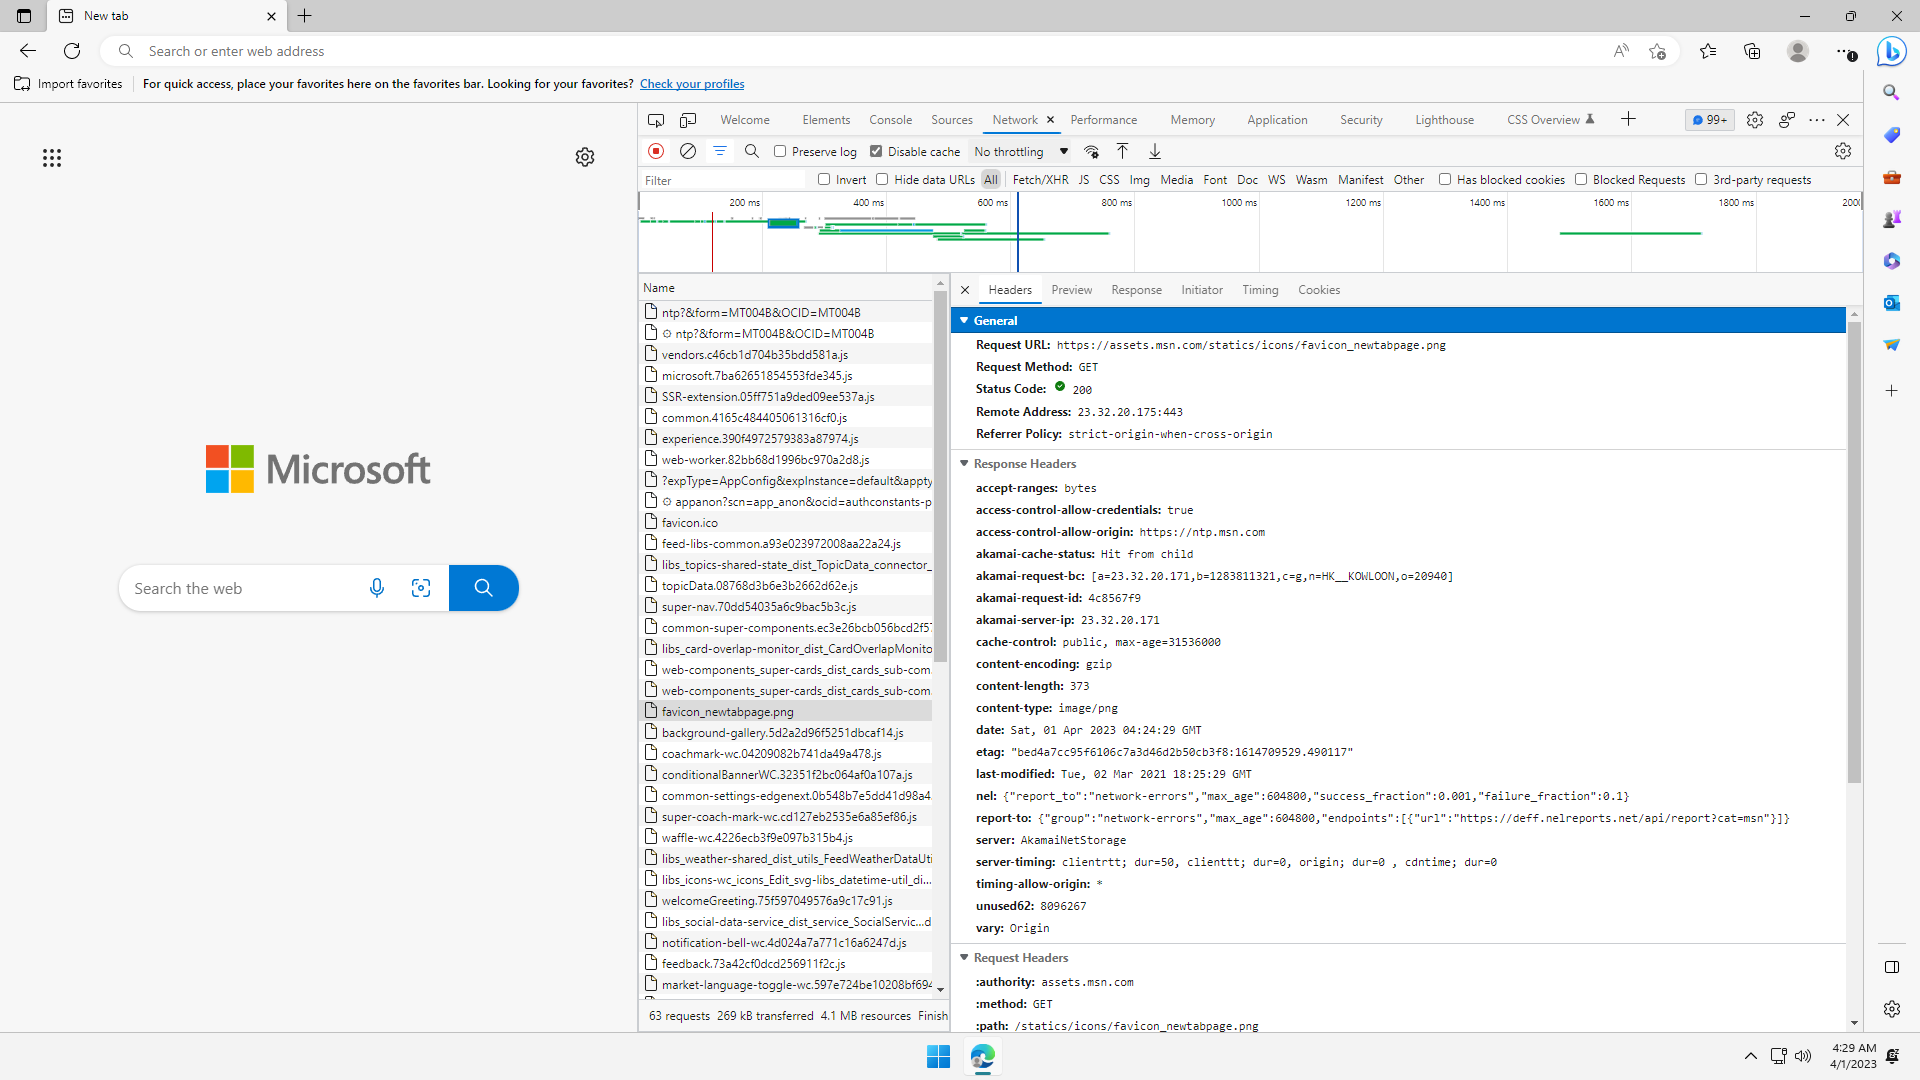
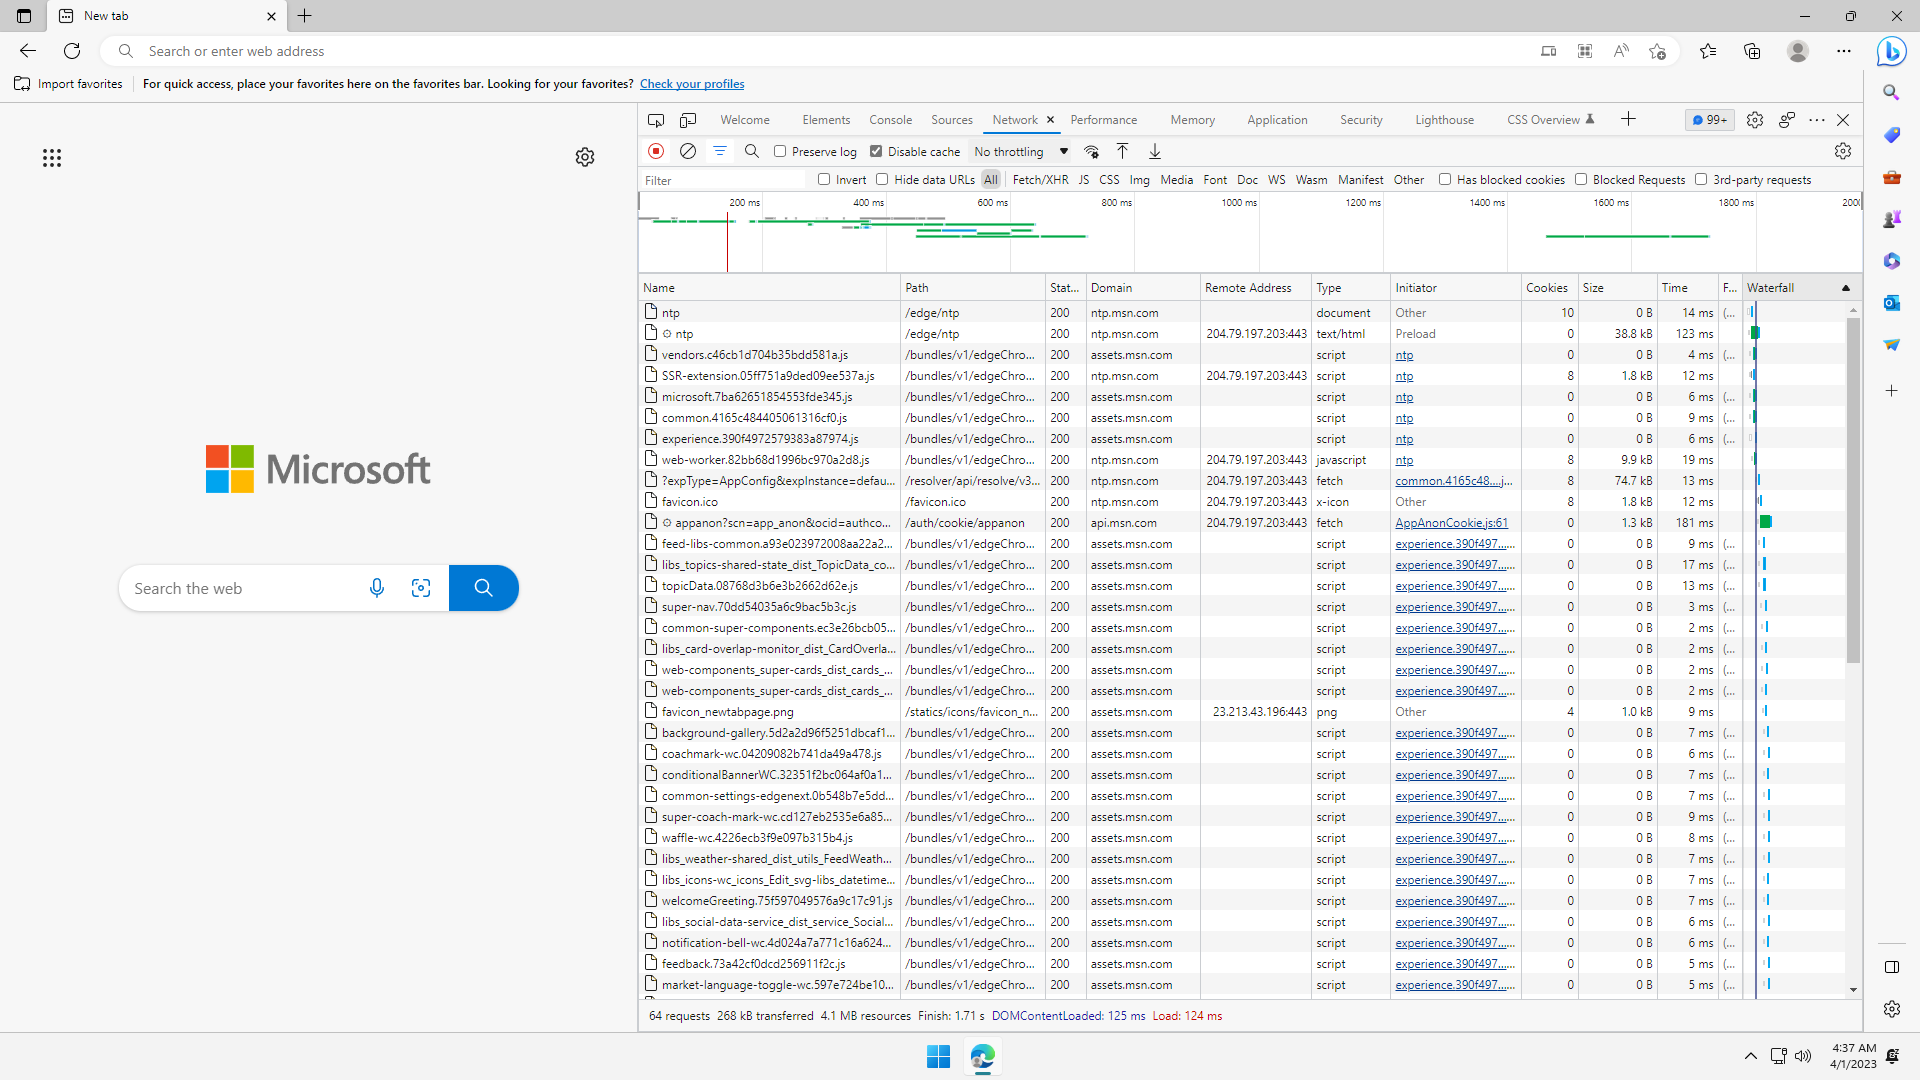
Check Disable Cache checkbox, and refresh the page to see all the web requests made:


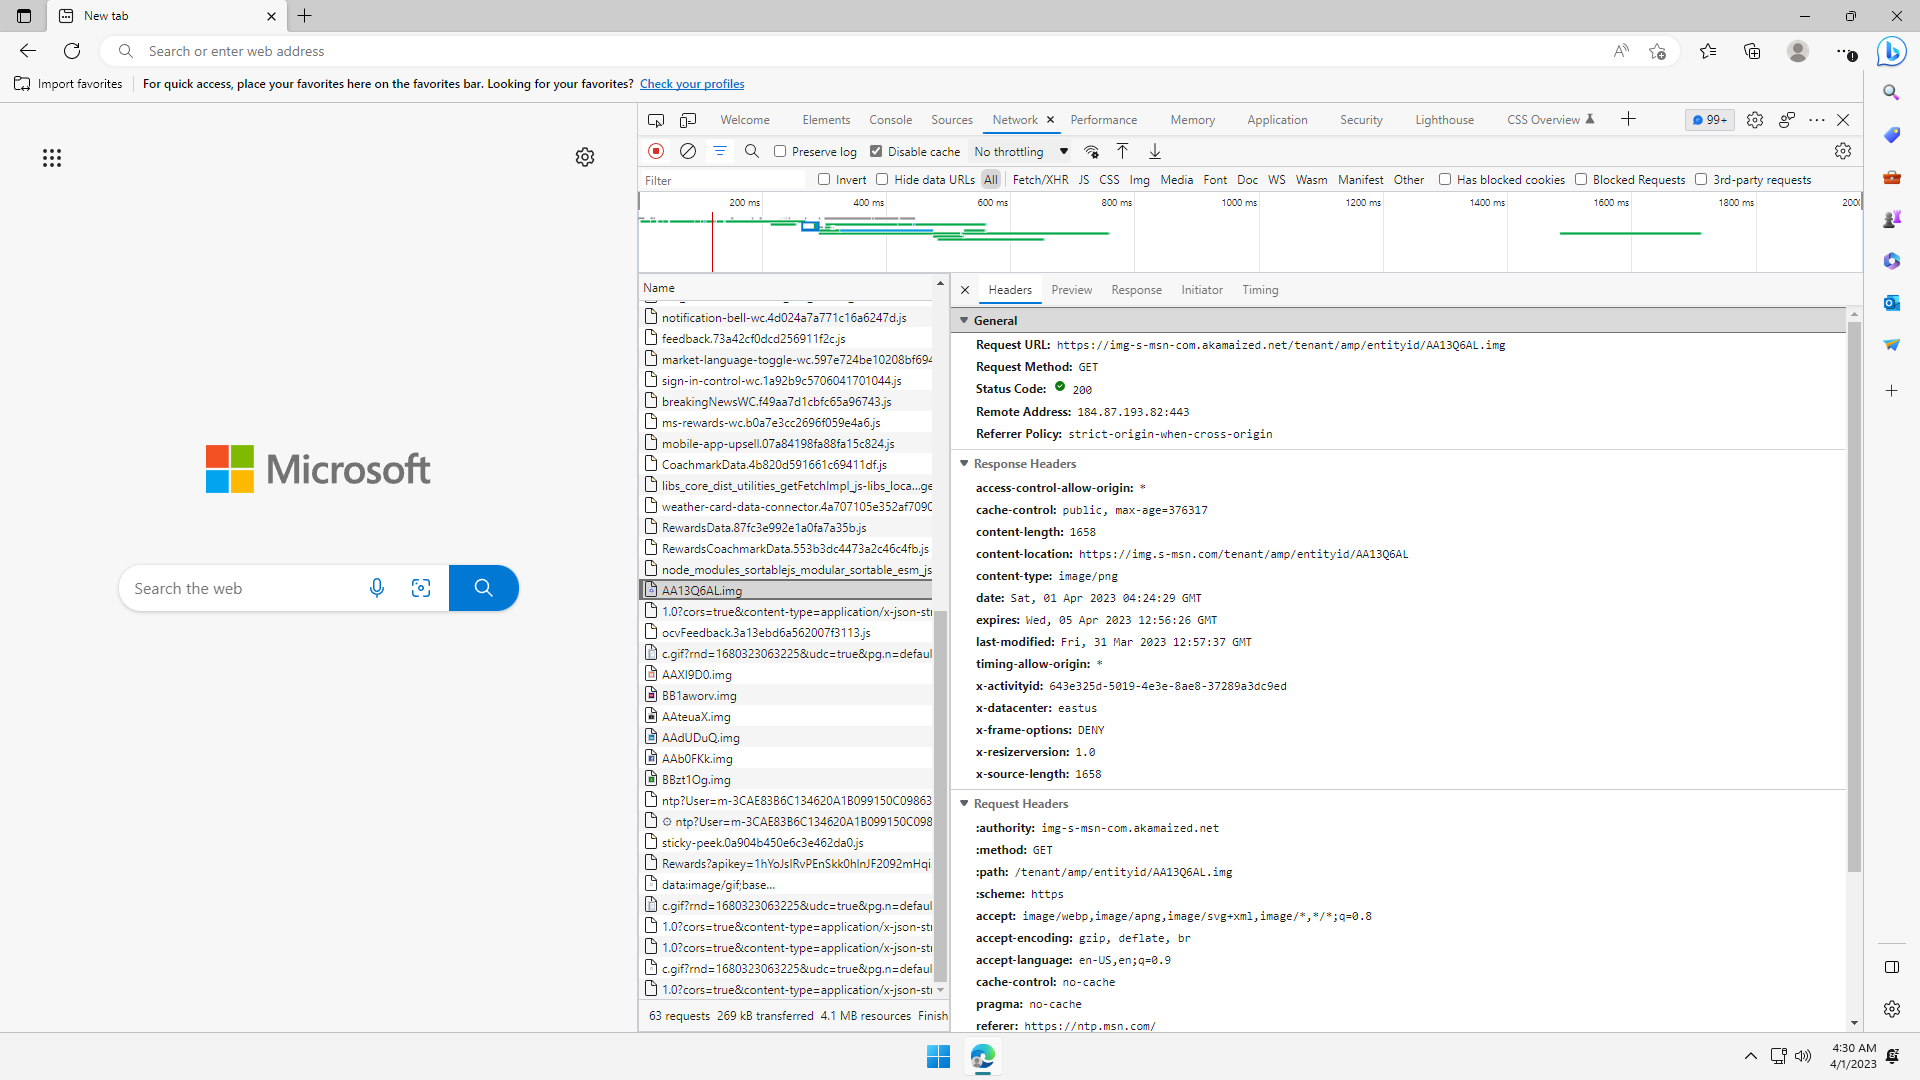
Looking through, you see that the home page is actually https://ntp.msn.com/edge/ntp. It looks like a local (i.e. non-remote) page, but it is actually a website, which makes so many web requests:

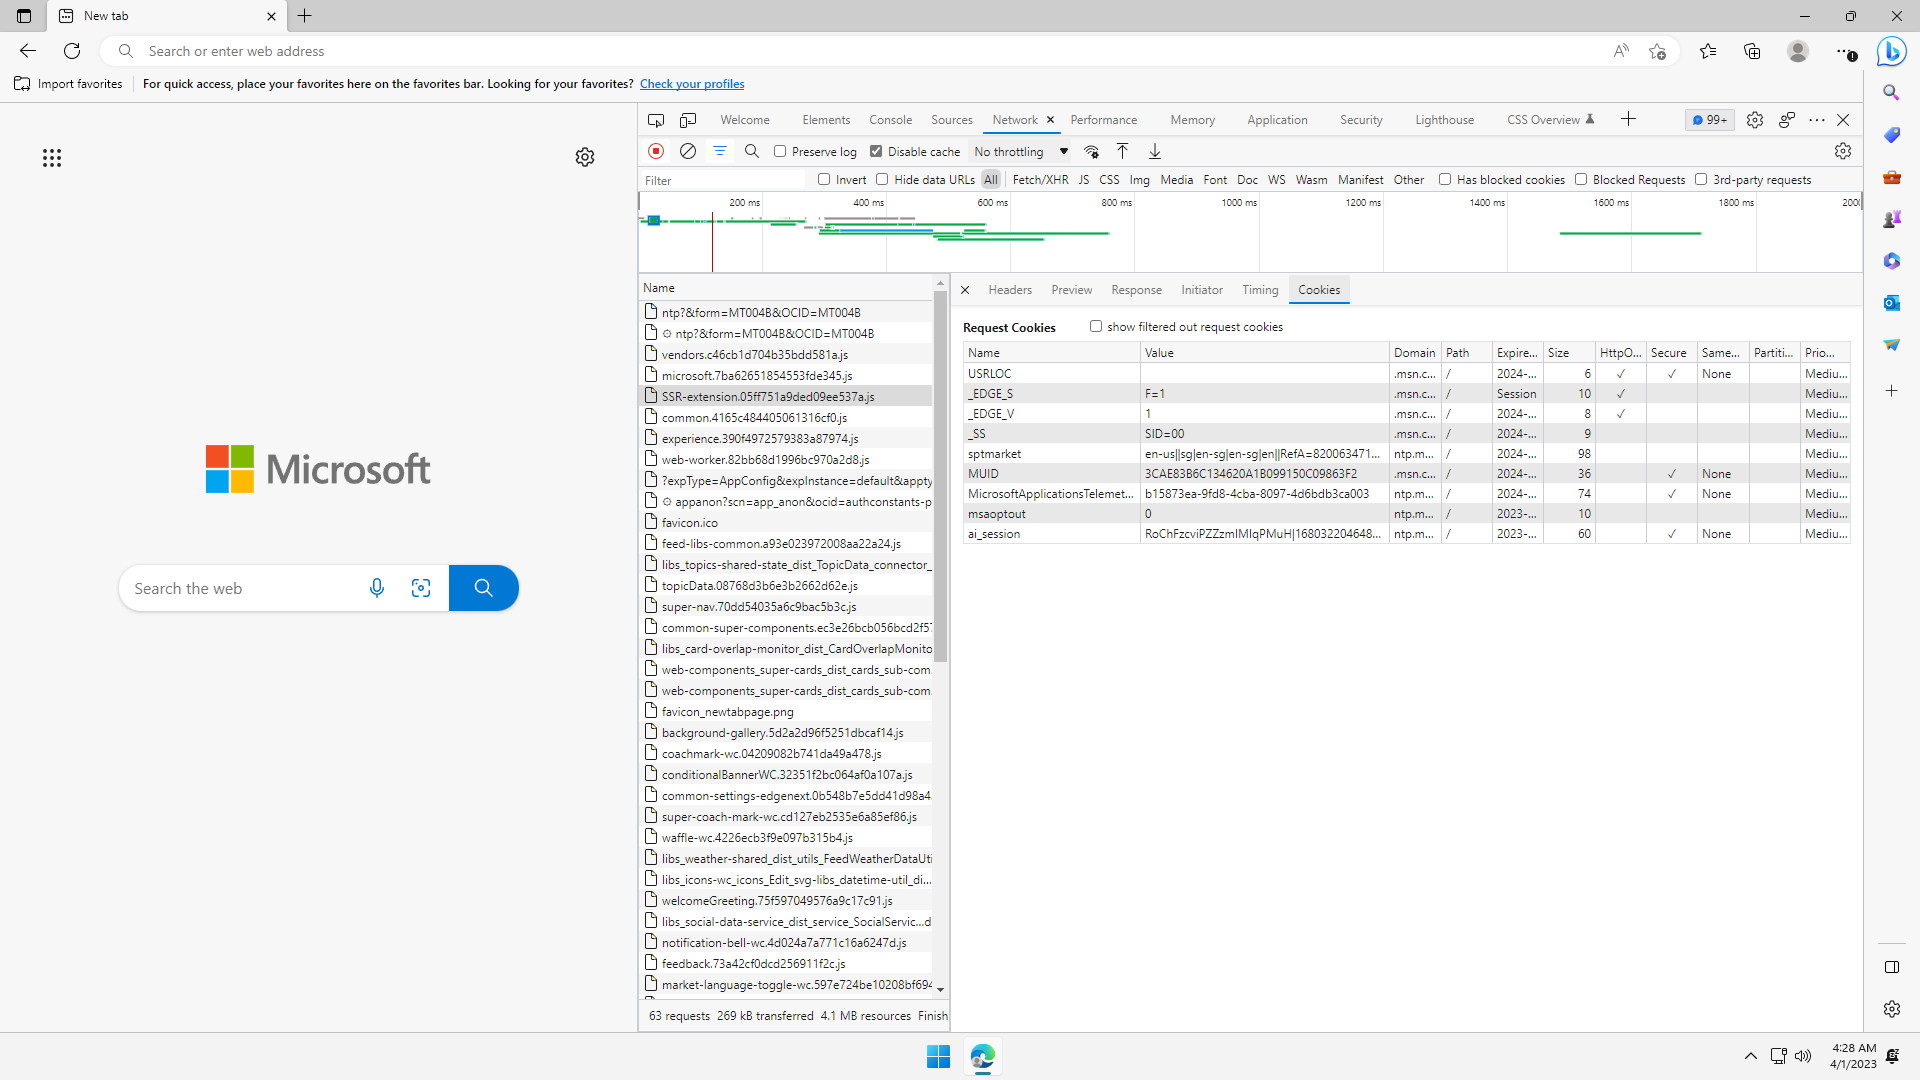
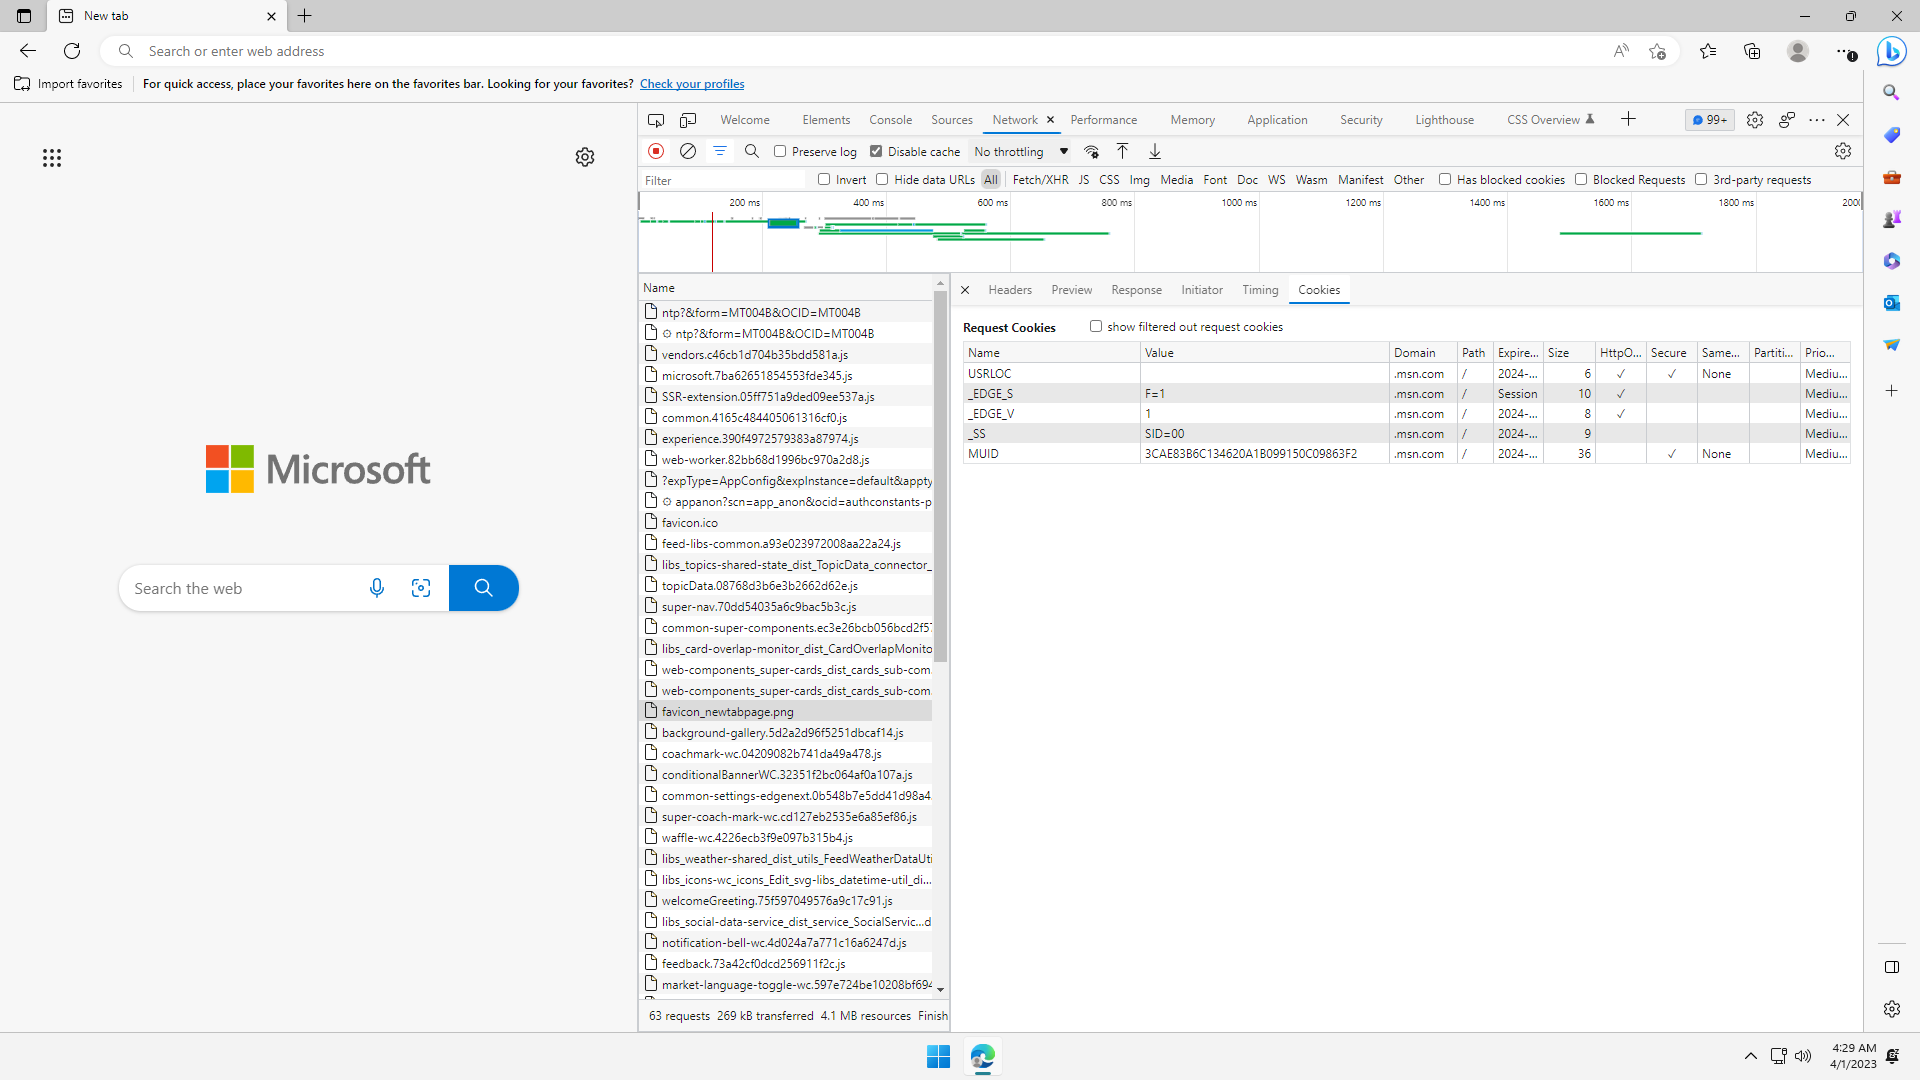
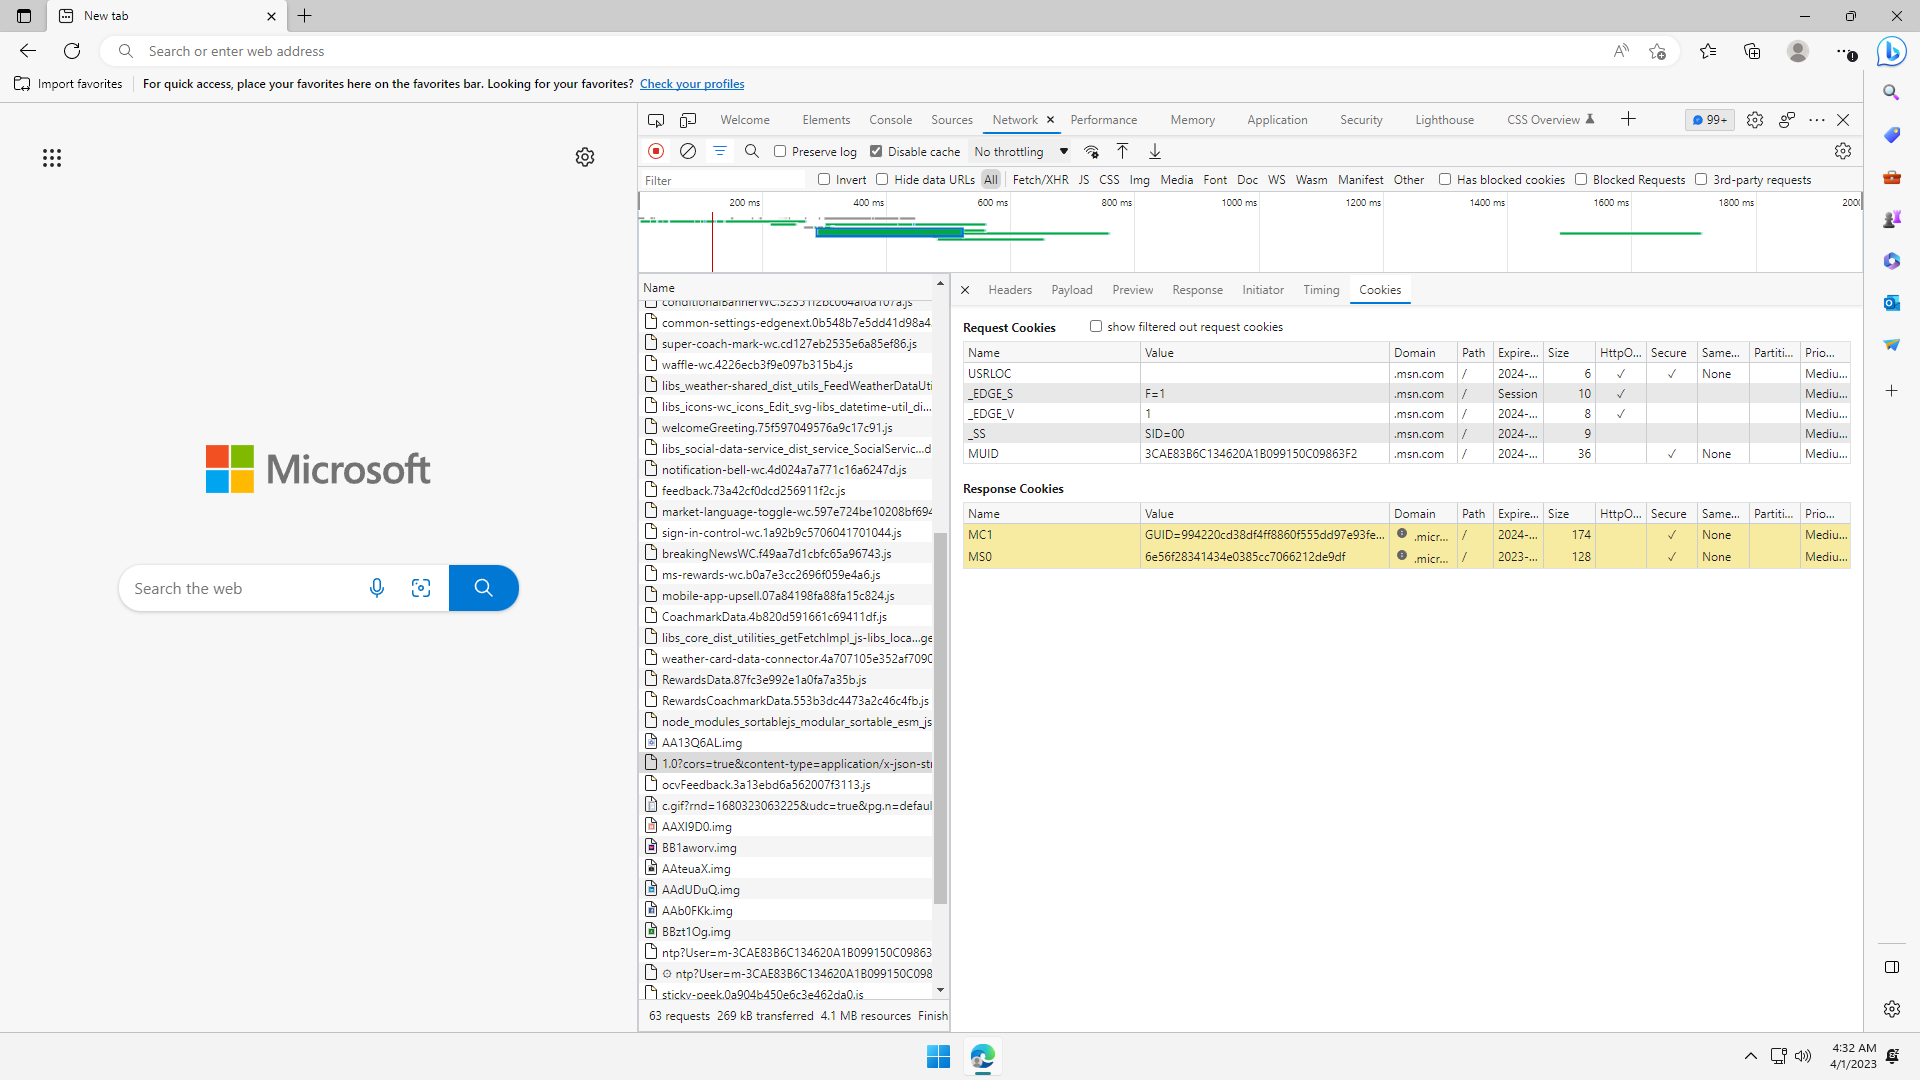
Click through some requests, you can inspect the third-party cookies that are set:

Let's try to visit https://ntp.msn.com/edge/ntp, to see if we are correct:
Indeed we are. Microsoft Edge erases the Address Bar, because the URL https://ntp.msn.com/edge/ntp matches the home page:
Sidebar Apps
The Sidebar and its Apps runs in a separate environment, and its requests are not caught in DevTools.
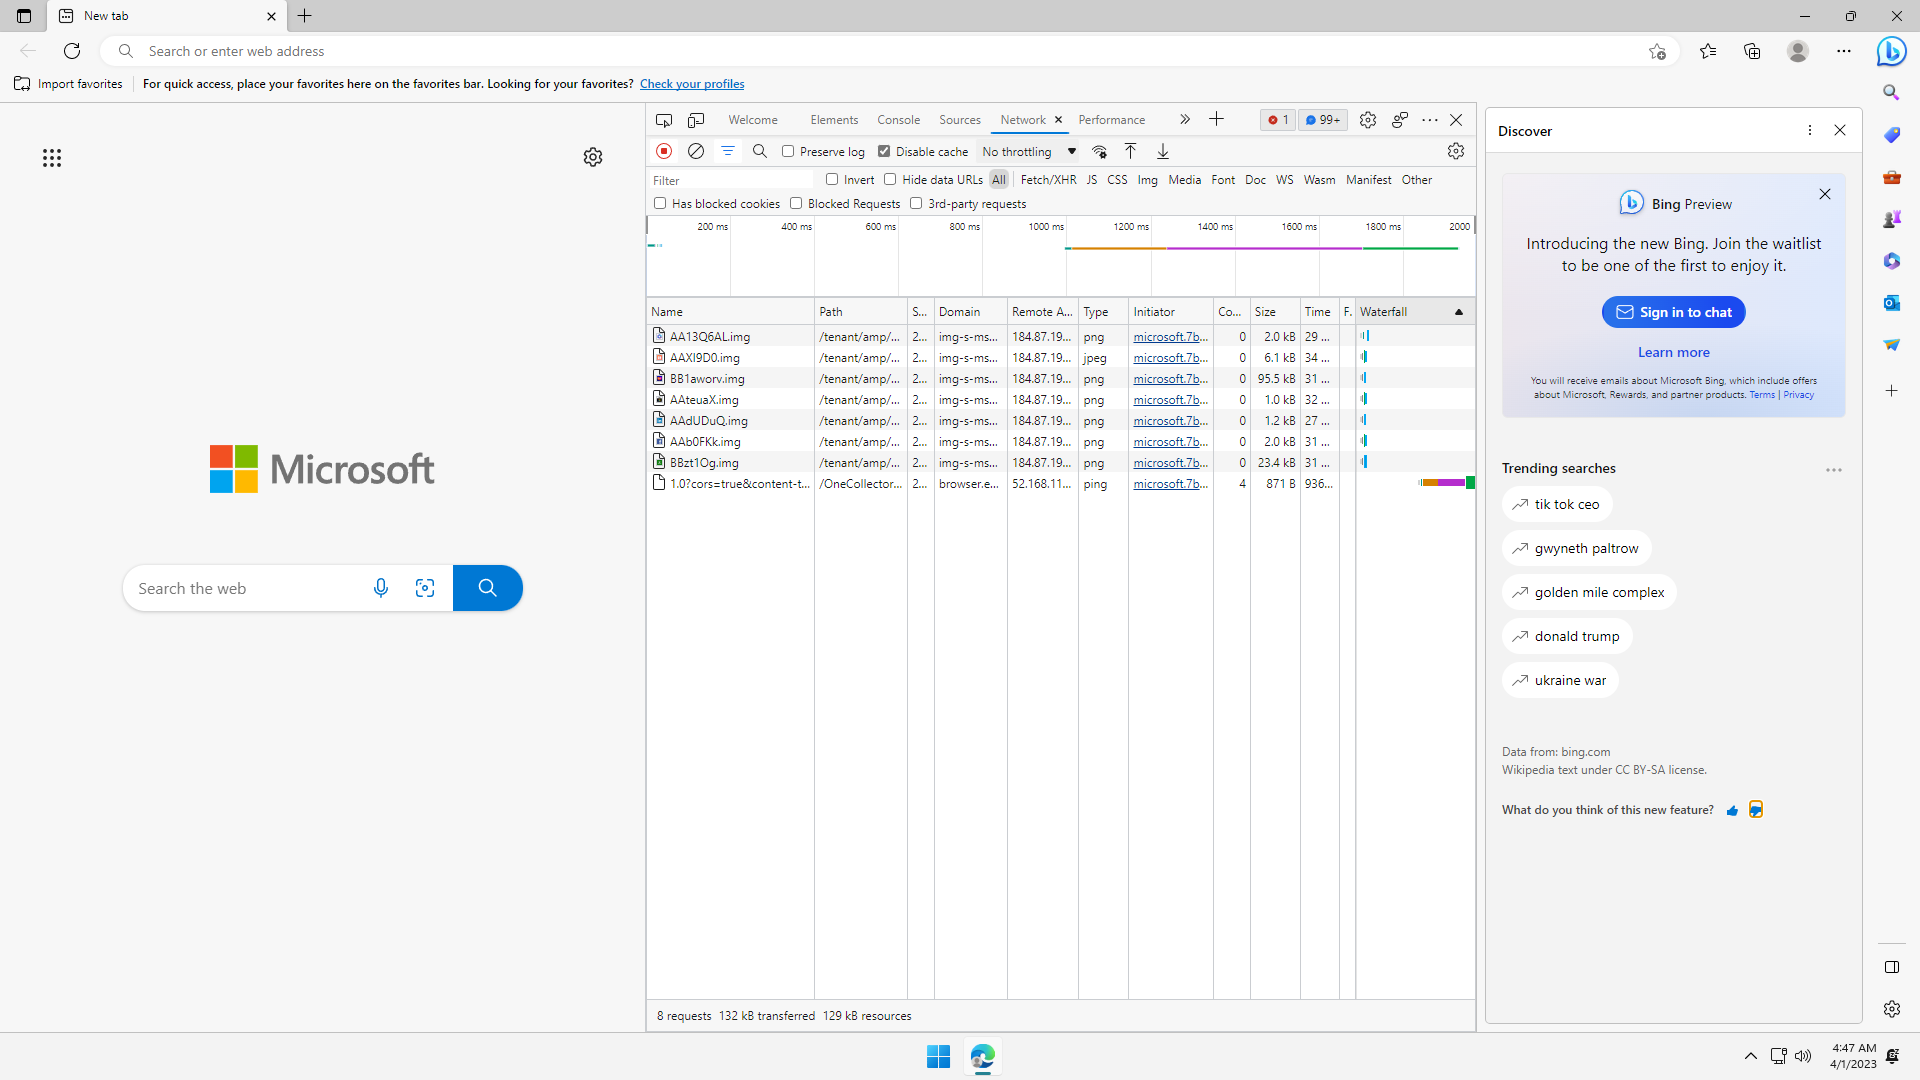
To demonstrate, let's open the DevTools while we click through the Sidebar apps, starting from the b logo for Bing.
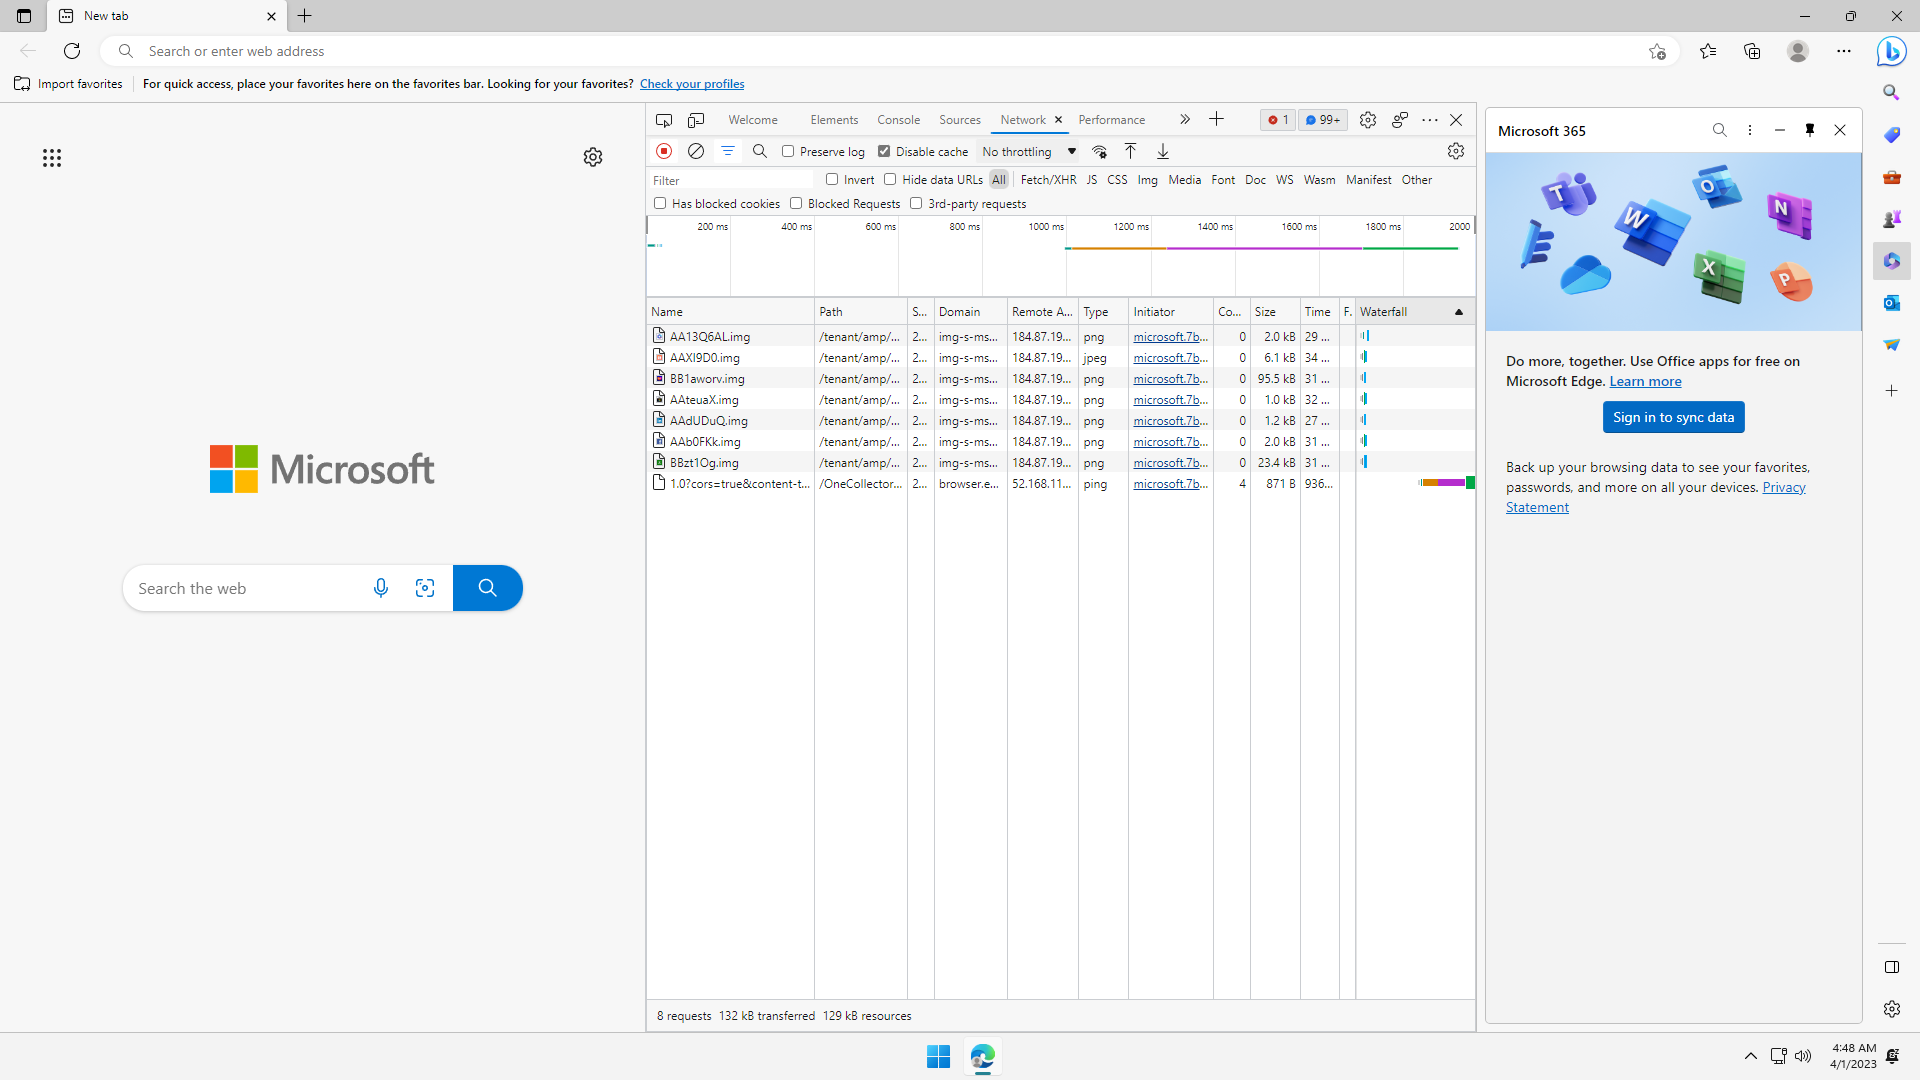
See that there are immediately several initial requests to get the icons of the apps from https://img-s-ms... which is Microsoft. Meaning, every interaction with the Sidebar is making web requests that we may not be aware of, and cannot easily inspect:
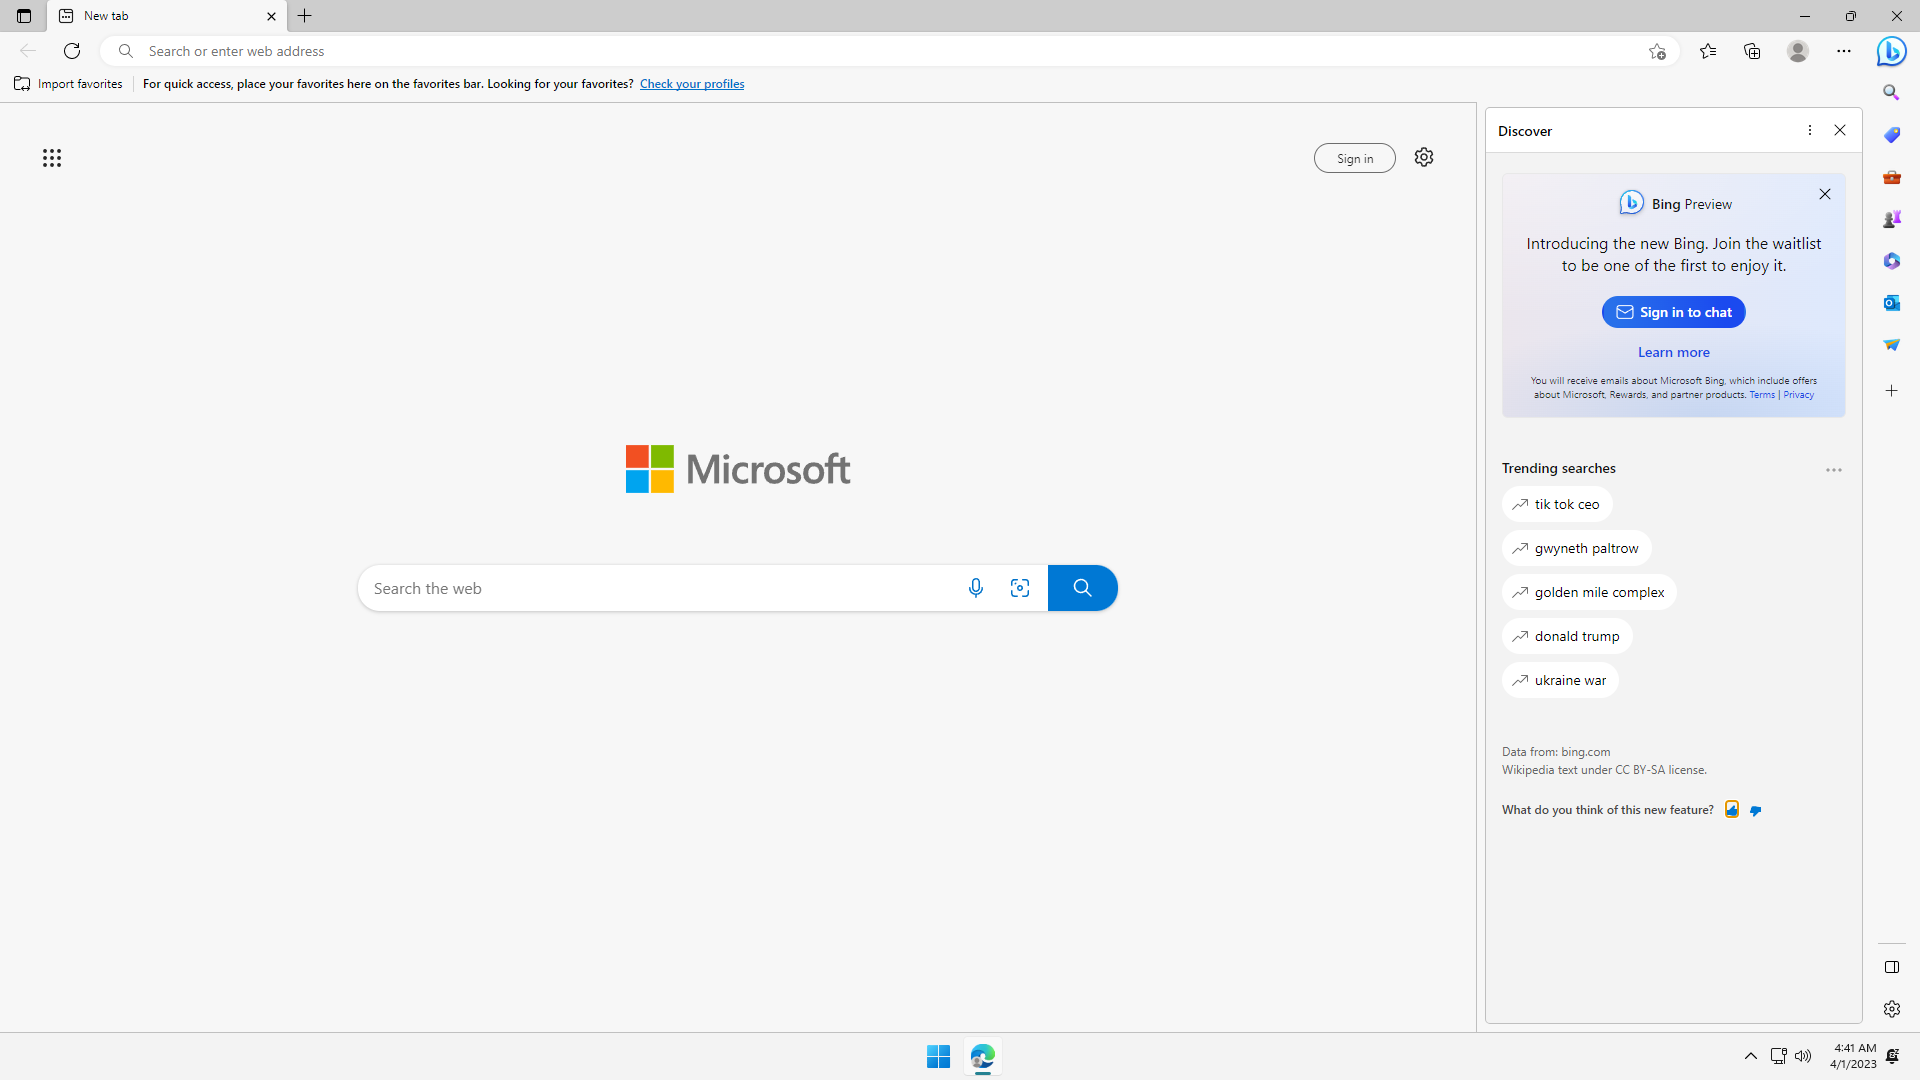
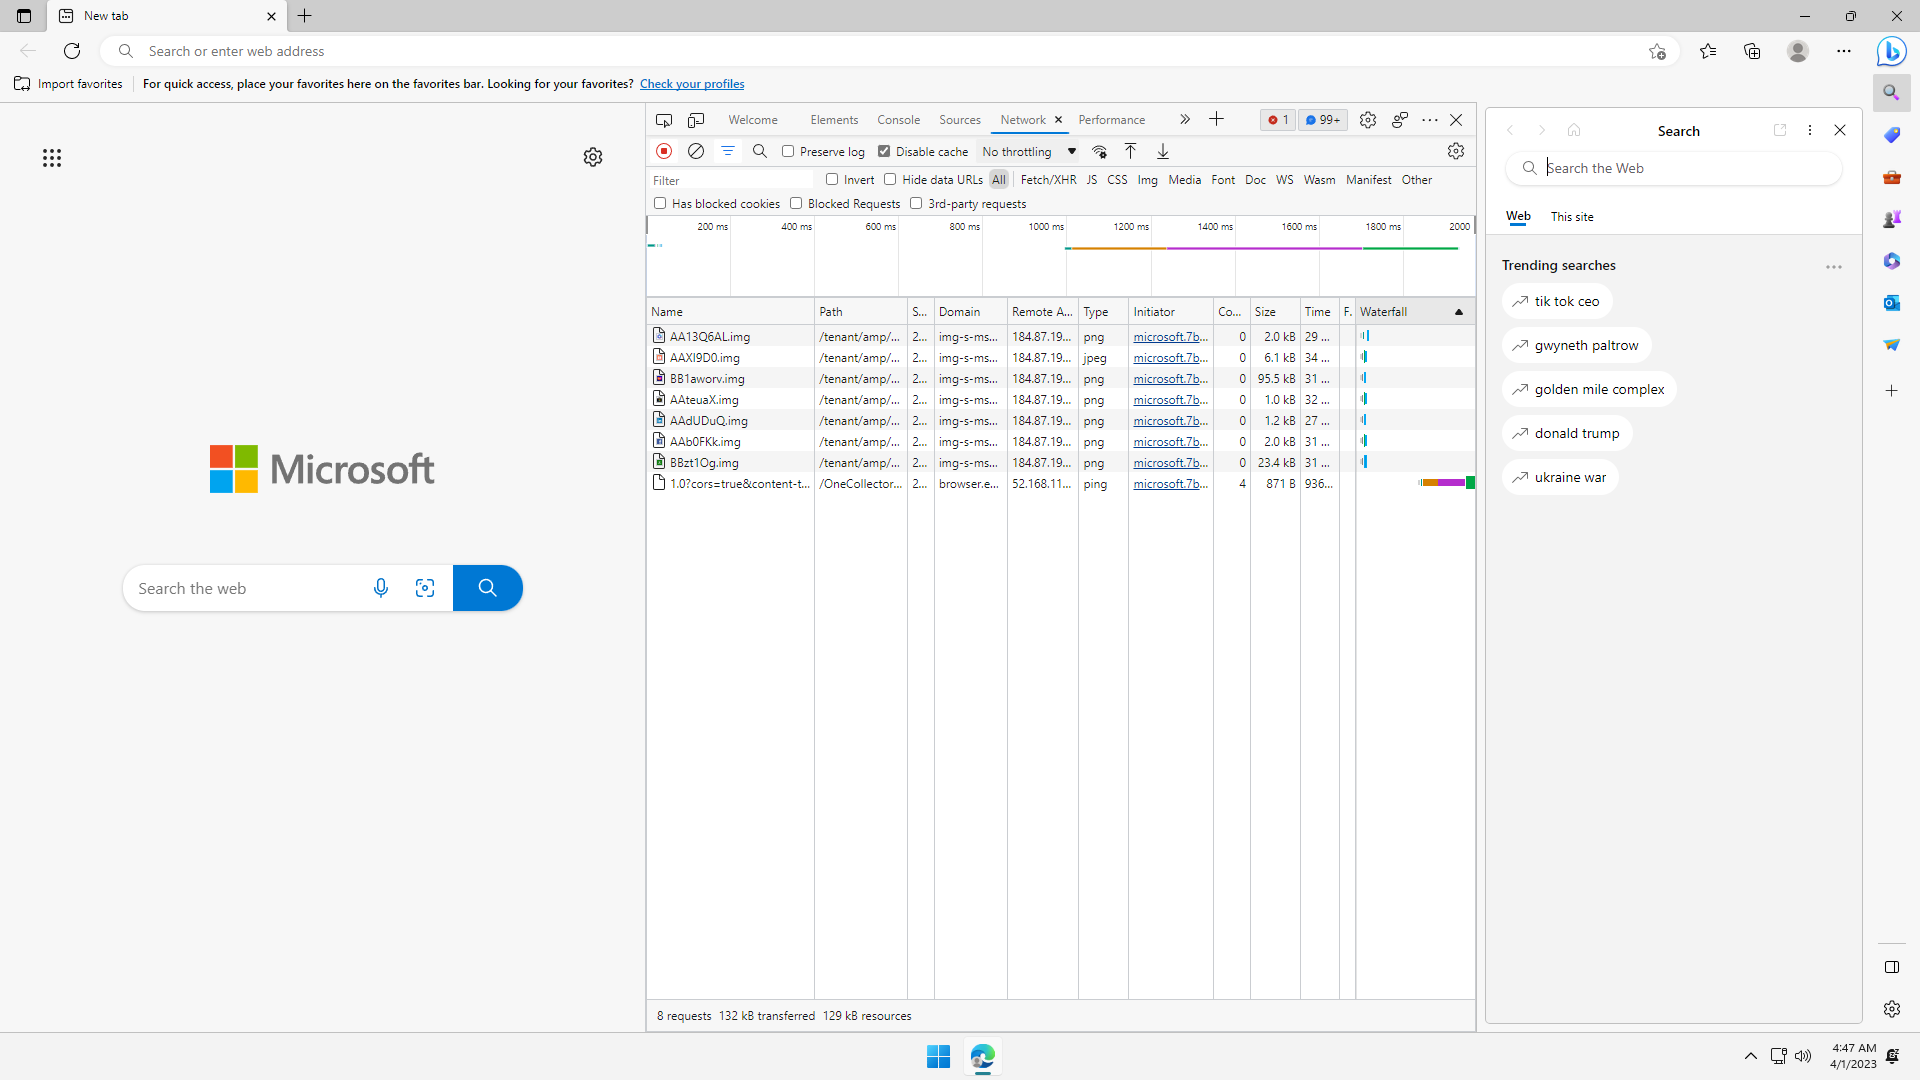
Like Bing app, Search app shows Trending searches, which are really just distracting advertisements:
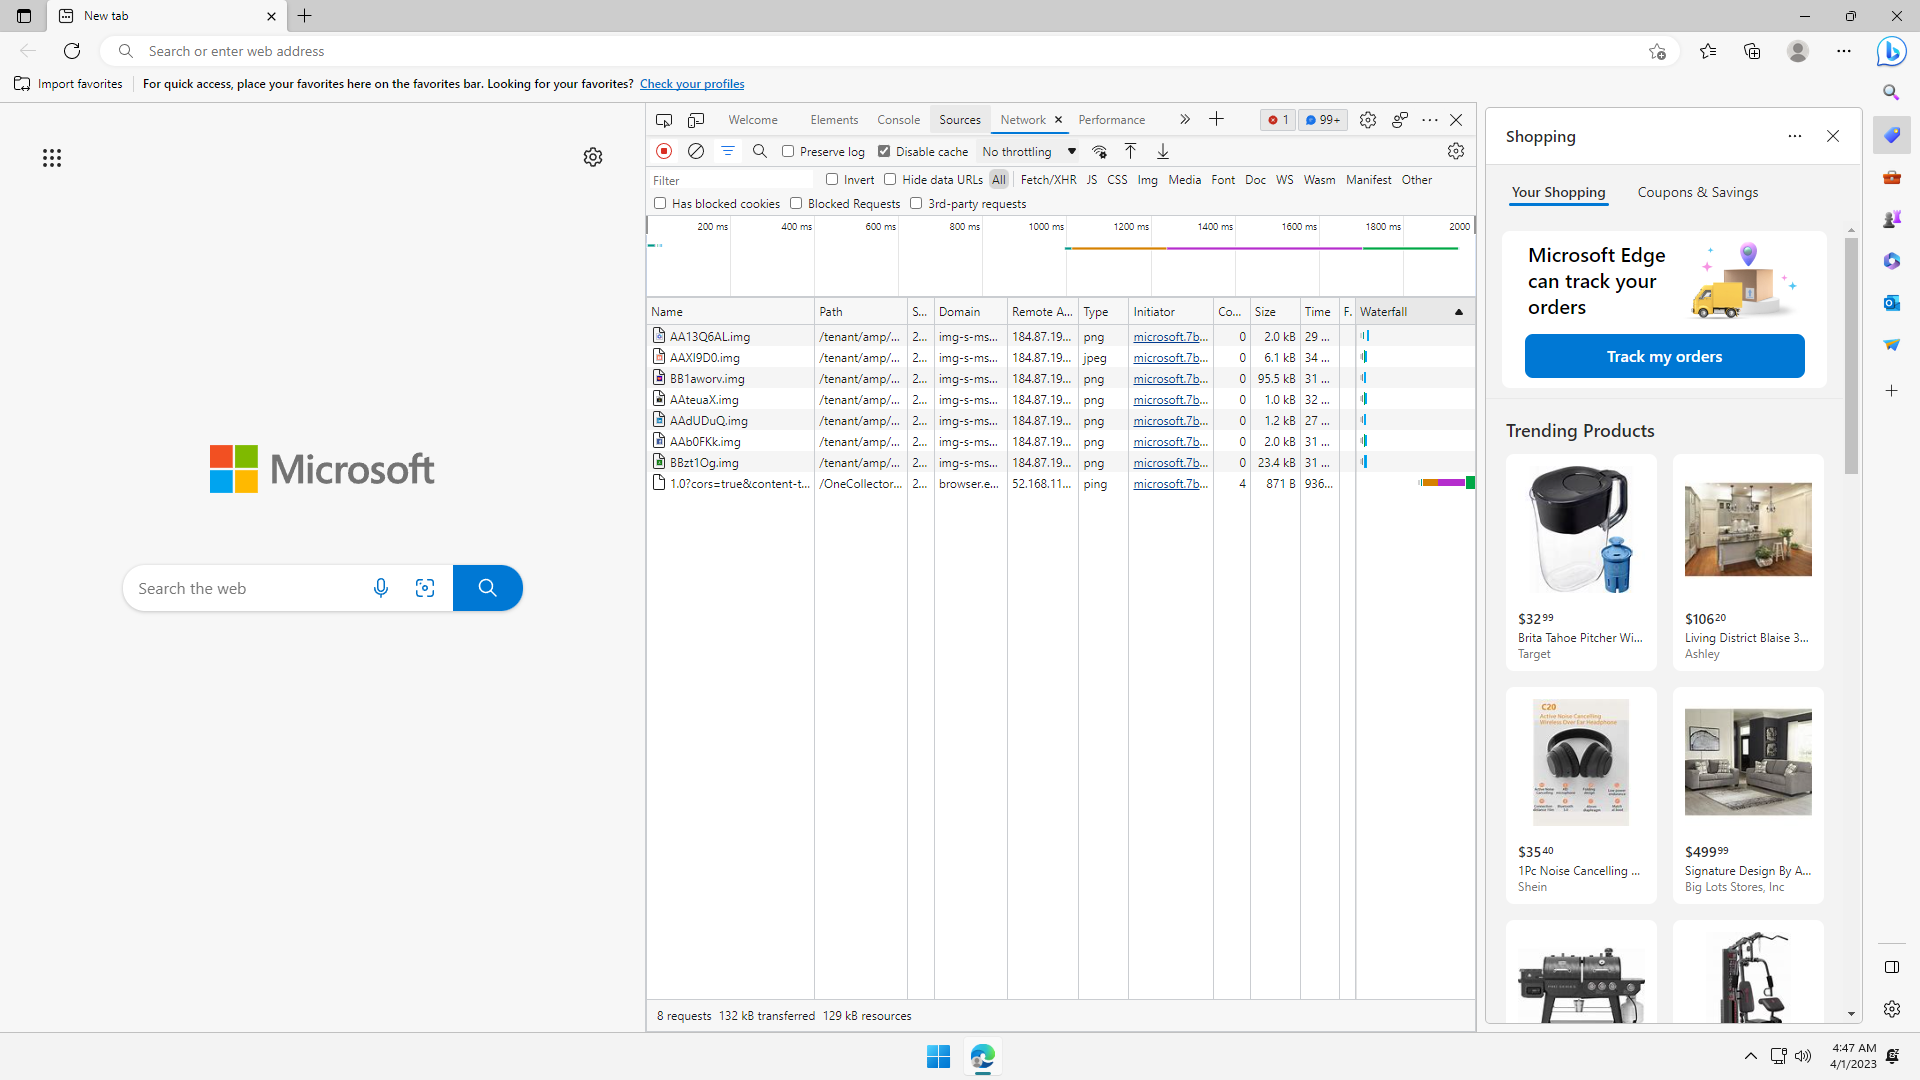
Shopping app. No web requests, although a lot of web content loaded:
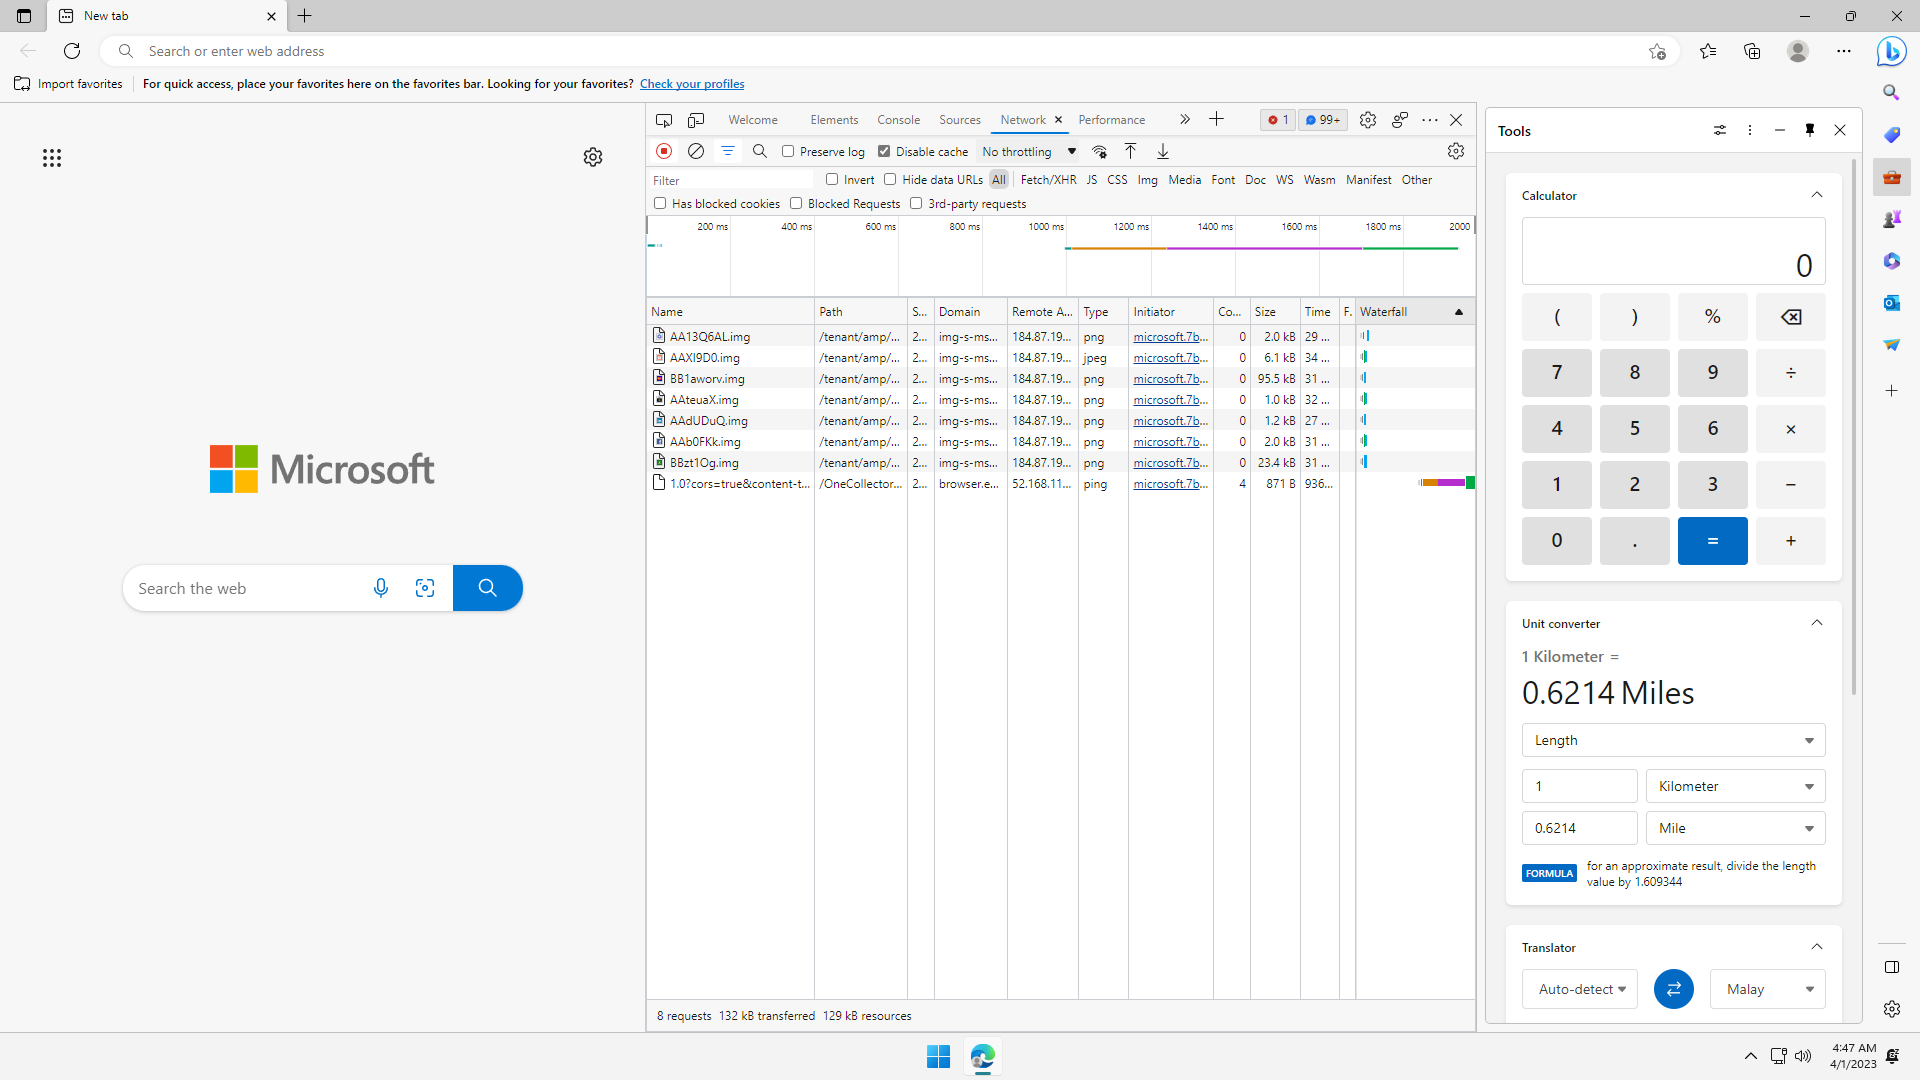
Tools app. No web requests:
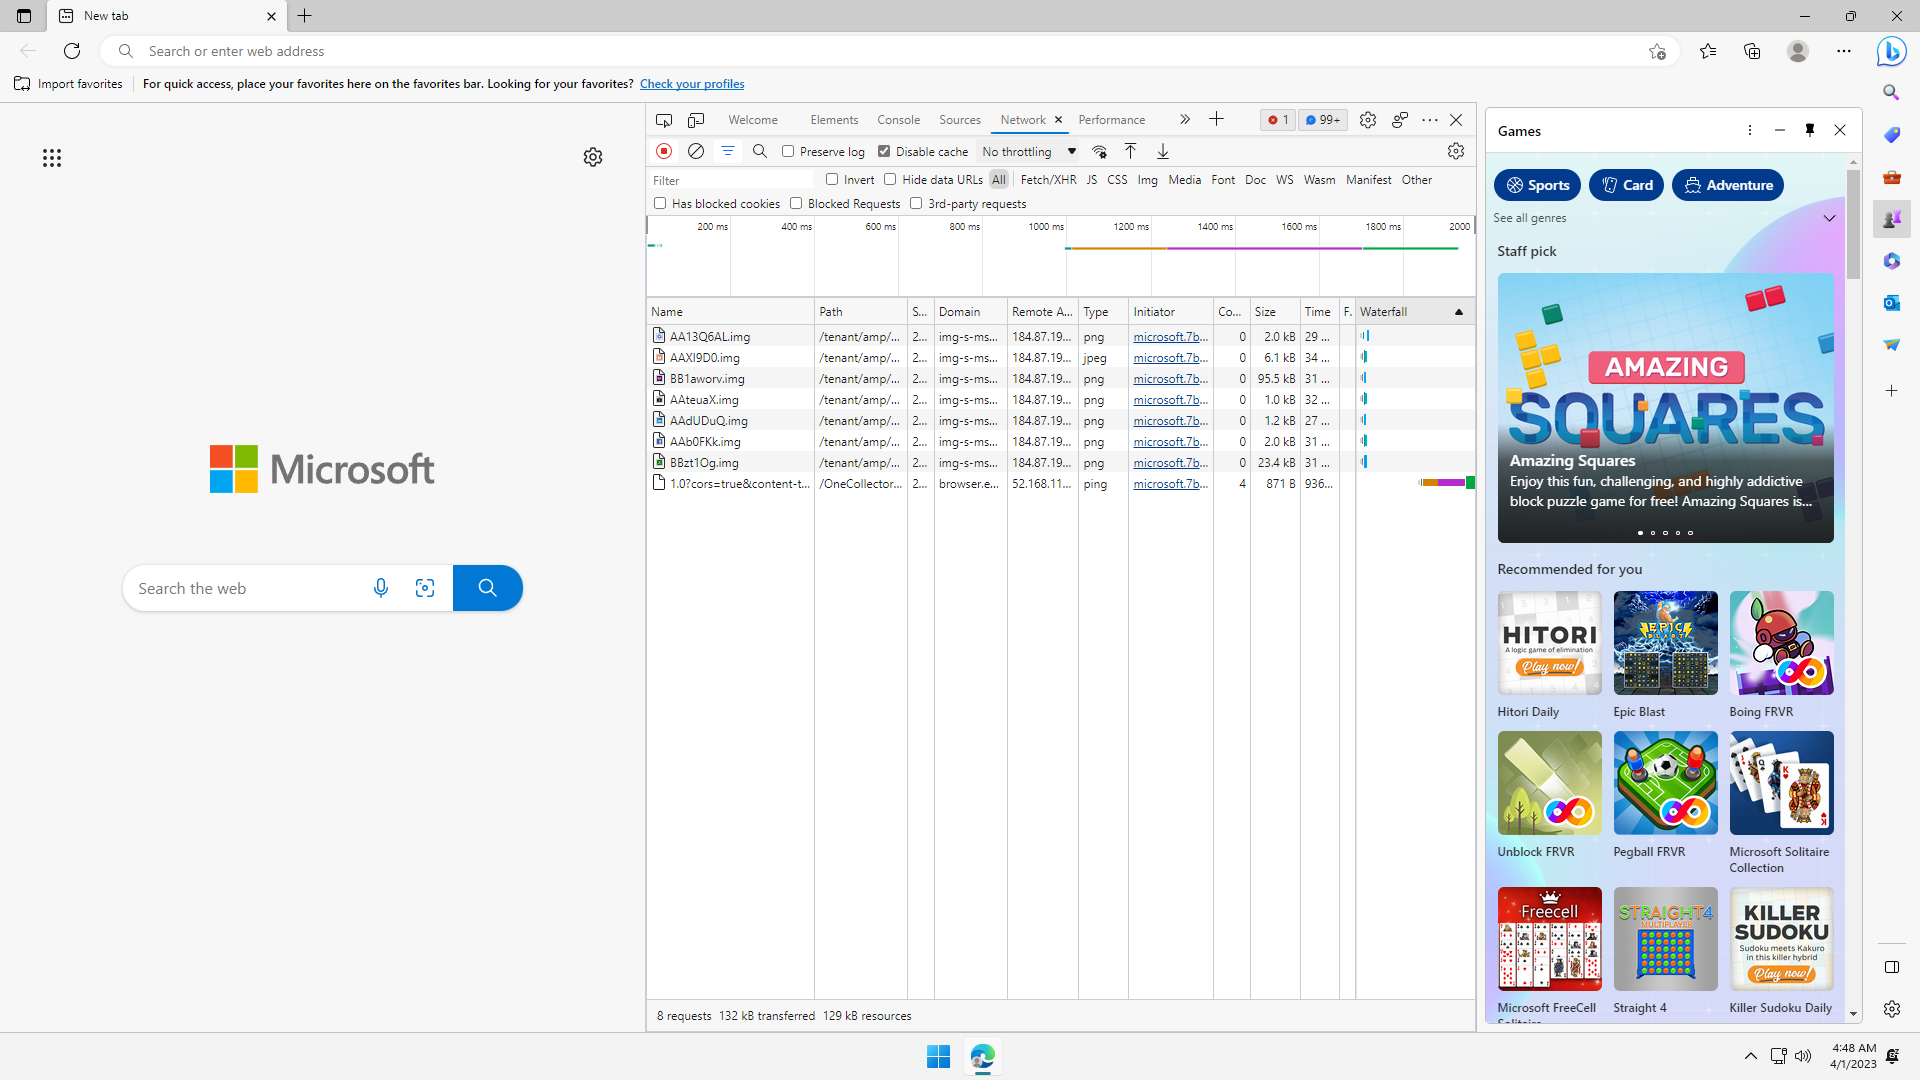
Games app. No web requests, although a lot of content loaded:
Microsoft 365 app. No web requests:
Outlook app. No web requests, although it did hit outlook.com sign-in page:
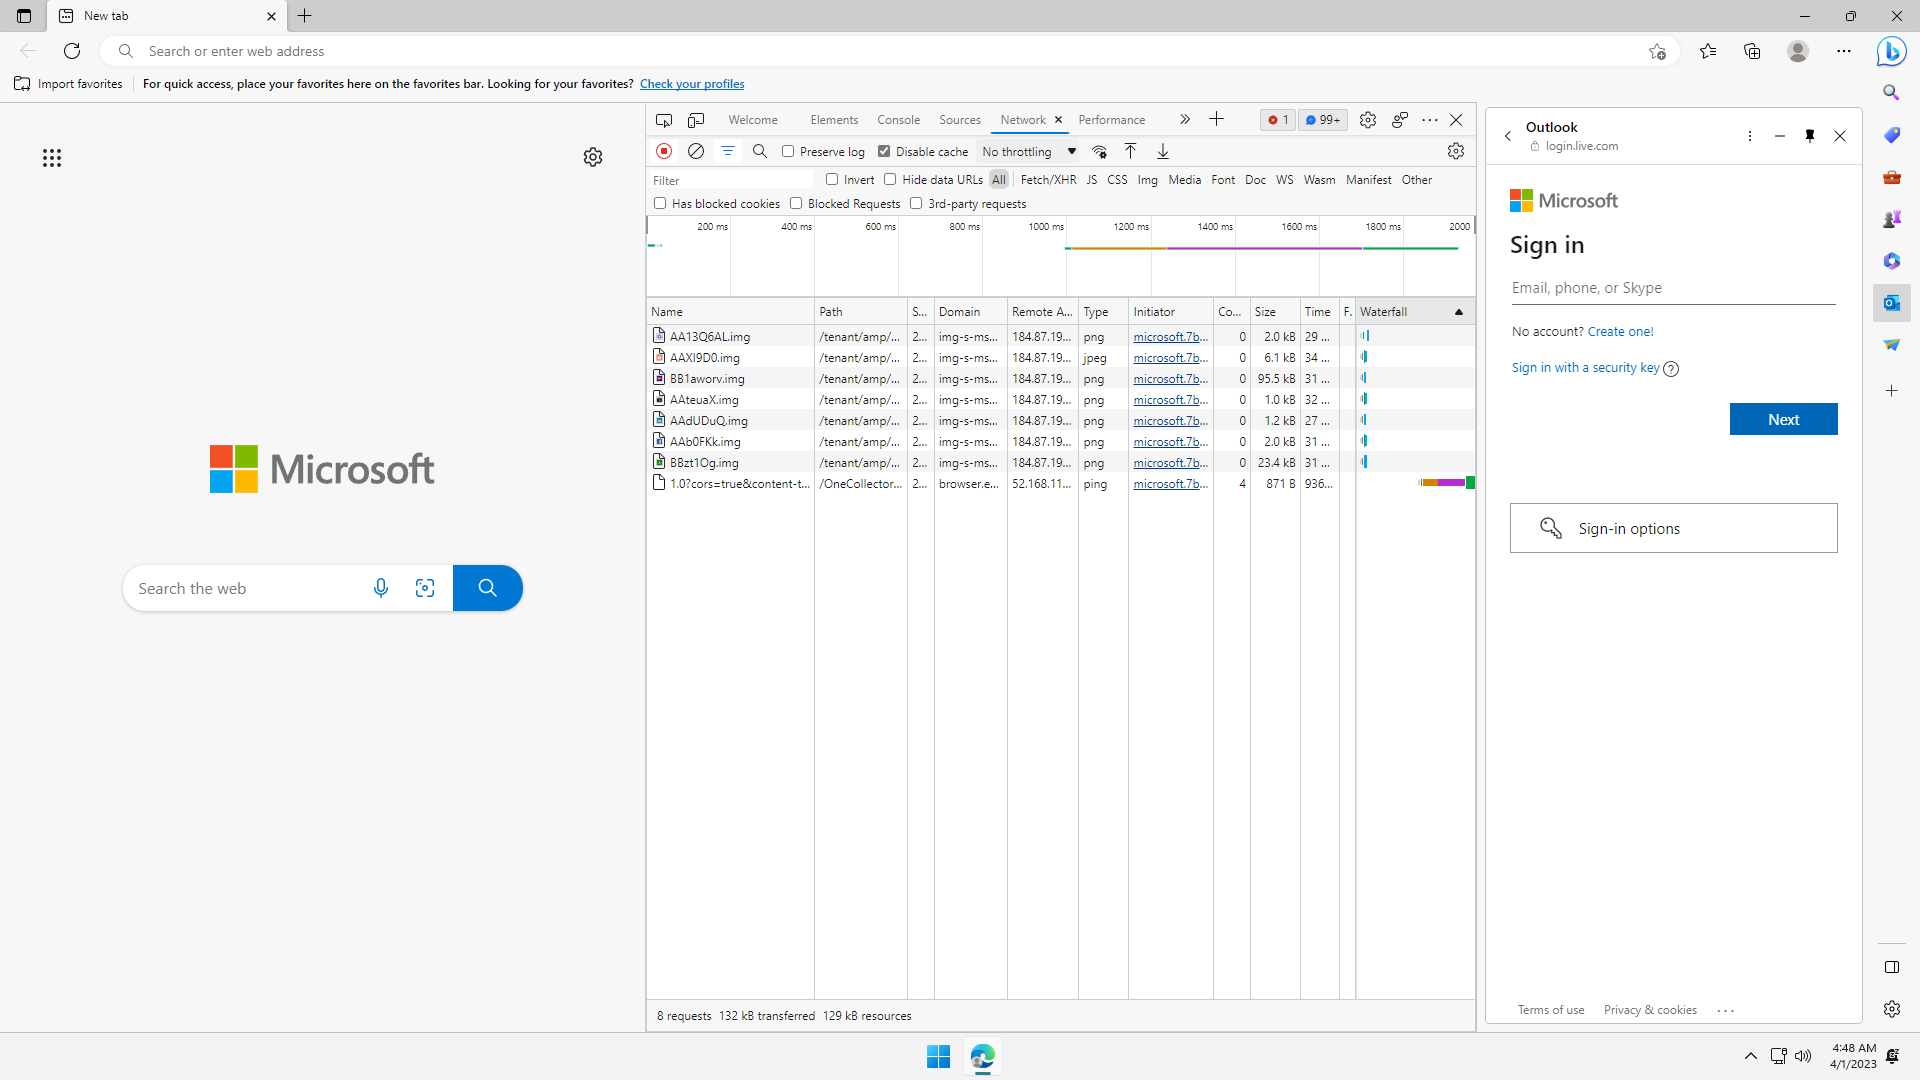
Drop app. No web requests, although it did hit the sign-in page:

Add App page. No web requests.
So the sidebar is really a webapp frame that functions in its own environment. It is possible they might be able to bypass certain browser settings, and if so there are security implications. It's better to not use them, and use browser extensions instead.
As seen above, the Microsoft Edge browser has already done quite a lot of unnecessary background web requests that are not capturable by DevTools. It's not properly optimally configured out of the box. These default settings unnecessarily give away user usage data.
Steps
Here are the steps to lock down Microsoft Edge's settings. Follow closely. Once you've learnt them, you'd be able to do this very quickly to put Microsoft Edge in its place.
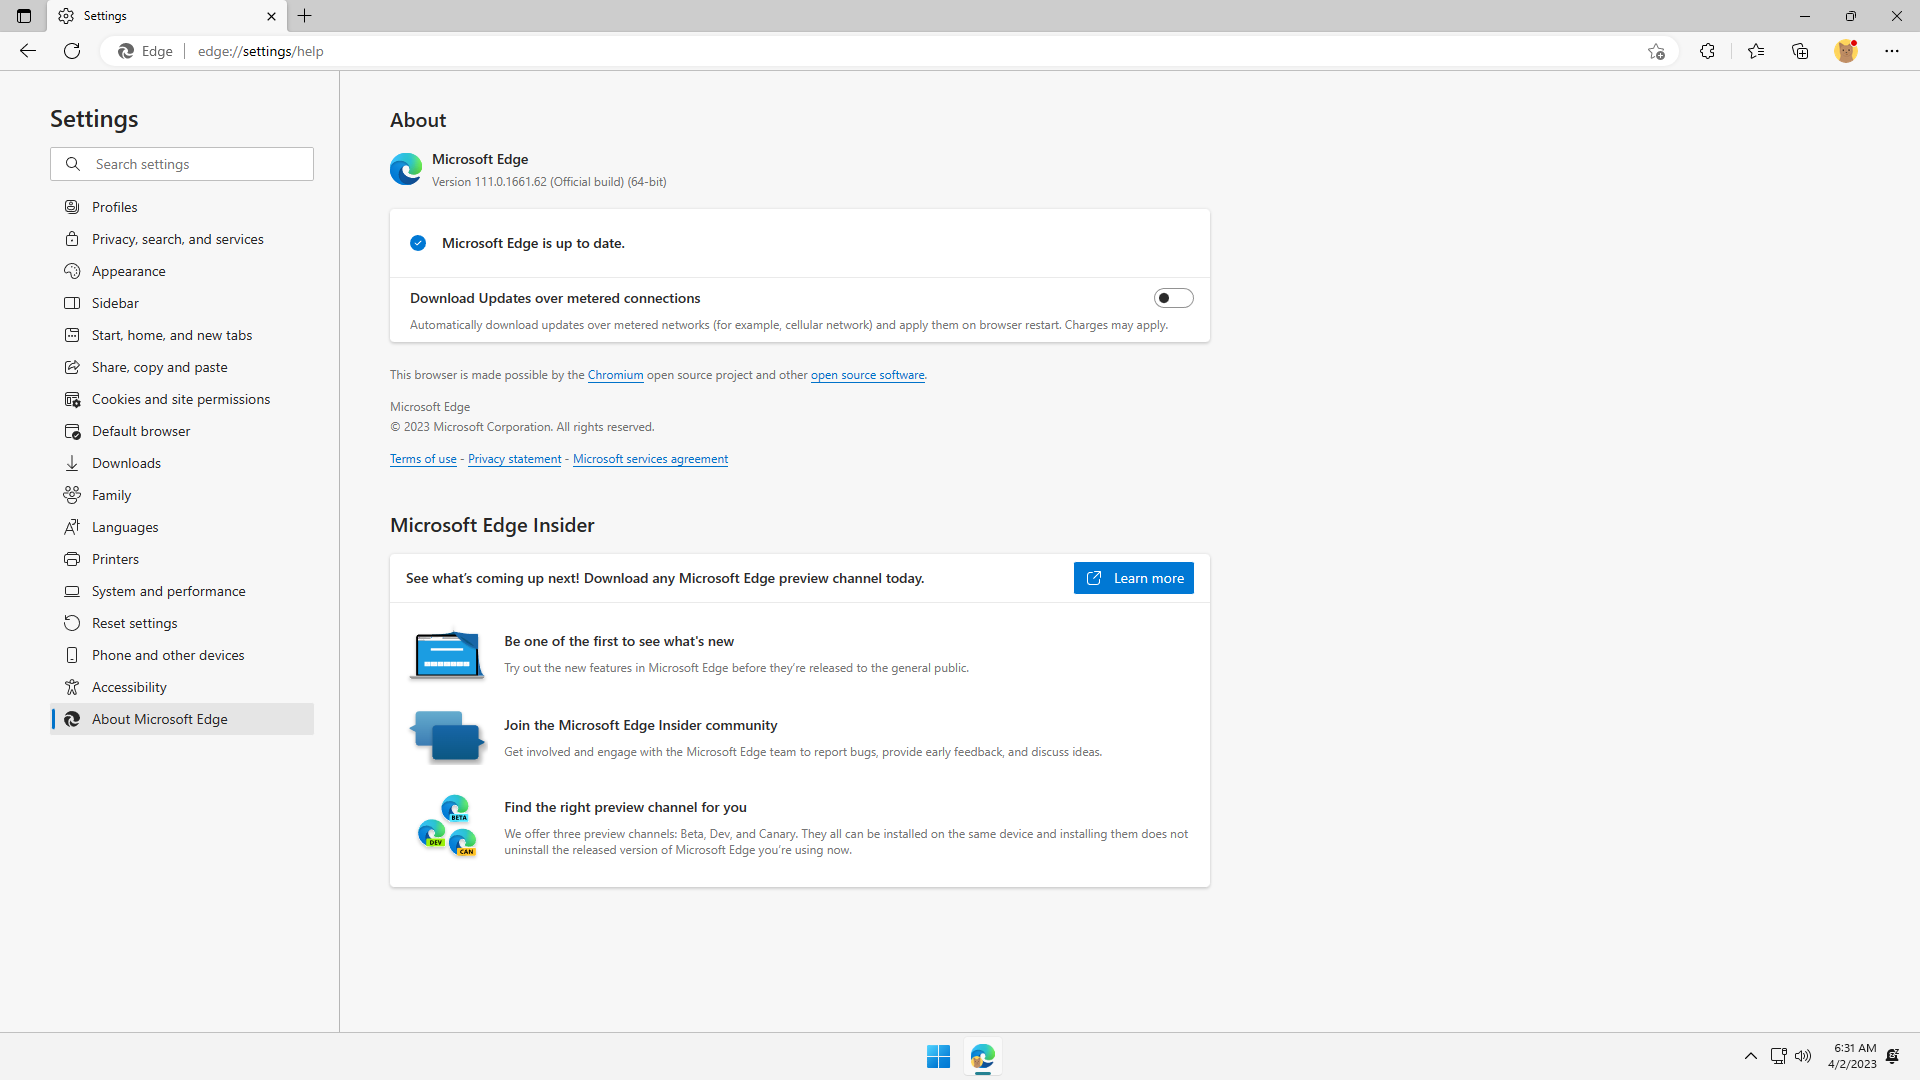
The Microsoft Edge version used in this section is 111.0.1661.62 (Official build) (64-bit) (latest as of time of writing). The steps should be very similar on other versions. Older versions might not have settings shown here. Newer versions might have new settings not shown here. Improvise accordingly.
Step 1: Profile
Microsoft Edge provides a way for users to manage multiple profiles. Each profile contains its own independent settings, and launches in its own independent window.
Click ... on the top right of Microsoft Edge, and click Settings.

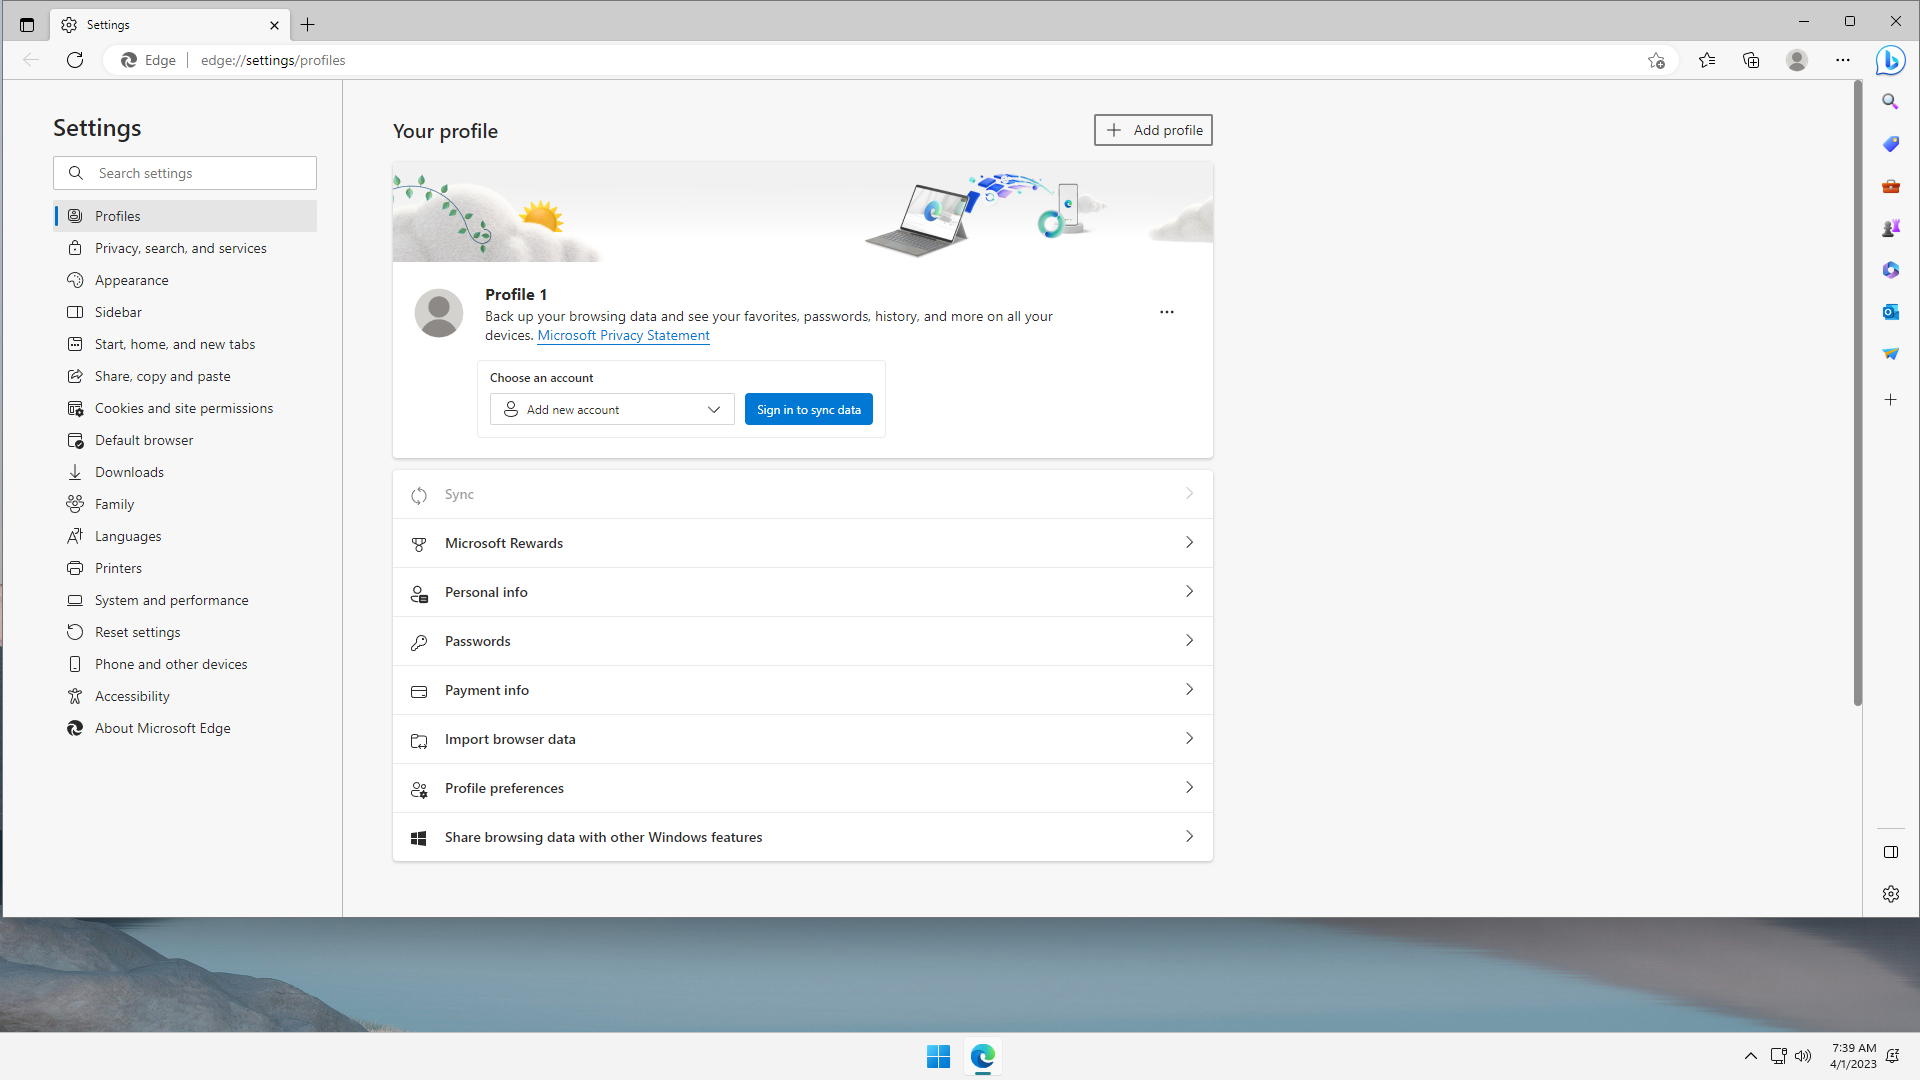
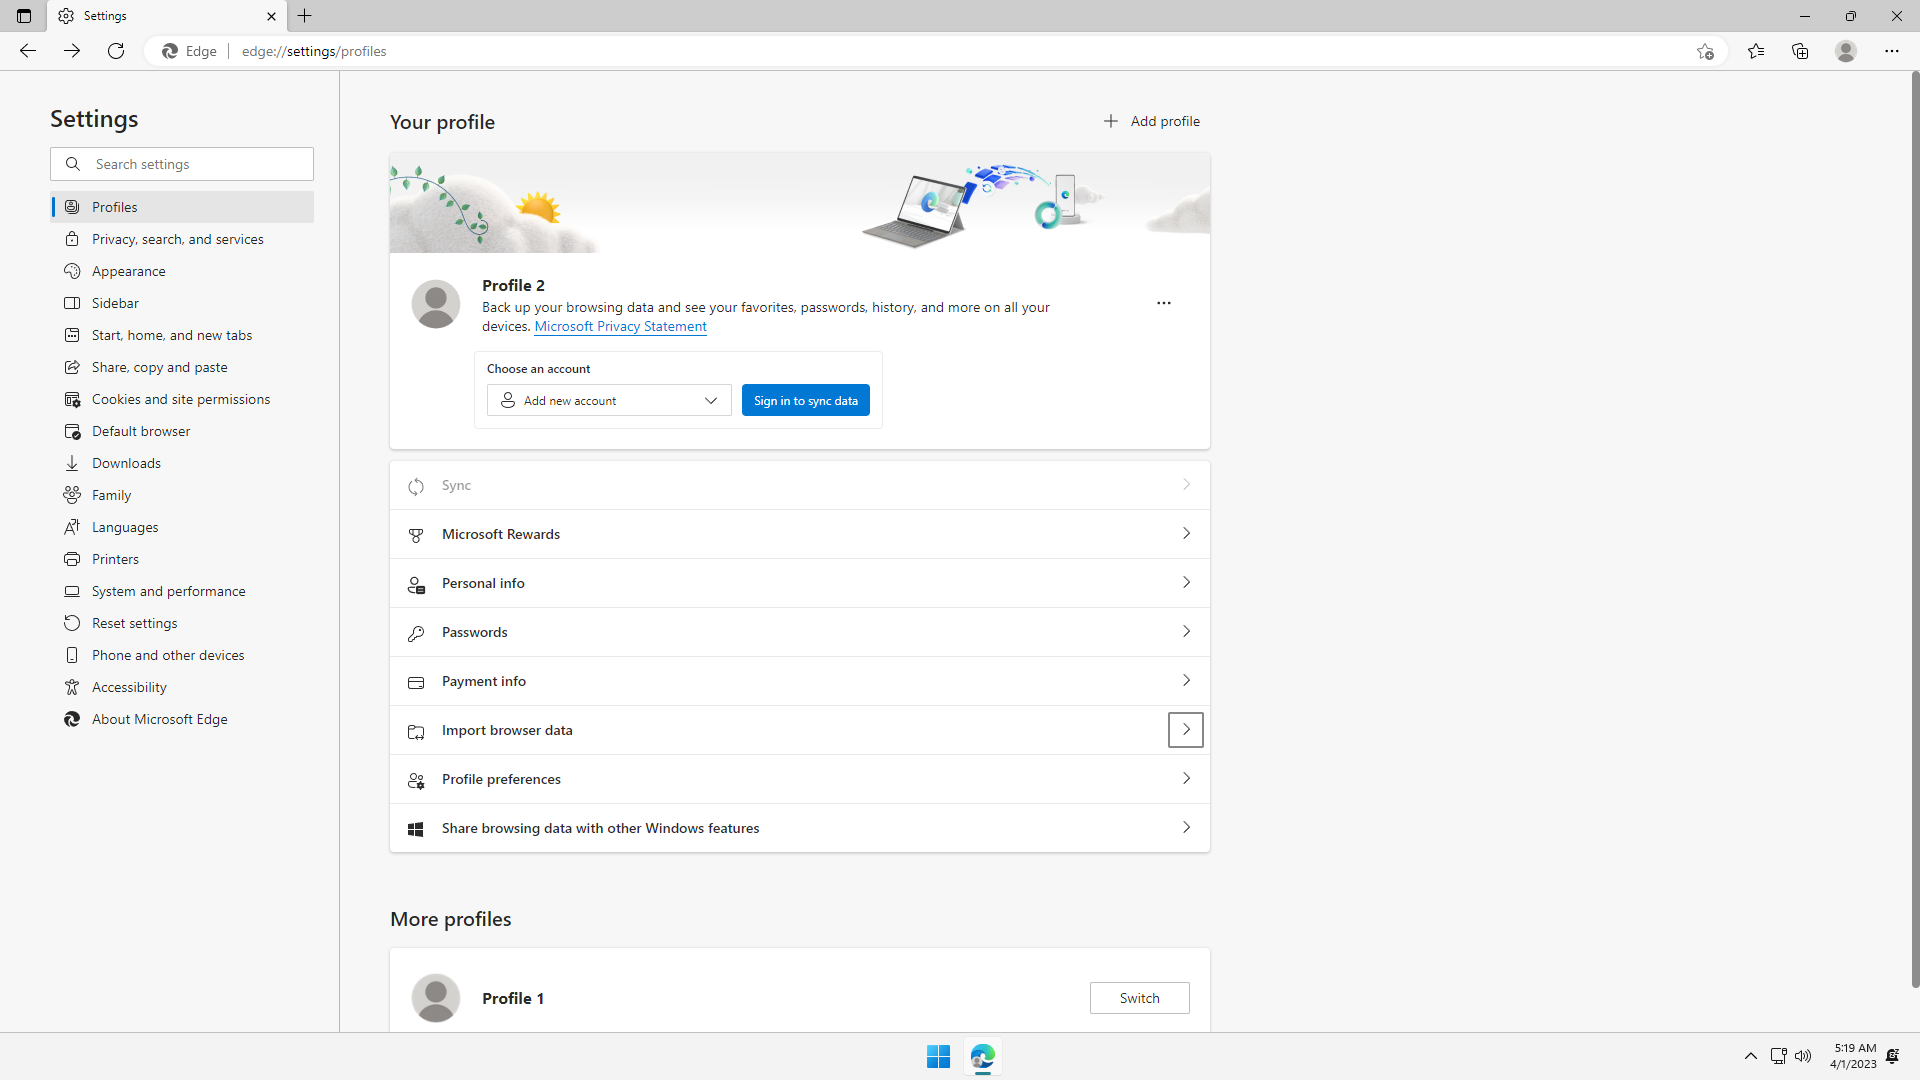
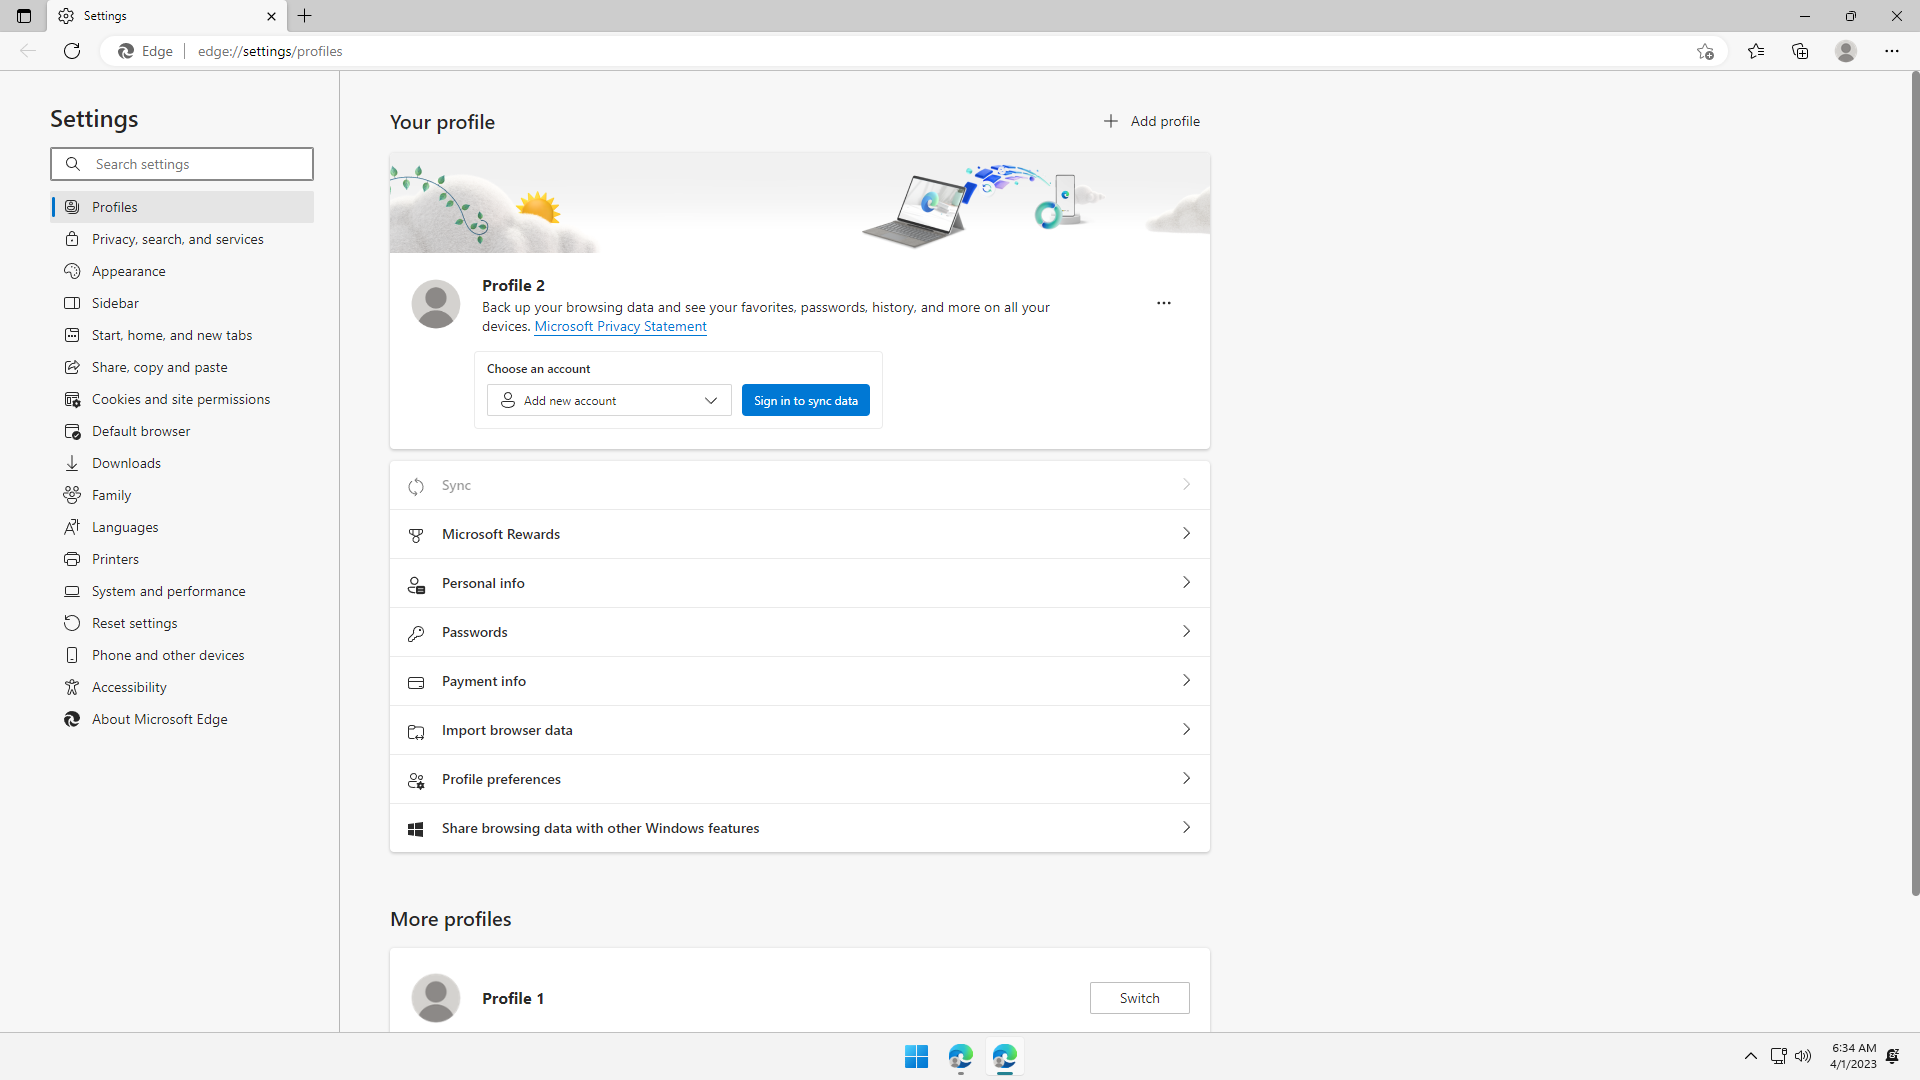
Click Settings > Profile. See that the default profile is Profile 1. Let's create a new profile while leaving the default as it is.
Click + Add profile button on the top right:
In the prompt, click Add:

A new Microsoft Edge window is launched with the new profile. In the new window, click ... on the top right of Microsoft Edge, and click Settings.
Under Settings > Profile, see that the active profile is now Profile 2:

Let's begin configuring.
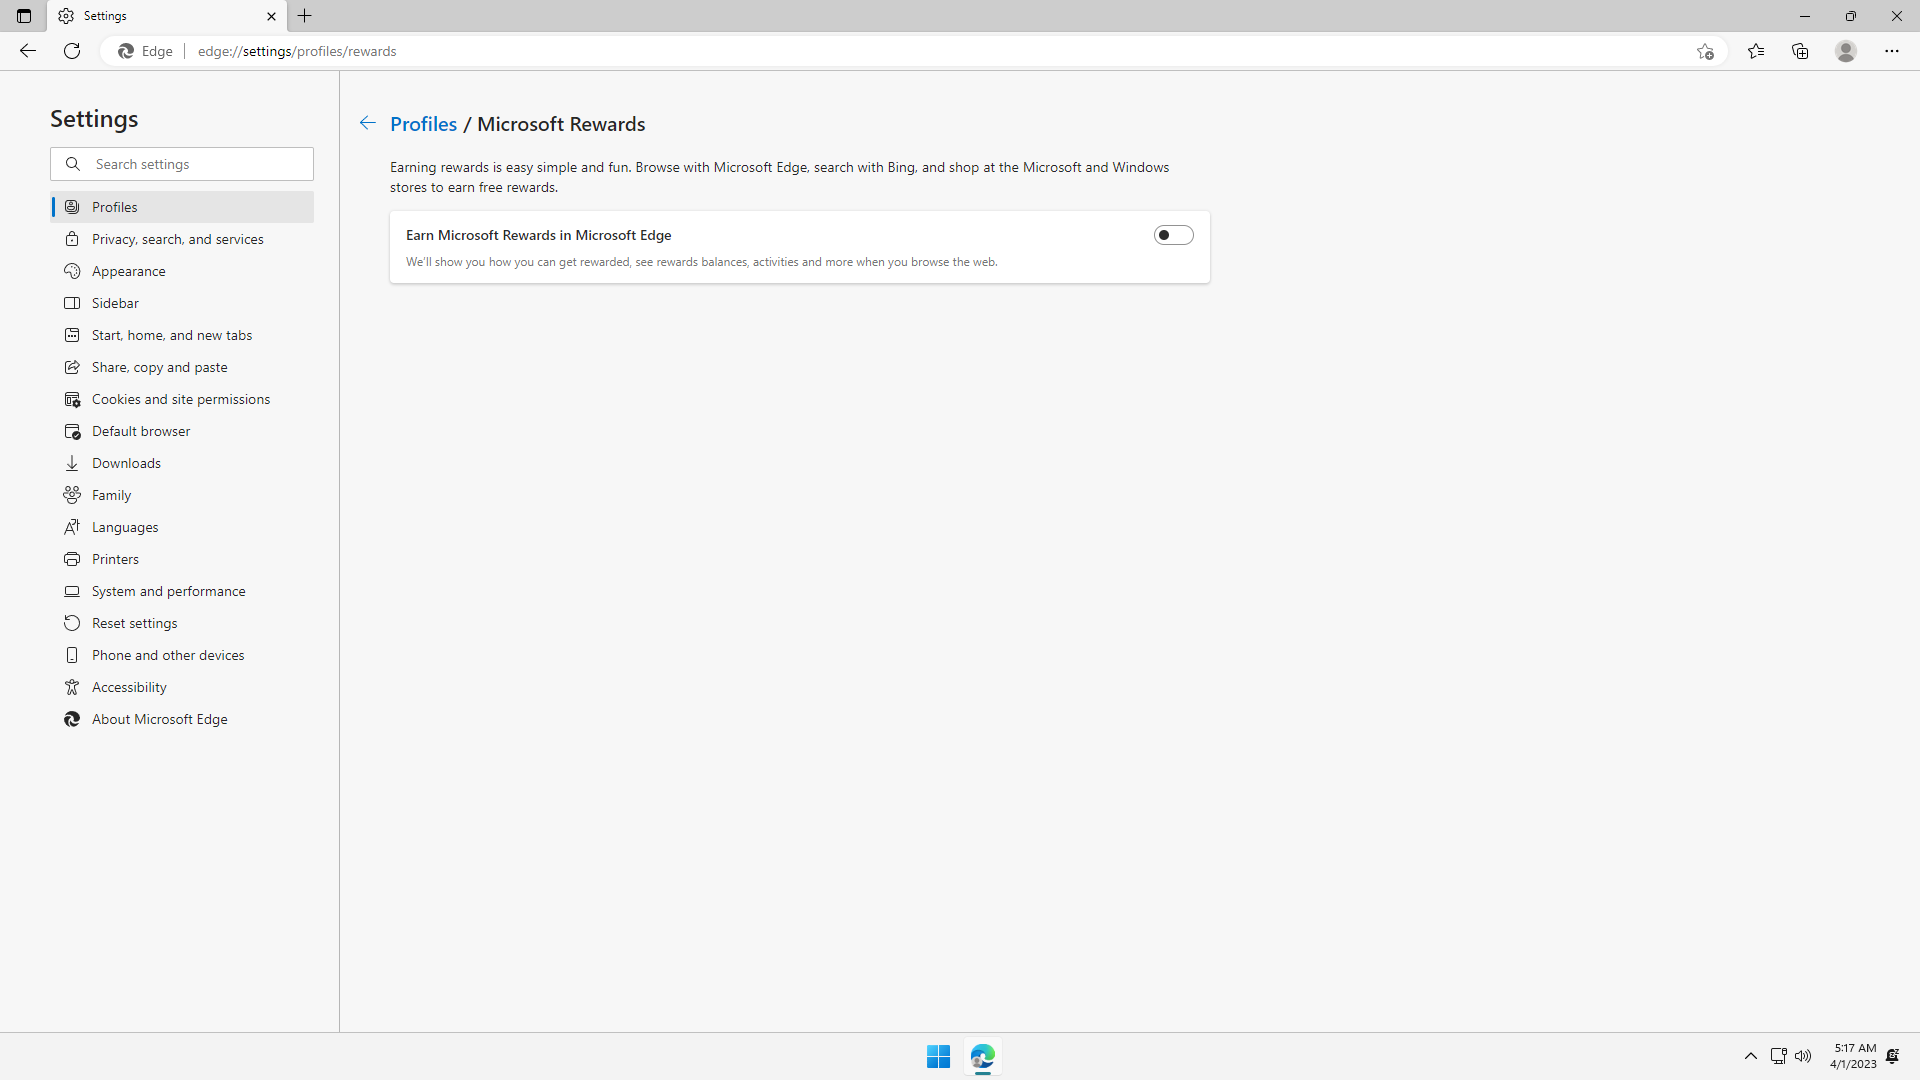
Click Microsoft Rewards, and flip off the switch. If left on, personal browsing, search, shopping data is sent to Microsoft, which is basically giving away your privacy:

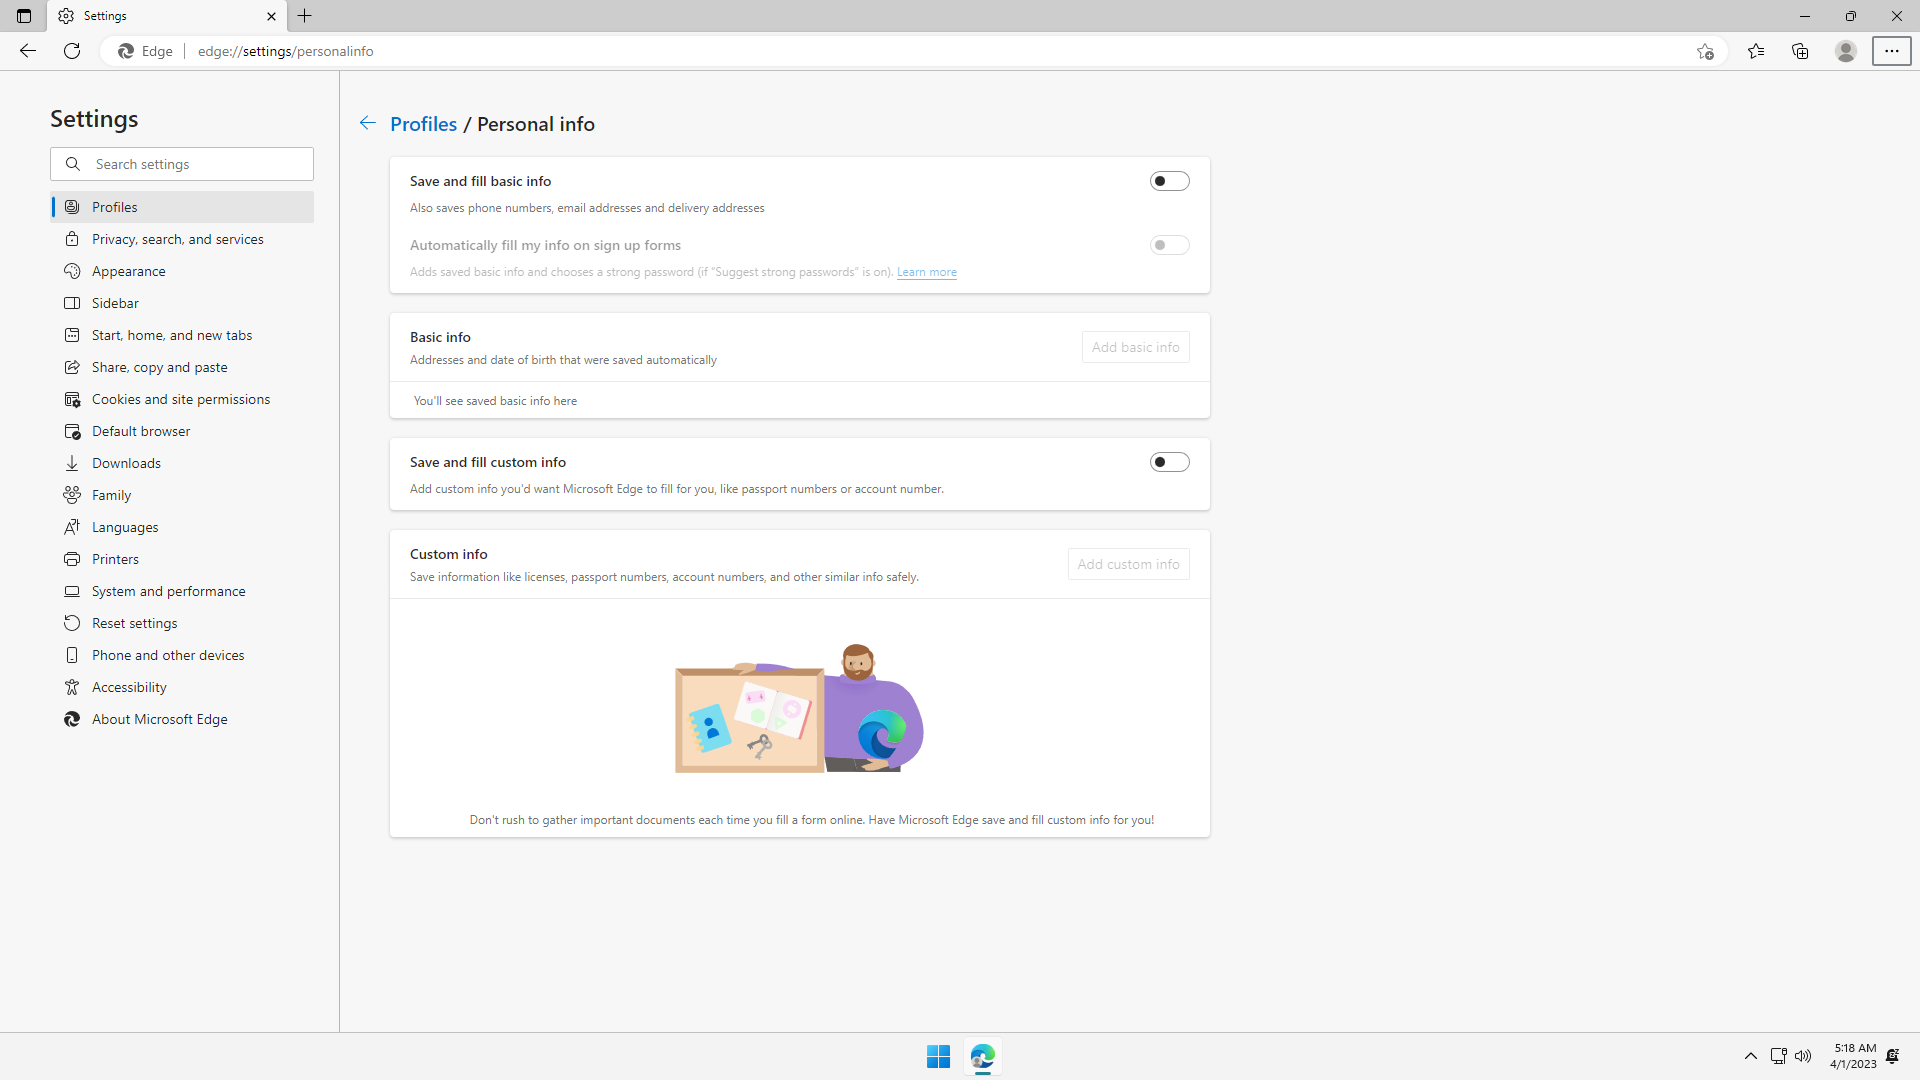
Click Personal info, and flip off all the switches. It is unsafe to store personal info in the browser, and to enable auto-fill mechanism, because a malicious site can use this mechanism to steal personal information:

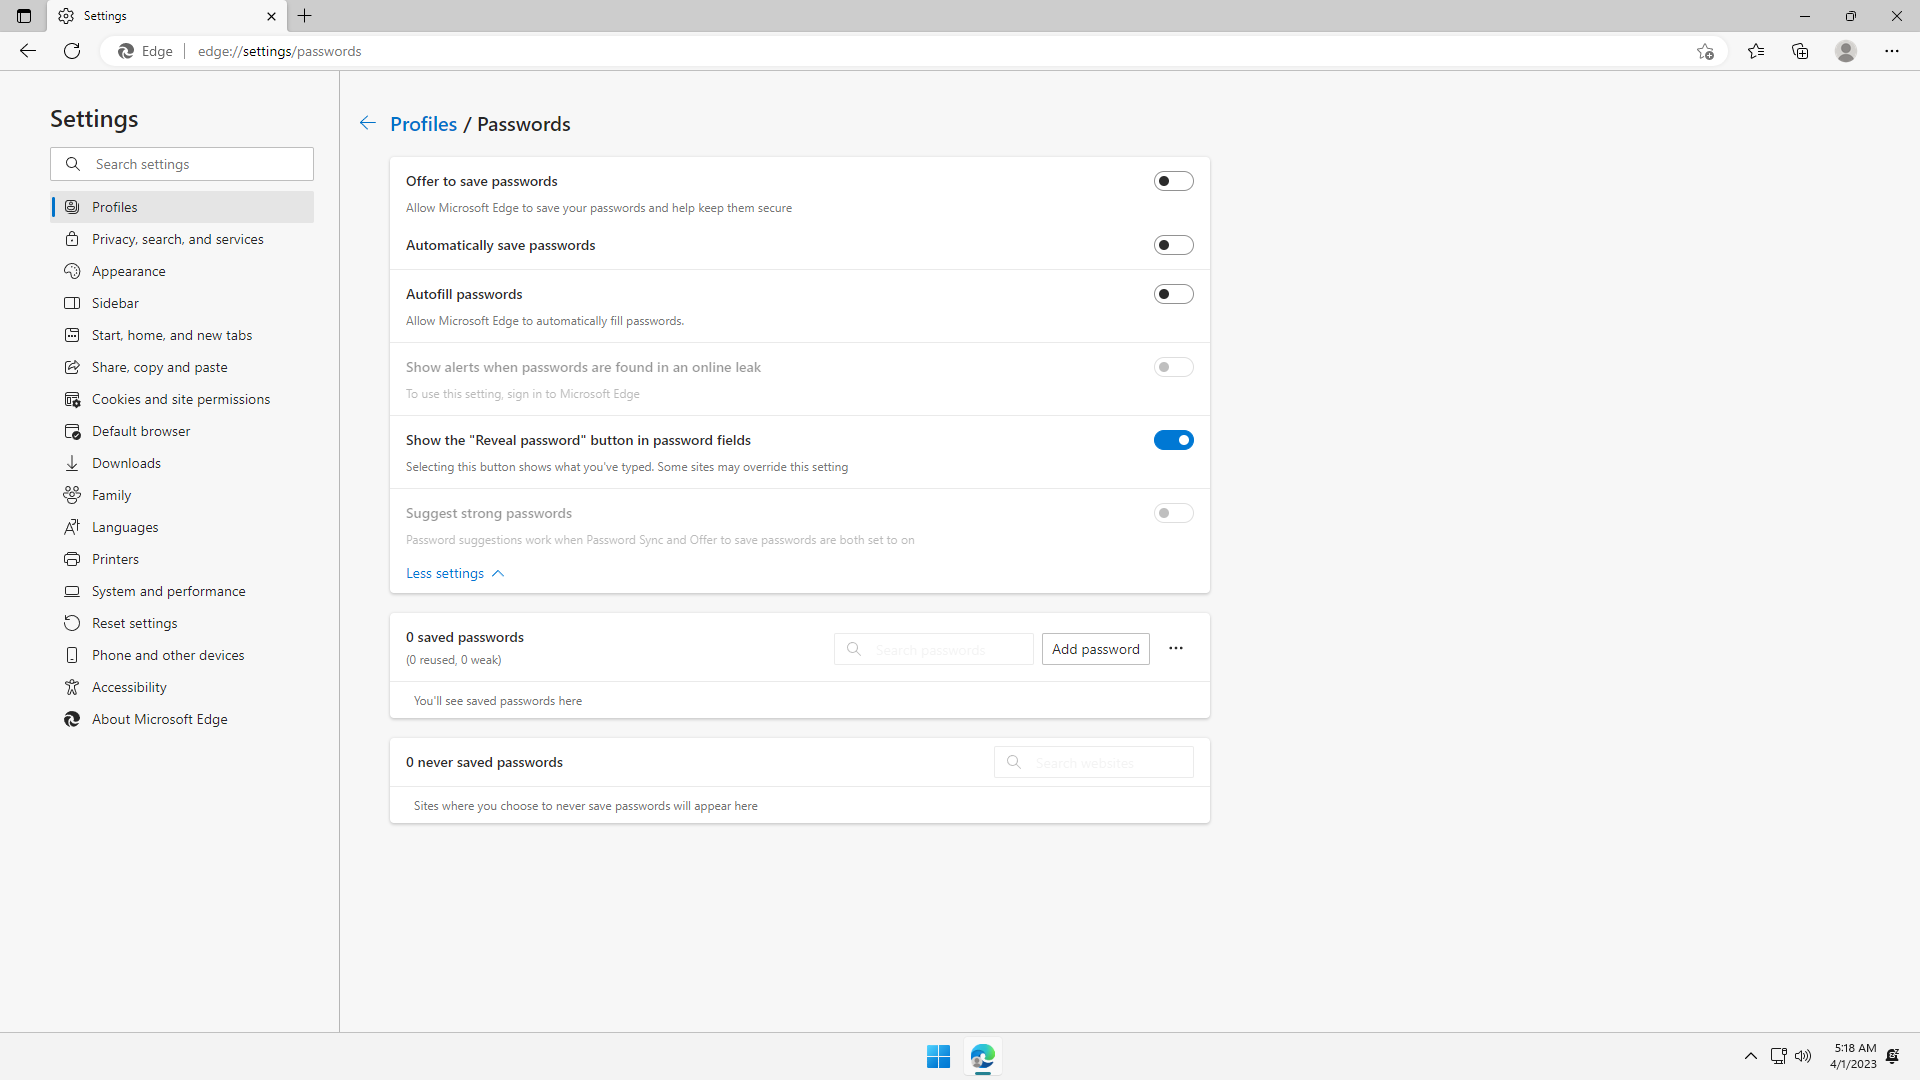
Click Passwords, click expand settings, and flip off all the switches, except Show the "Reveal password" button in password fields. It is unsafe to save passwords in the browser because they would be too accessible. It is better to use a proper password manager:

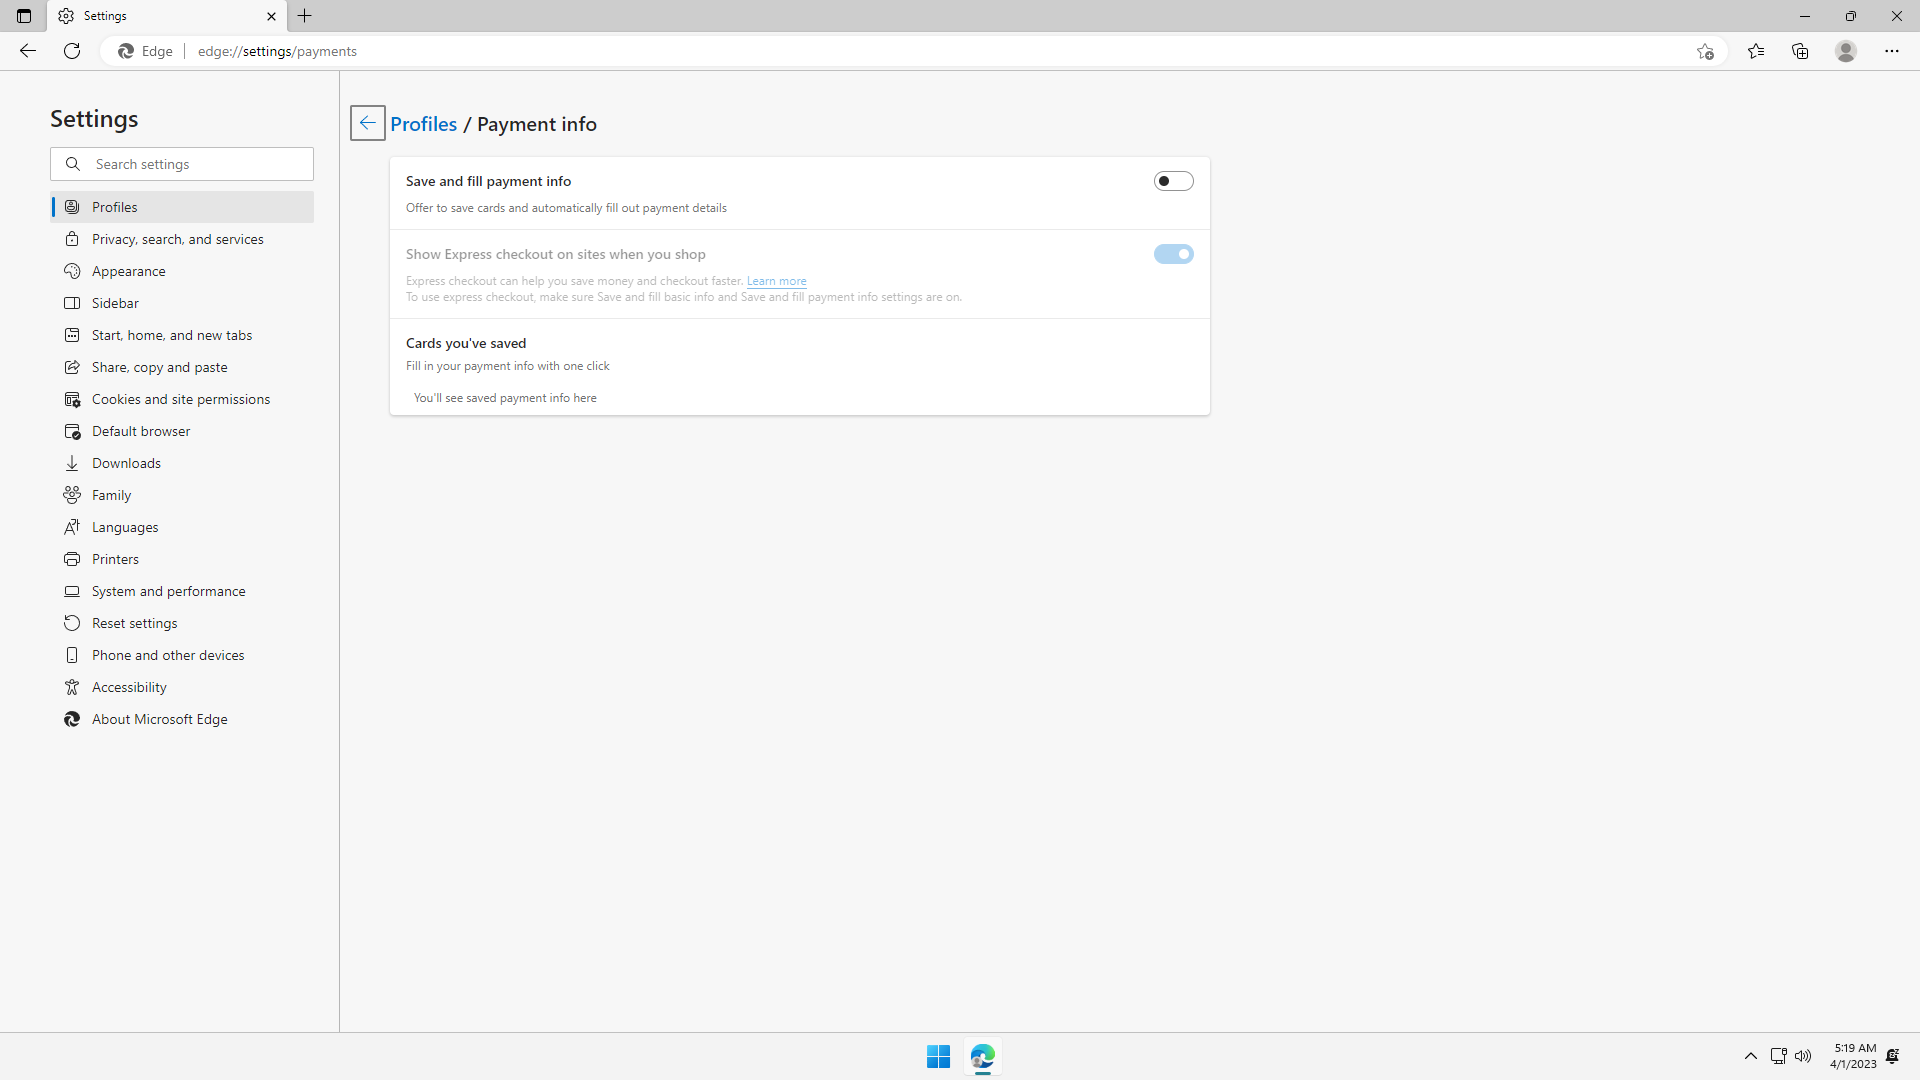
Click Payment info, and flip off all the switches. It is unsafe for a website to be able to access personal information like credit cards so easily. If you have saved credit cards, it is recommended to remove them:

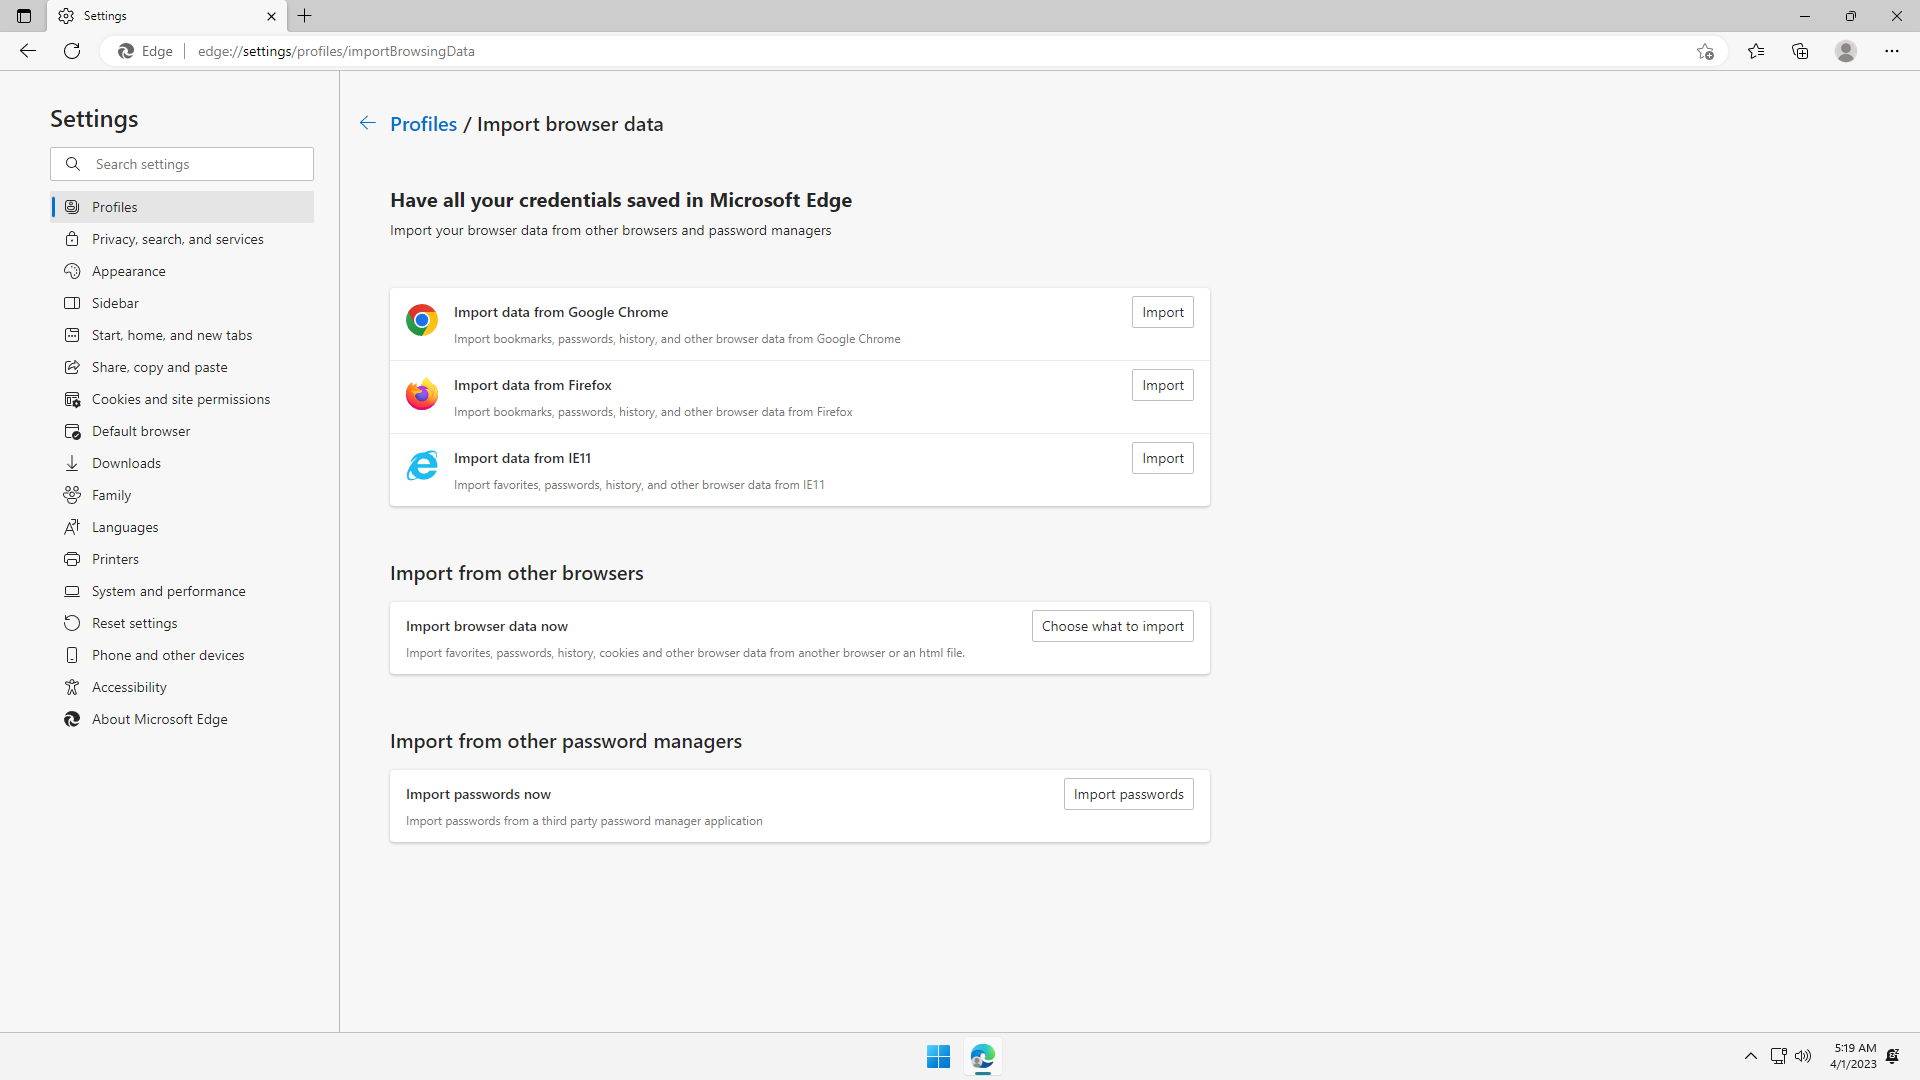
Optional: Click Import browser data to import settings from another browser:
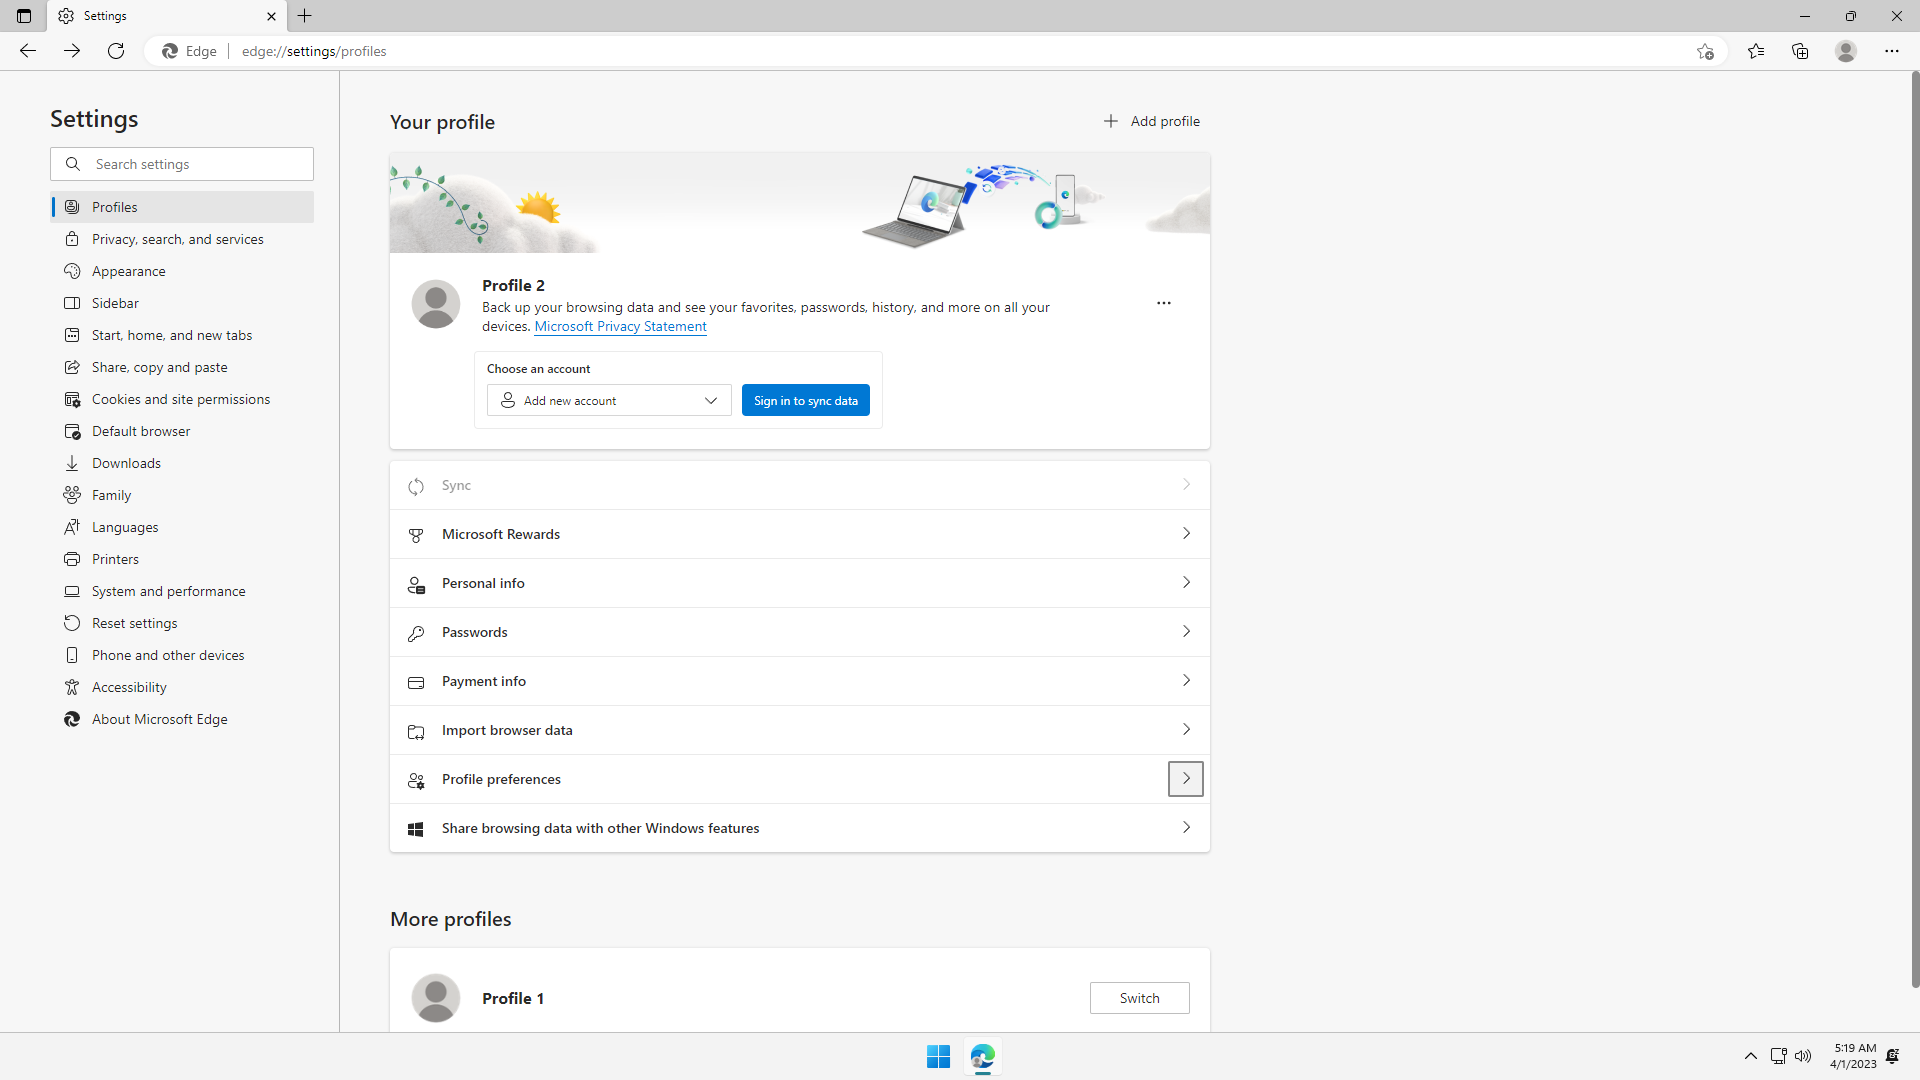
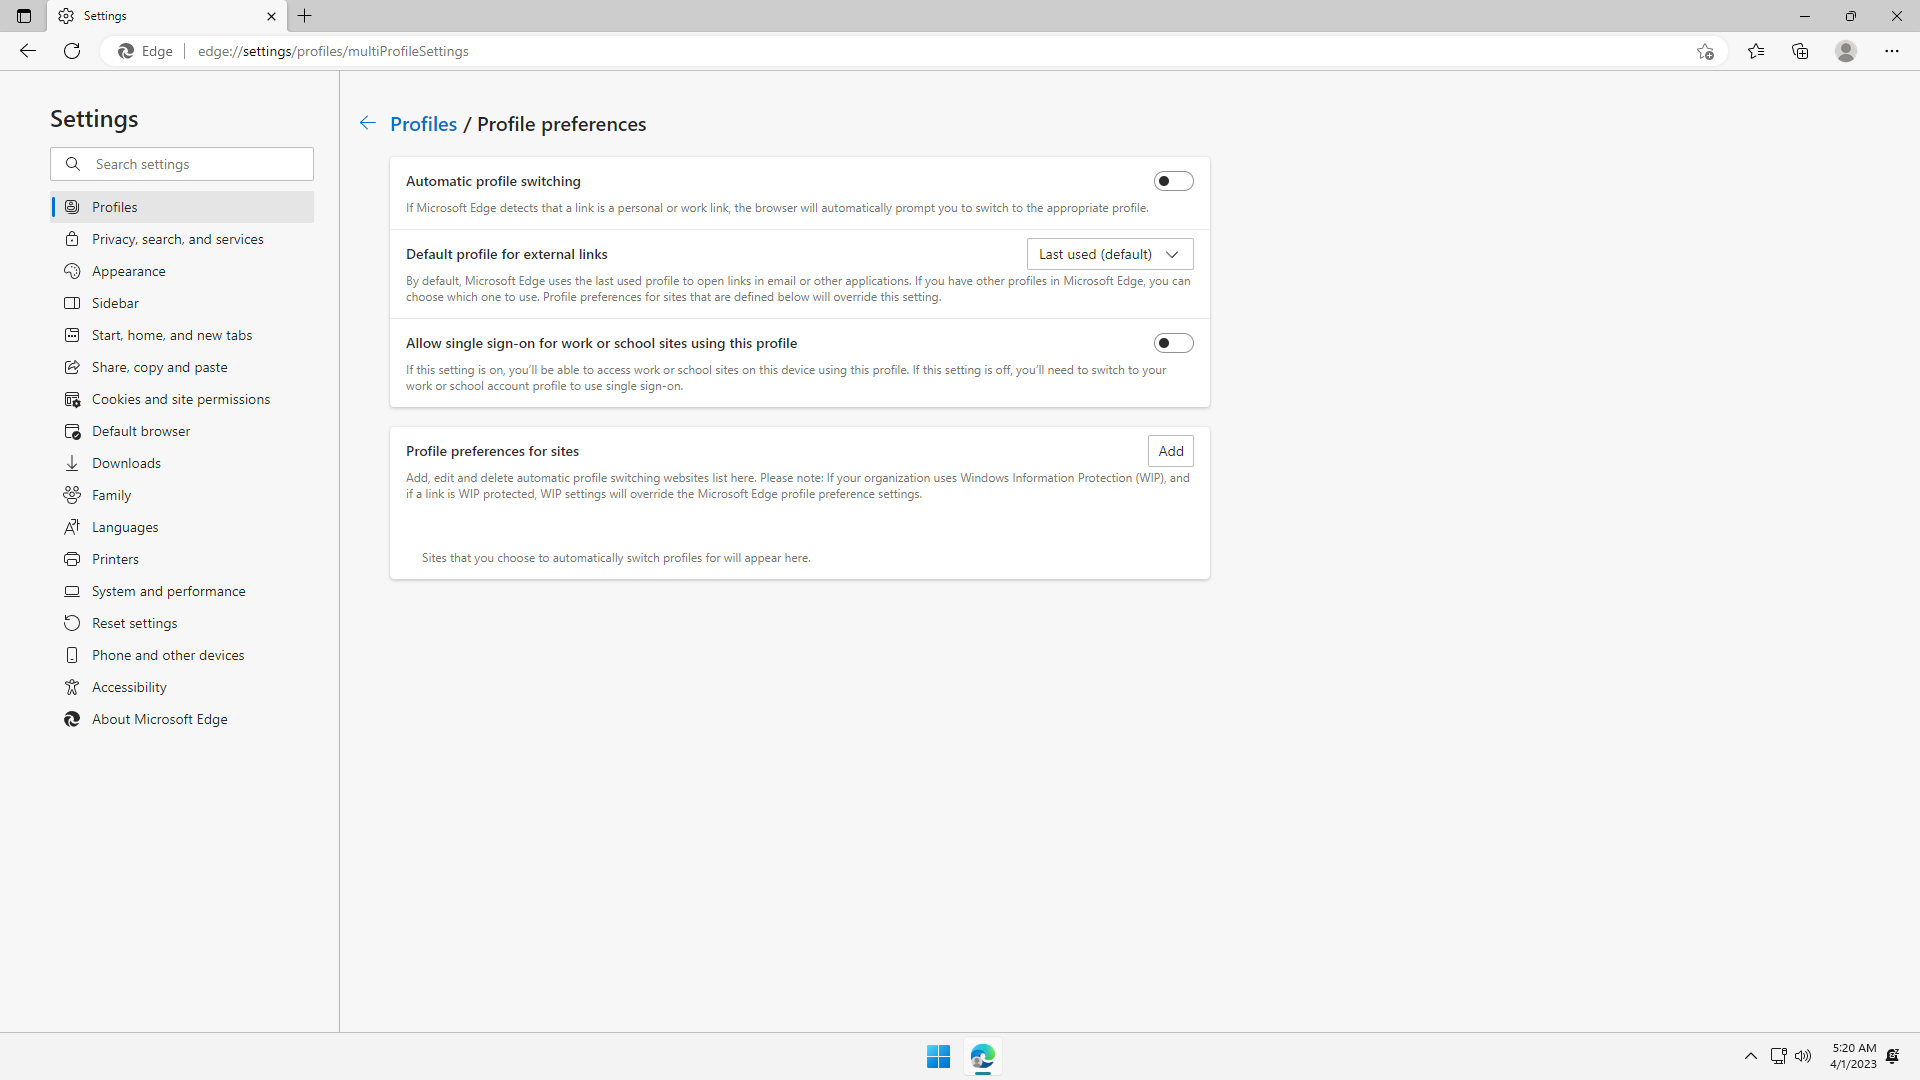
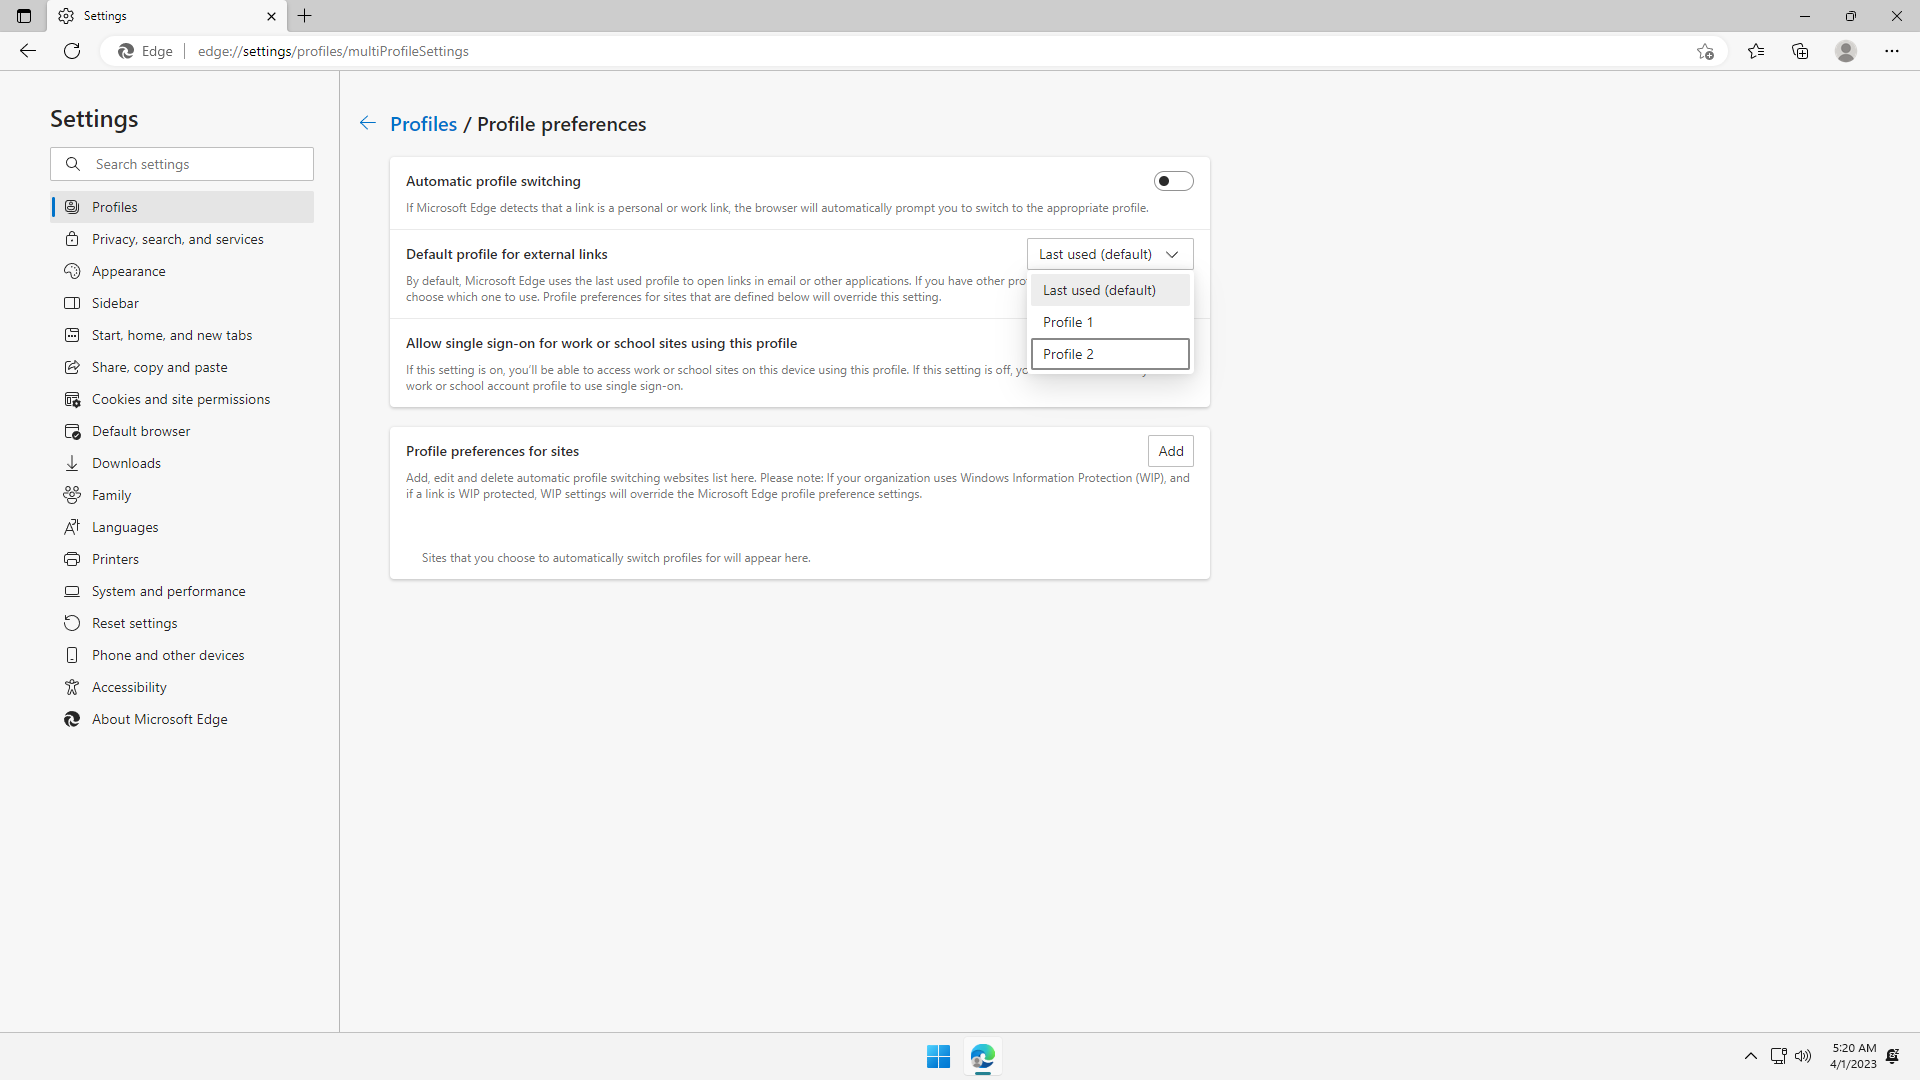
Click Profile preferences, and flip off all the switches (except Automatic profile switching if you think it is useful). Set the Default profile for external links to the current profile instead of the default insecure Profile 1:
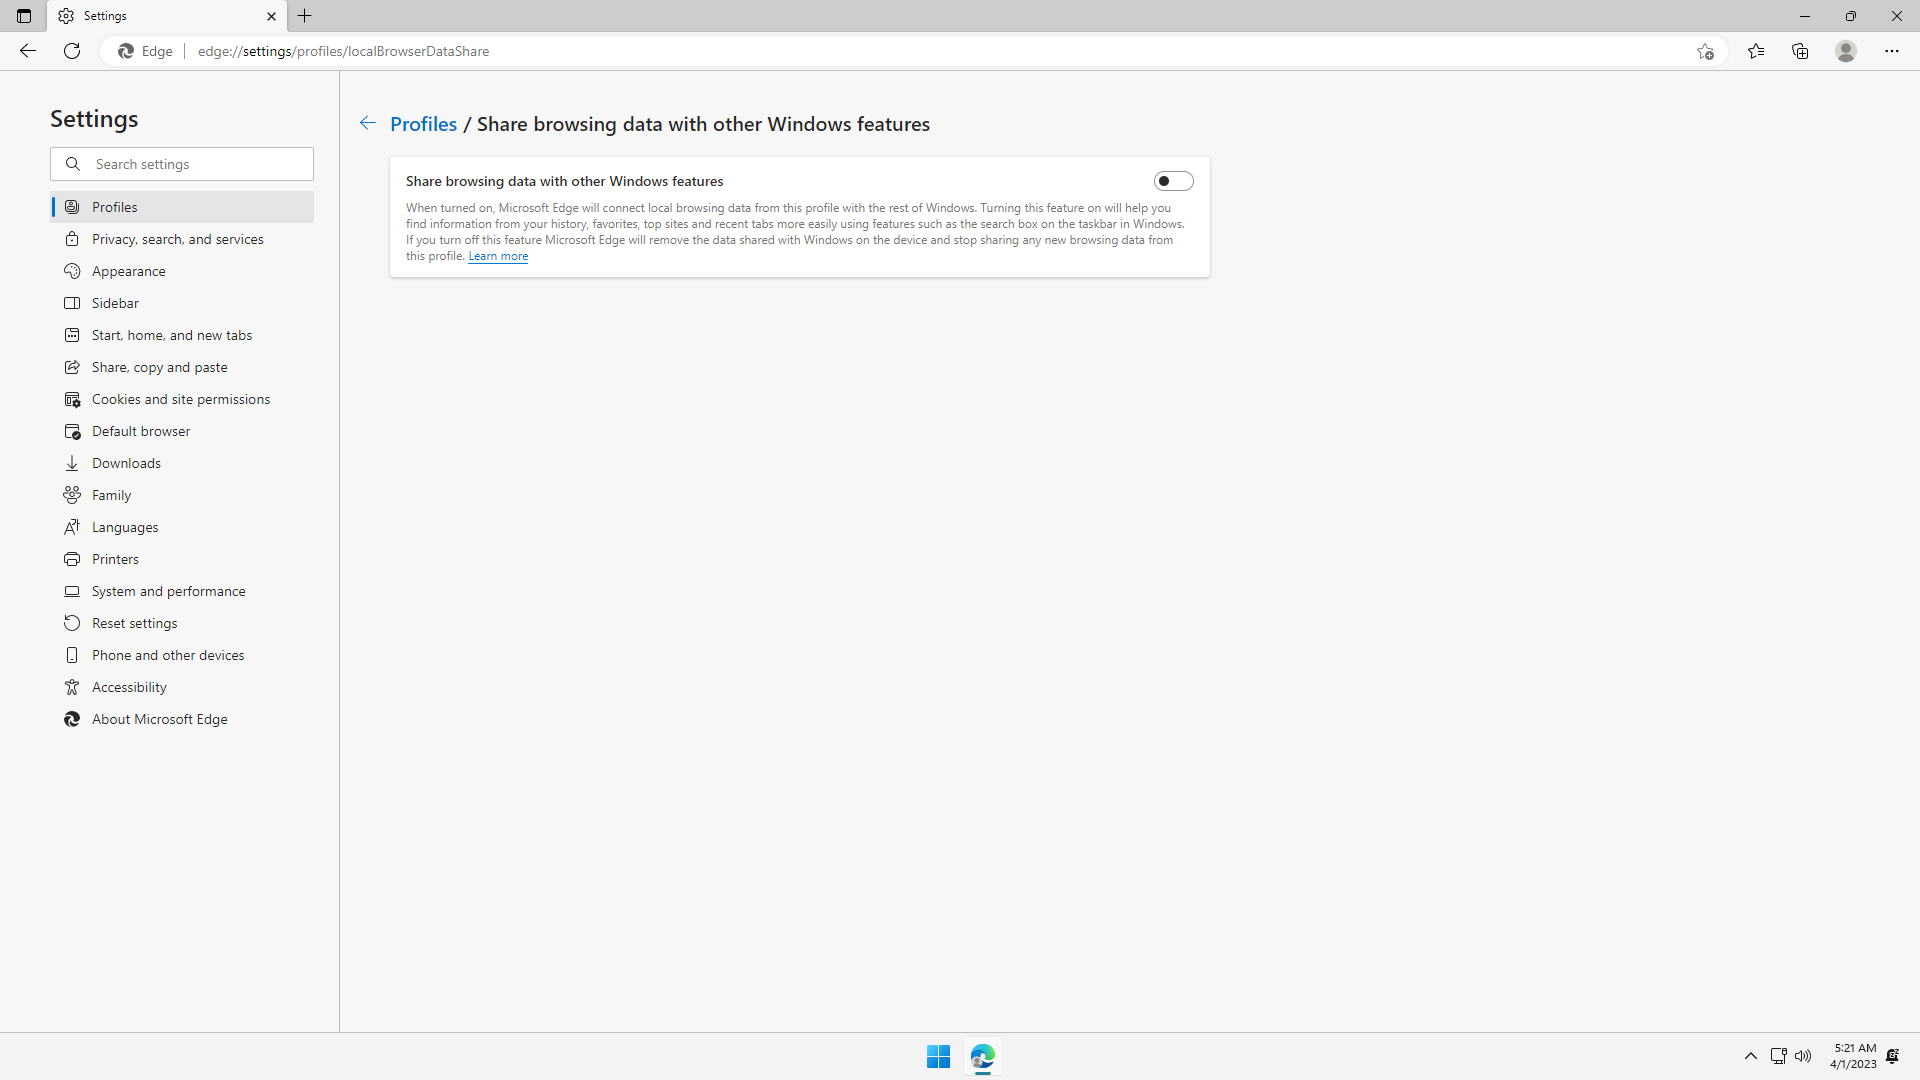
Click Share browsing data with other Windows features, and flip off all the switches. There is really no reason why Windows components would need the web browser's browsing data:

Step 2: Settings > Sidebar
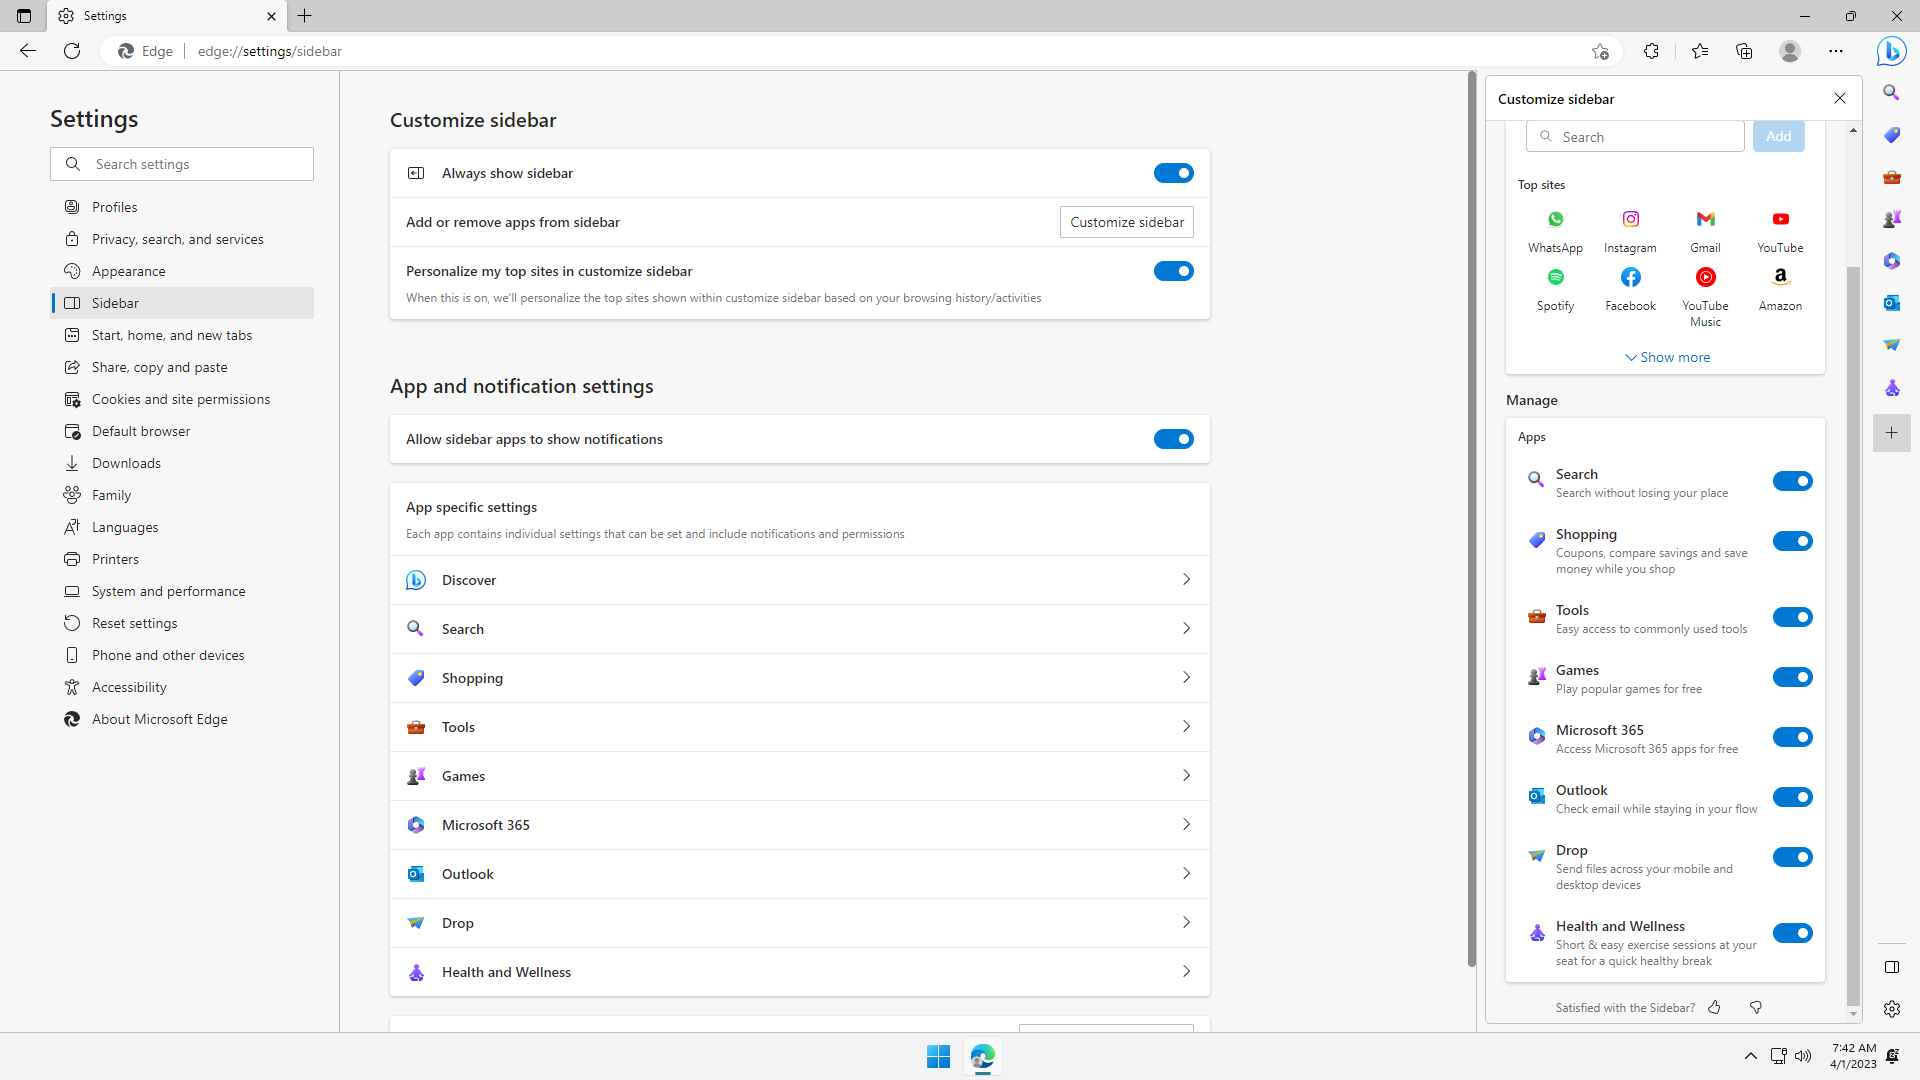
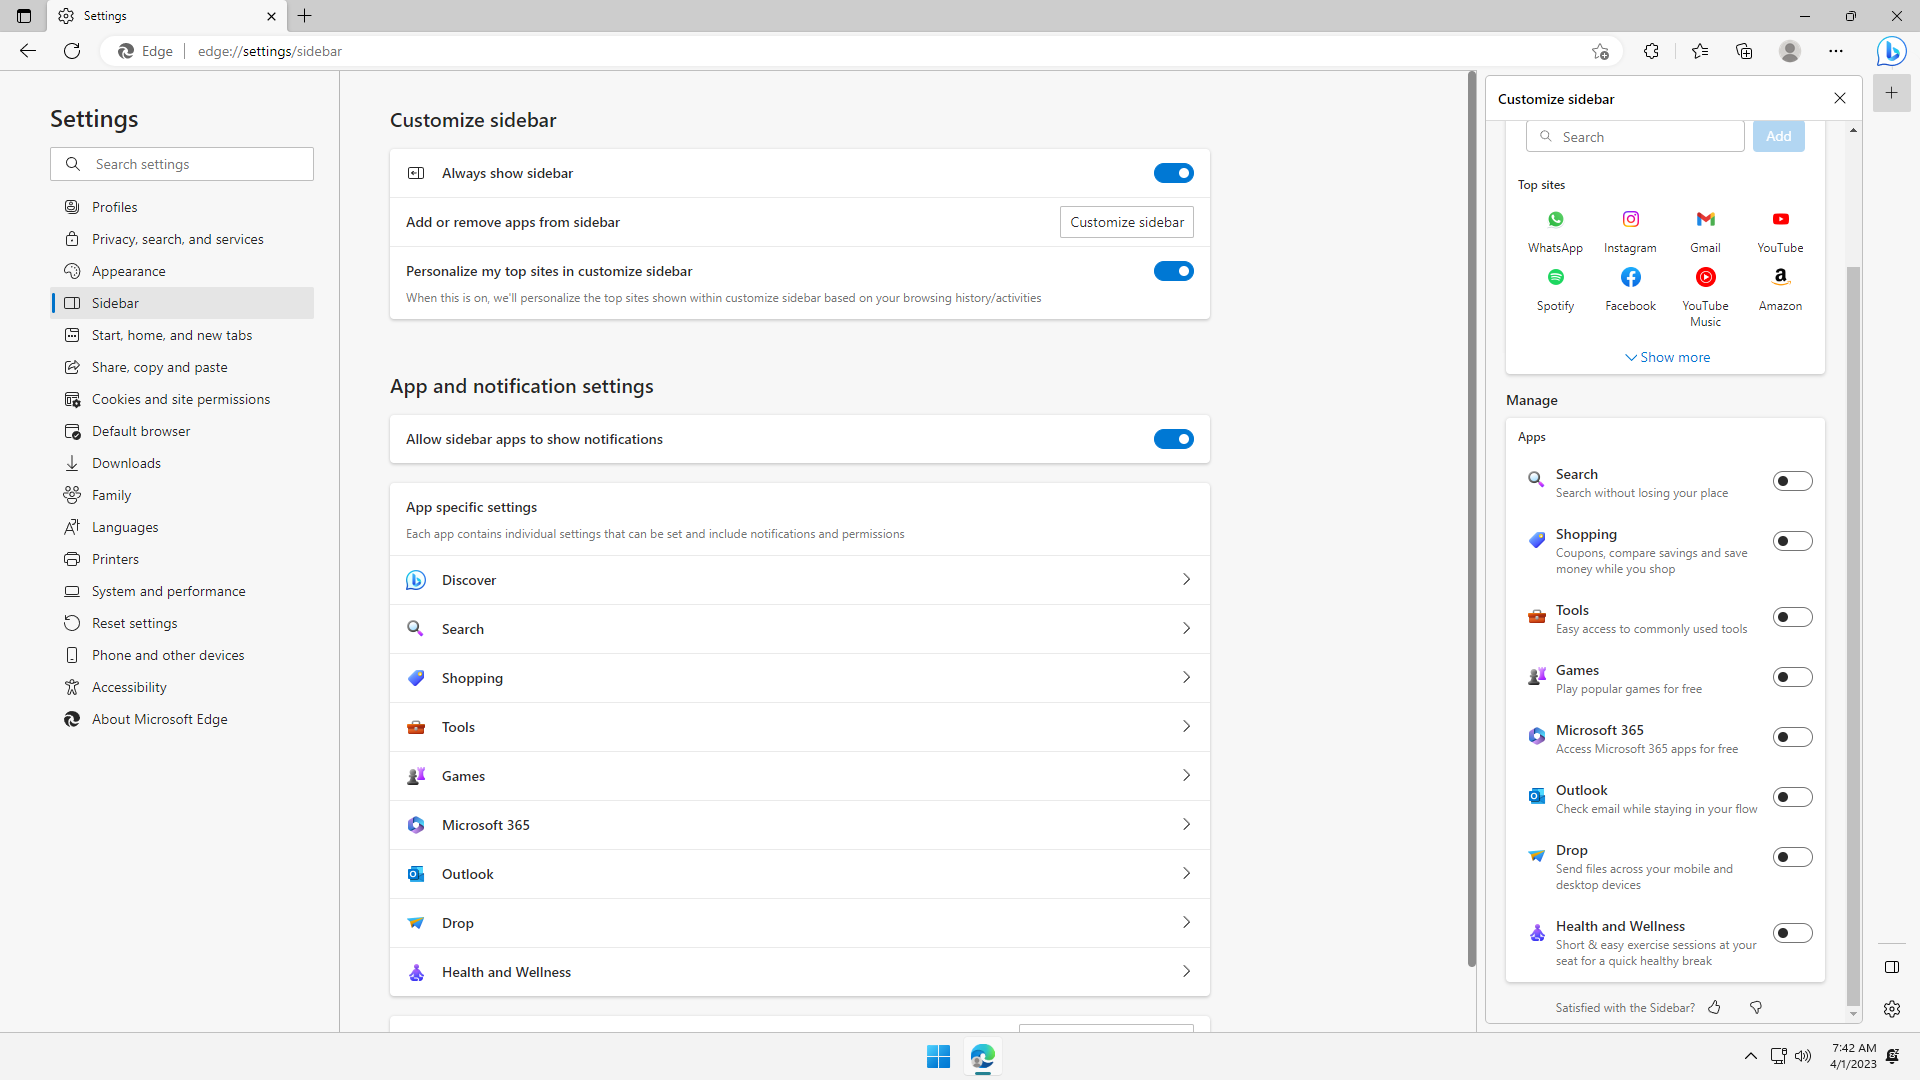
Let's disable all the Sidebar and the Sidebar Apps completely. Click Settings > Sidebar.
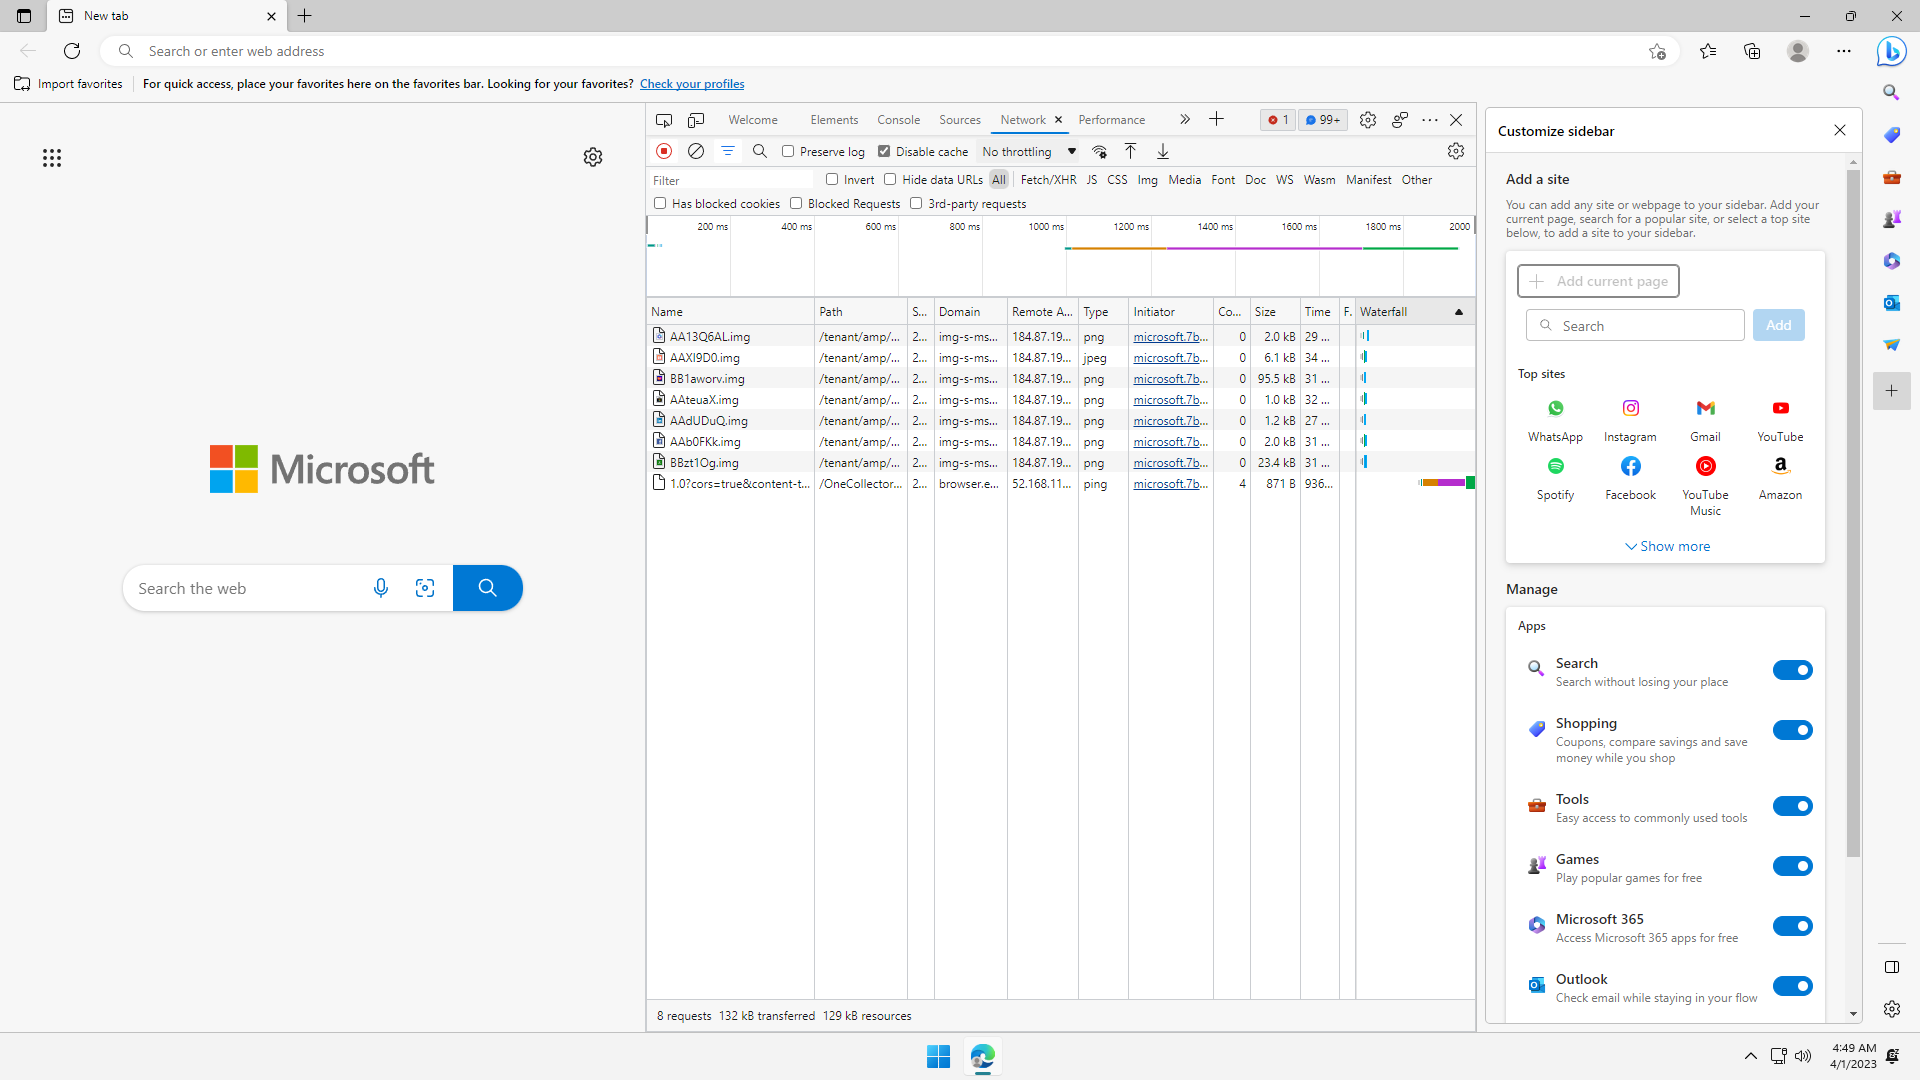
Click Customize sidebar button, and a side panel opens, and under Manage flip off all the Apps:
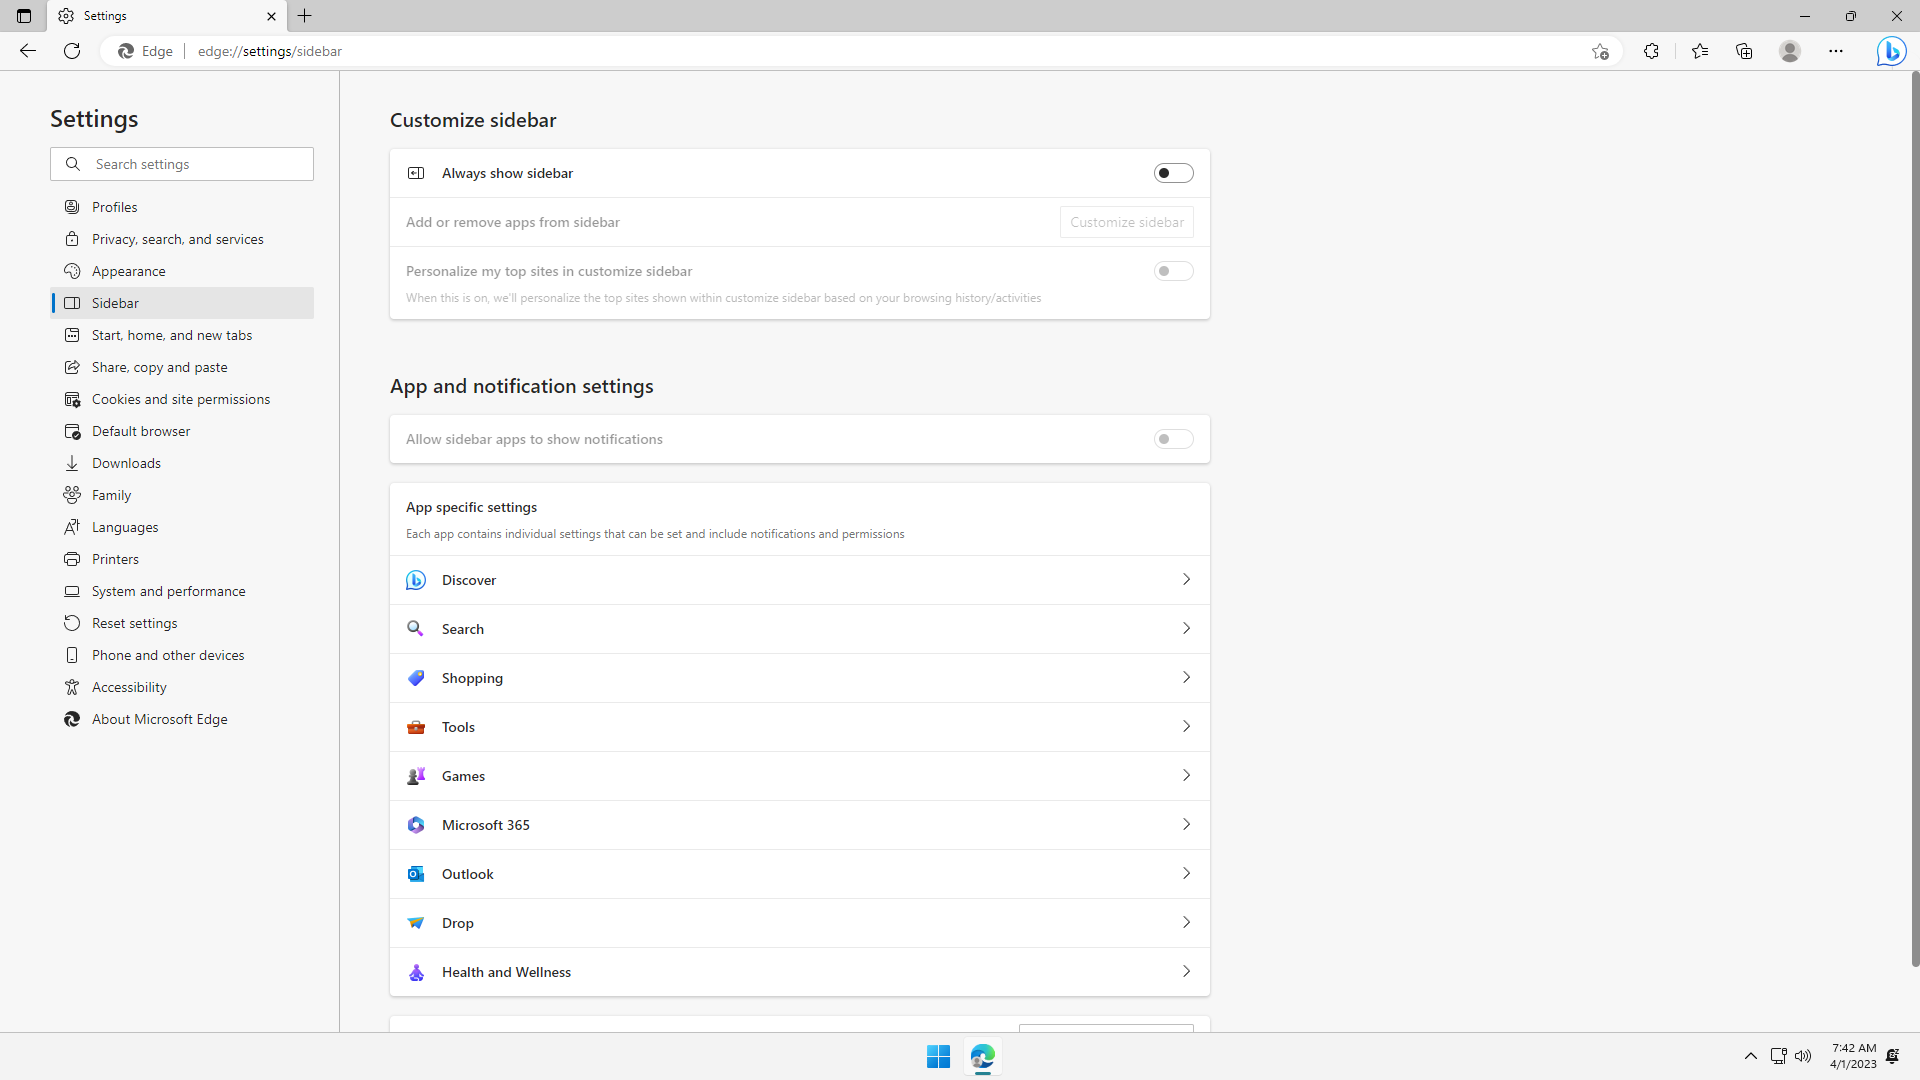
Close the side panel. Flip off all switches.
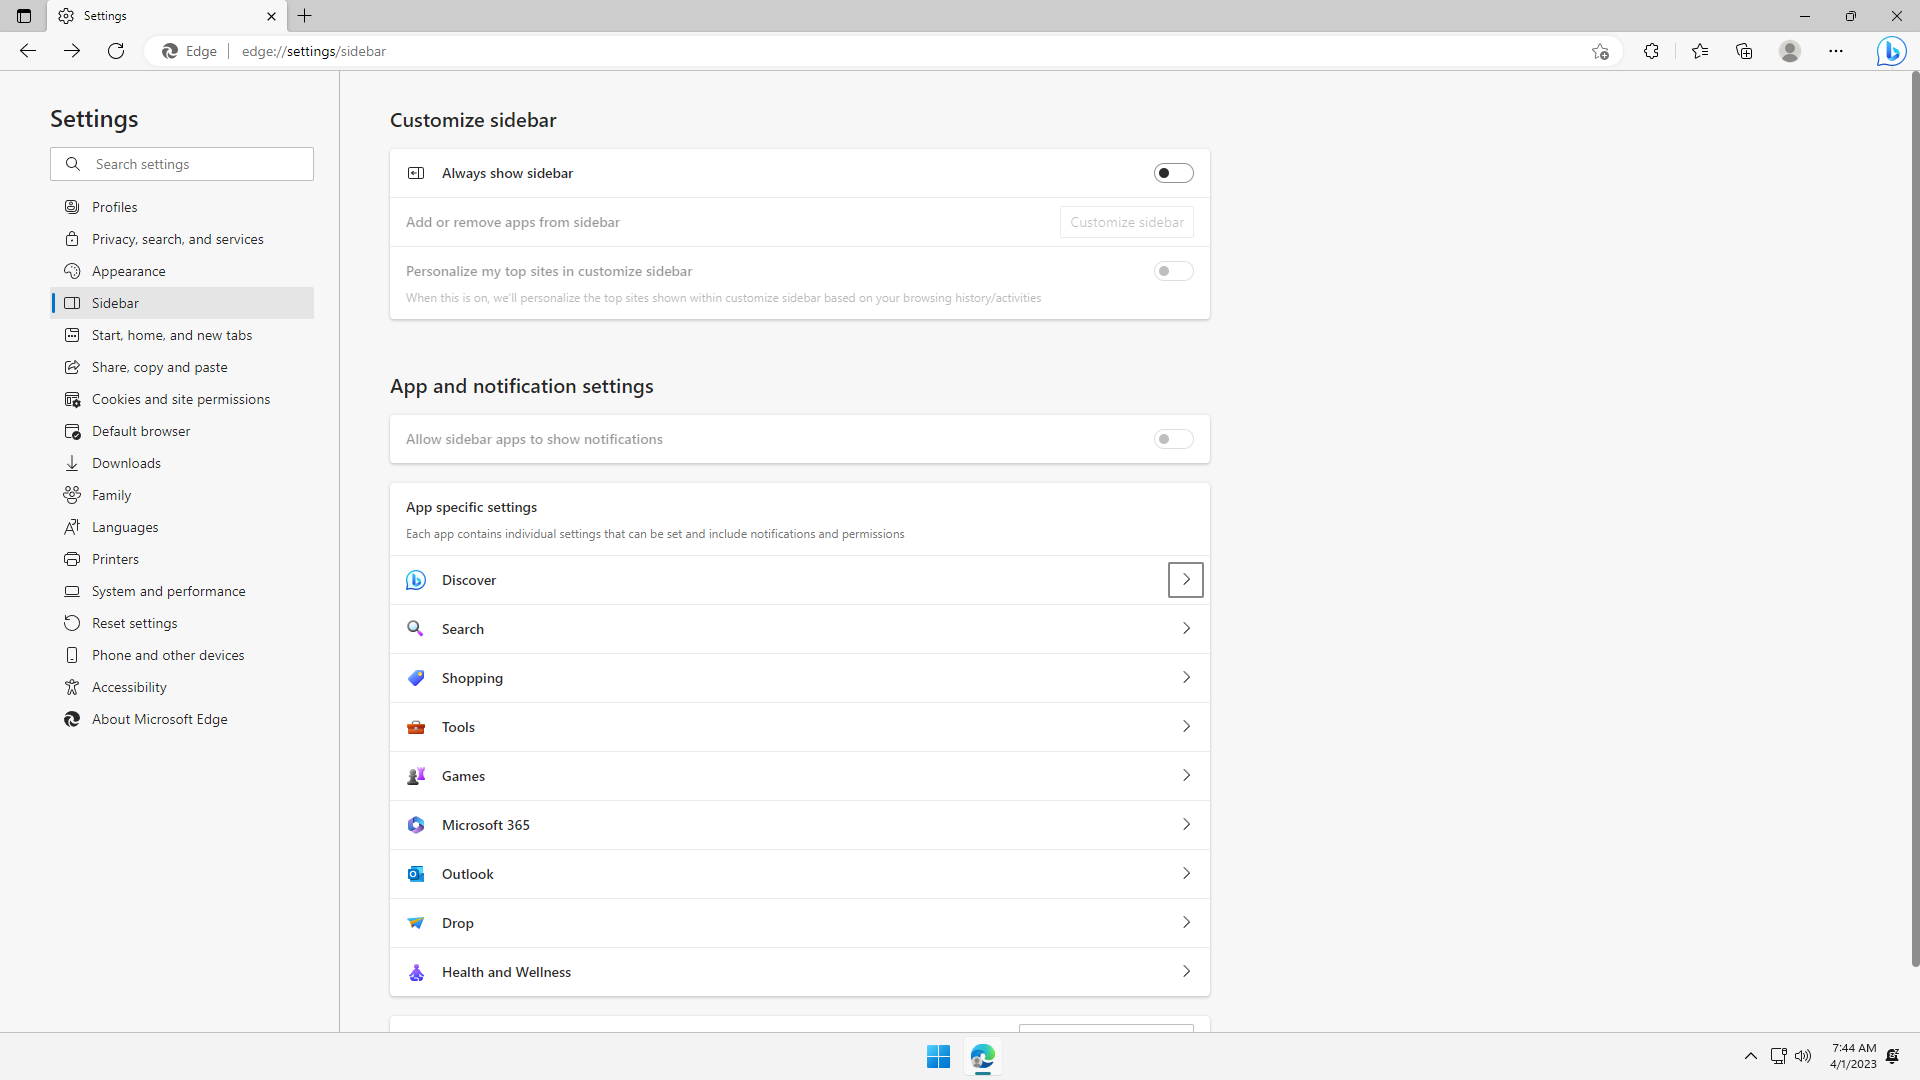
To hide the Bing button on the top right of Microsoft Edge, click Discover, and flip off all switches:
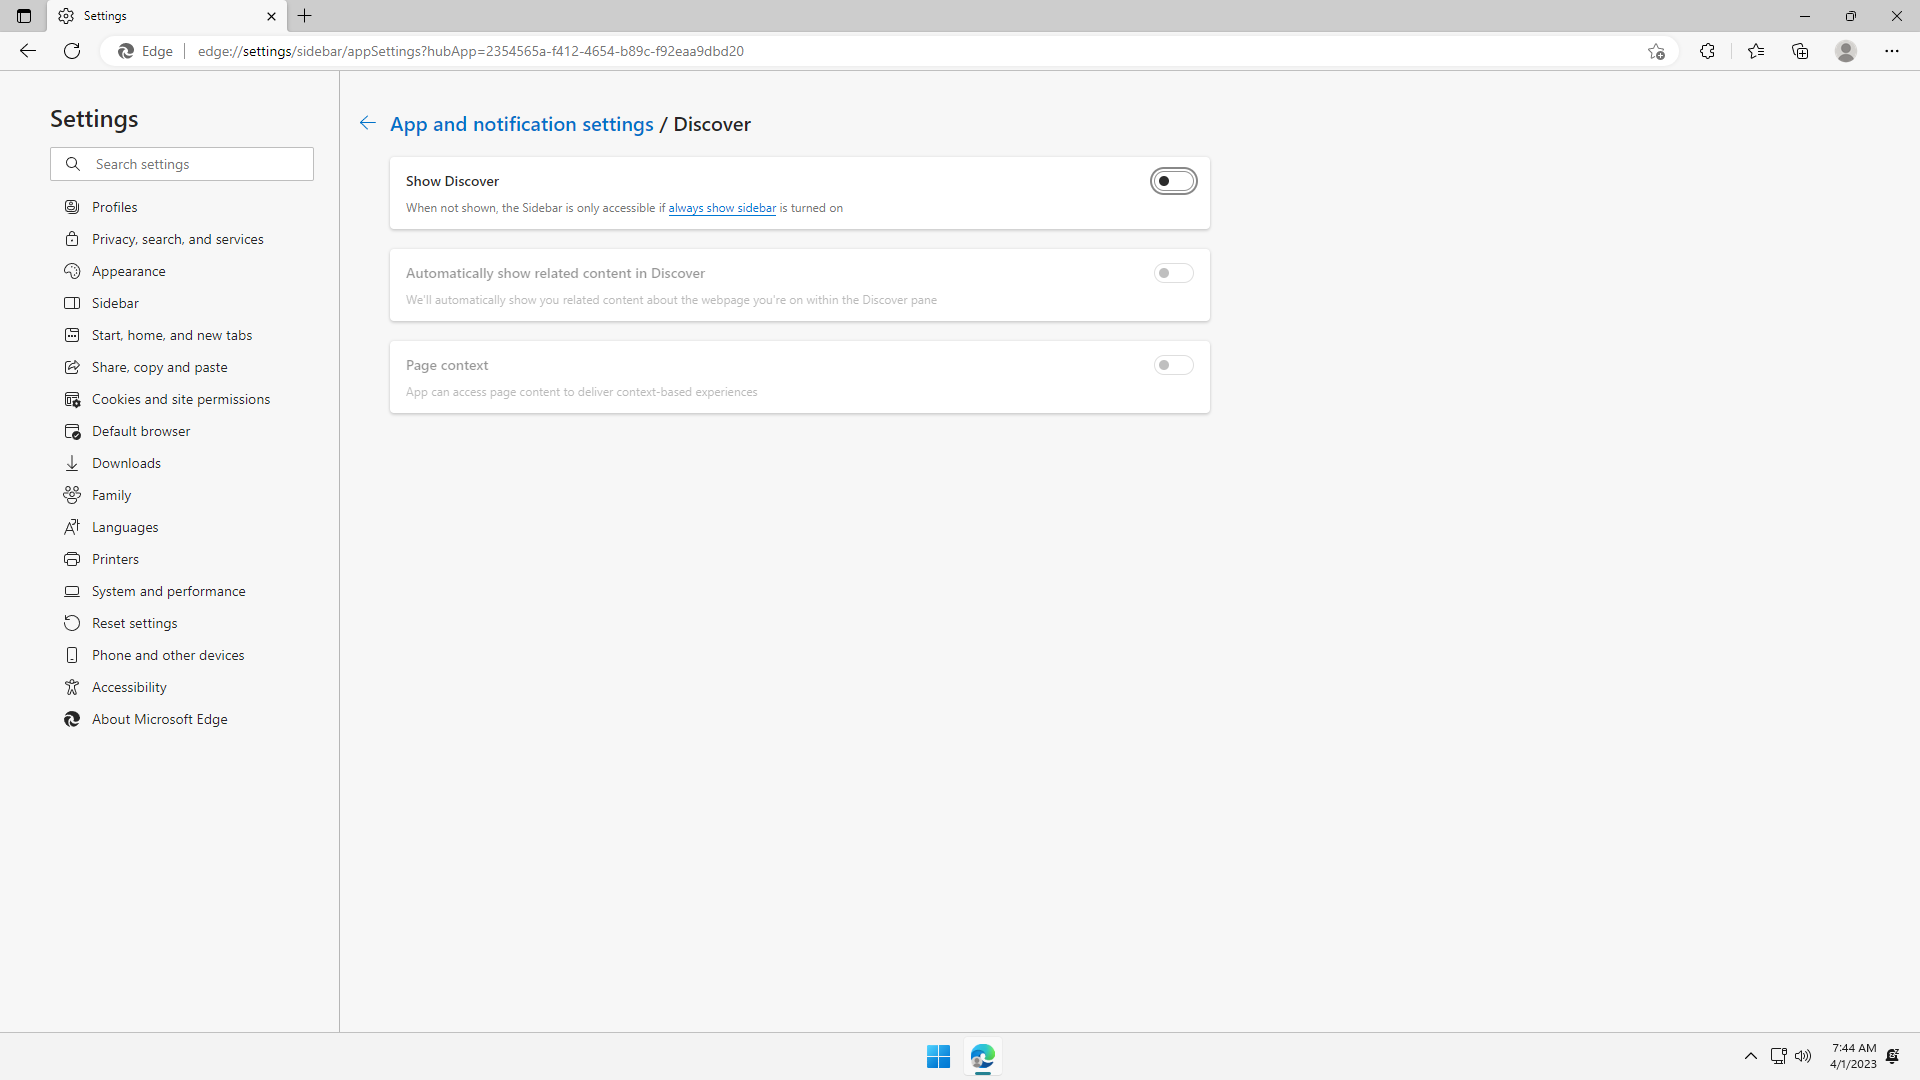
Sidebar is now fully disabled.
Step 3: Privacy, search and services
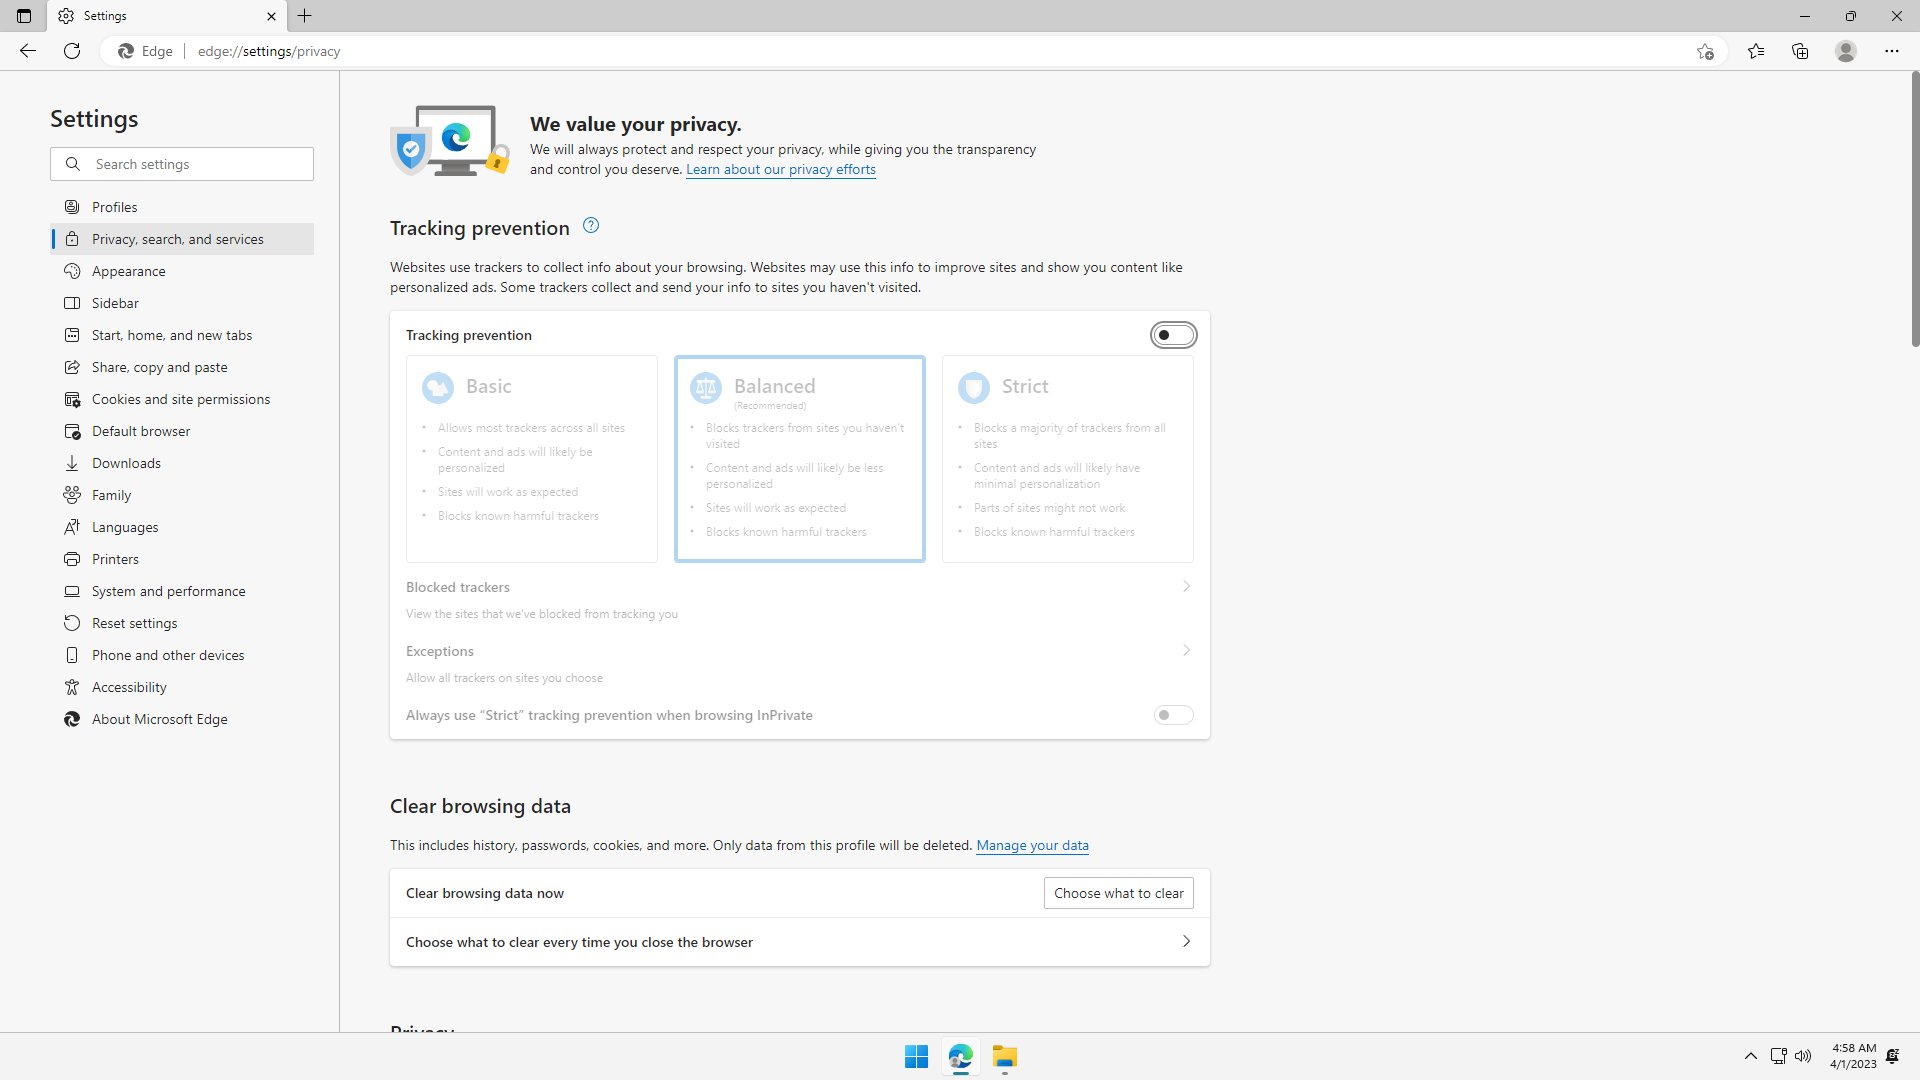
Click Settings > Privacy, search and services.
Optional: Under Tracking prevention, flip off if you already intend to use a browser extension for ad-blocking, you may not need Microsoft Edge's tracking prevention which may actually be sending some analytics back to Microsoft.
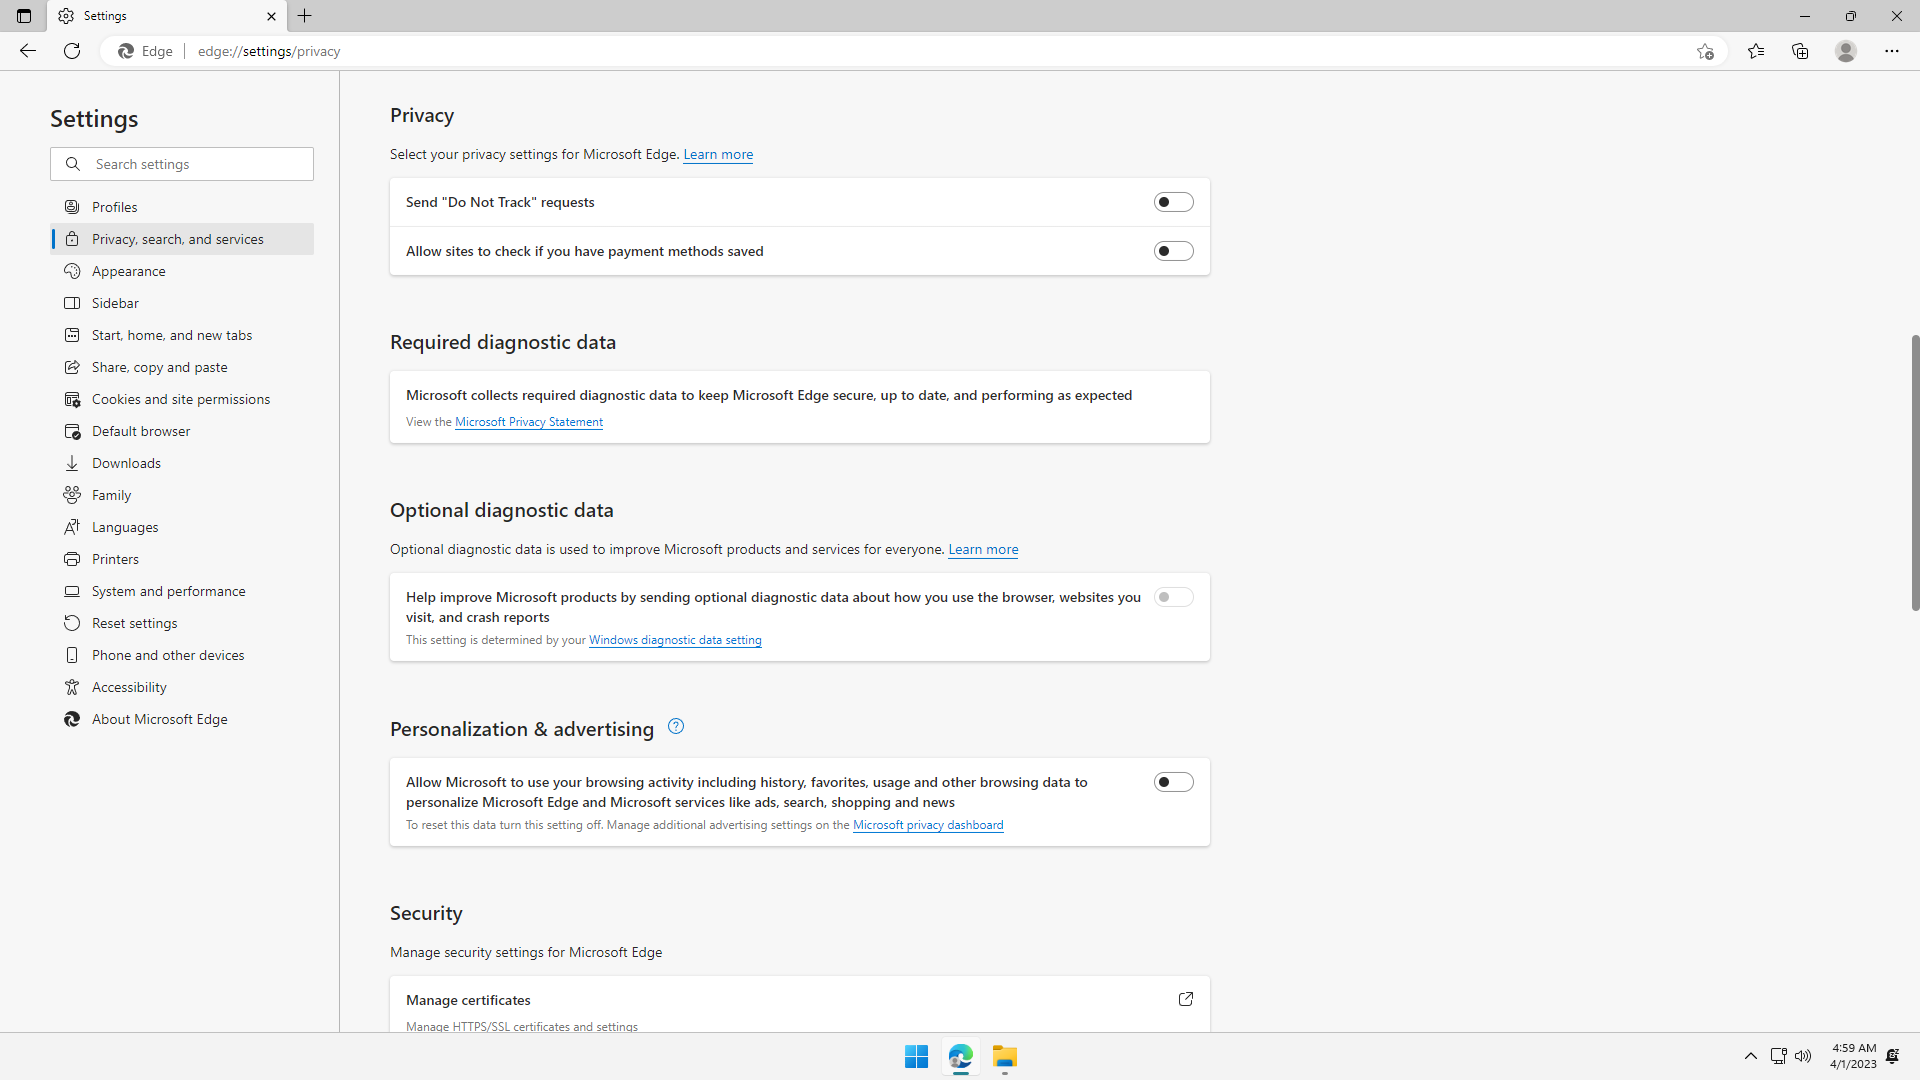
Under Privacy, flip off all switches. Do not turn on Do Not Track because it is a deprecated setting and serves no purpose on the web, since websites may not honor it.
Optional diagnostic data should be disabled in Windows because diagnostic data might contain sensitive information.
Under Personalization & advertising, flip off the switch. This prevents Microsoft from using your personal browsing data to improve their technology:
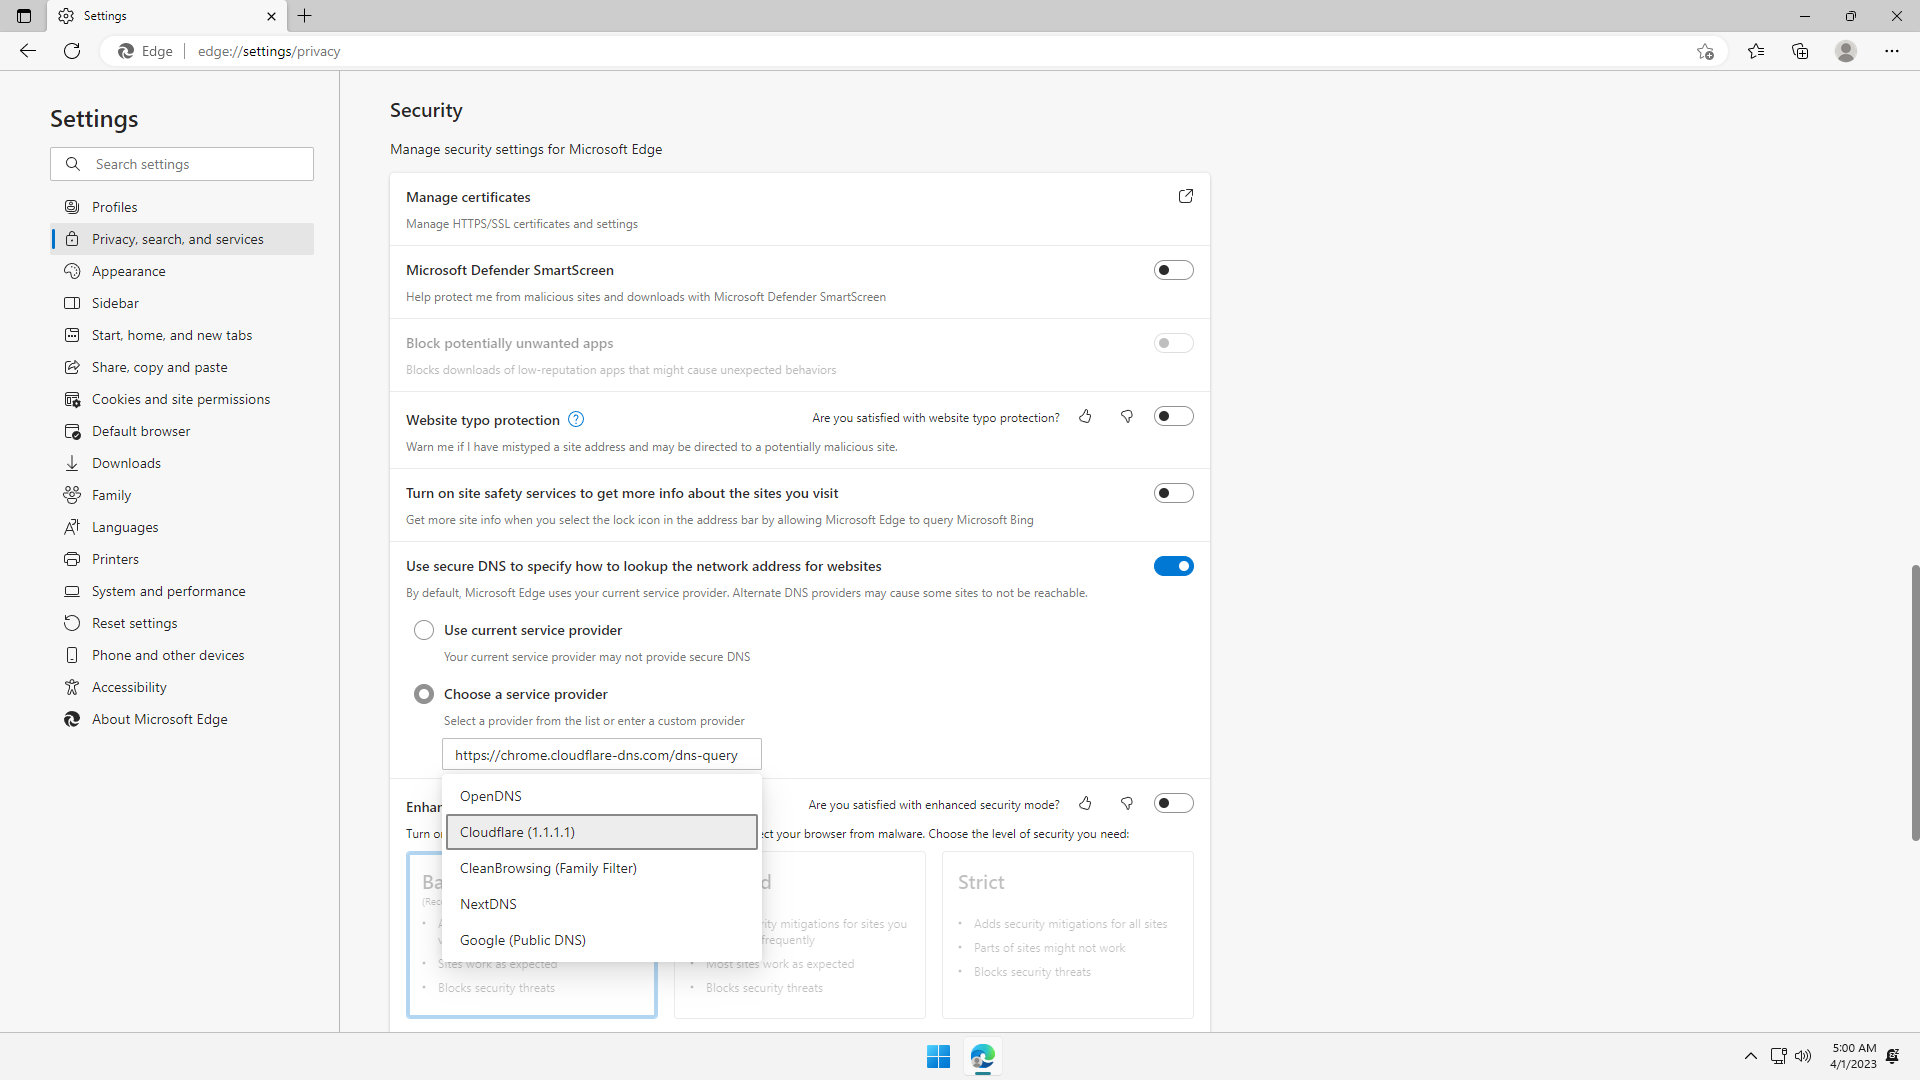
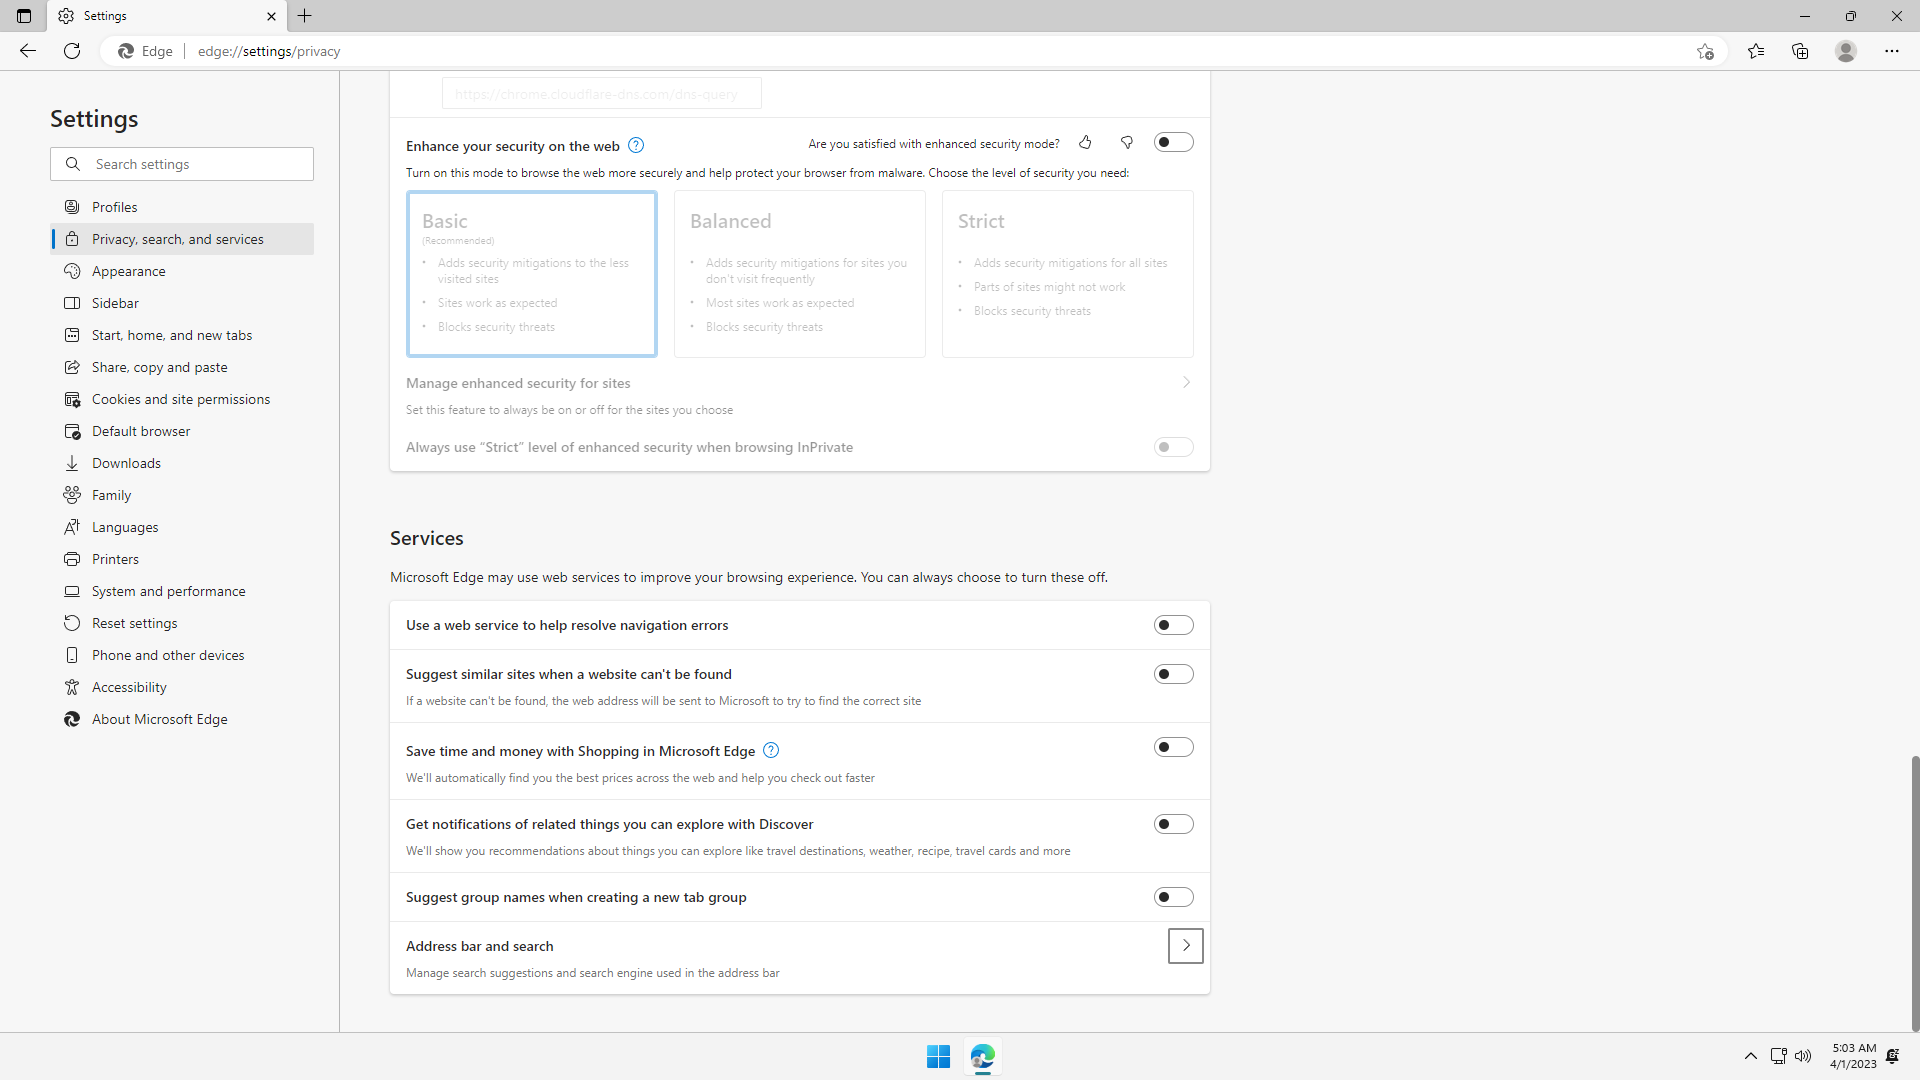
Scroll down. Flip of all switches except Use secure DNS .... You do not need all the web services Microsoft claims to enhance security but which might not be but be primarily performing data-mining on your personal browsing data:
- Optional: Disable
Microsoft Defender SmartScreenif you do not want it constantly monitoring your web traffic. If you have disabled Windows Defender, this setting will already be off. Secure DNSis enables the browser to make encrypted DNS requests using DNS-over-HTTPS (DoH) or DNS-over-TLS (DoT), in constrast to legacy DNS which is unencrypted. If unsure, leave it as default:

Finally, under Services, flip all switches off. You do not need all the web services Microsoft claims to improve your browsing experience, but in reality primarily be data-mining your personal browsing data:
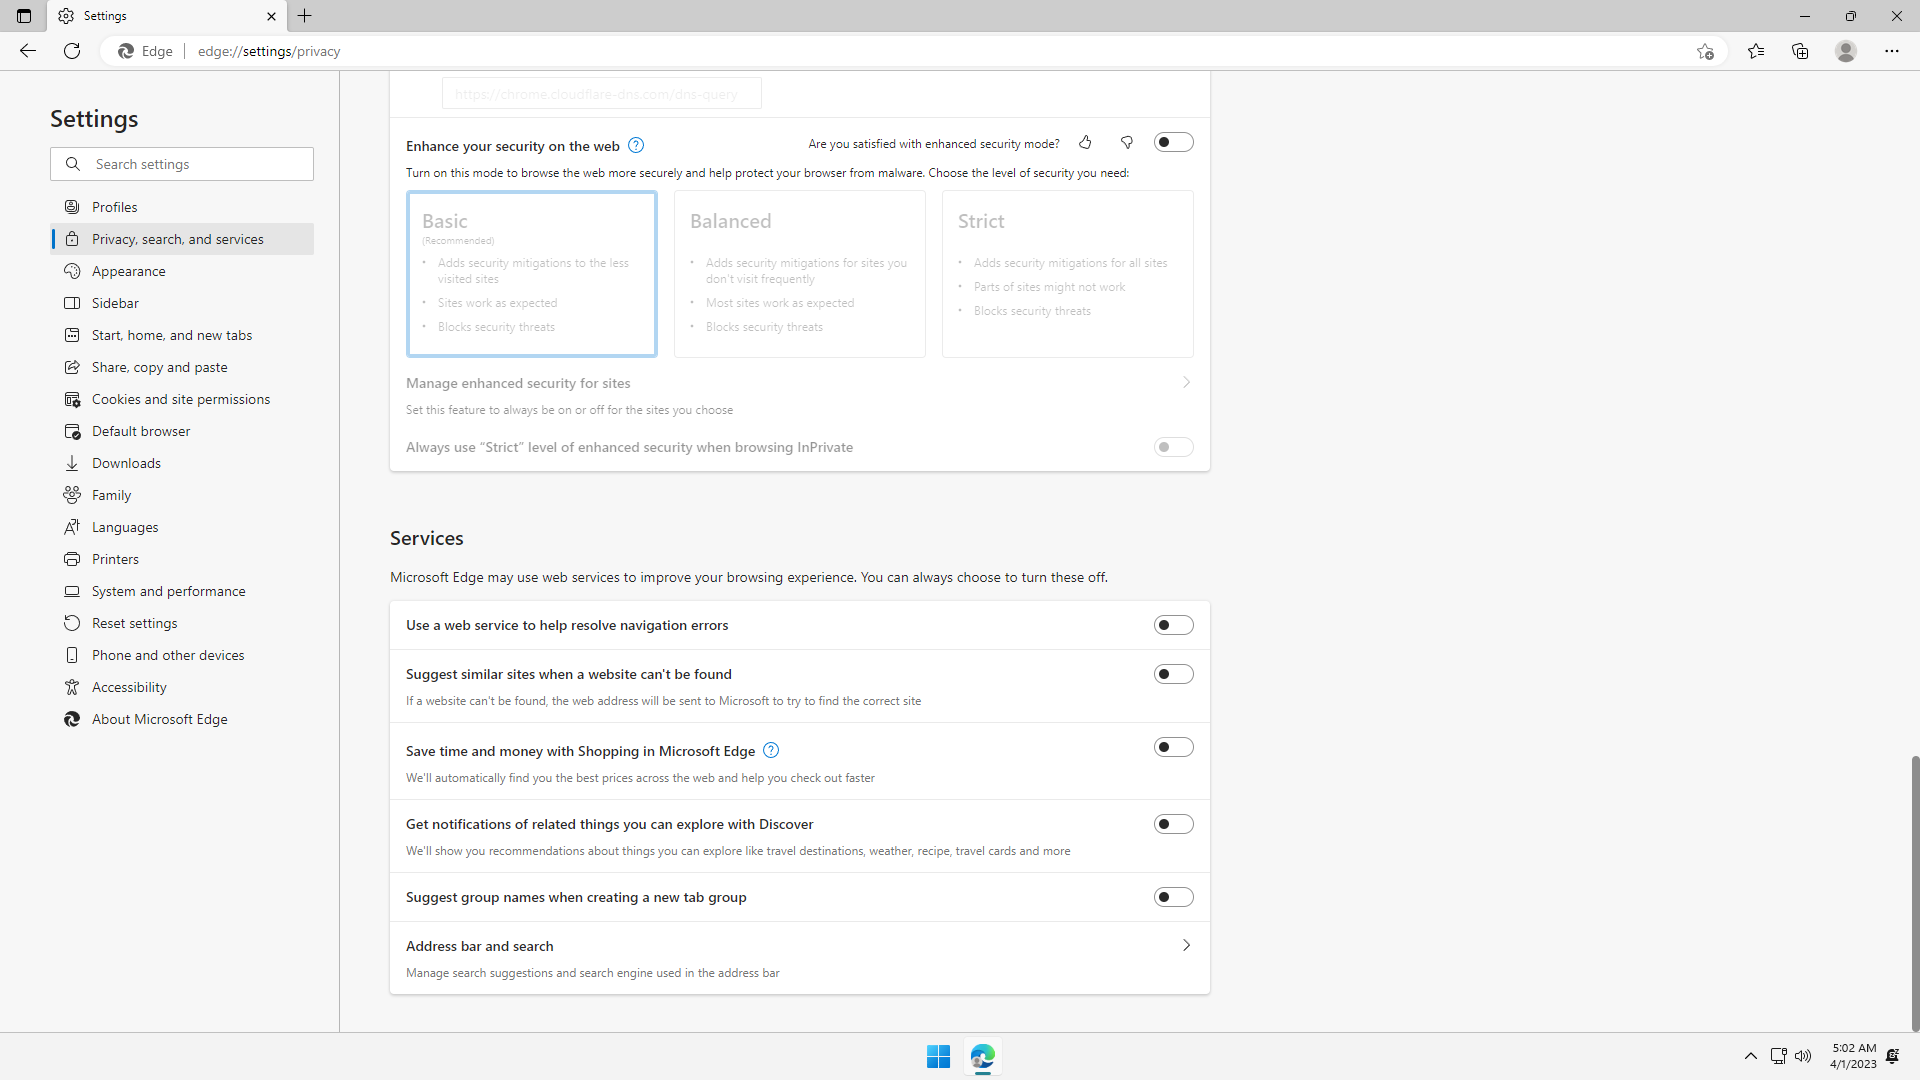
Finally, under Services, click Address bar and search, and flip off Show me search and site suggestions using my typed characters. Search keywords are not just distracting, but they are really just subliminal advertisements:

Step 4: Start, home and new tabs
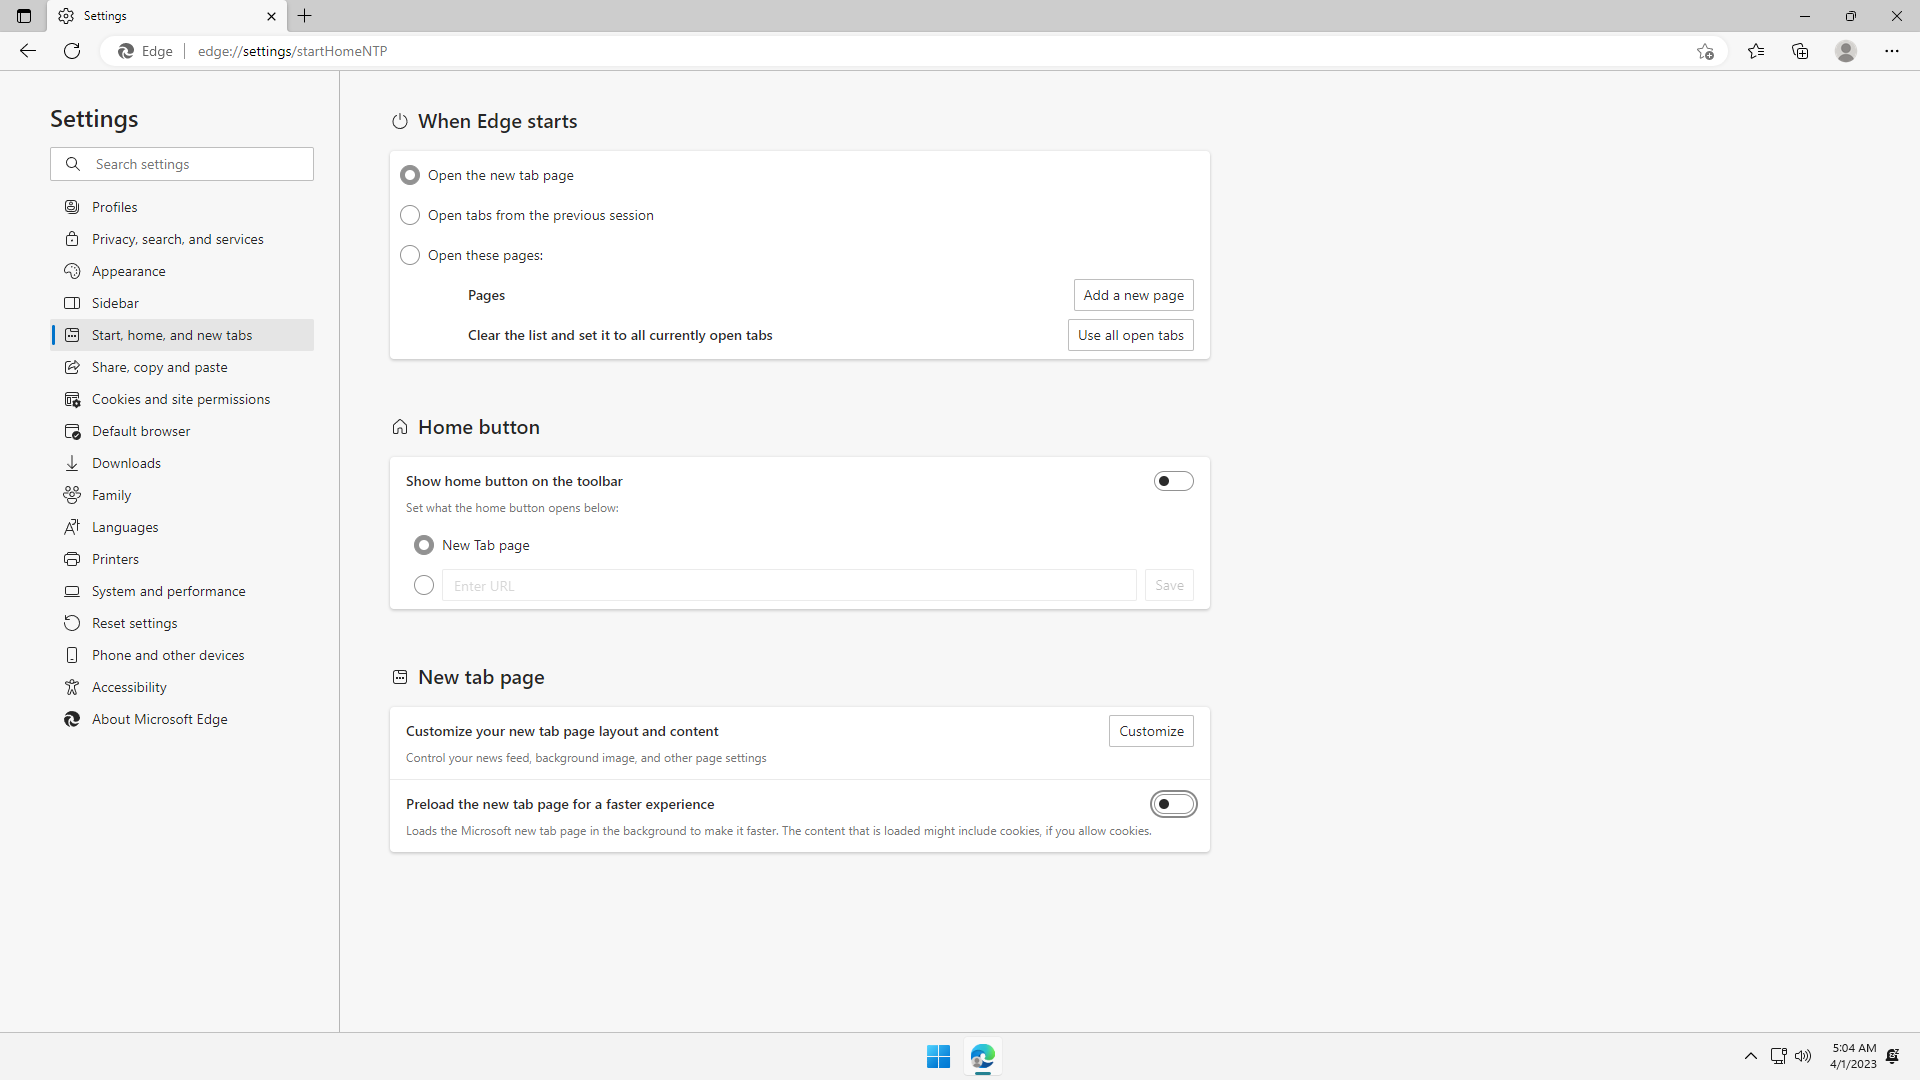
Click Settings > Start, home and new tabs.
Under New tab page, flip off the Preload the new tab page for a faster experience switch. This makes unnecessary loading of the New Tab page:
Under New tab page, click Customize button, and set the following to declutter the New Tab page:
LayouttoCustomQuick LinkstoOffShow greetingtoOffContenttoContent off

Note that the above settings do not stop the New Tab from loading a Microsoft web page whenever it is open, so later on we will force the New Tab page to load a blank page.
Step 5: Share, copy and paste
Click Settings > Share, copy and paste.
This is really a feature that tries makes a web request to get the metadata of any link you copied to the clipboard. This is an unnecessary service that Microsoft can use for data-mining user browsing activity. Flip it off:

Step 6: Cookies and site permissions
Click Settings > Cookies and site permissions.
This is a very important section to lock down the browser or a website's access to your device's features that can compromise user privacy (e.g. location, camera, microphone, etc). Follow closely.
Under Cookies and data stored, click Manage and delete cookies and site data.
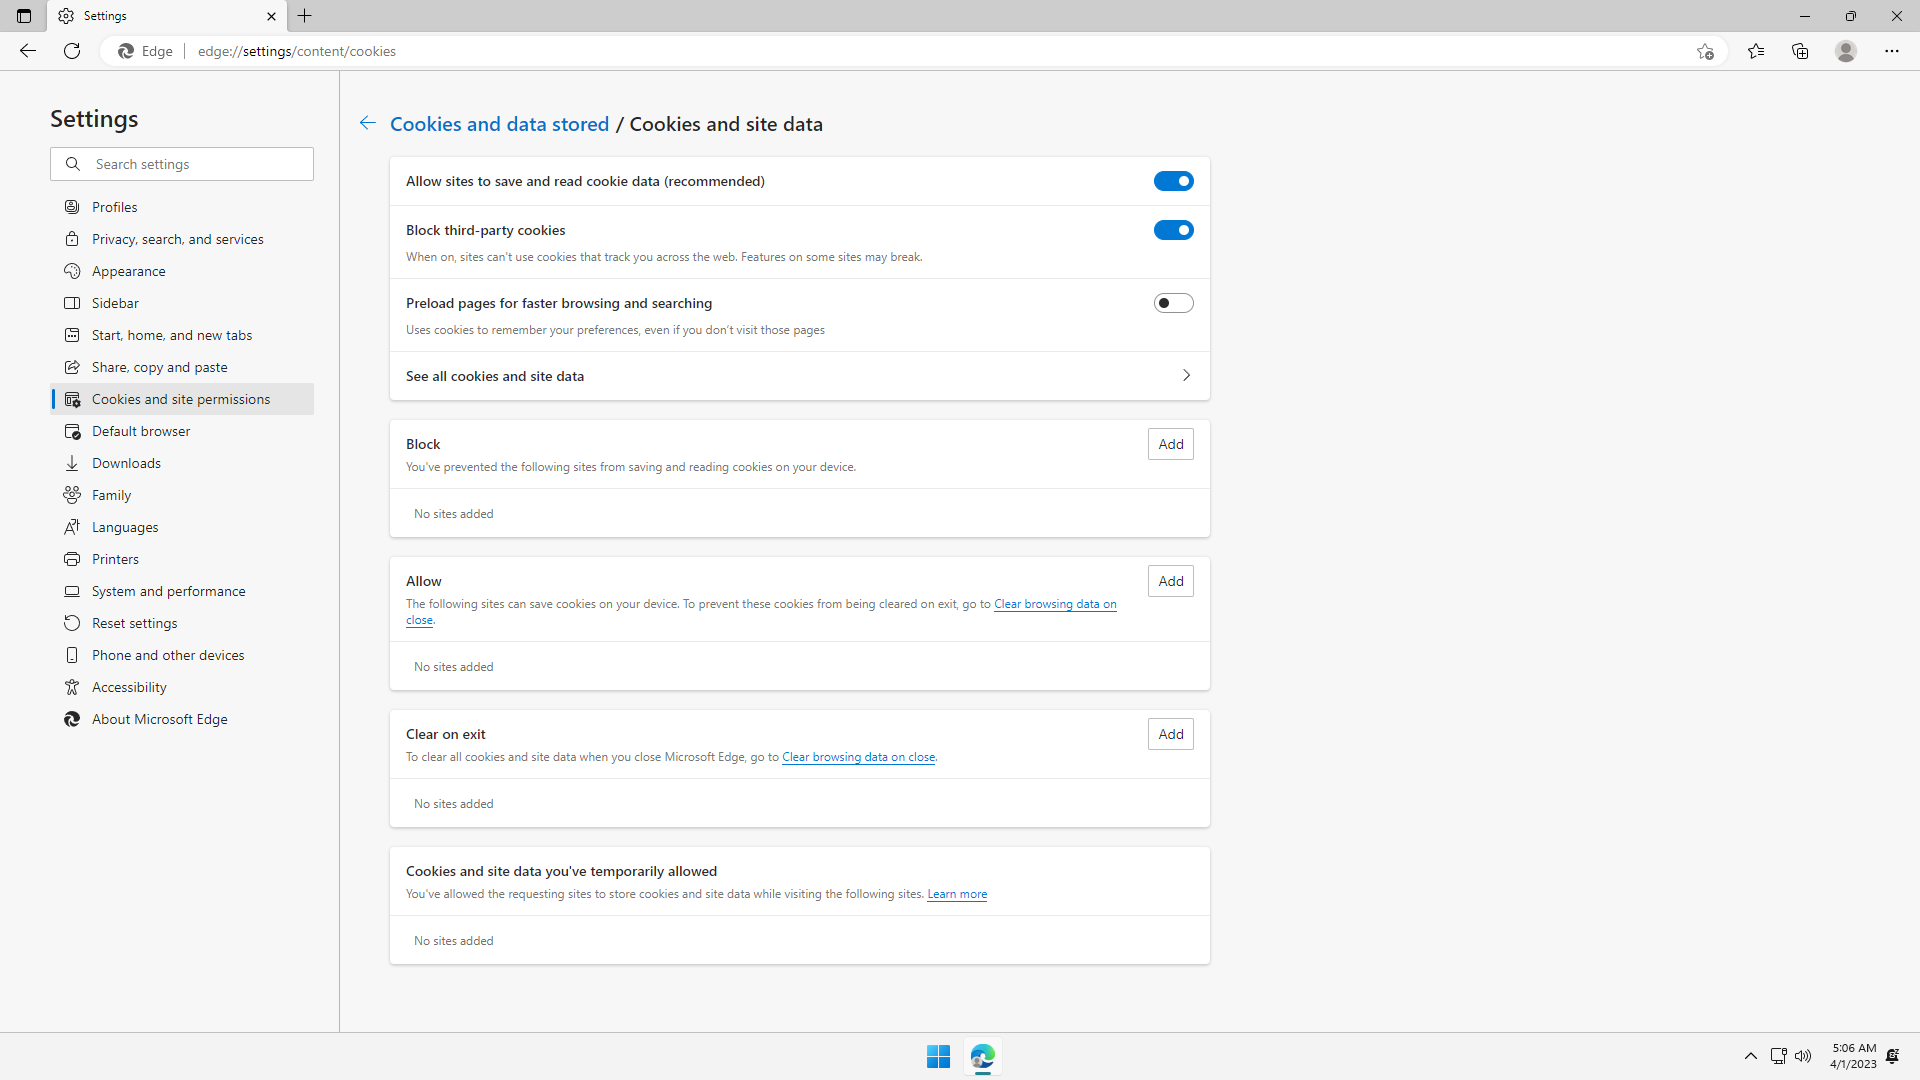
- Flip on
Block third-party cookies. This is a very important setting that prevents Site B from accessing Site A's cookies, which is the most widely used technique for following a user around the entire web (some examples include the old Facebook Like buttons, Twitter Tweet buttons), and this happens even with javascript off. Always block third-party cookies! - Flip off
Preload pages for faster browsing and searching. It is unnecessary to make web requests to a site that a user might not visit, since the preloading can compromise personal browsing activity.
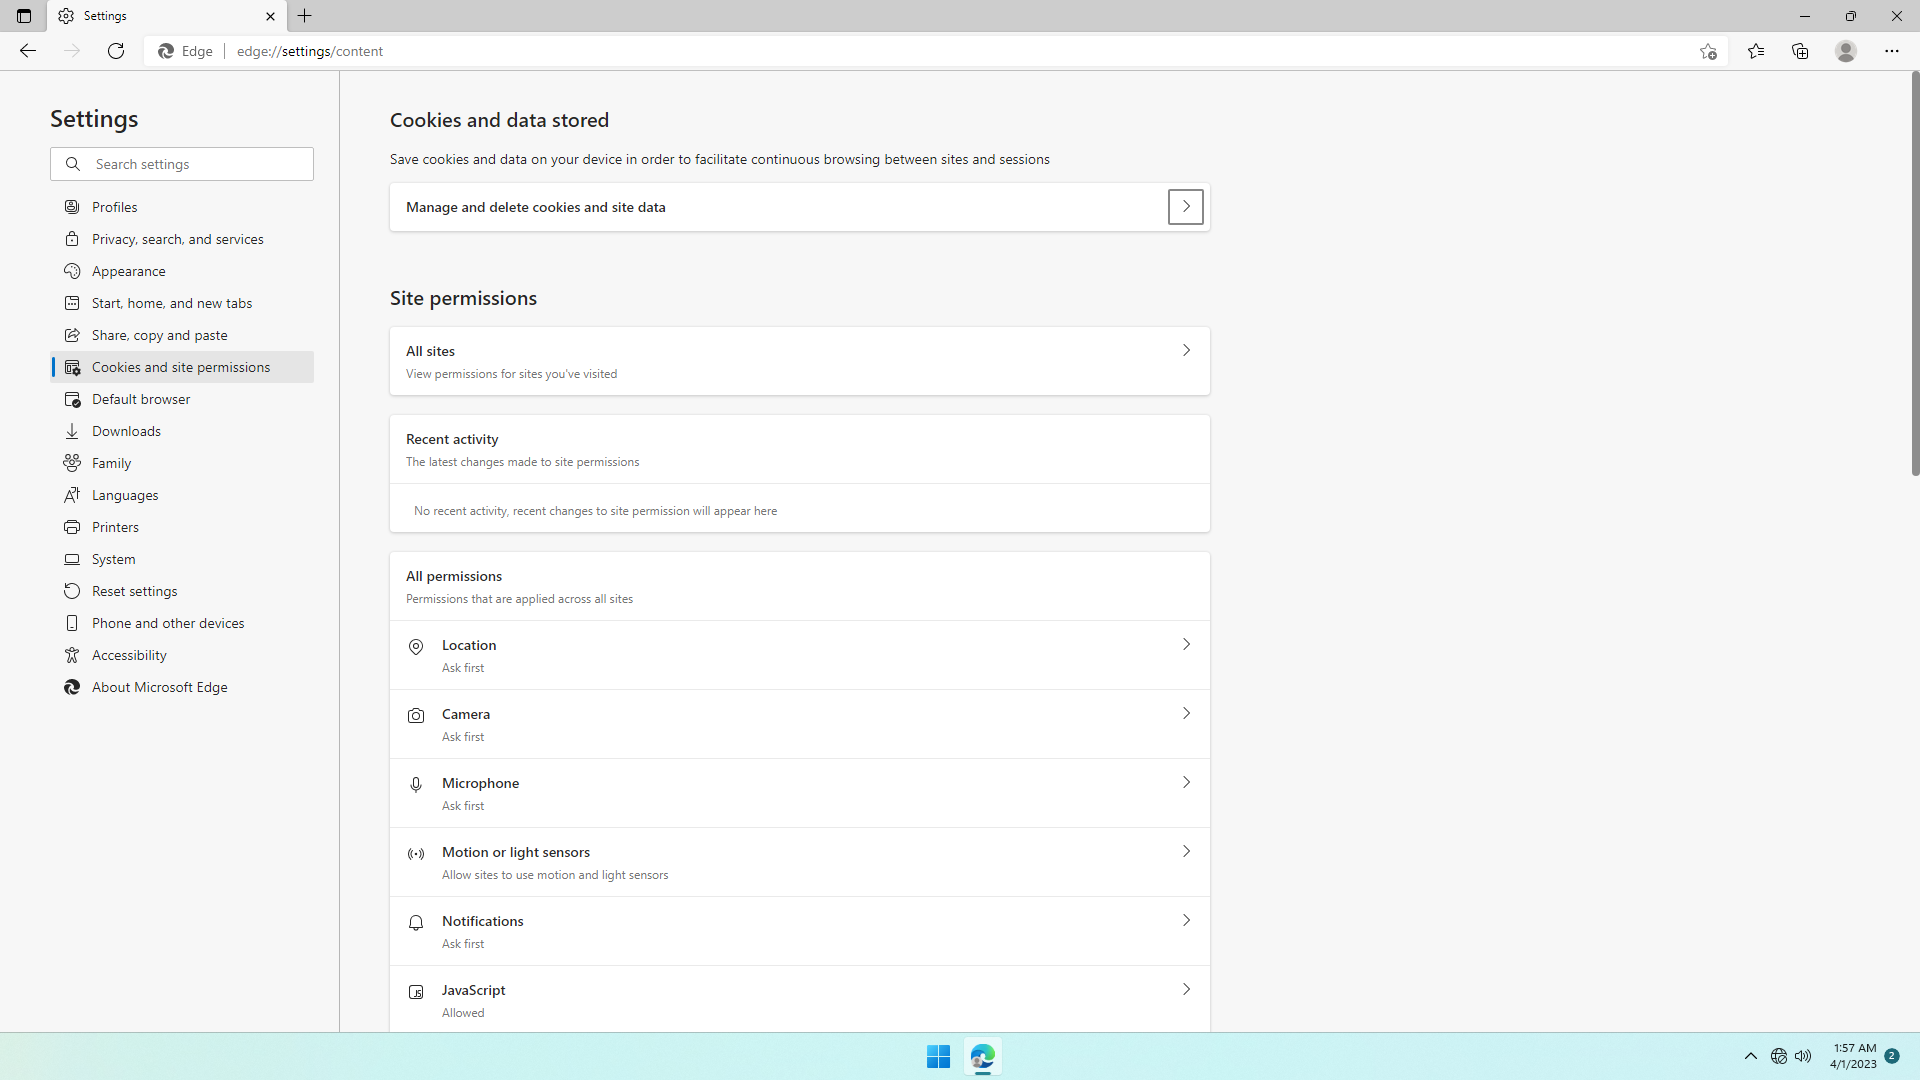
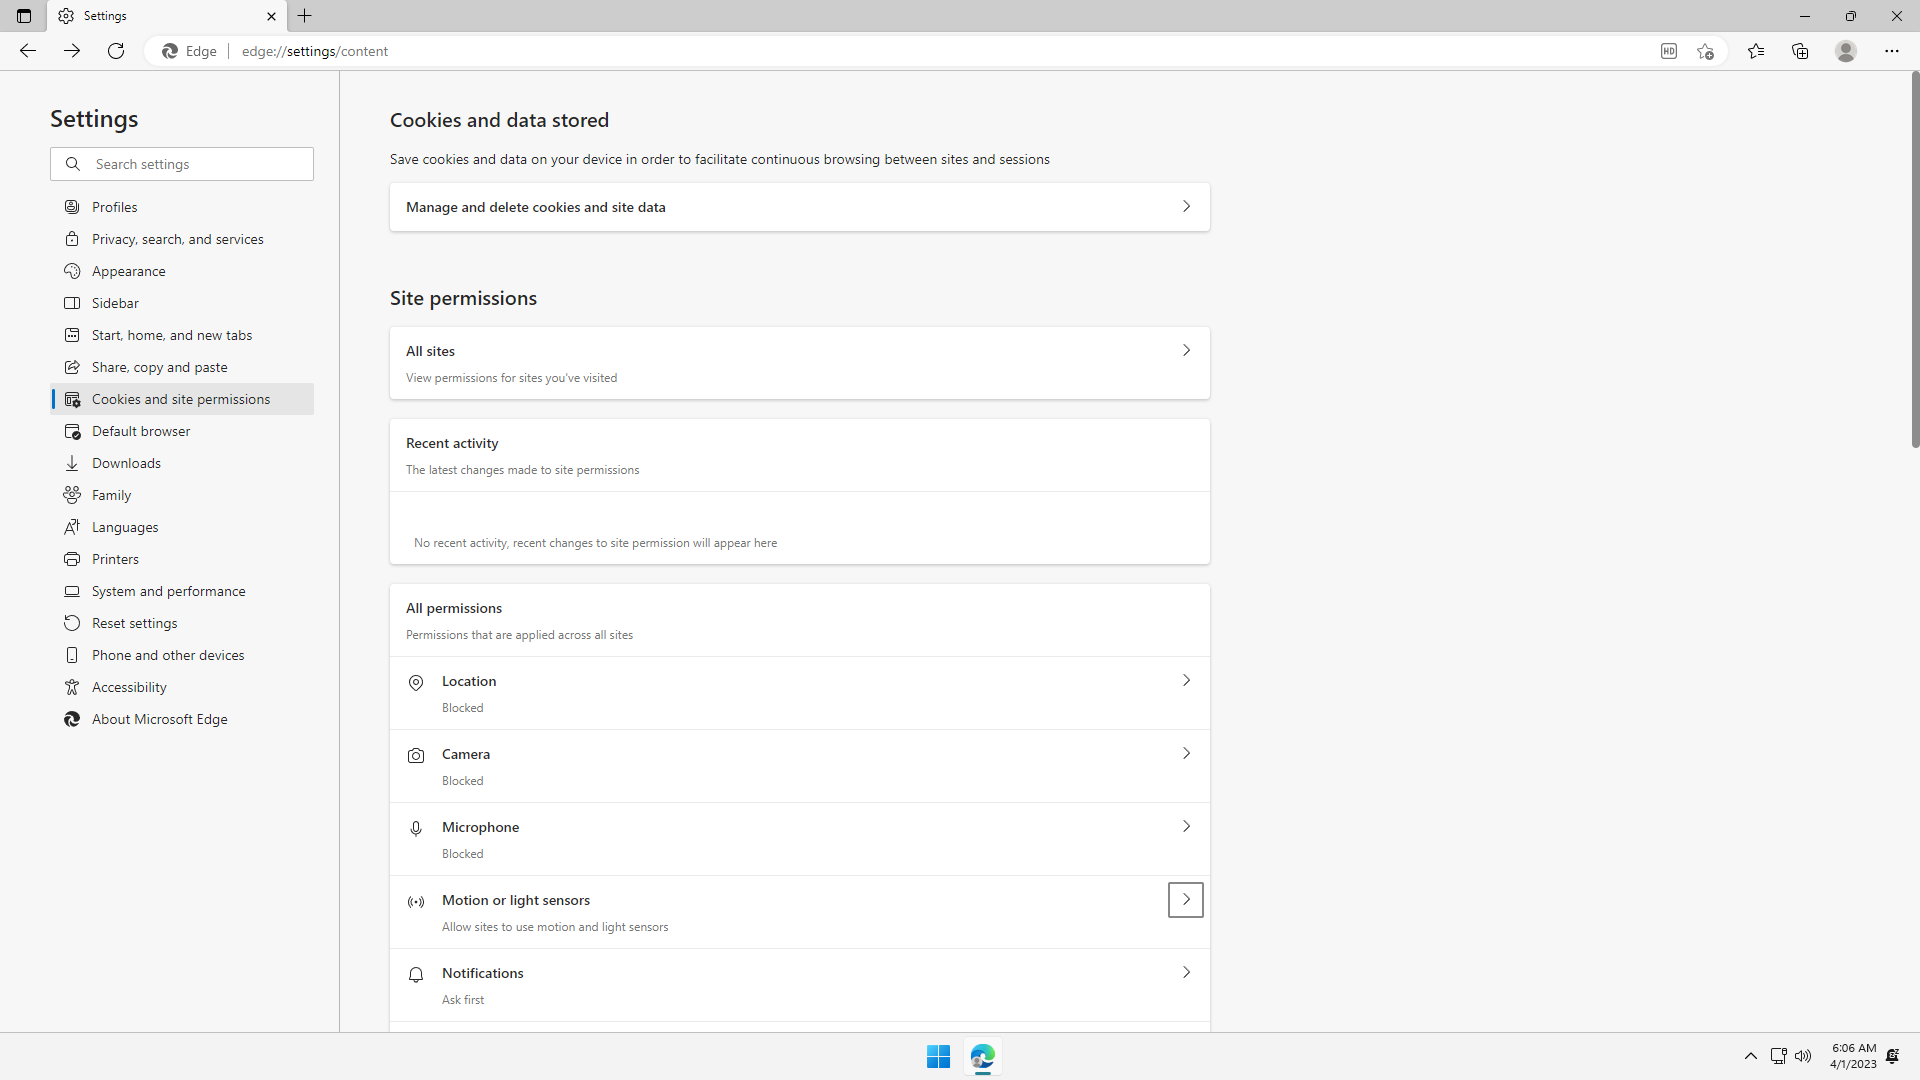
Moving on to the Site permissions section. This section is very important, and it is better to be safe and Disable a permission completely, rather than leave a permission as Ask which the user might accidentally press Allow. Remember that poor permissions can be used by malicious websites to spy on users, steal personal data, or used for data-mining of user's data by the big tech. It is good to review this section regularly.
Under Site permissions > Location, flip off if you do not ever need your location to be accessed. Location may be used by malicious websites to spy on users.
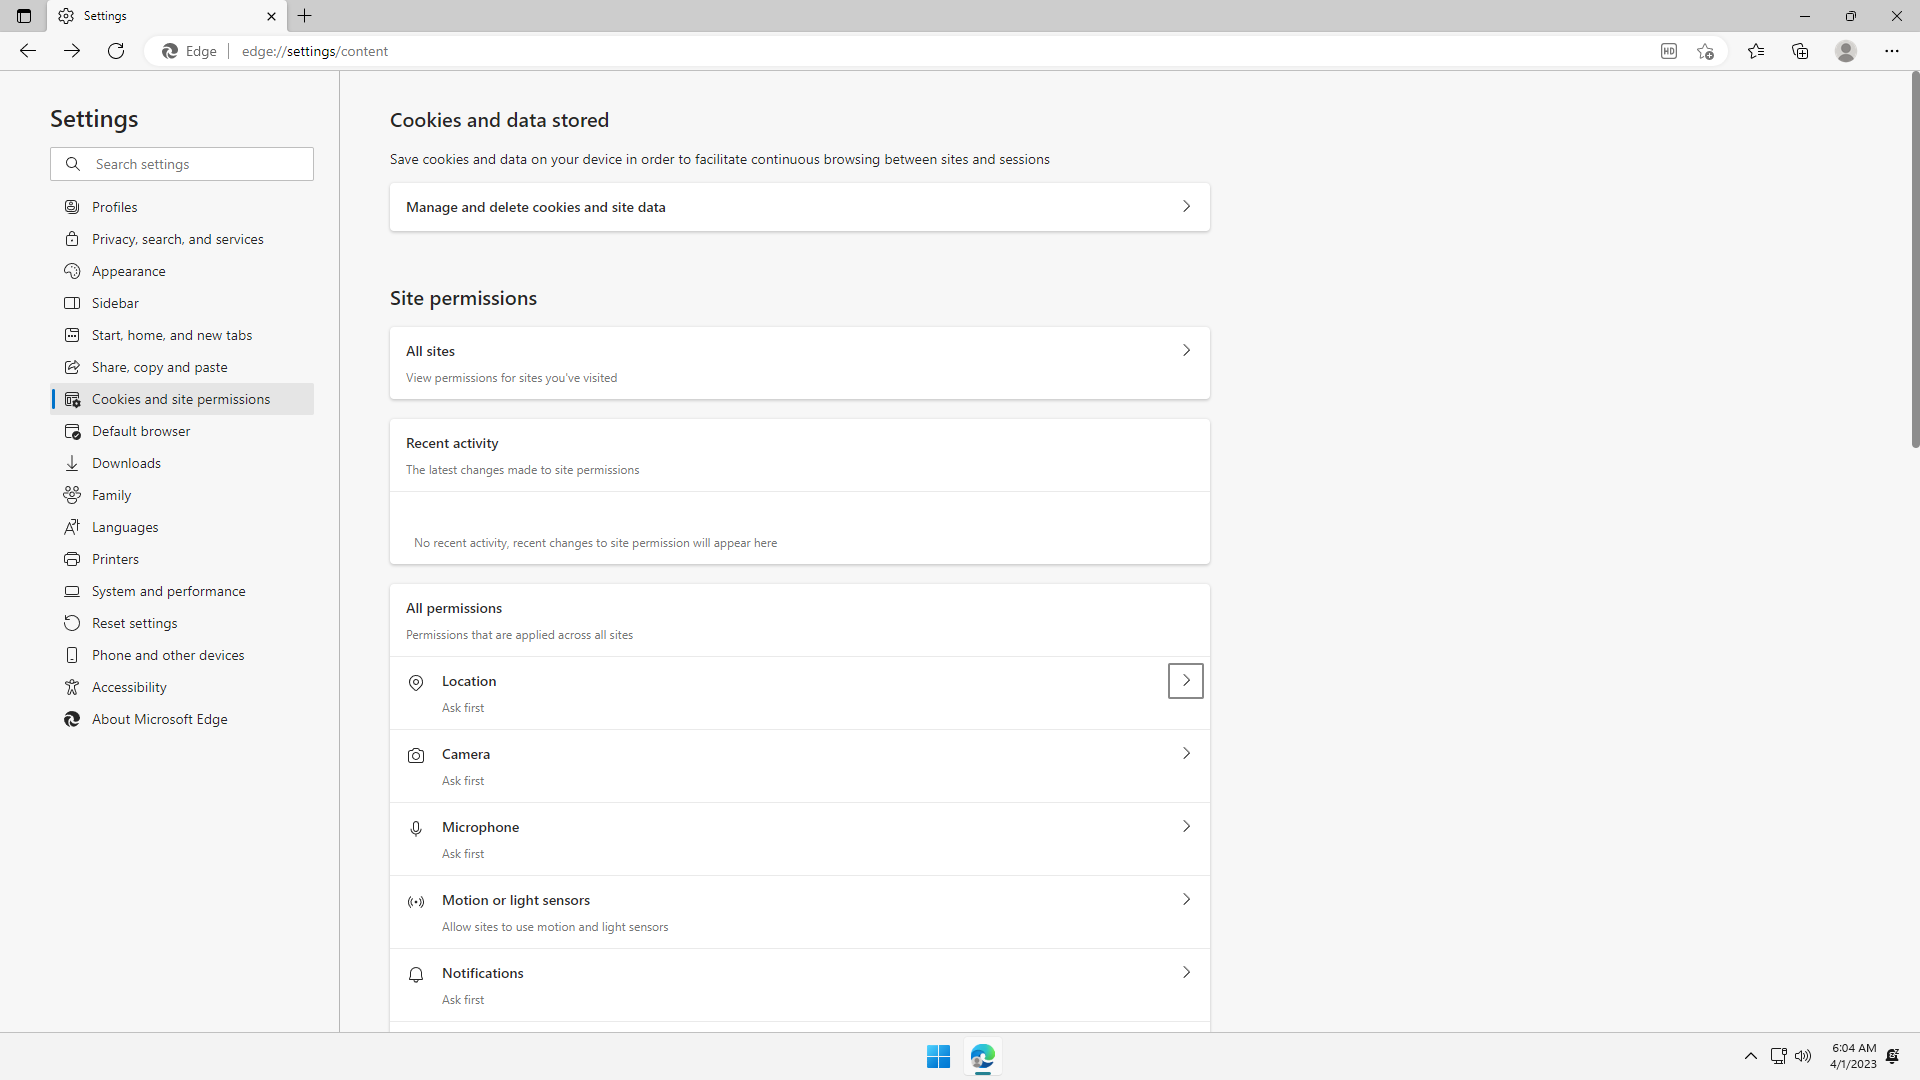

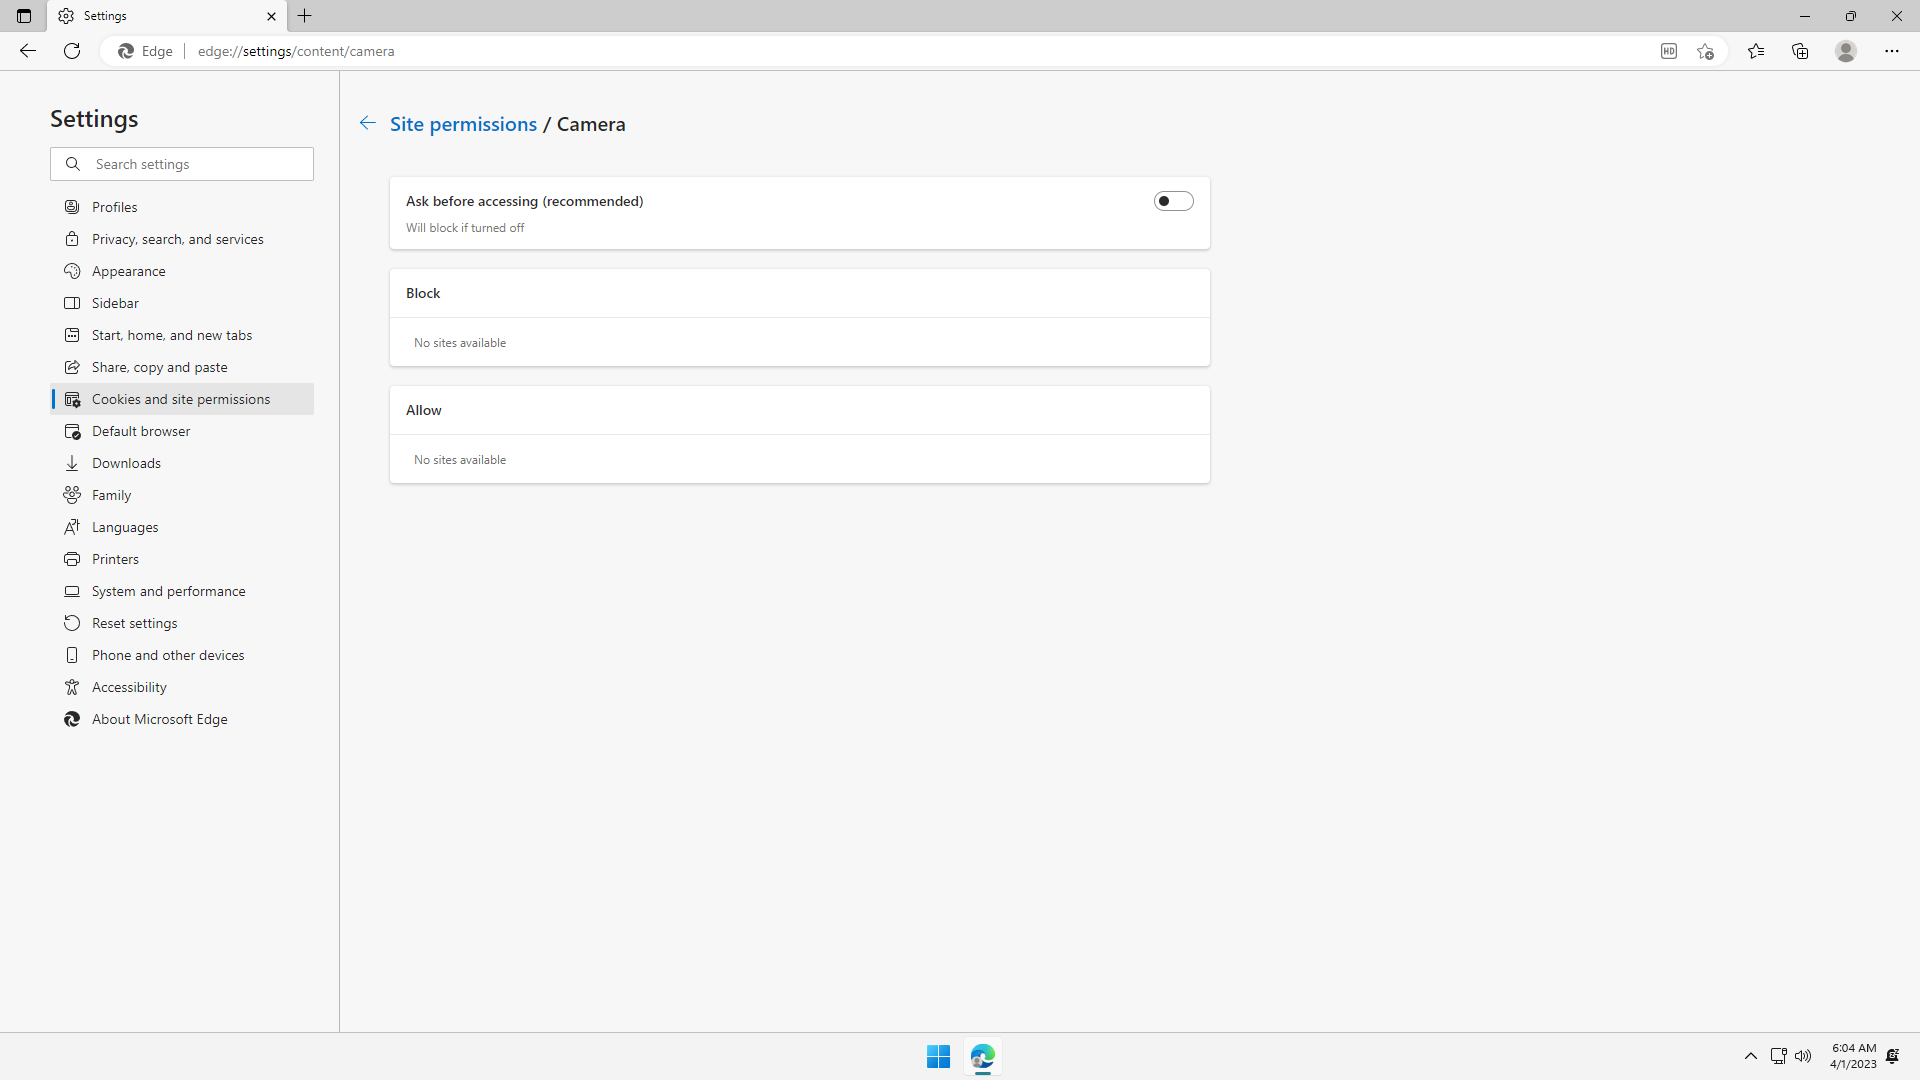
Under Site permissions > Camera, flip off if you do not ever need your camera to be accessed. Camera may be used by malicious websites to spy on users.

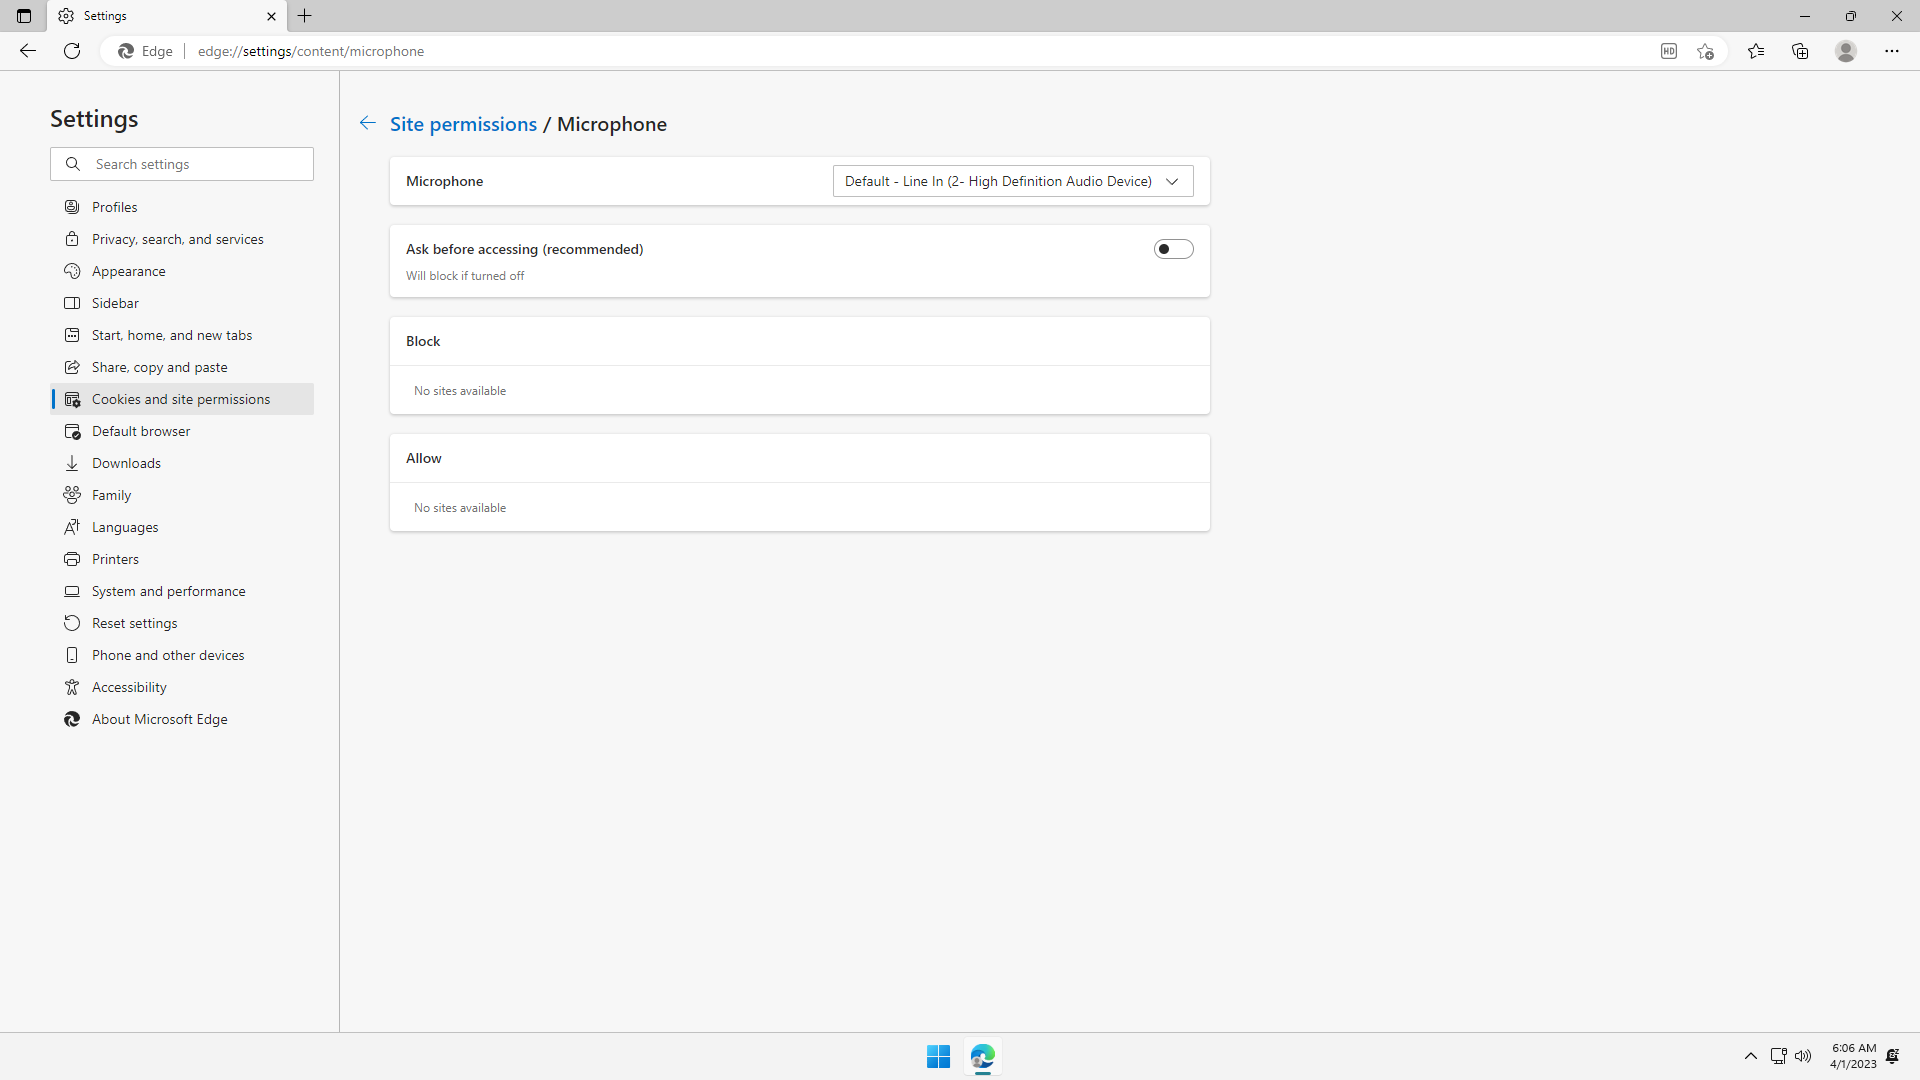
Under Site permissions > Microphone, flip off if you do not ever need your microphone to be accessed. Microphone may be used by malicious websites to spy on users.
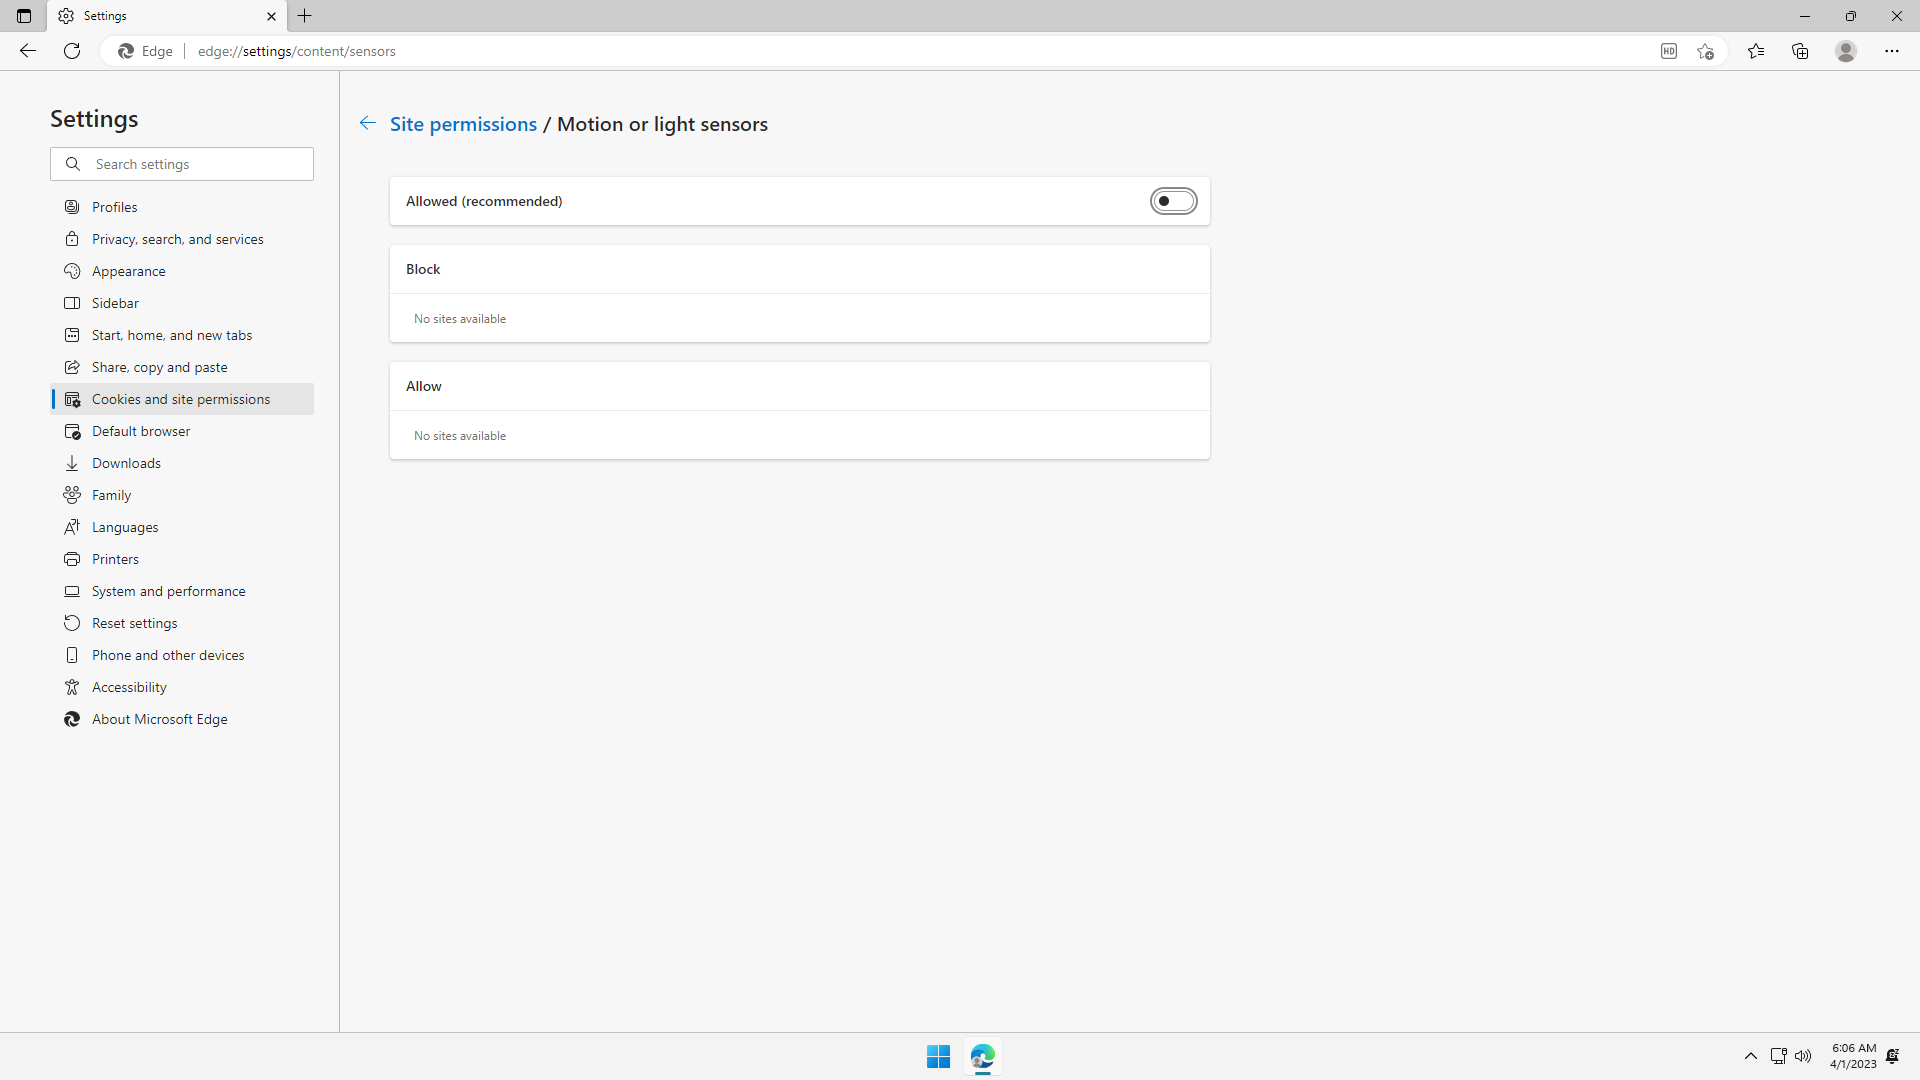
Under Site permissions > Motion or light sensors, flip off if you do not ever need these for playing web games or some special purpose. These data may be used by malicious websites to spy on user physical activity or surroundings.
Under Site permissions > Notifications, flip off if you do not ever need websites to send you push notifications via the browser.
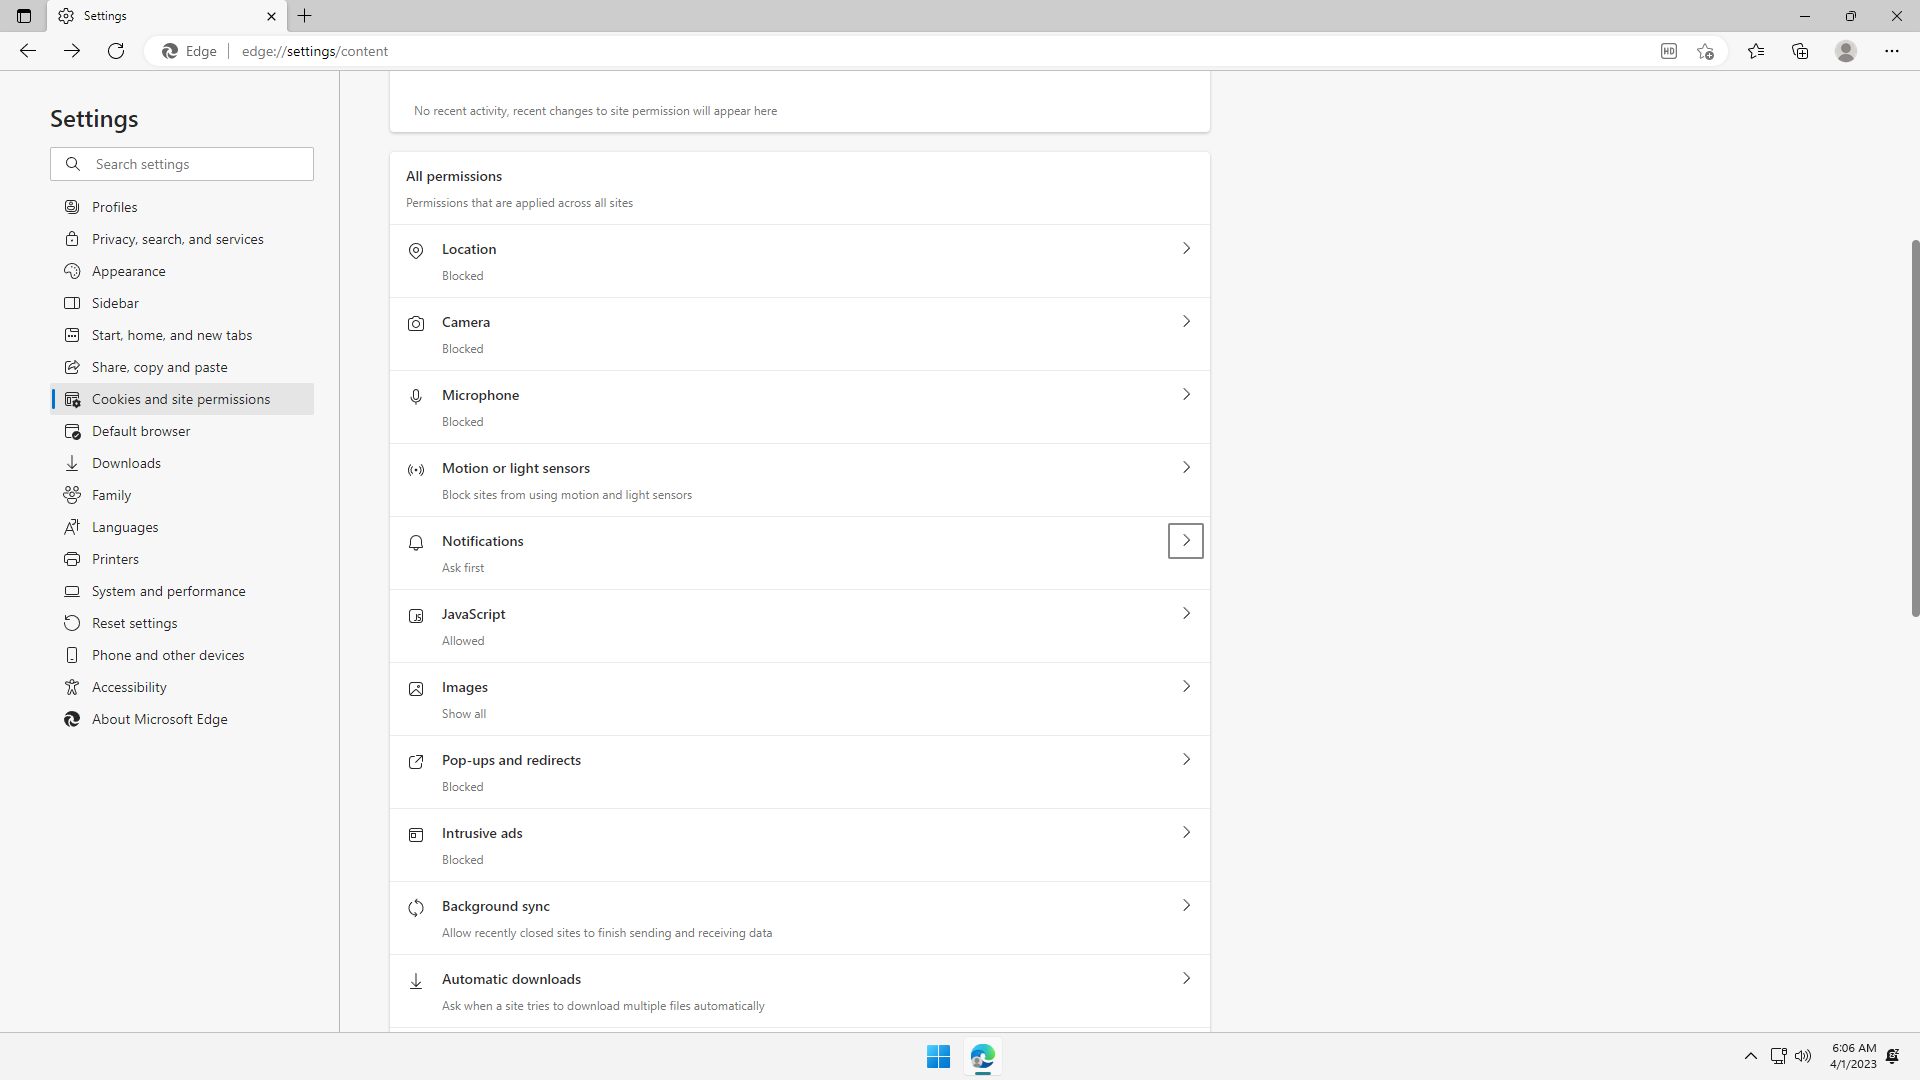

Under Site permissions > Pop-ups and redirects, ensure is Blocked.
Under Site permissions > Intrusive ads, ensure is Blocked.
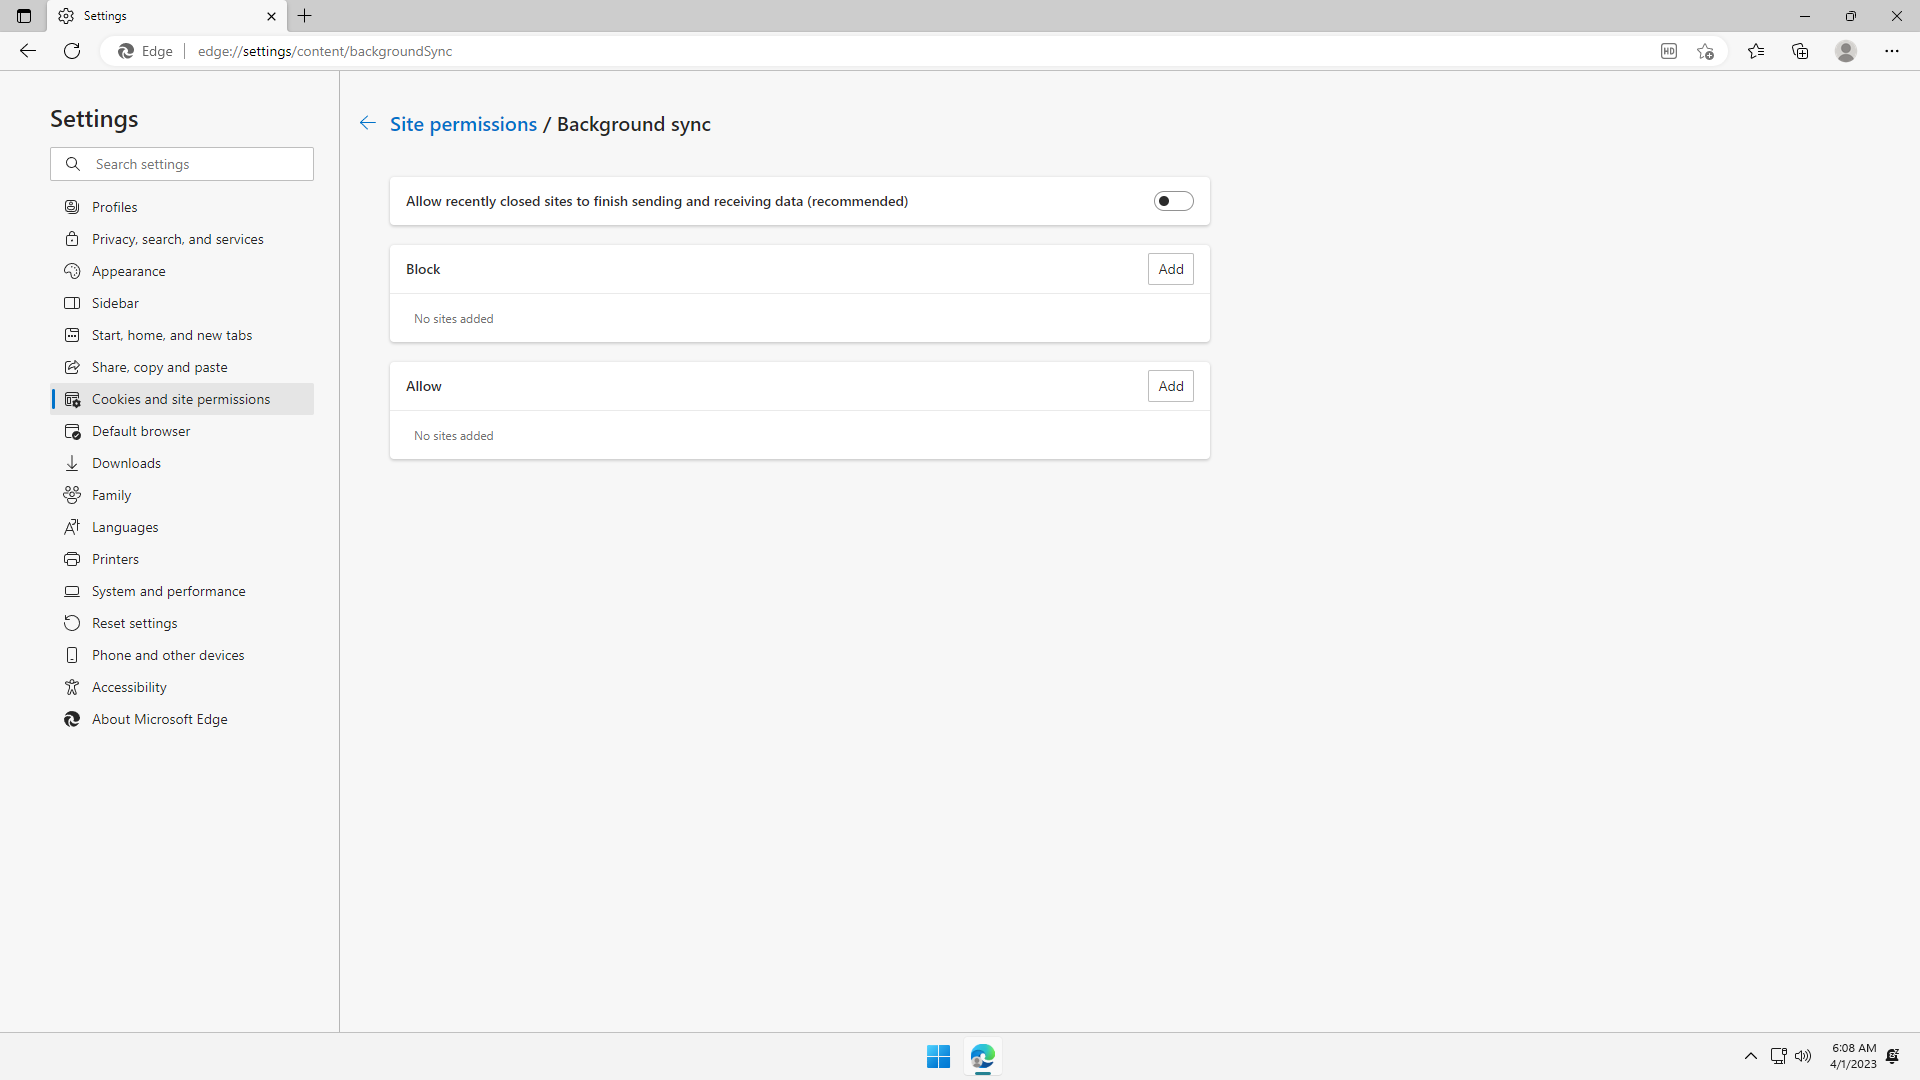
Optional: Under Site permissions > Background Sync, flip off if you do not use any Progressive Web Apps (PWA). If in doubt, leave it on:
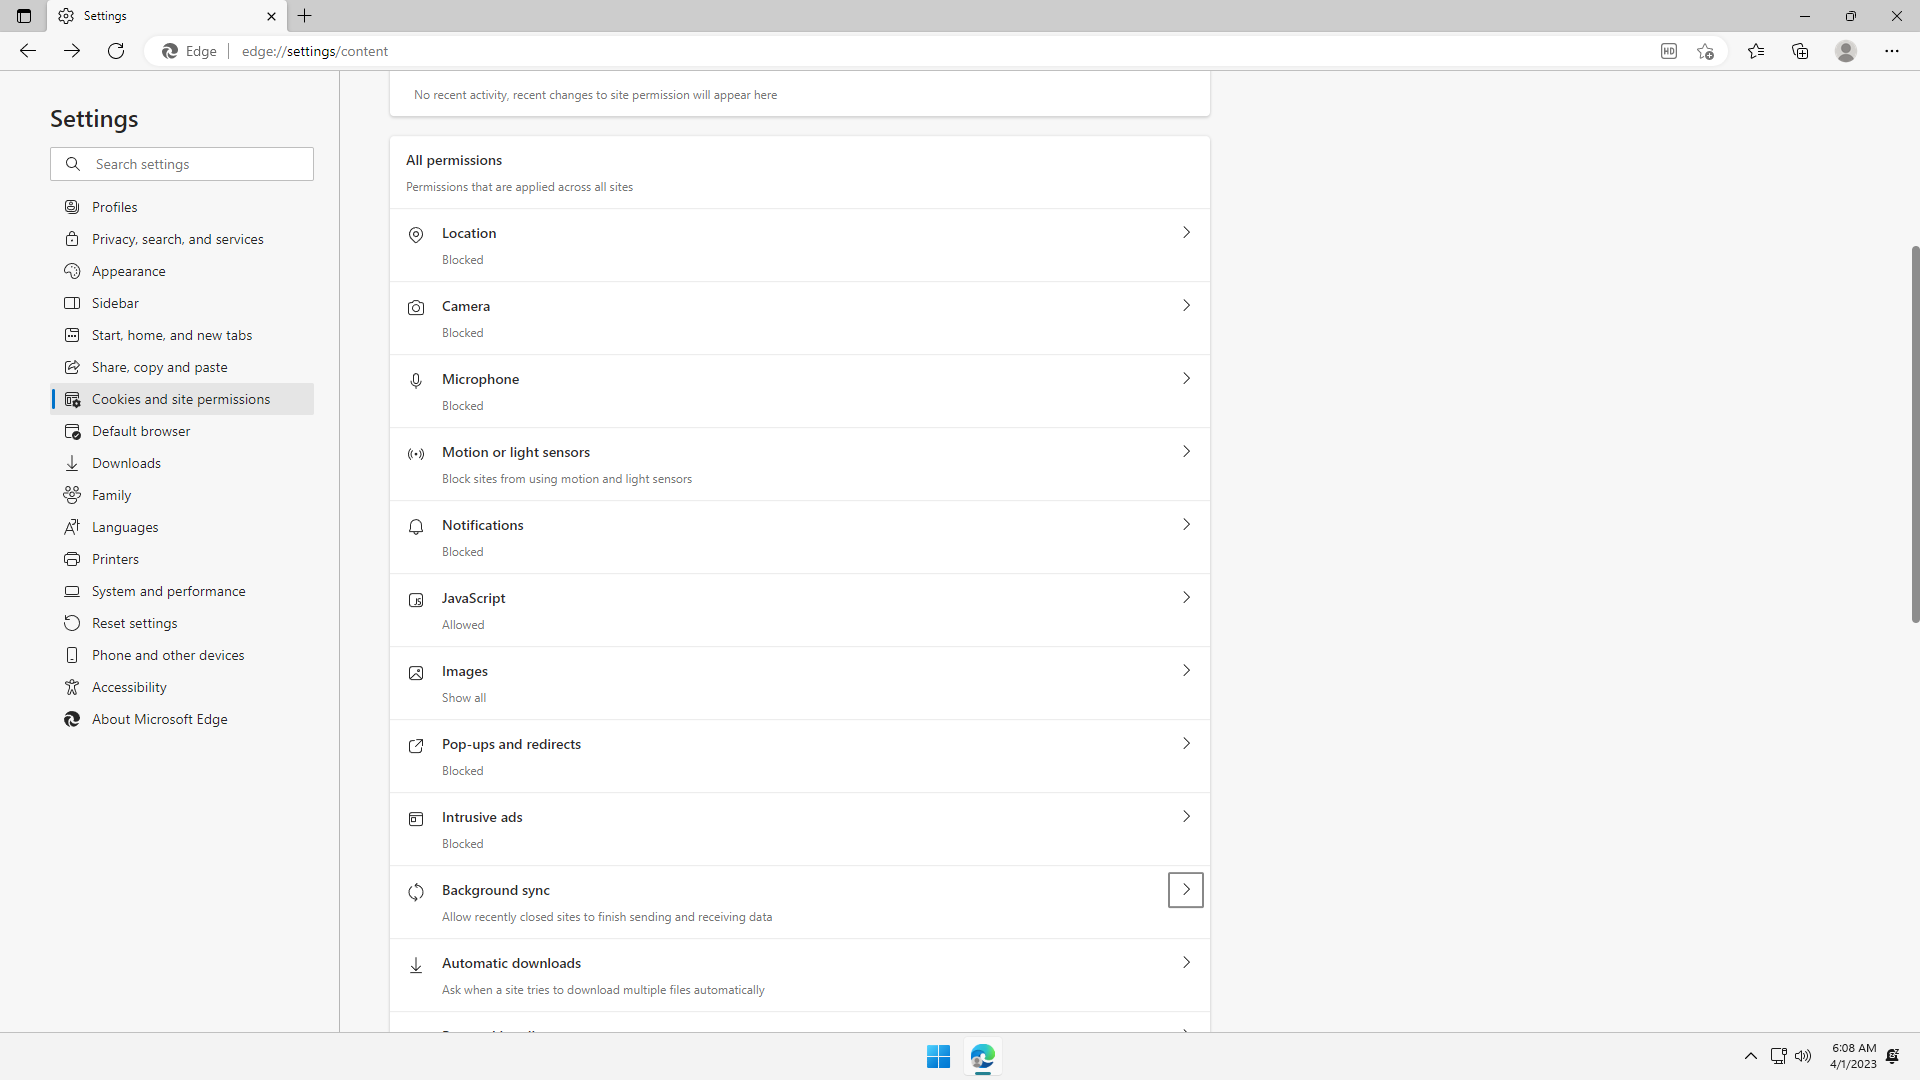
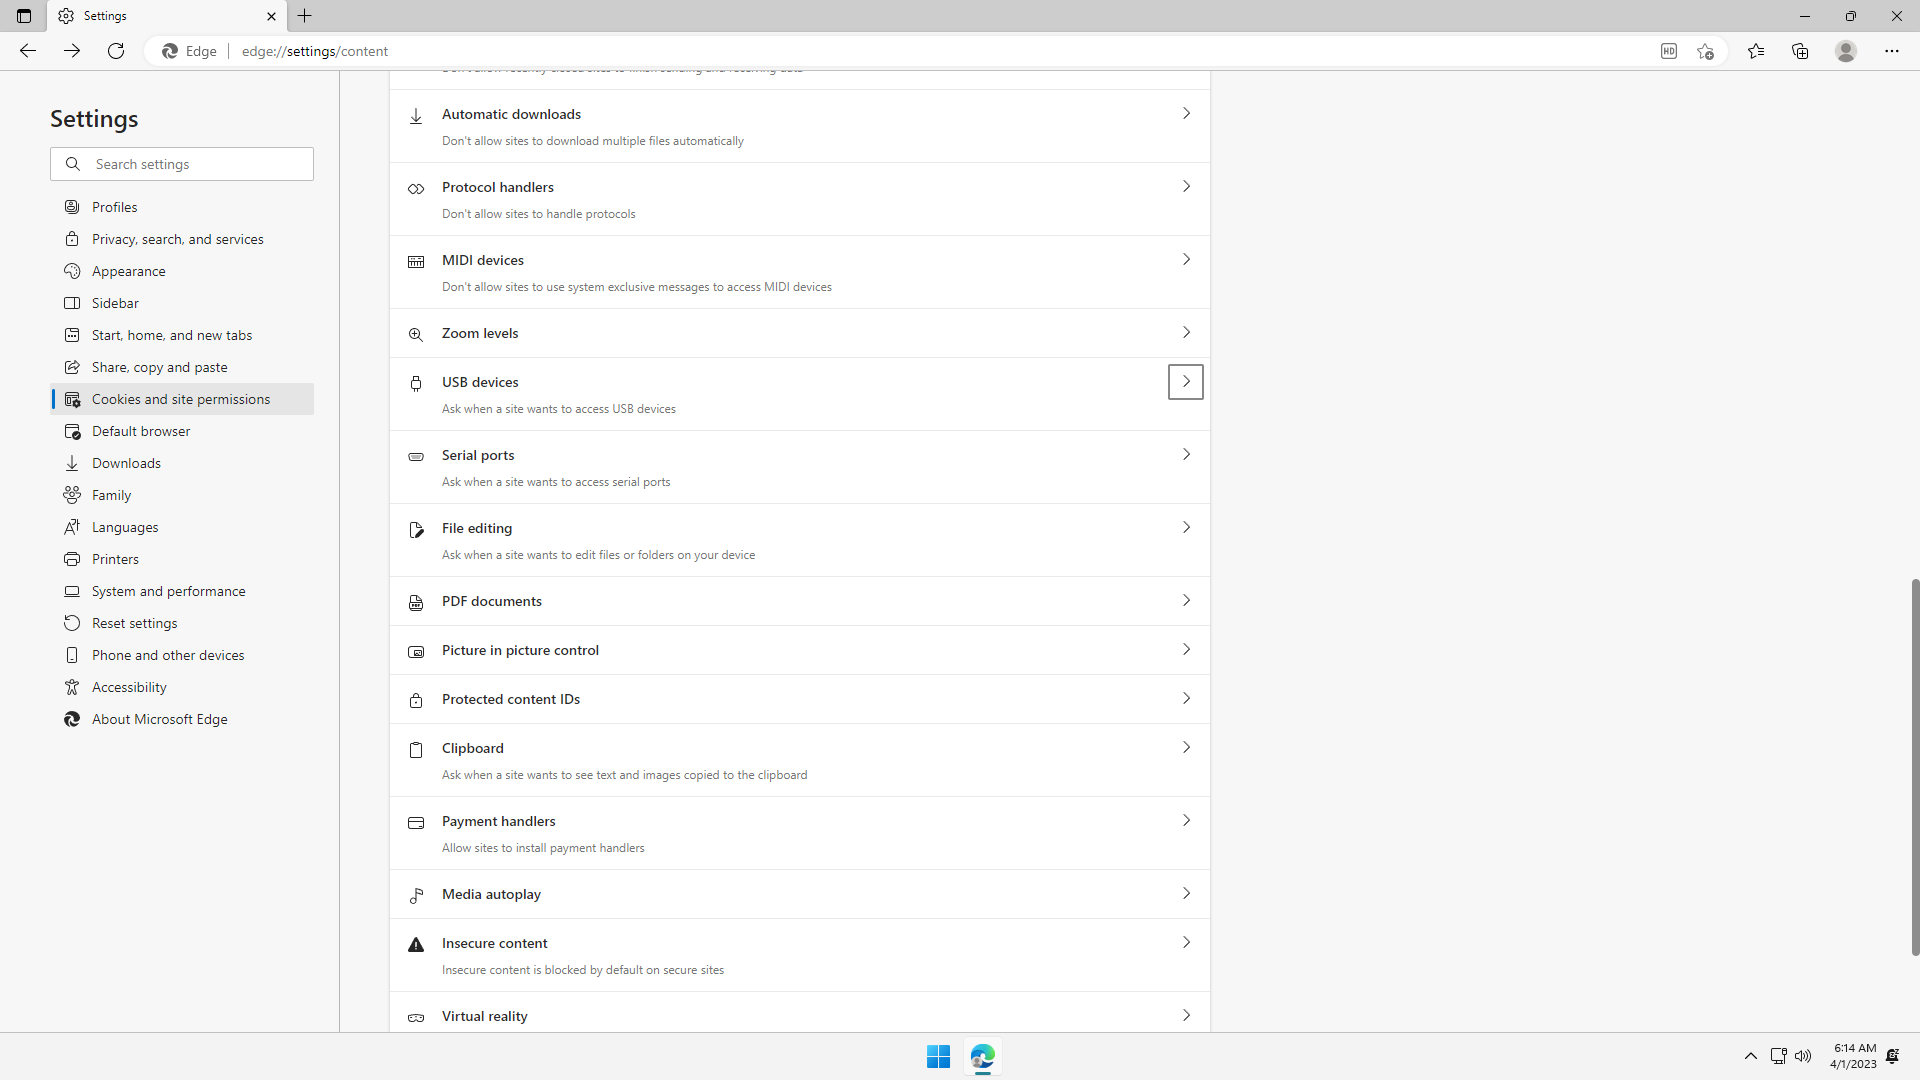
Under Site permissions > Automatic downloads, flip it off. This setting can be used by malicious sites to cause a user to download unwanted or malicious files:
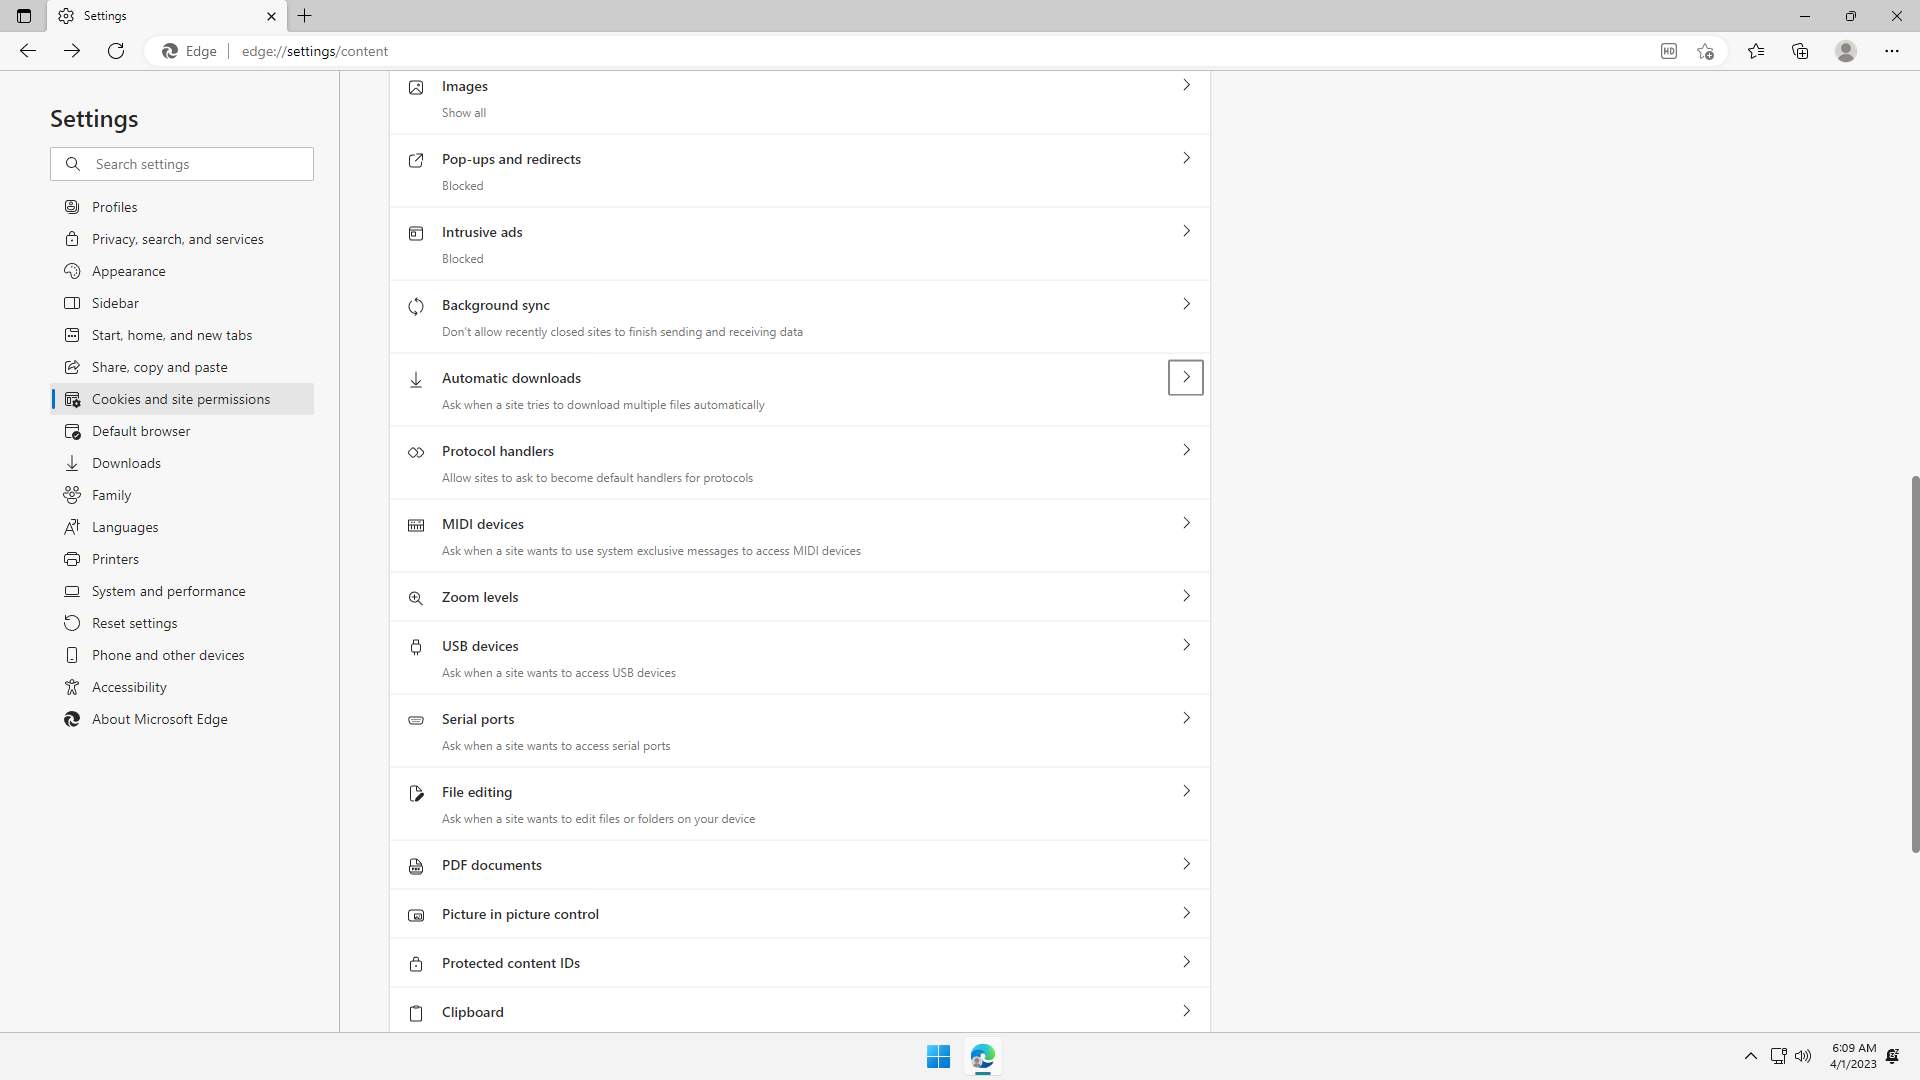

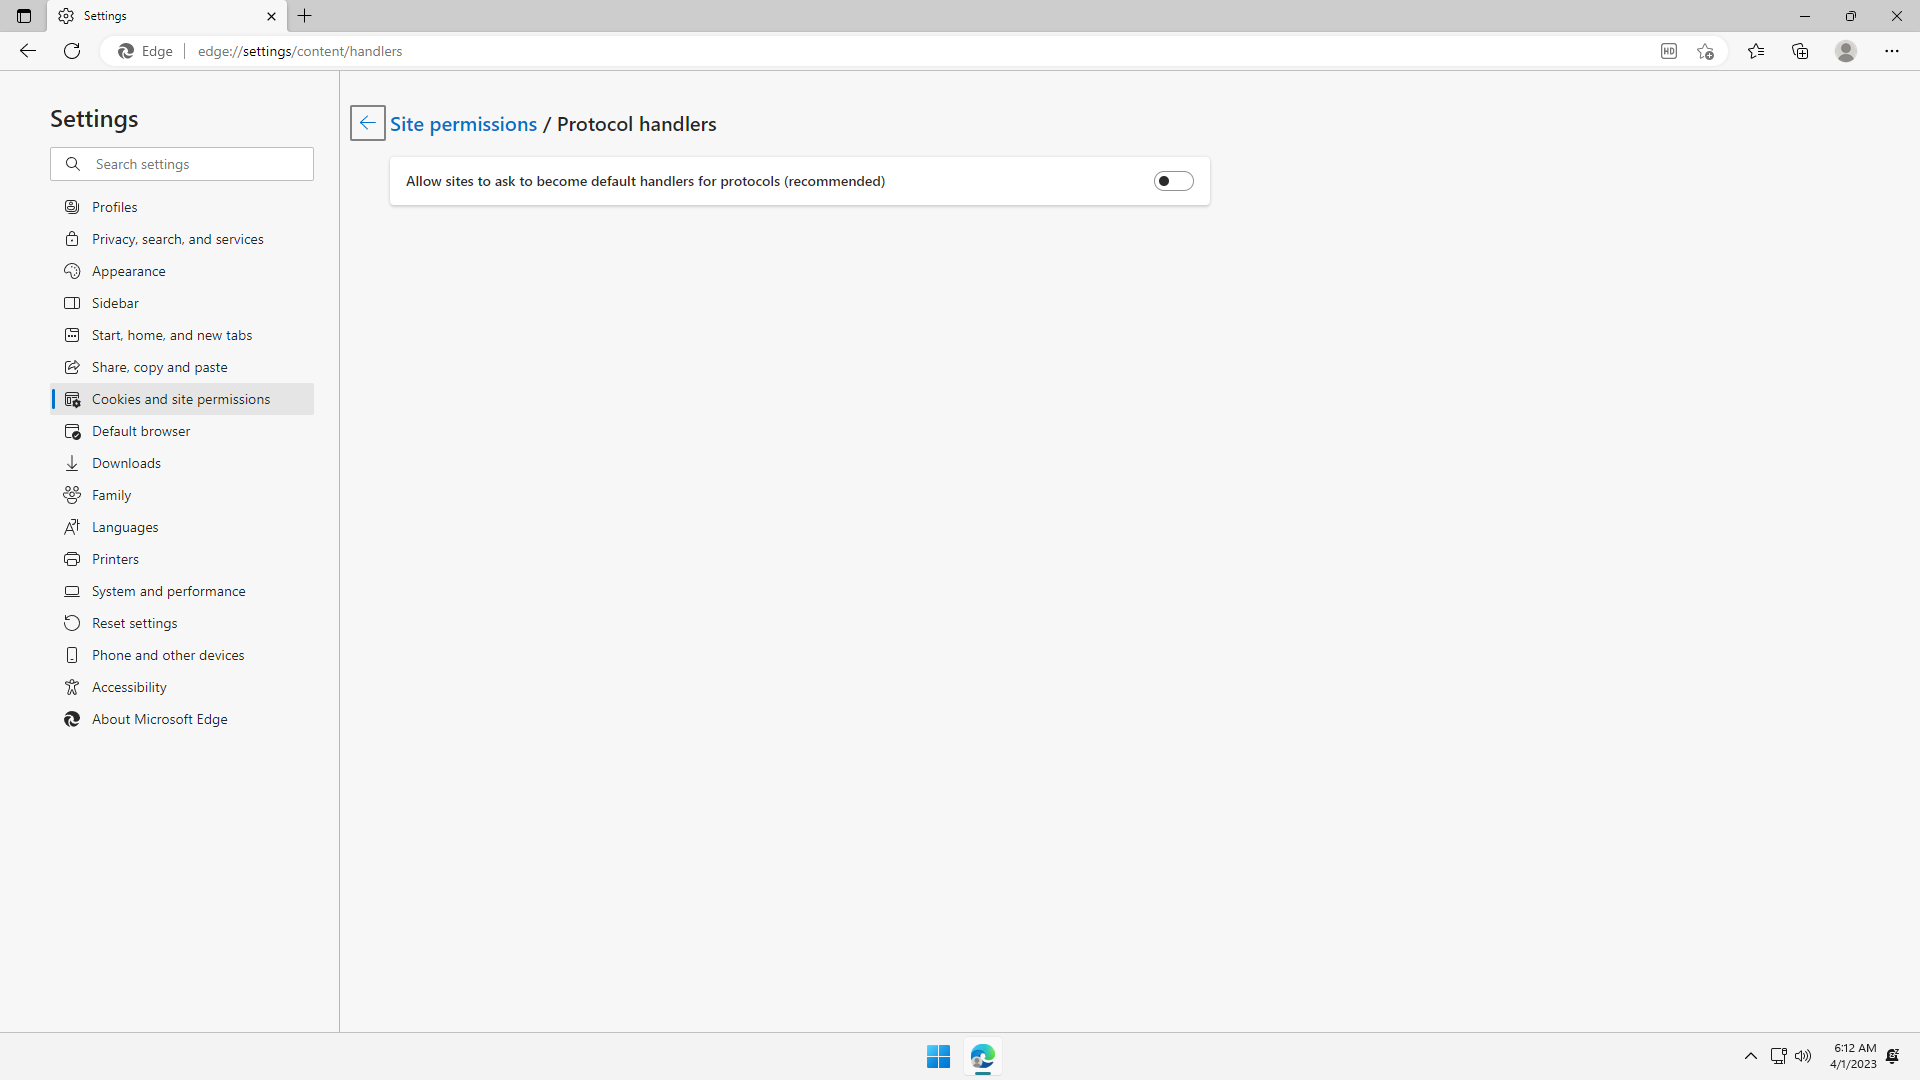
Under Site permissions > Protocol handlers, keep the defaults:

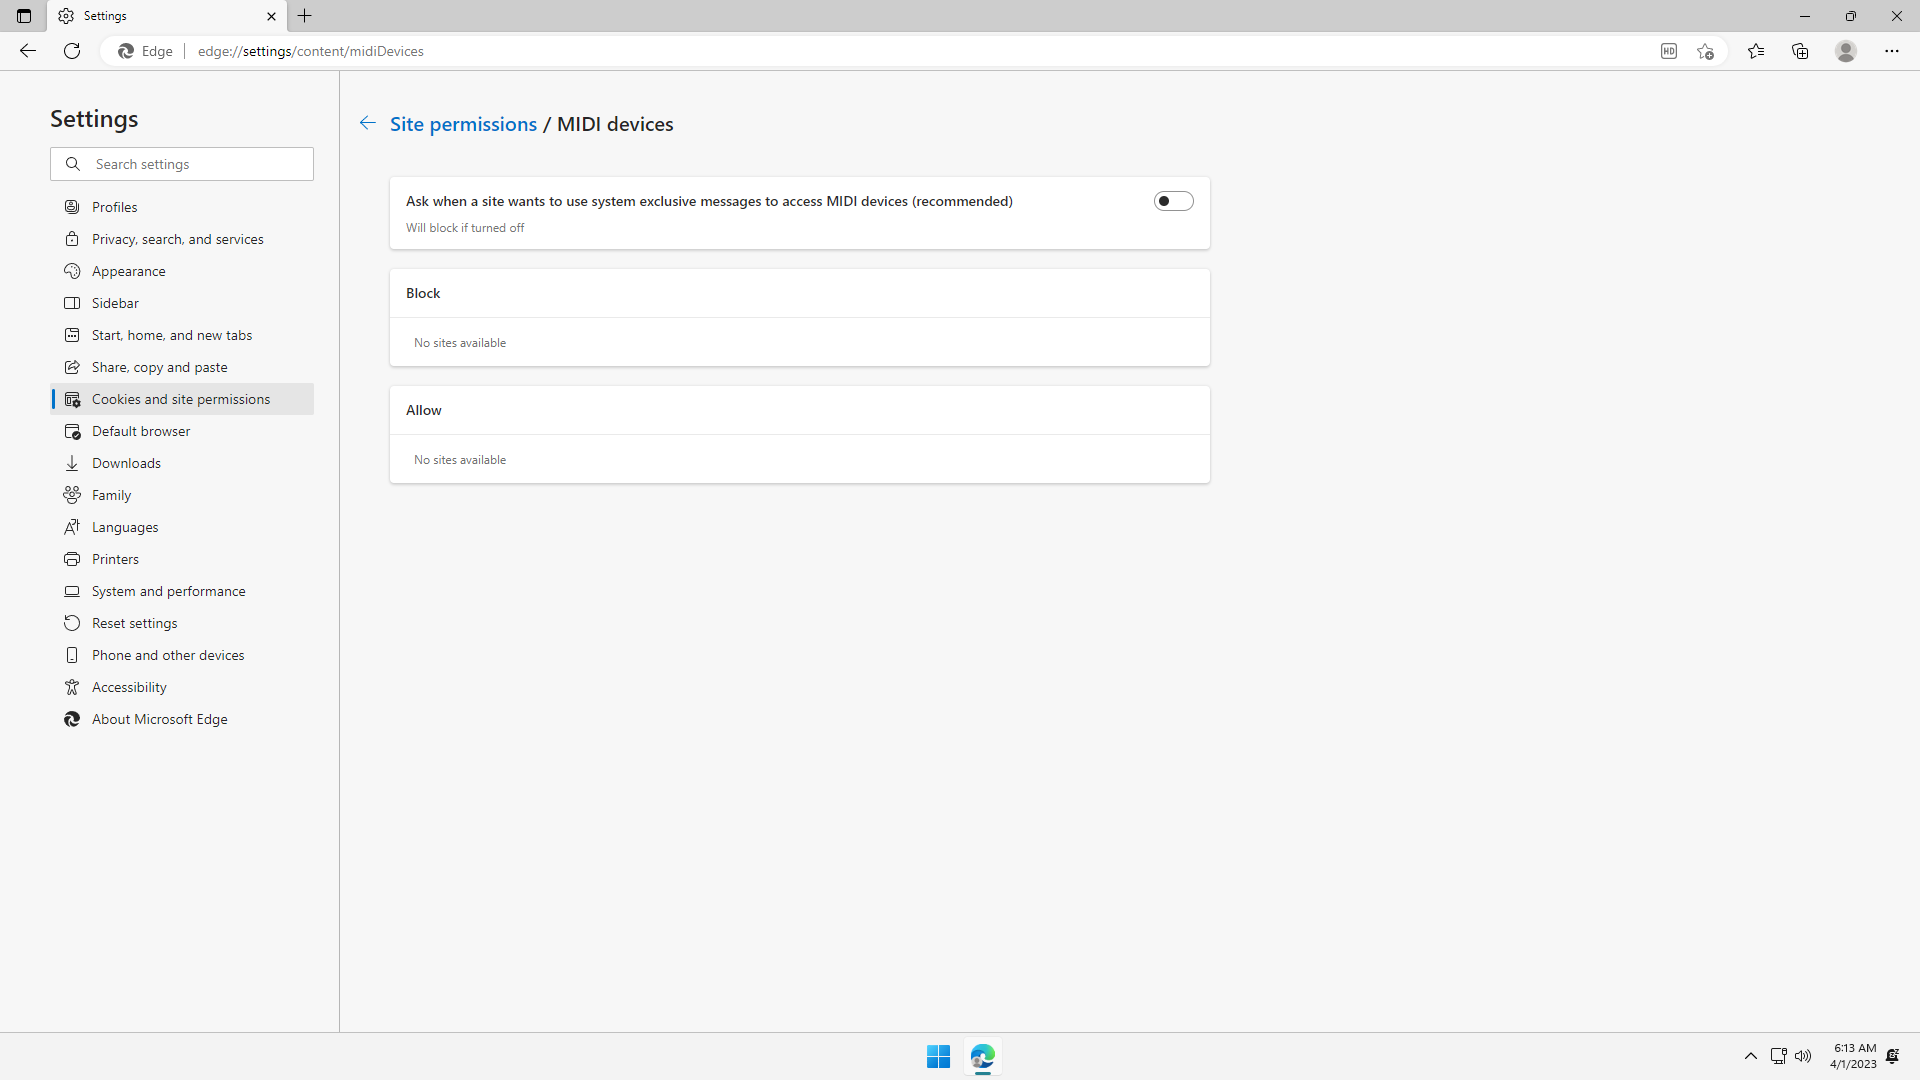
Under Site permissions > MIDI devices, flip it off if you do not have any MIDI devices, so that sites cannot unwanted queries for available local MIDI devices:
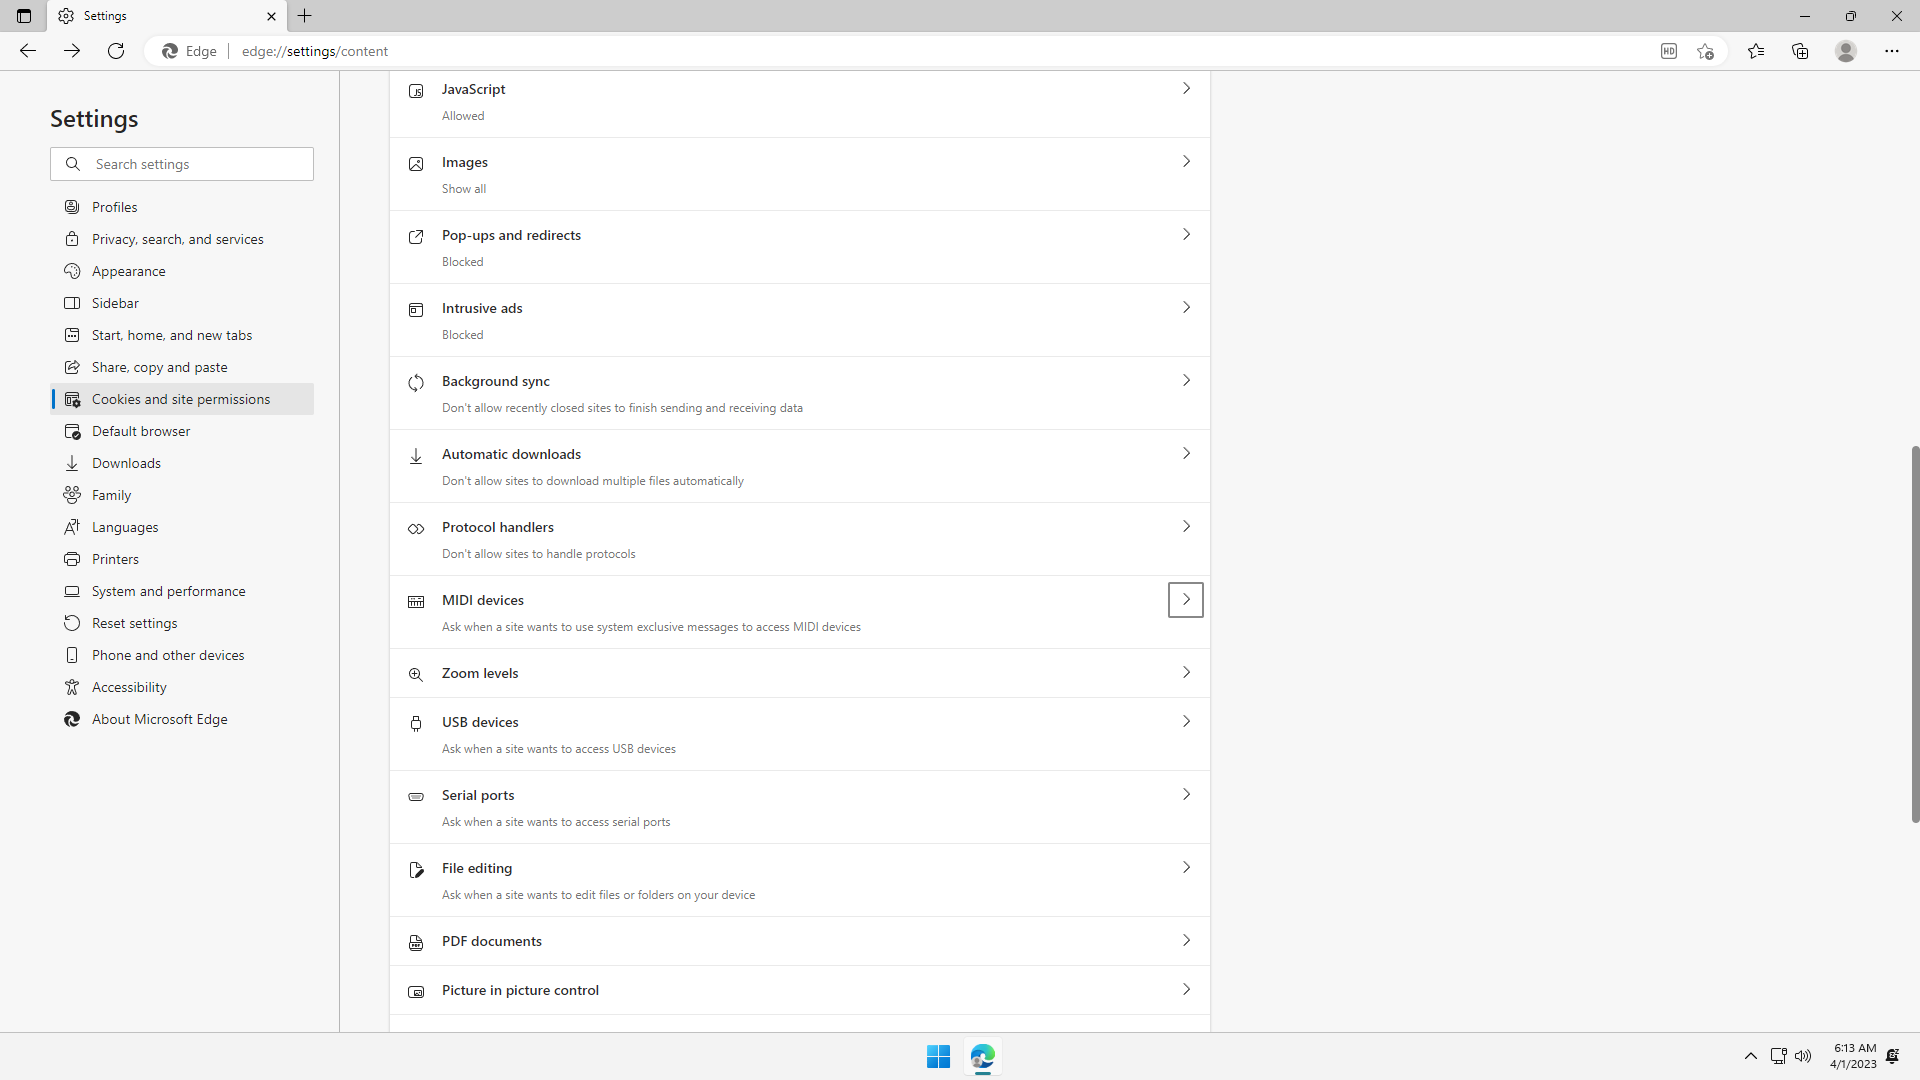
Under Site permissions > USB devices, flip it off unless you need a website to access your USB devices. Accidentally granting this permission can be used by malicious sites to steal data from your USB devices:

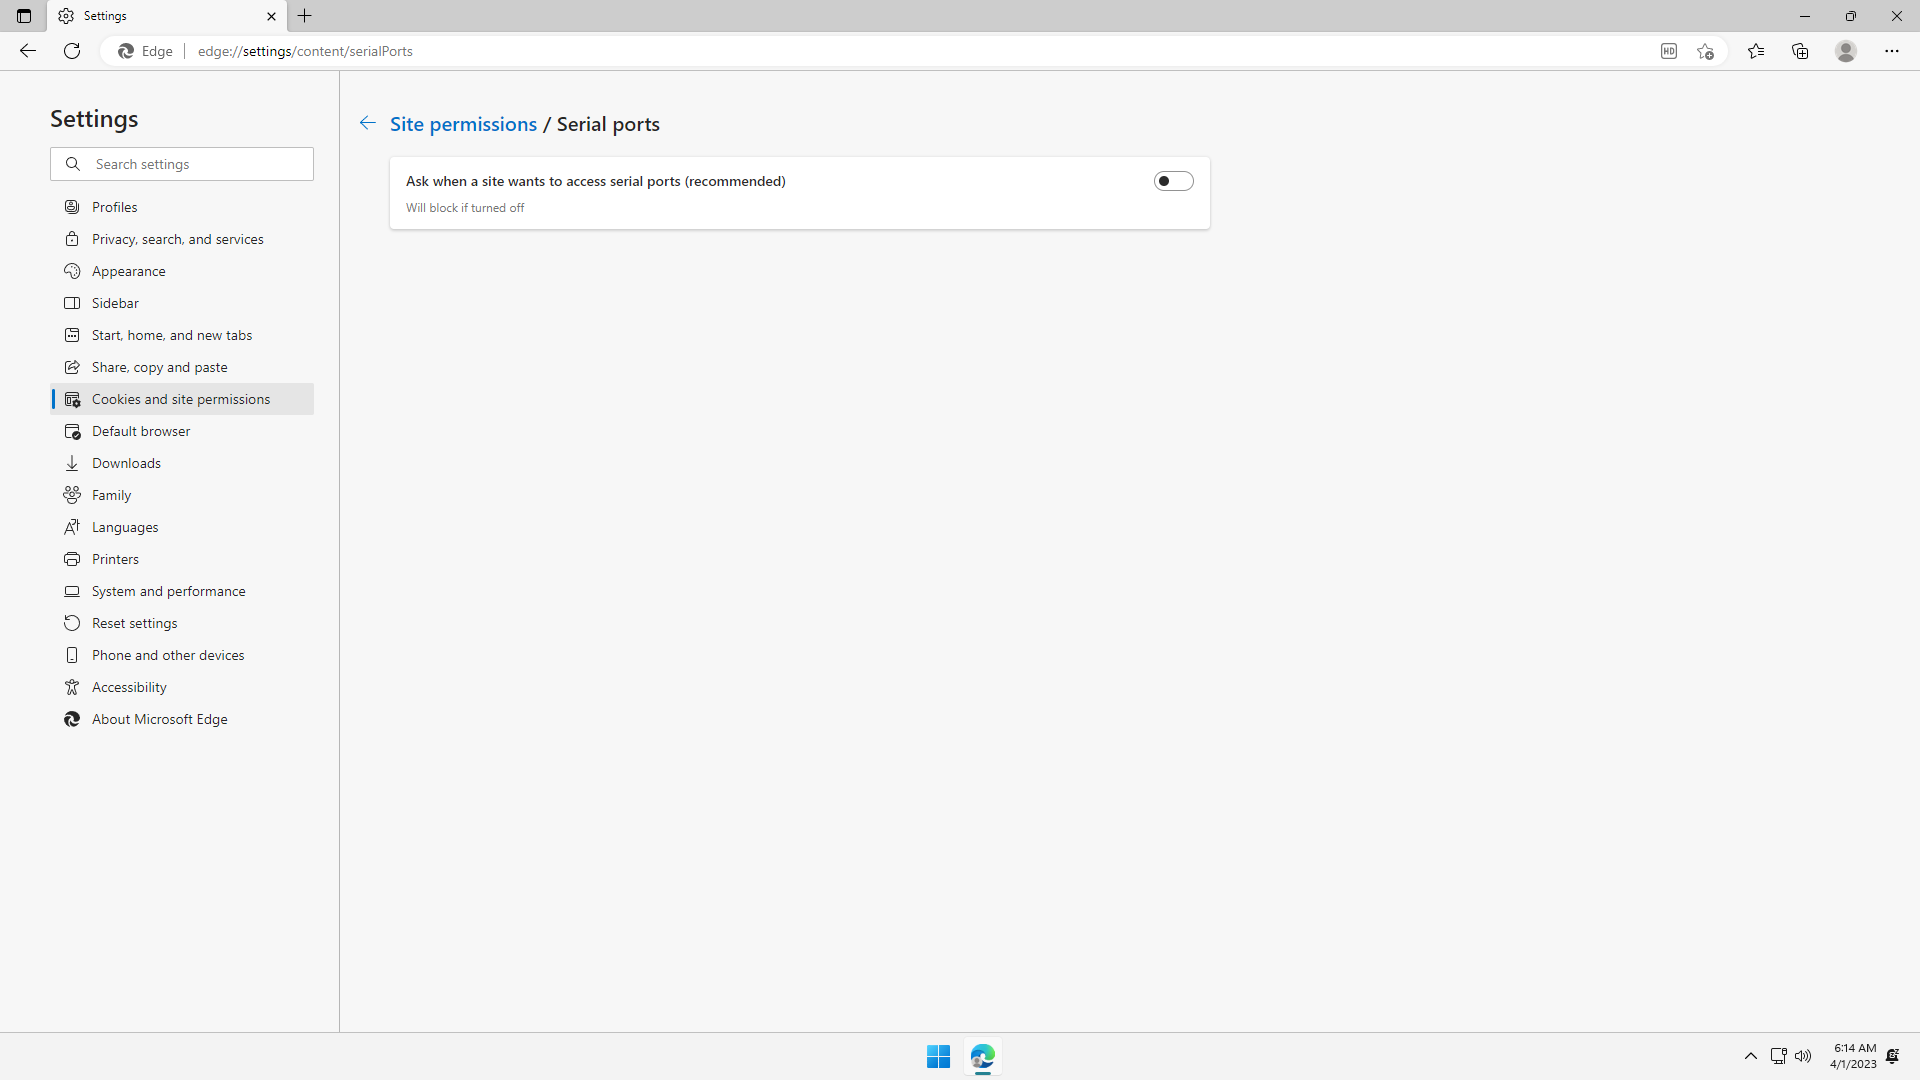
Under Site permissions > Serial ports, flip it off unless you need a website to access your serial port devices. Accidentally granting this permission can be used by malicious sites to steal data from your serial devices:
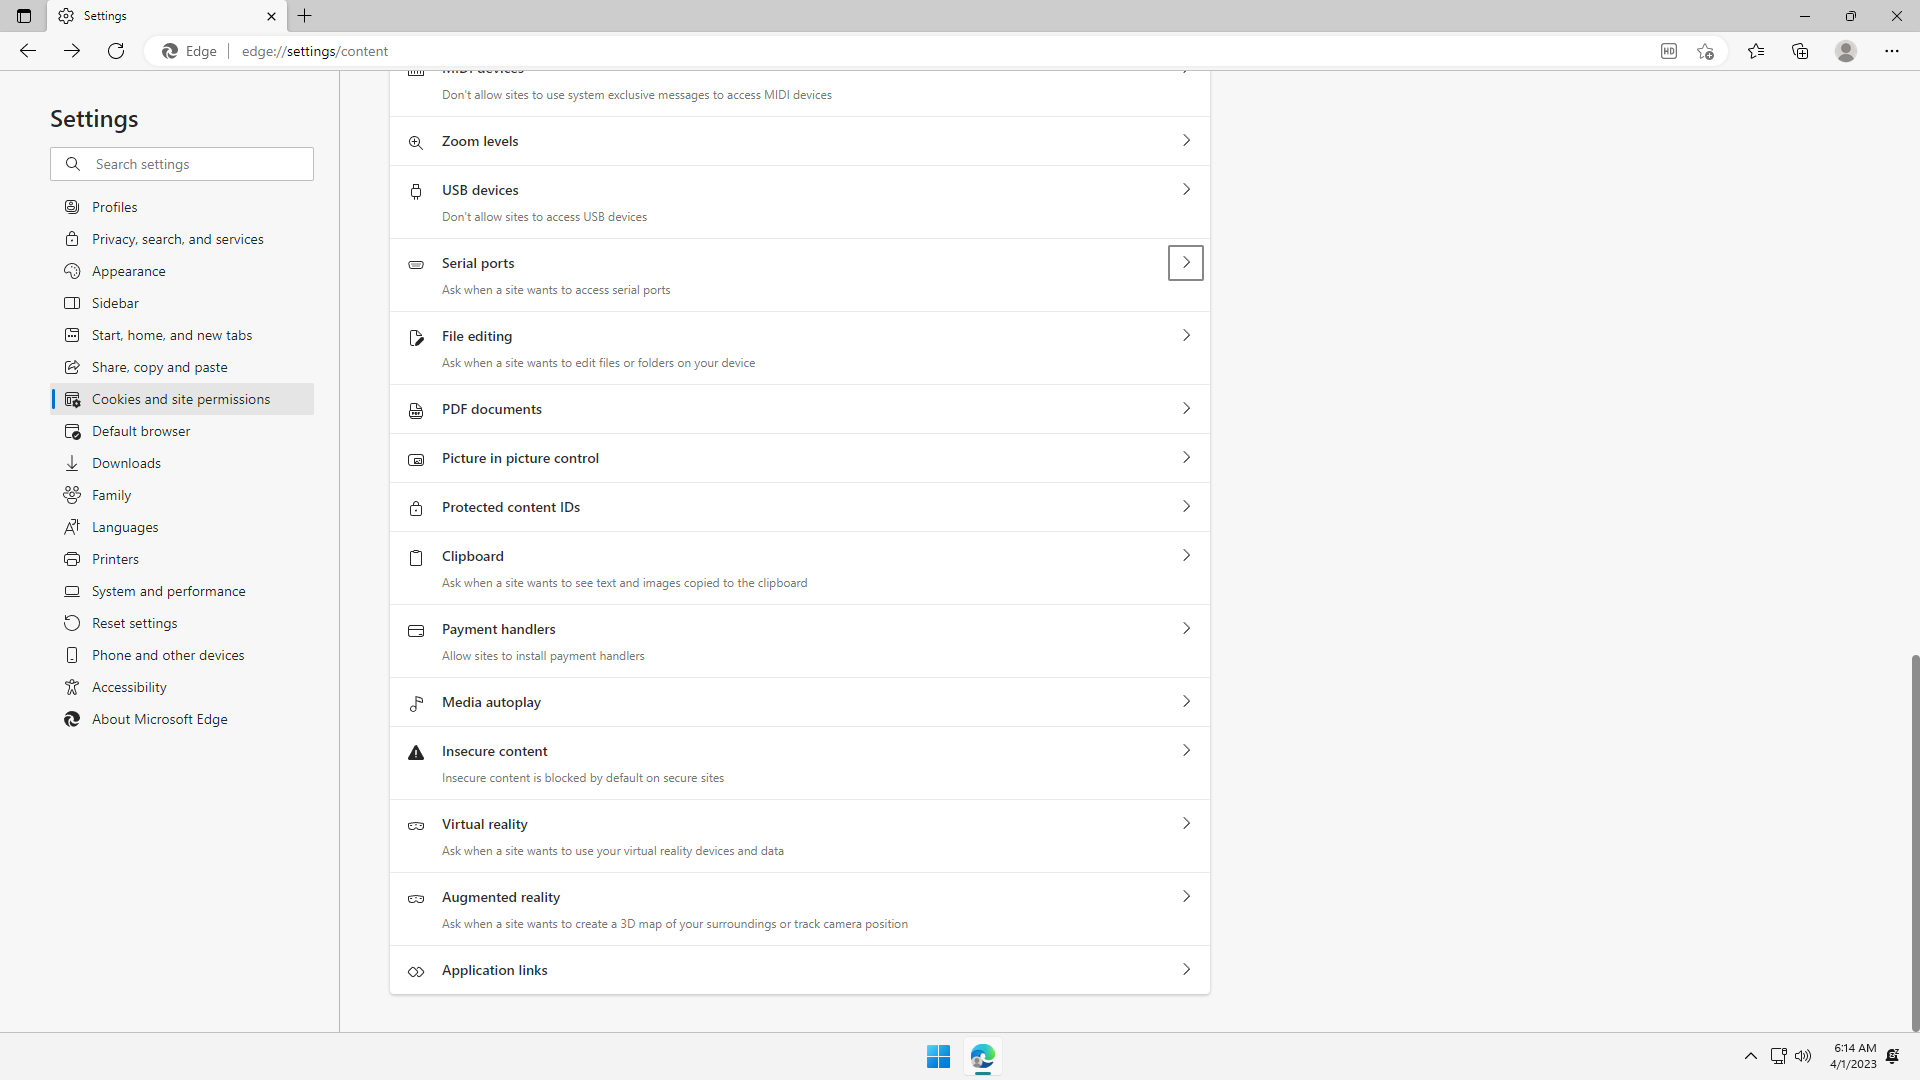
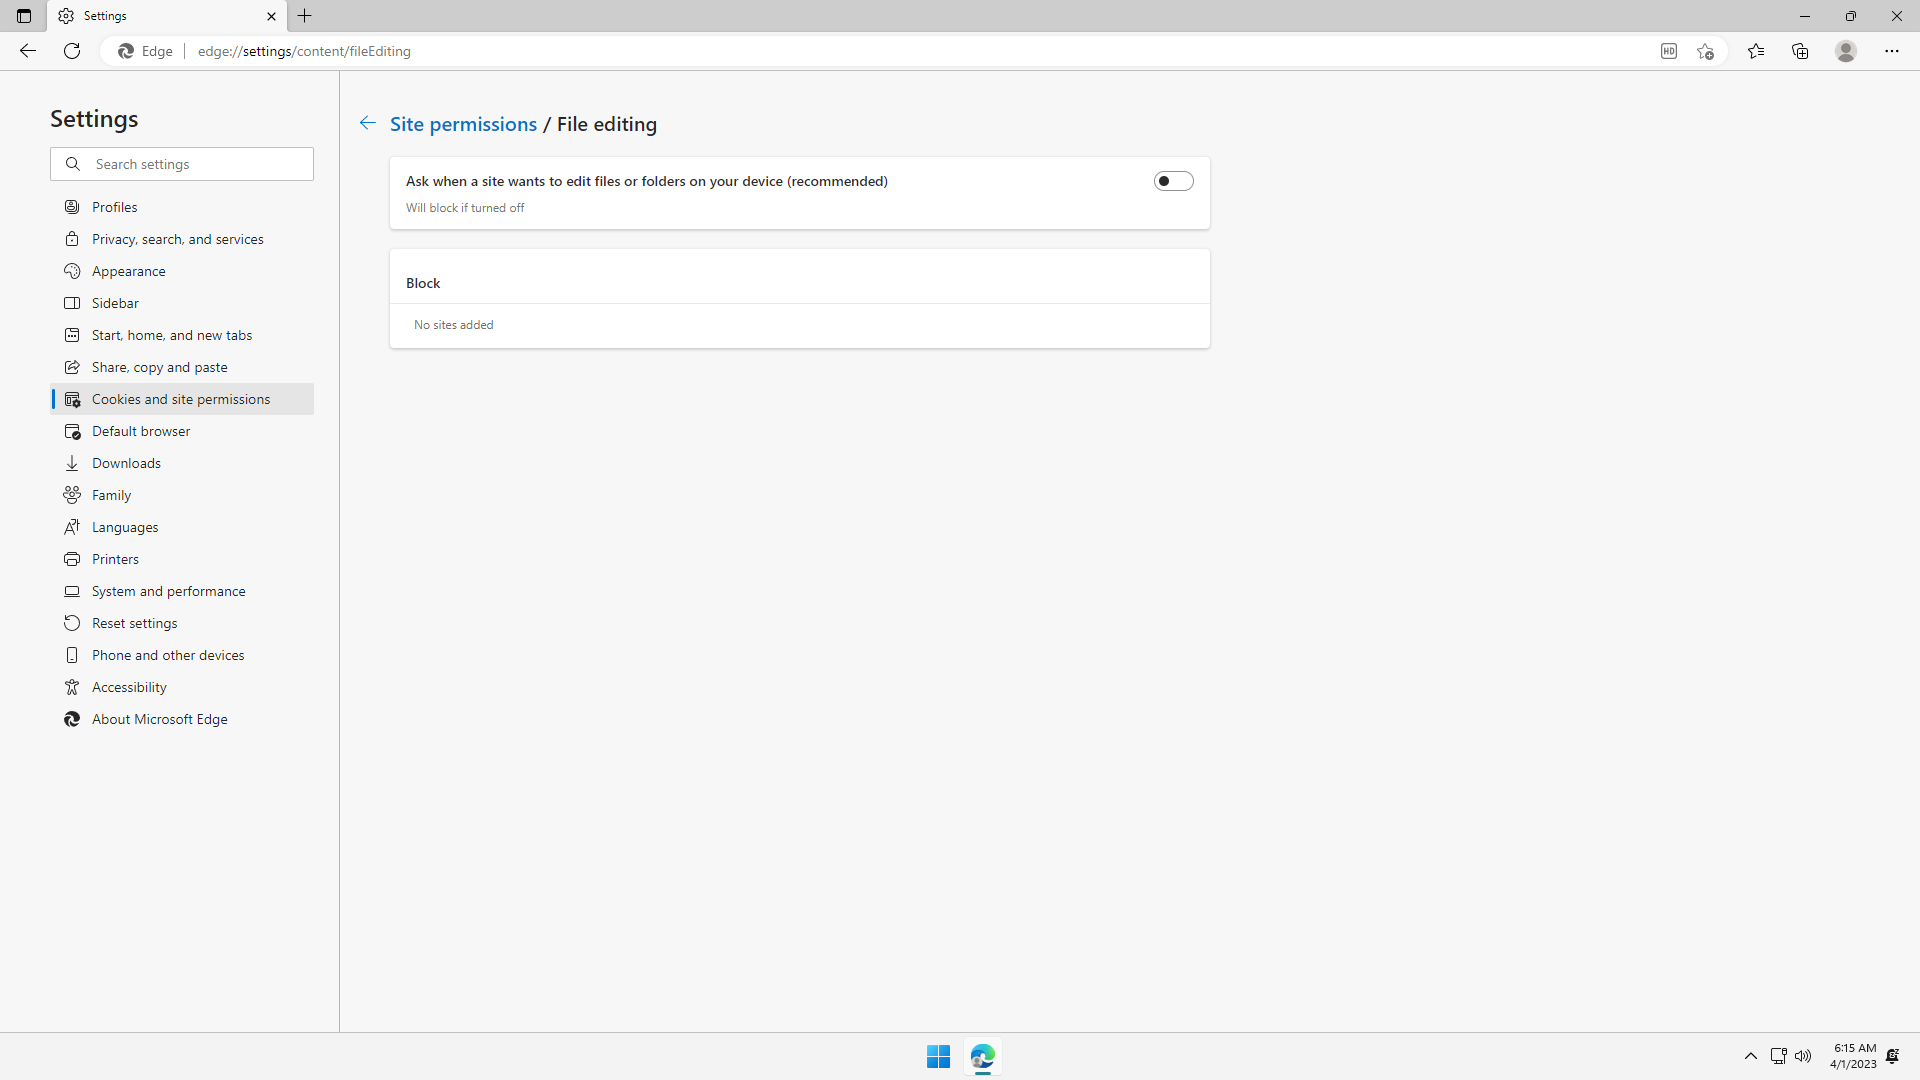
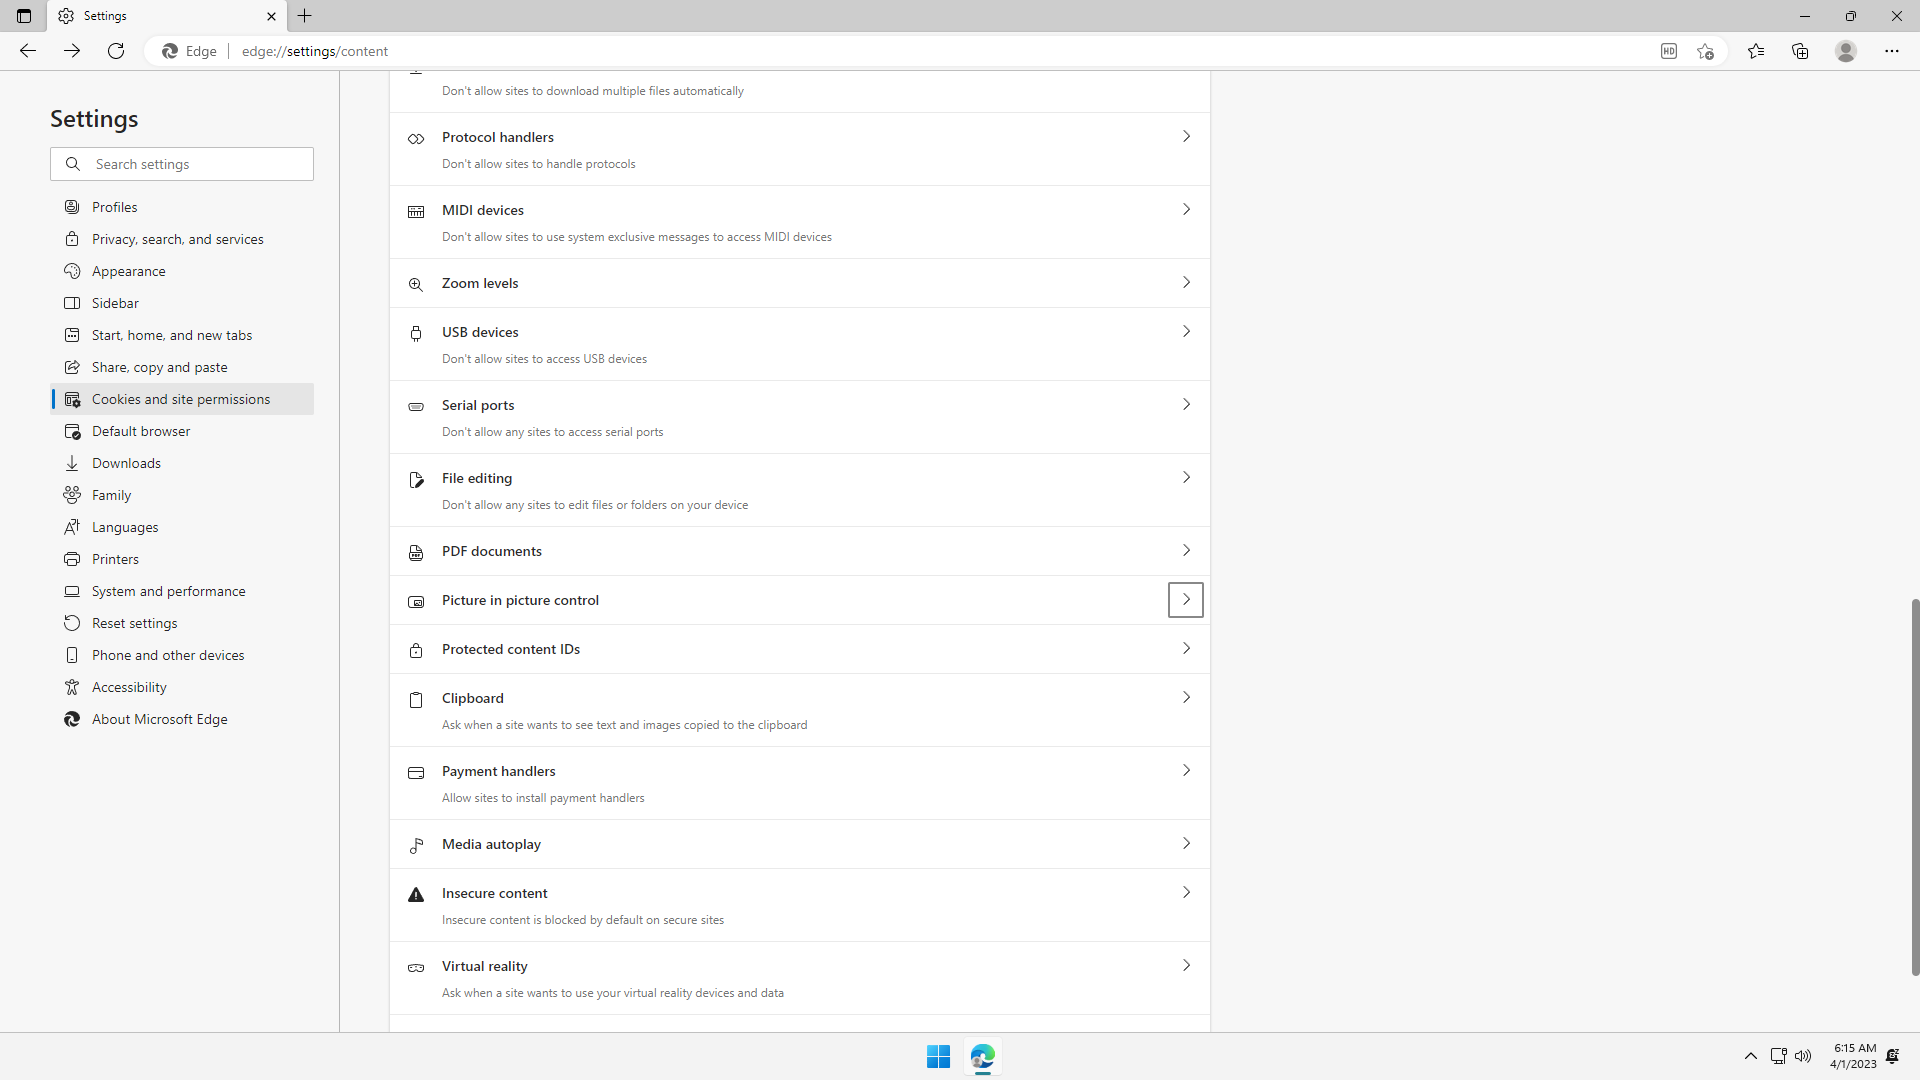
Under Site permissions > File editing, flip it off unless you need a website to edit your local computer files. Accidentally granting this permission can be used by malicious sites to modify your local files to contain a trojan:
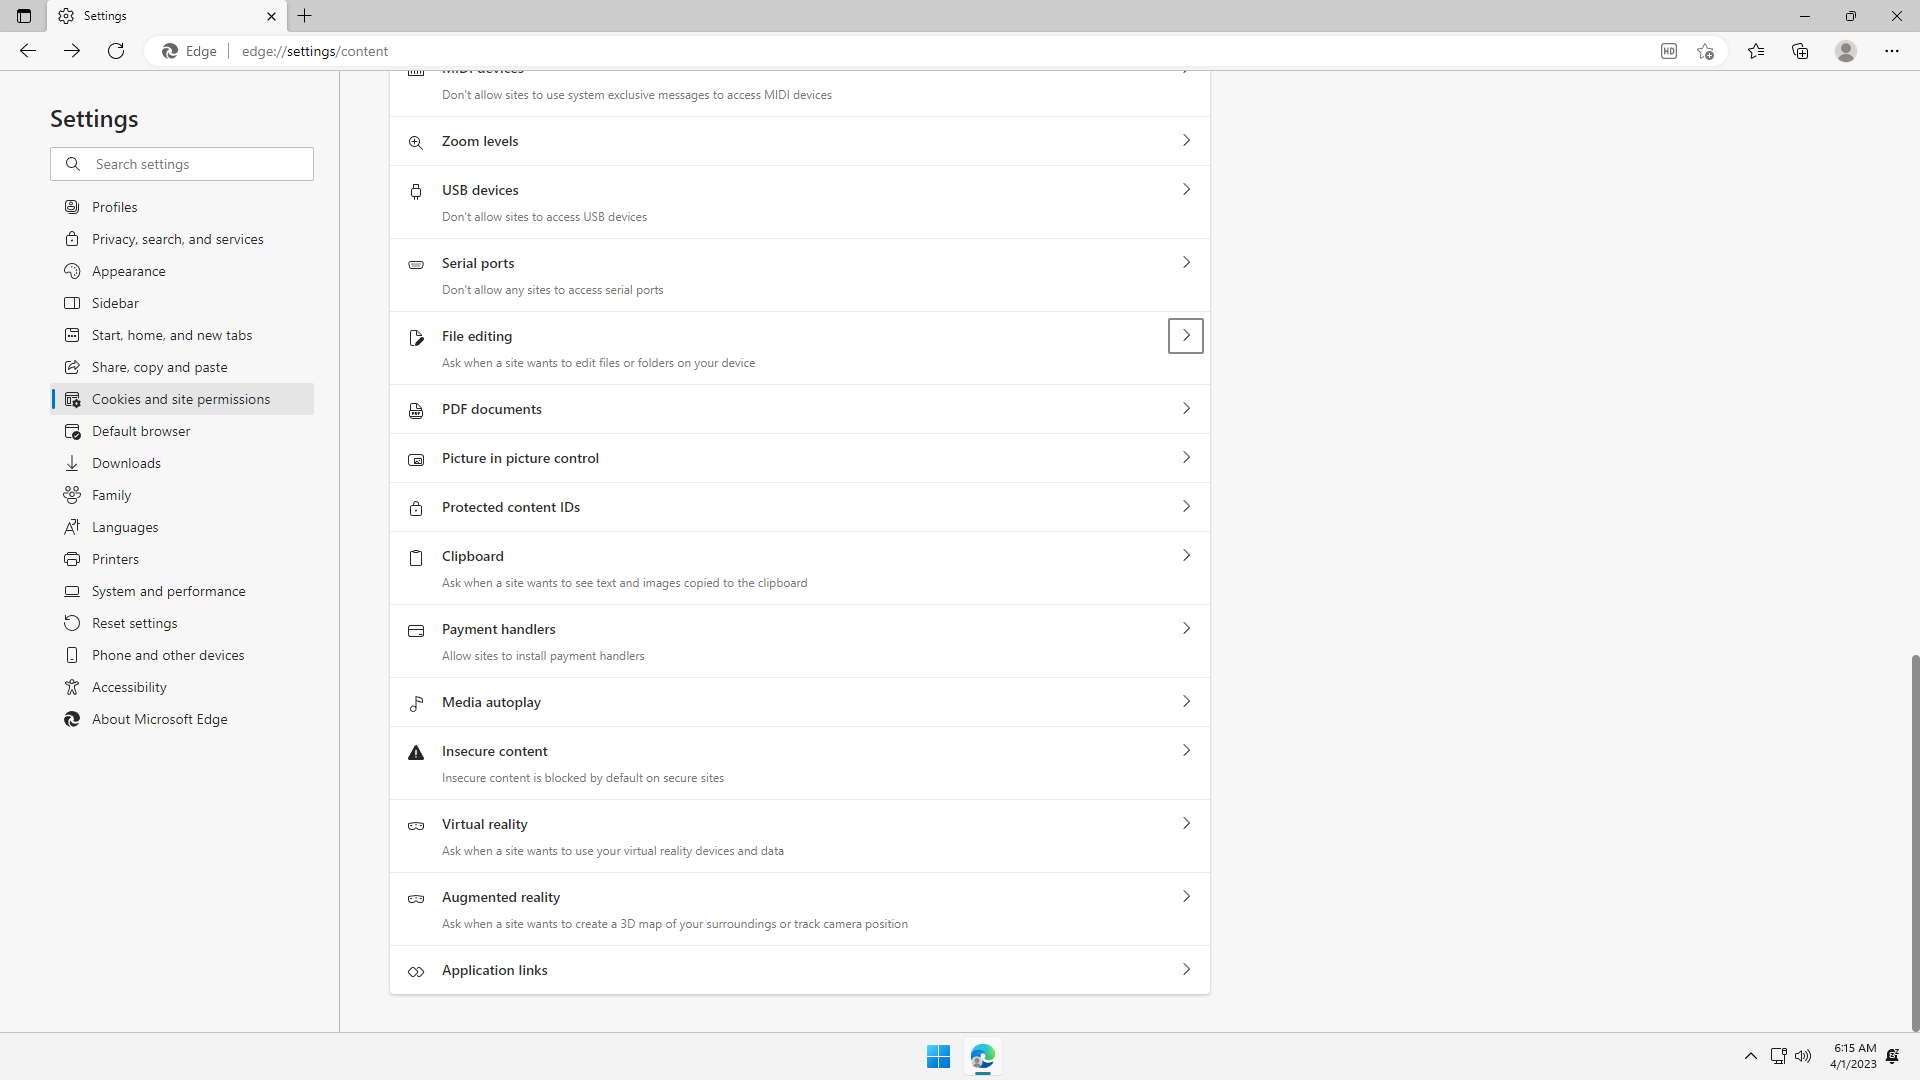
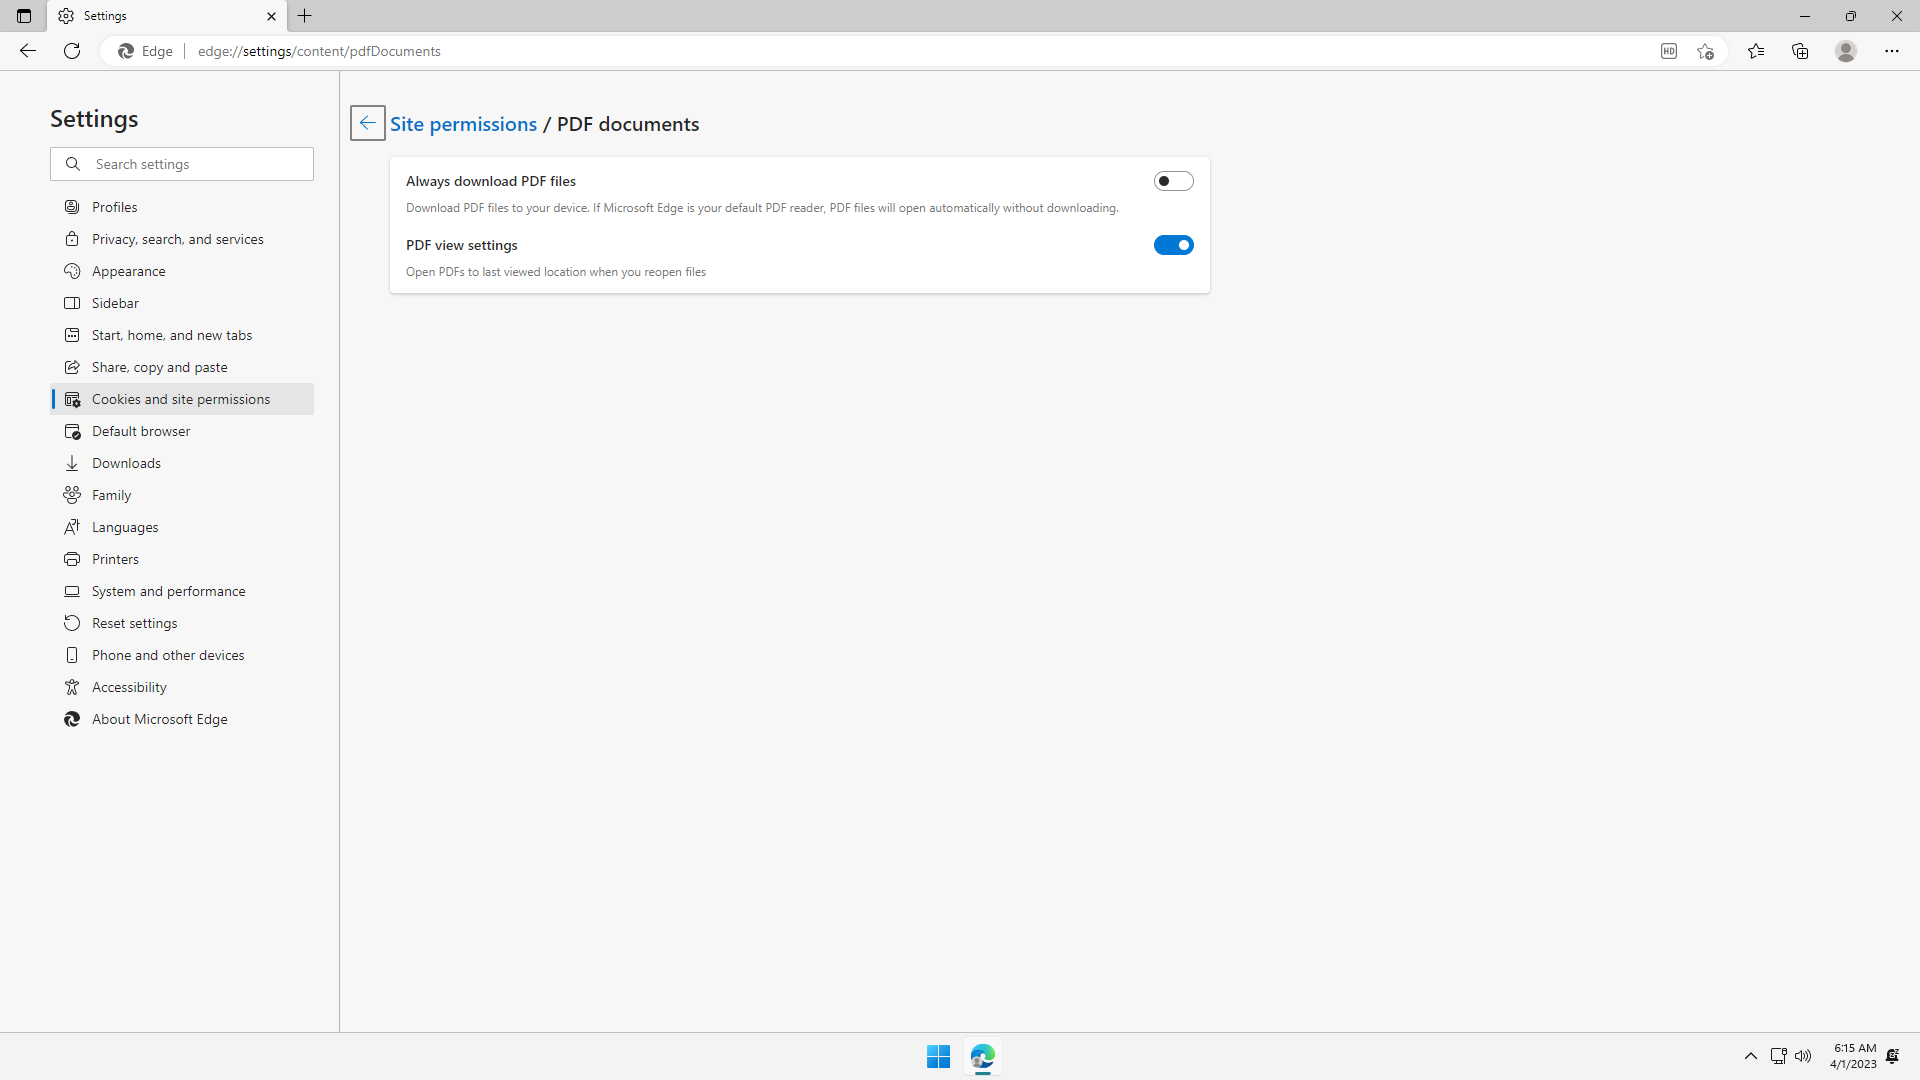
Under Site permissions > PDF documents, keep the defaults:

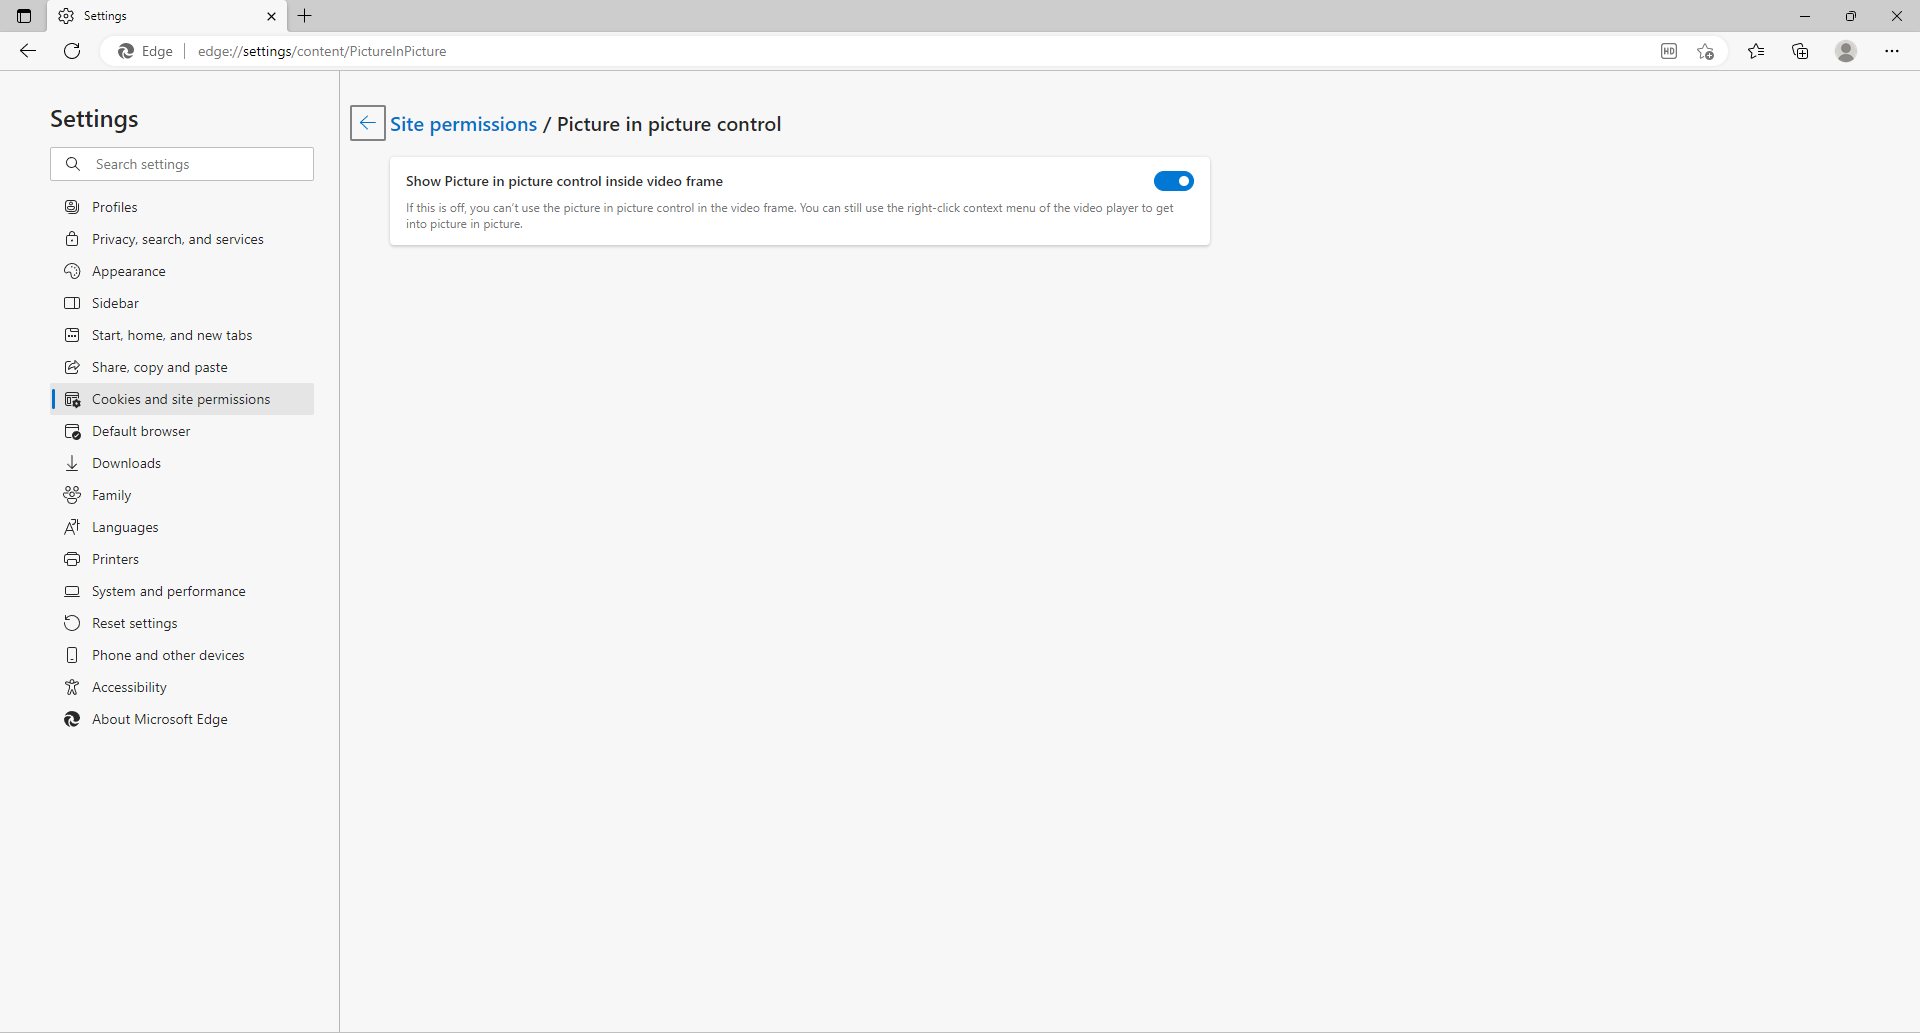
Under Site permissions > Picture in picture control, keep the defaults:
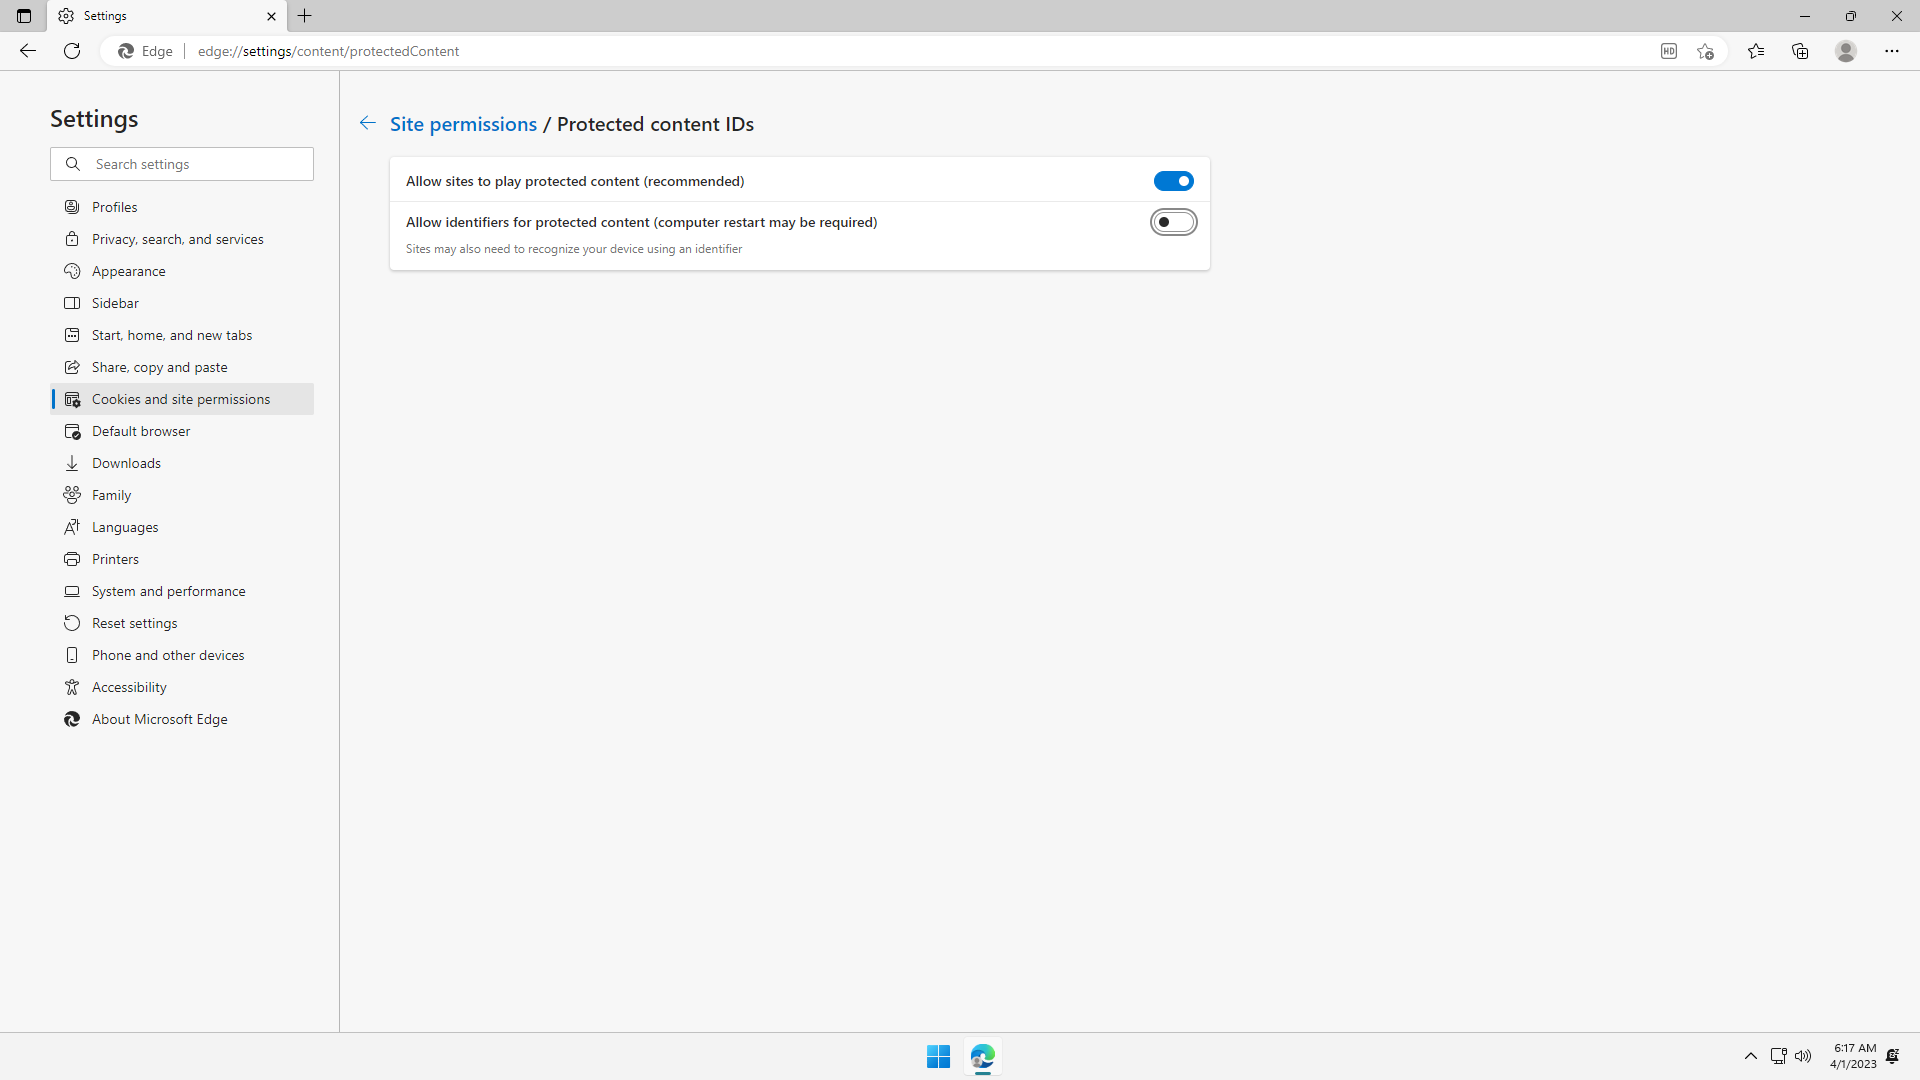
Optional: Under Site permissions > Protected content IDs keep the defaults. If you are not comfortable with device identifiers (which sounds like a way to track a device via an ID), you can flip it off:

Optional: Under Site permissions > Clipboard, flip it off unless you need a website to access your clipboard. Accidentally granting this permission can be used by malicious sites to read your clipboard which might contain personal information:

Optional: Under Site permissions > Payment handlers, flip it off unless you really have that many means of making payments and shop on many websites. There are already many secure ways to make payments, so in general there's no need for this feature:

Optional: Under Site permissions > Media autoplay, if you don't like autoplaying videos on websites, flip this off. This can be used by malicious sites to play inappropriate content:


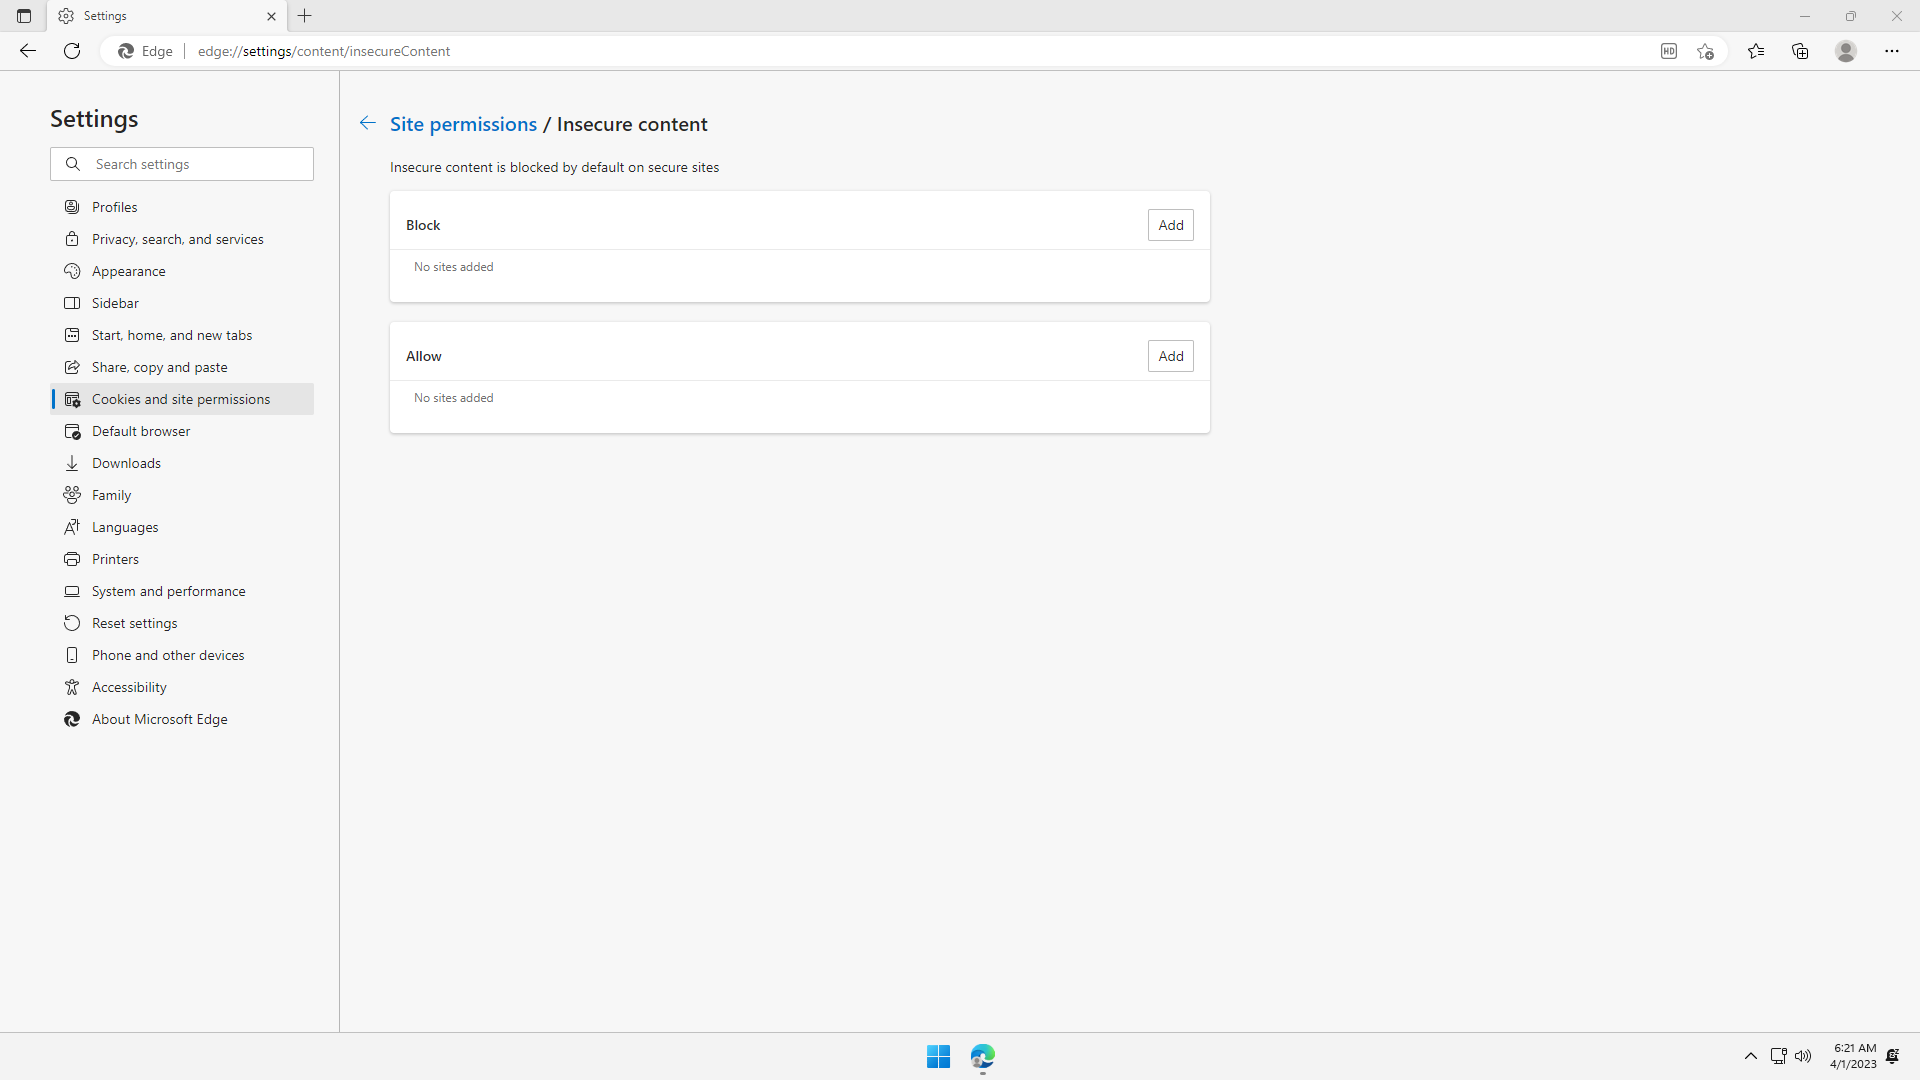
Under Site permissions > Insecure content, keep the defaults:
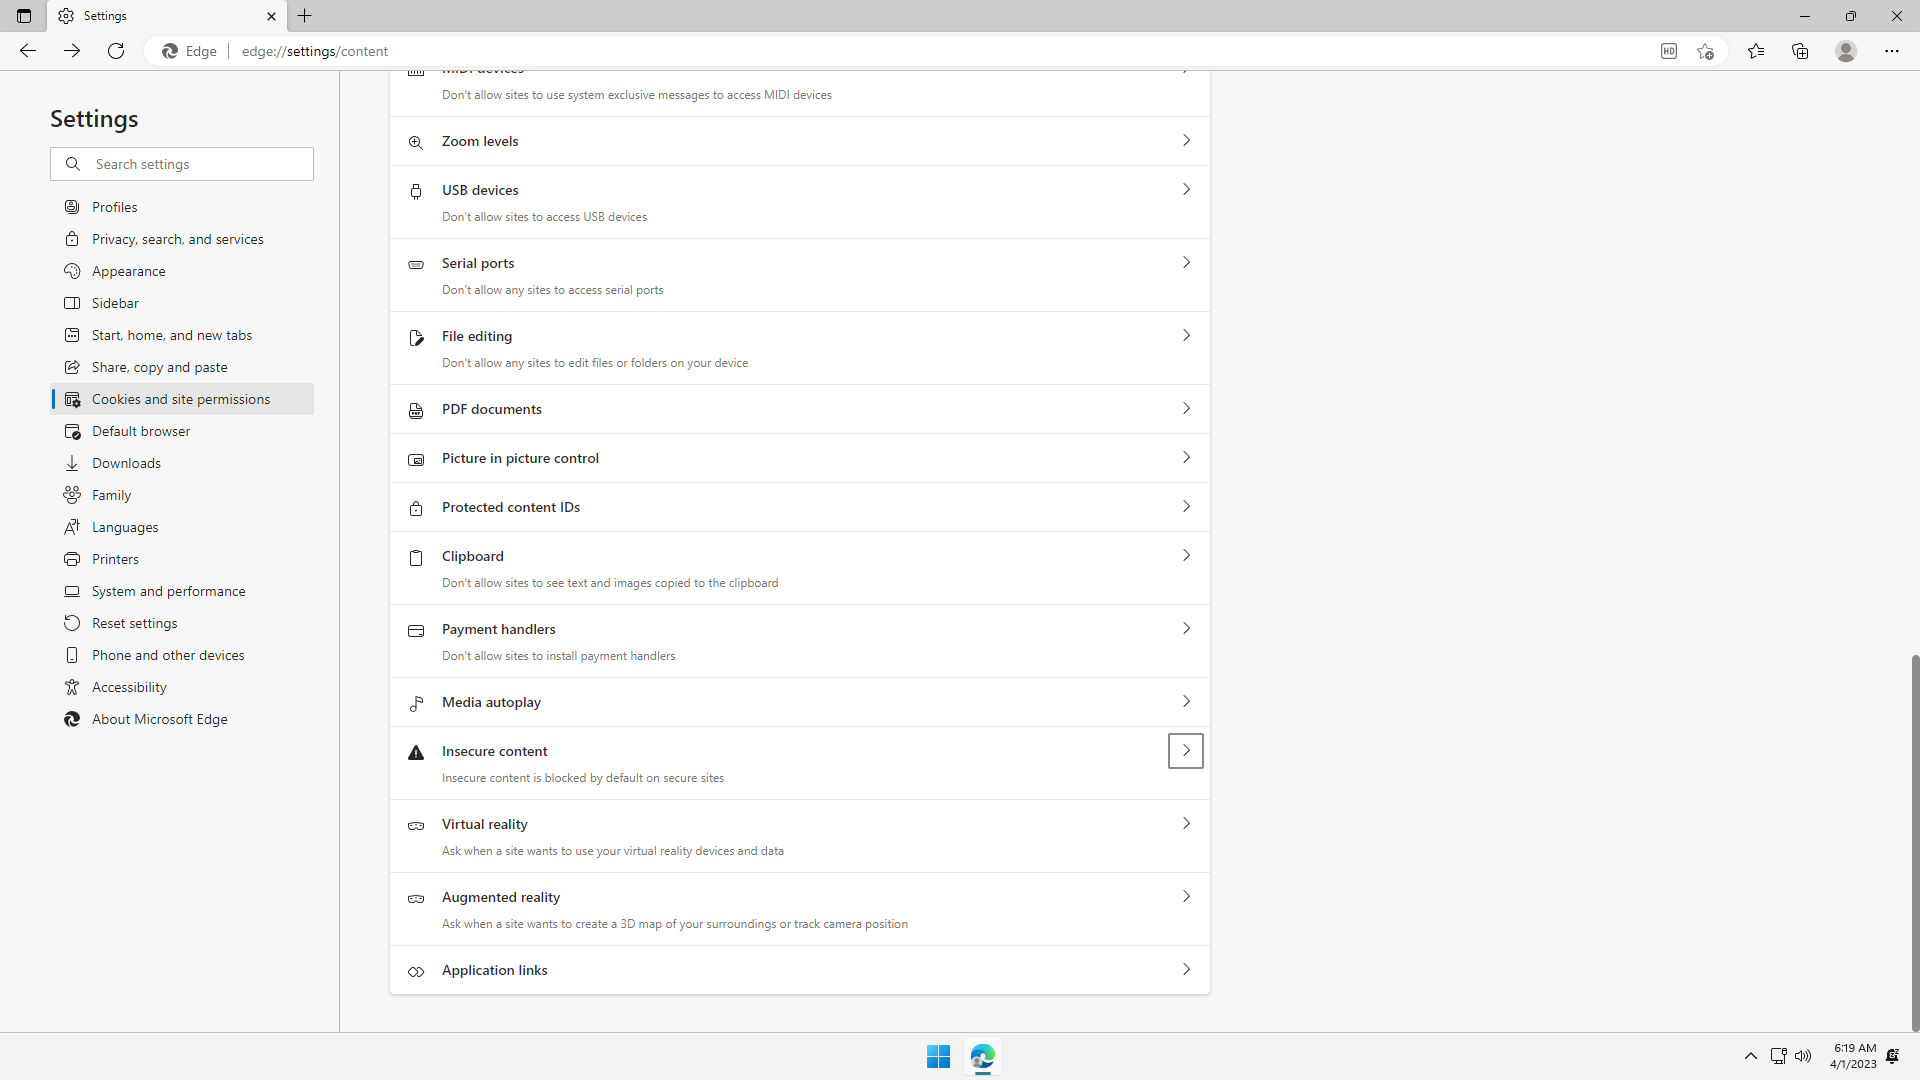
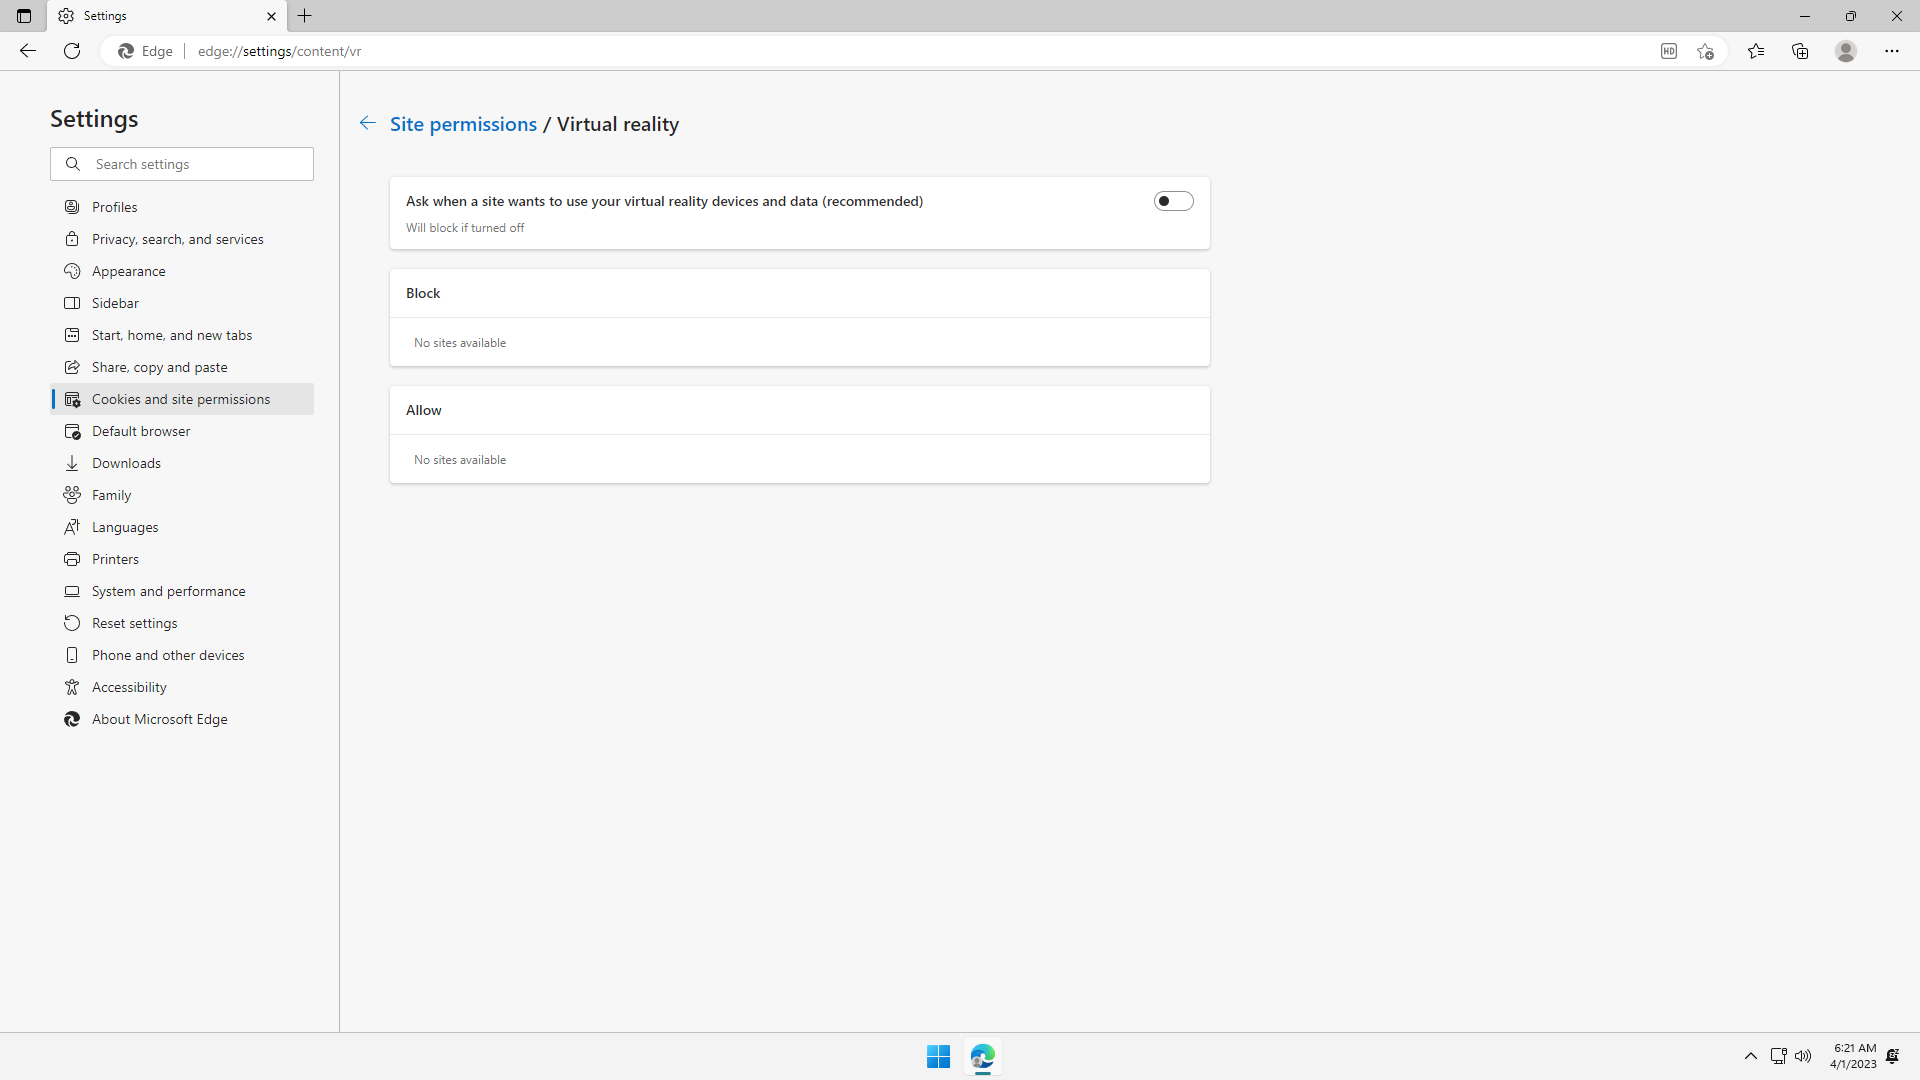
Under Site permissions > Virtual reality, flip it off unless you need a website to access your virtual reality devices. Accidentally granting this permission can be used by malicious sites to steal data from your virtual reality devices:

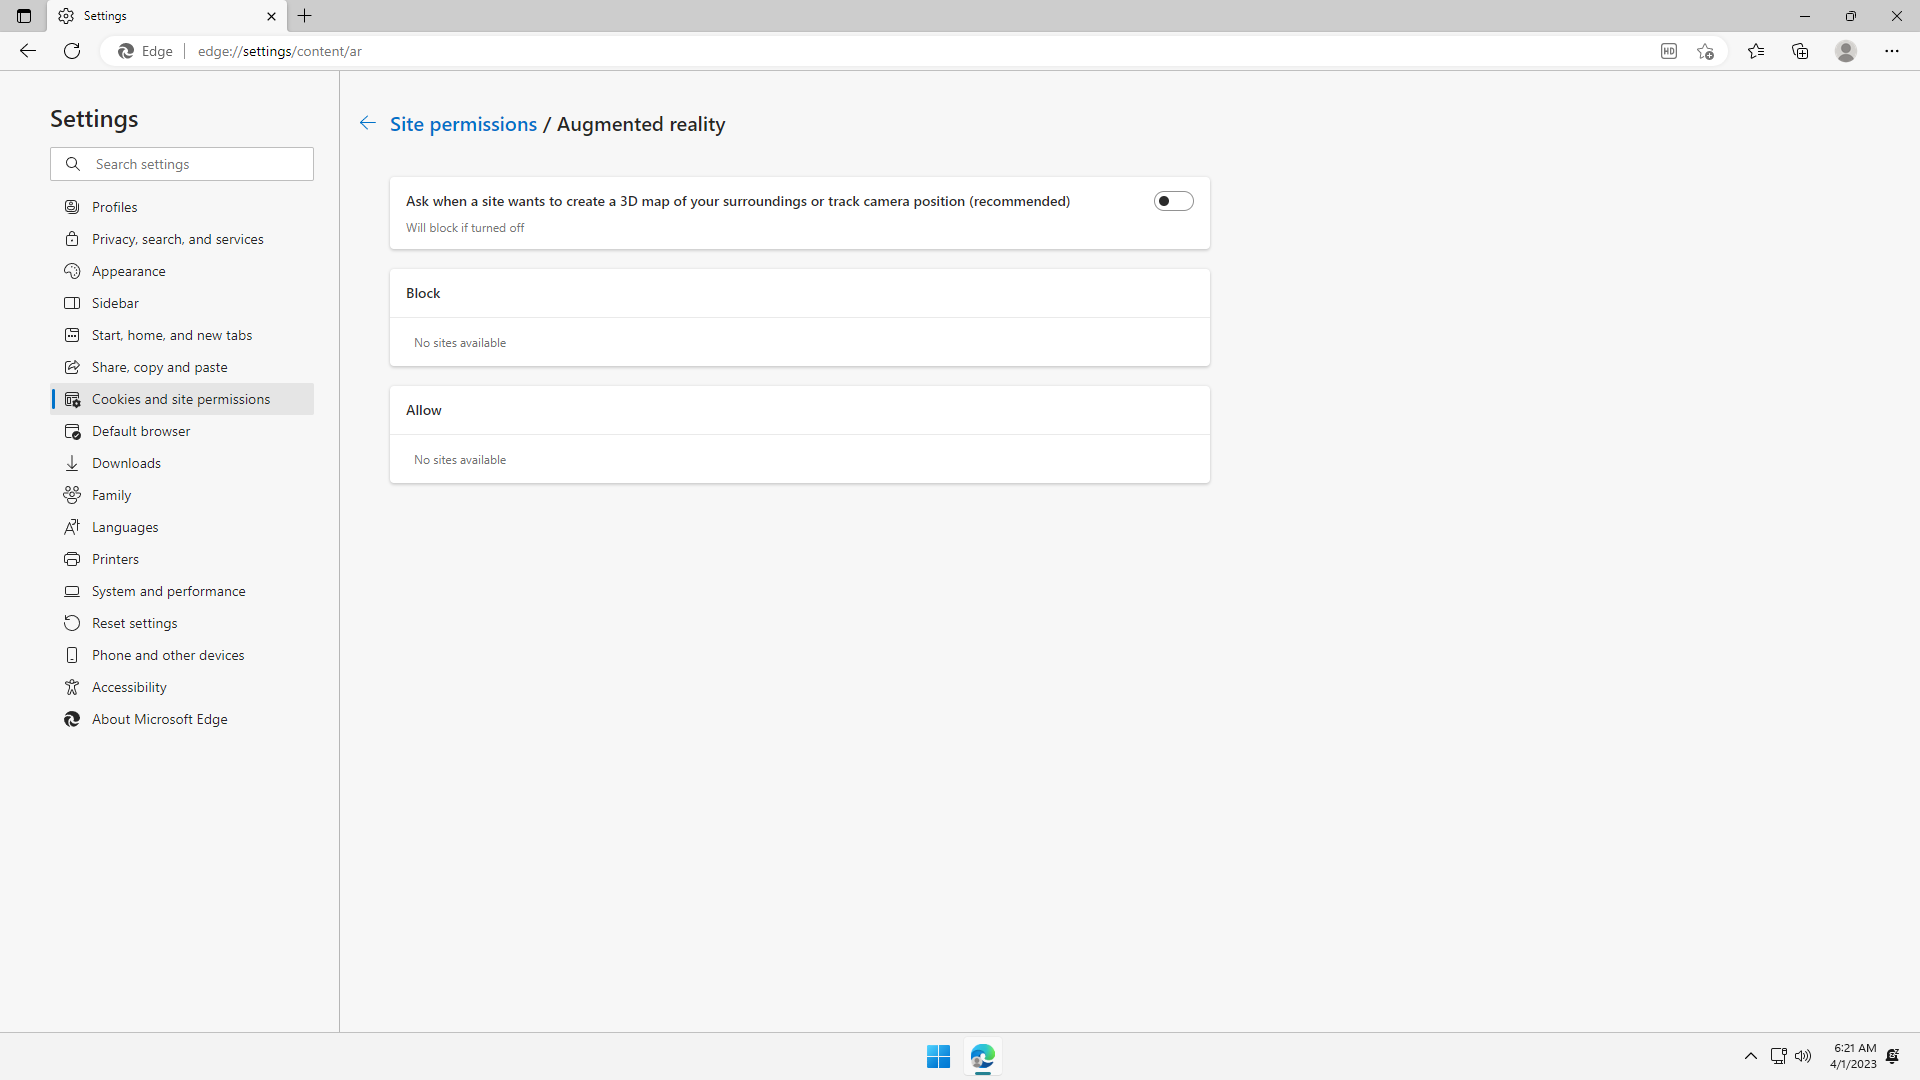
Under Site permissions > Augmented reality, flip it off unless you need a website to access your augmented reality devices. Accidentally granting this permission can be used by malicious sites to steal data from your augmented reality devices:
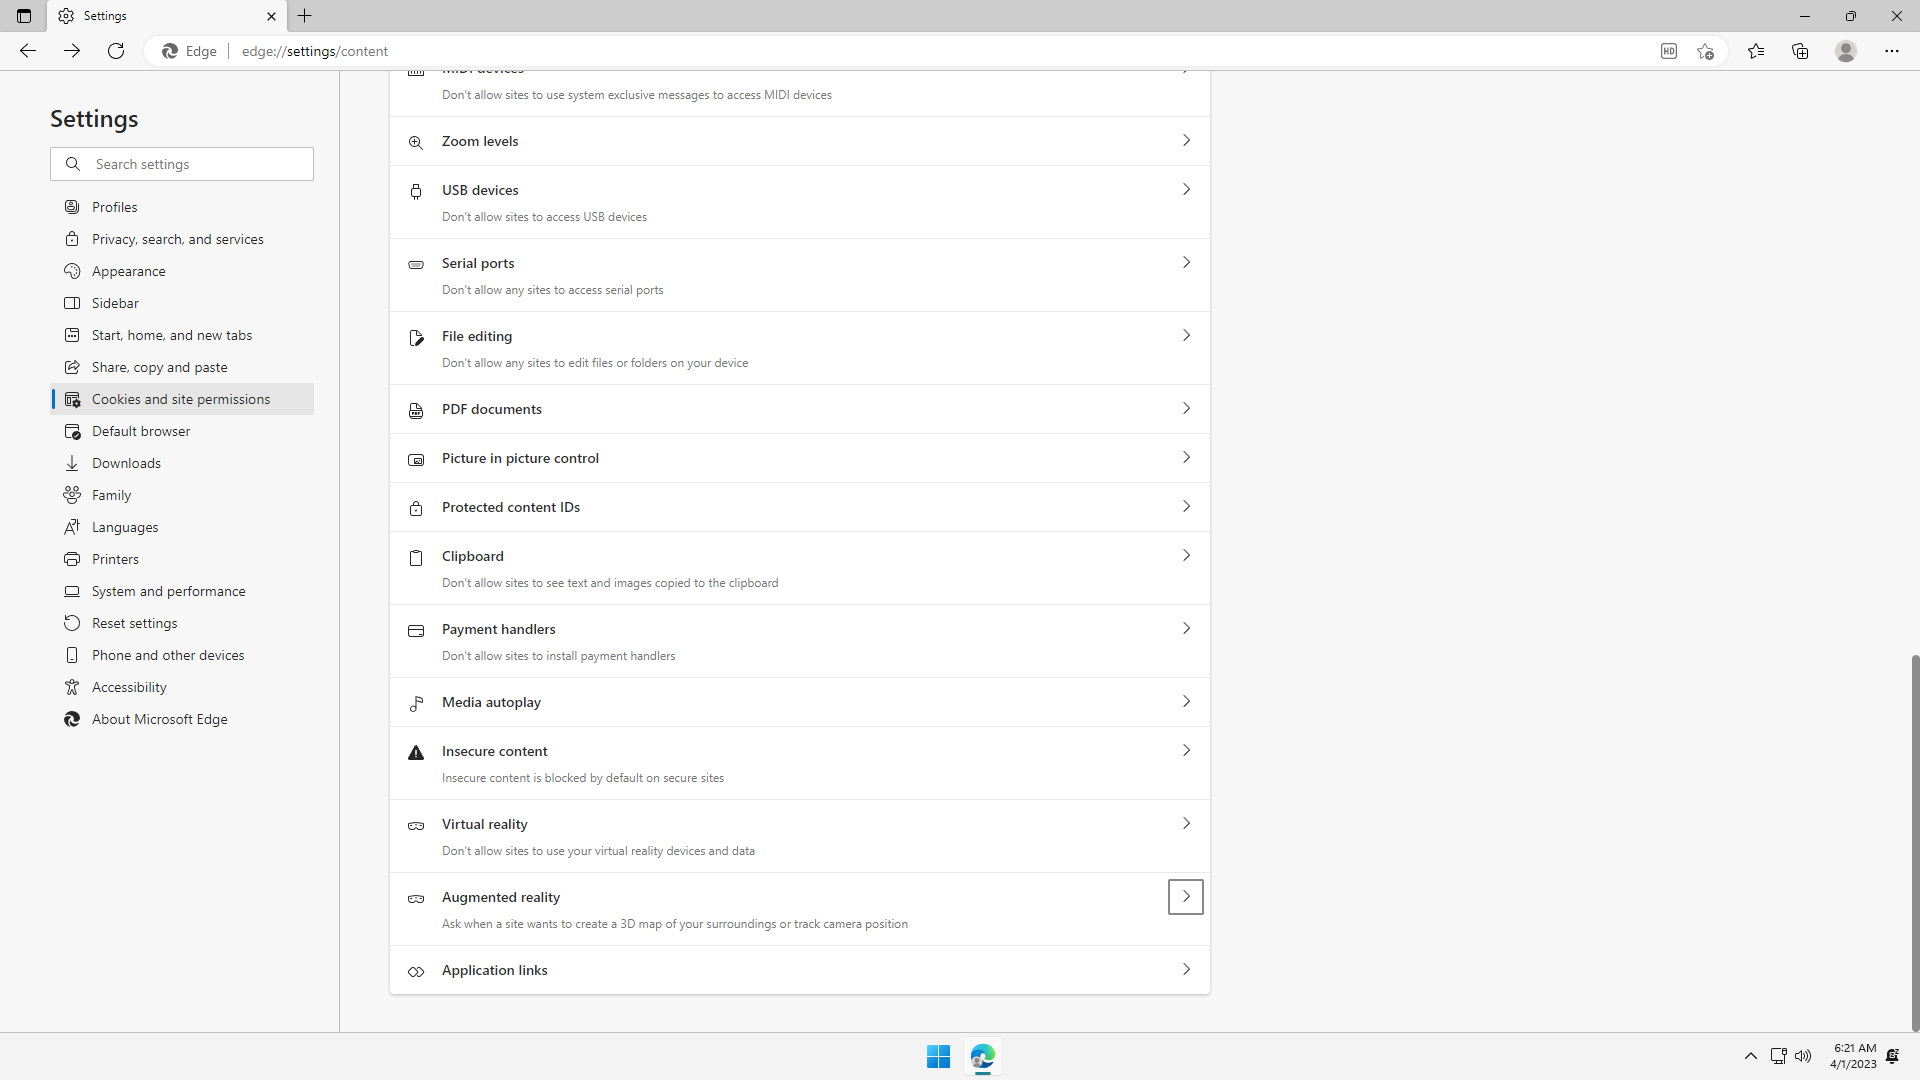
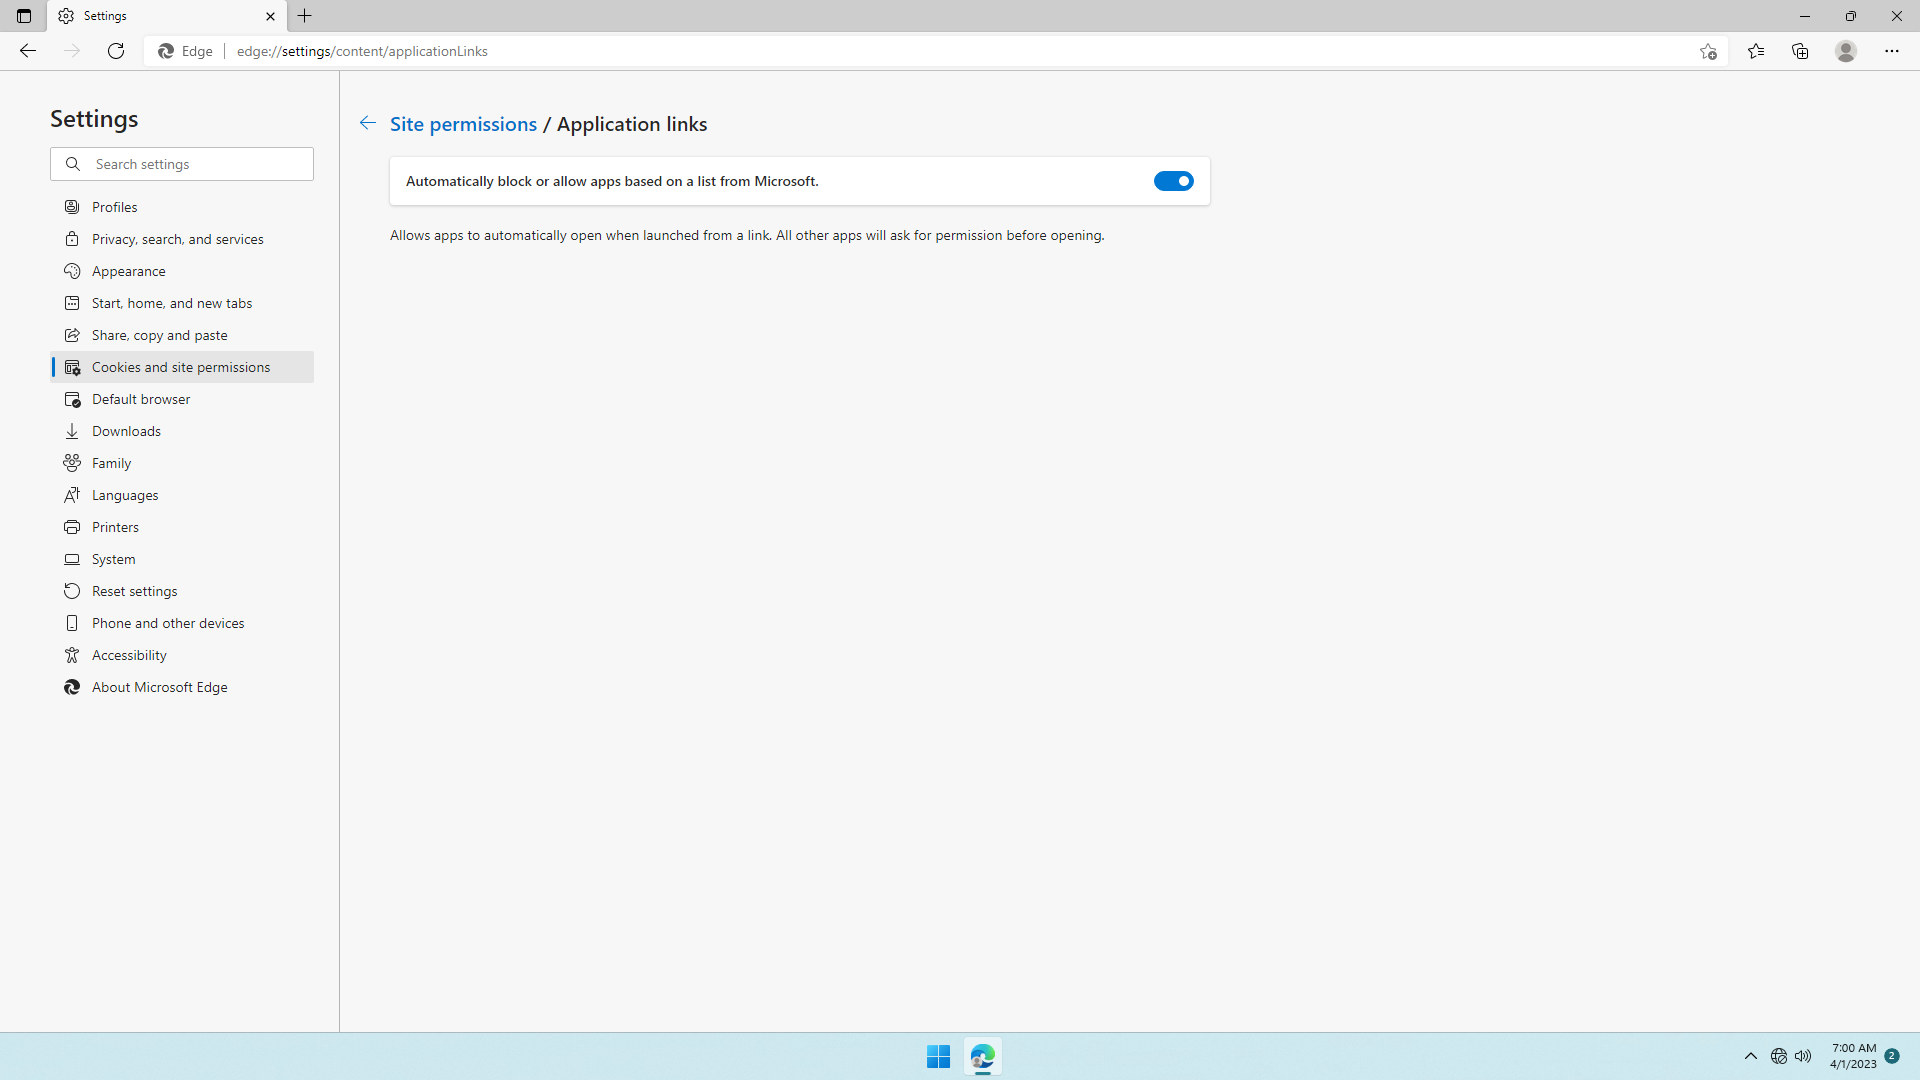
Under Site permissions > Application links, flip it off unless you like web links opening Microsoft apps. Note that this permission can be used by malicious sites to cause a user to open local apps via web links through bootstrapping, e.g. someapp://some/thing which can be used as an attack vector by malicious users to perform something within an app, such as making payments:
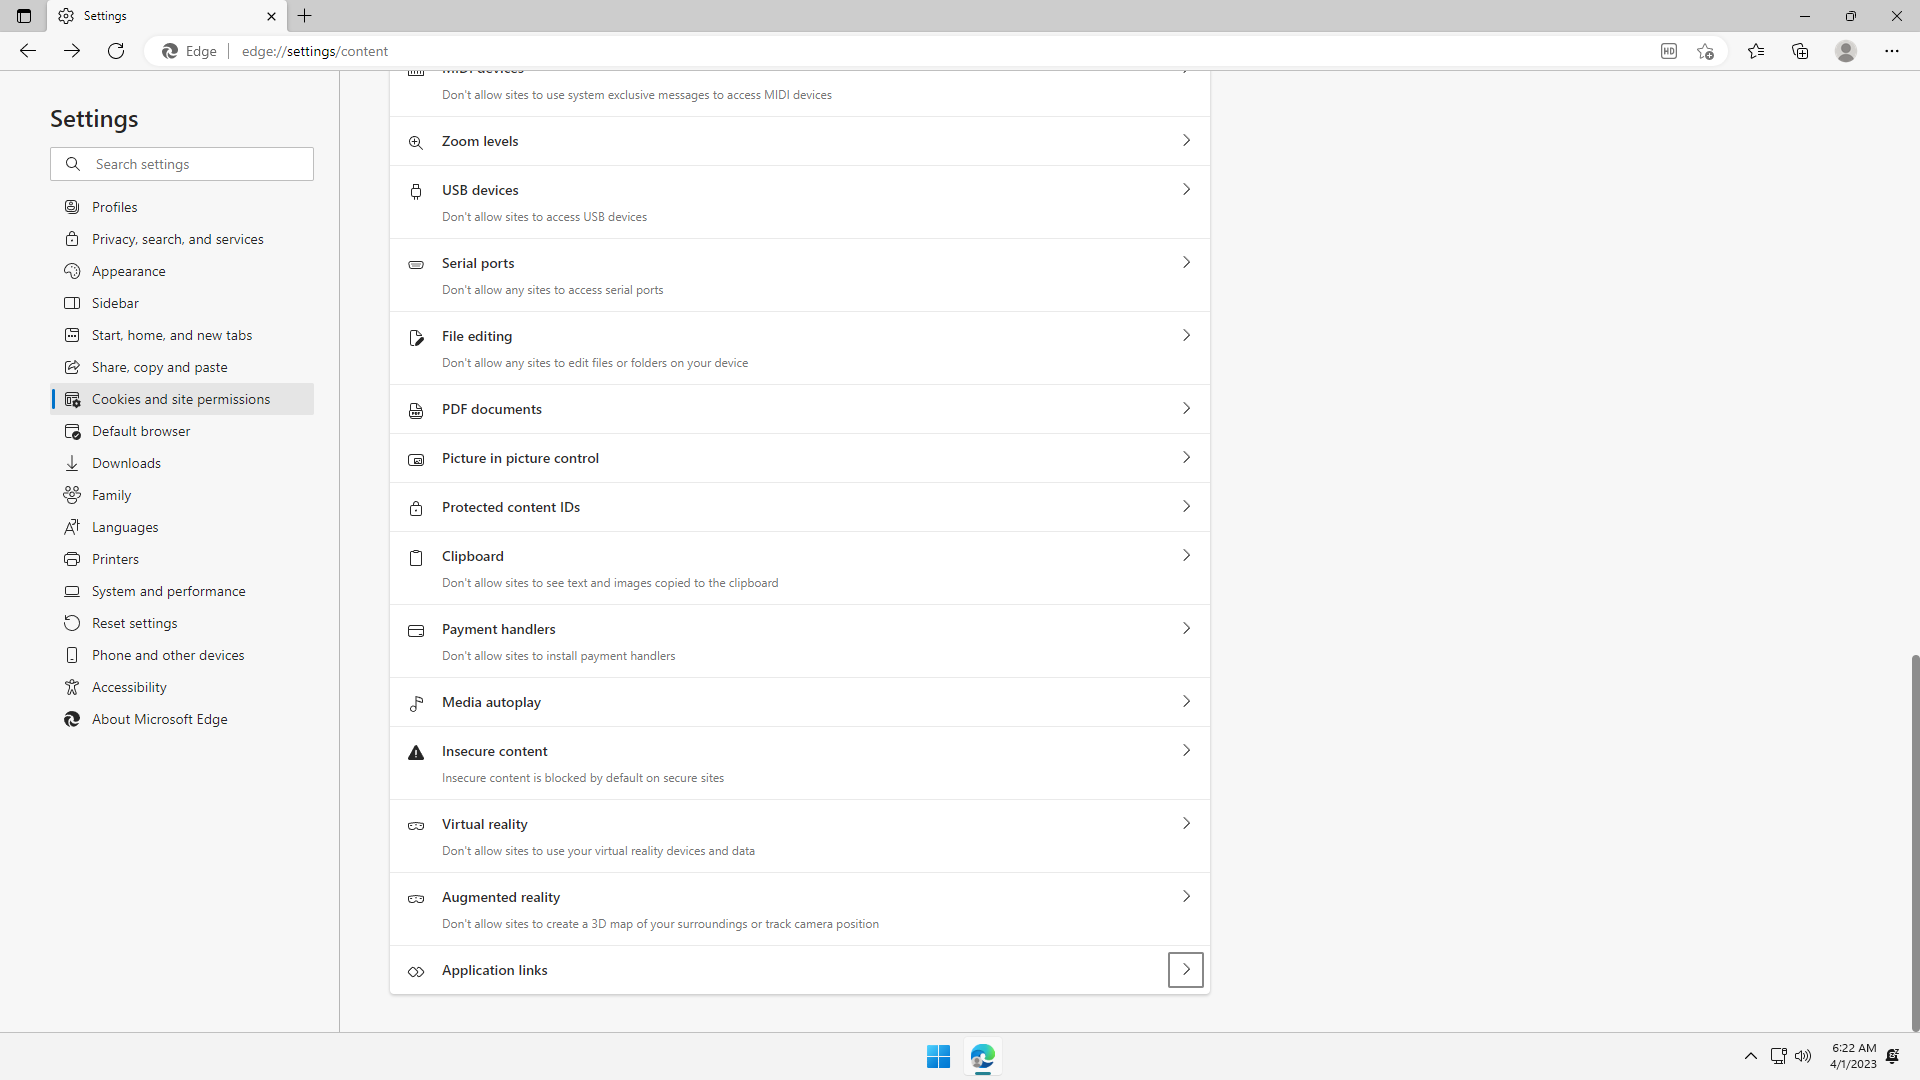
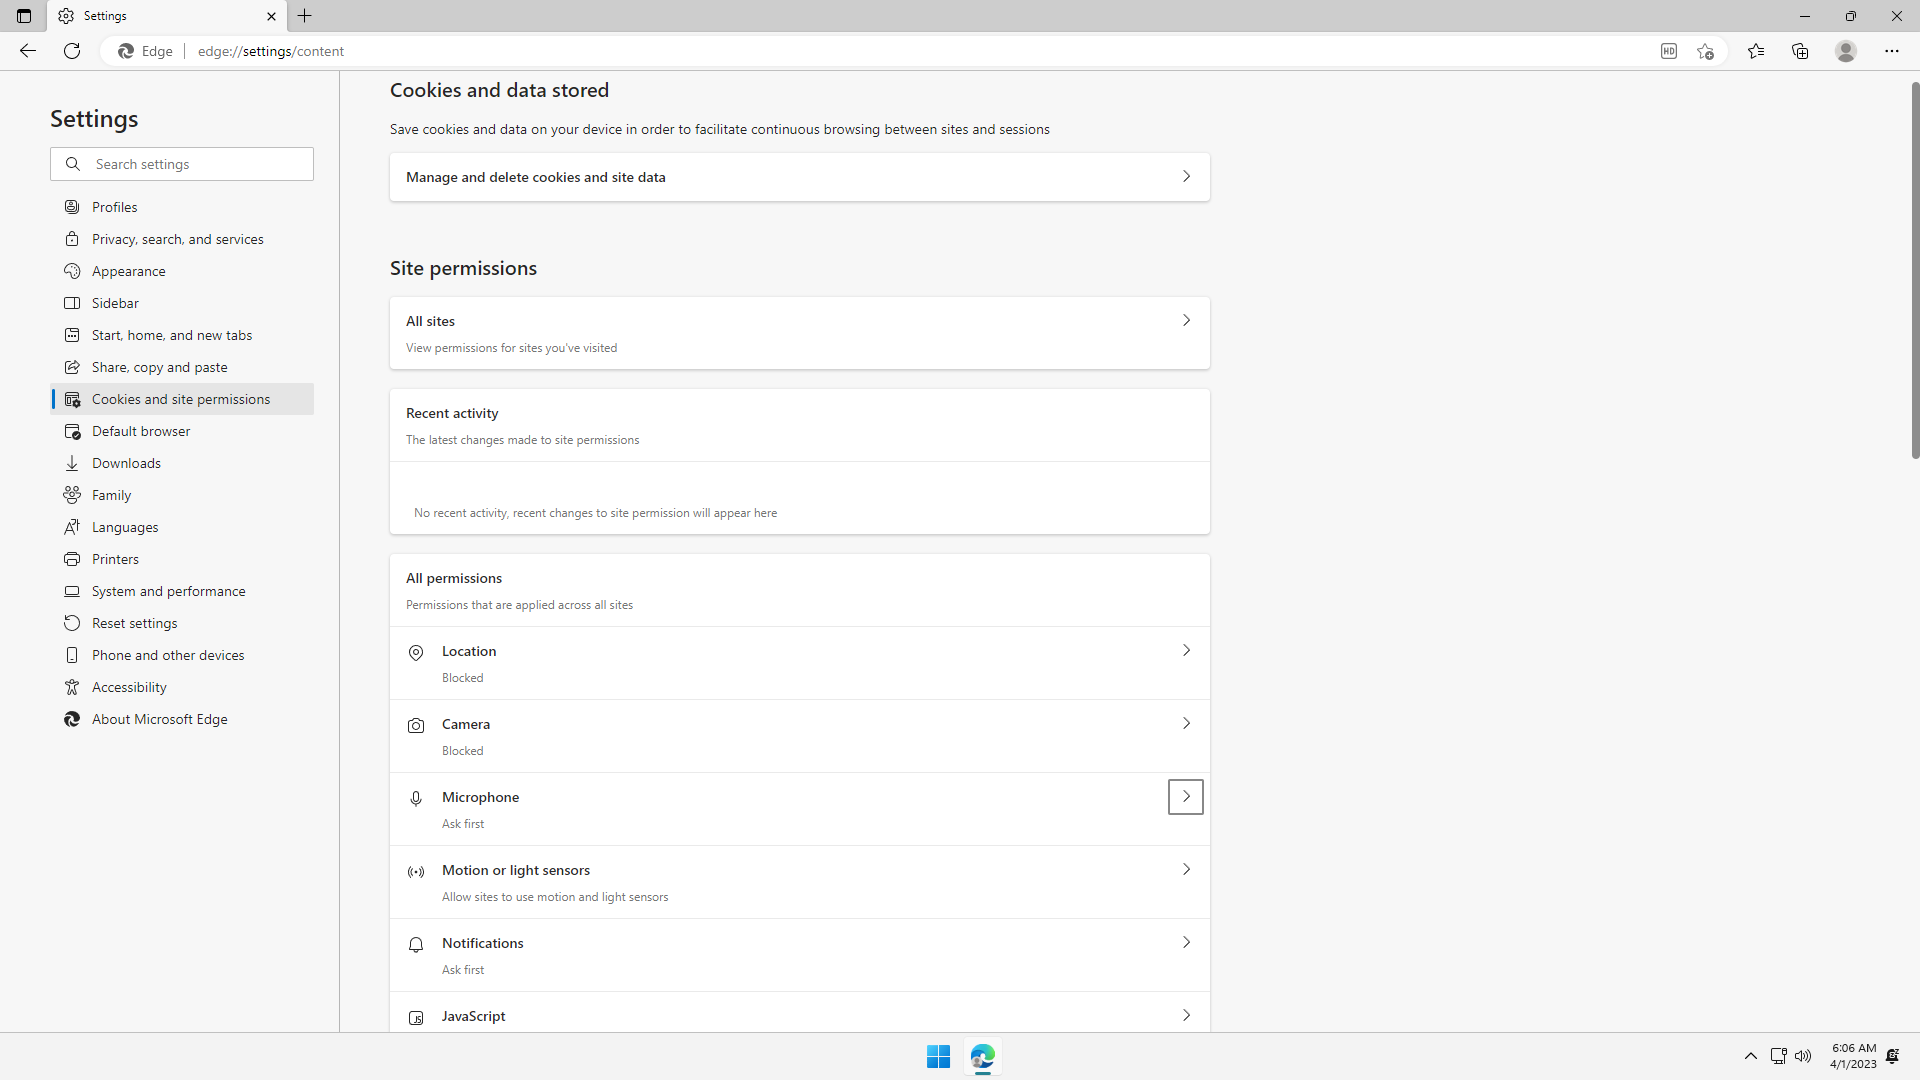
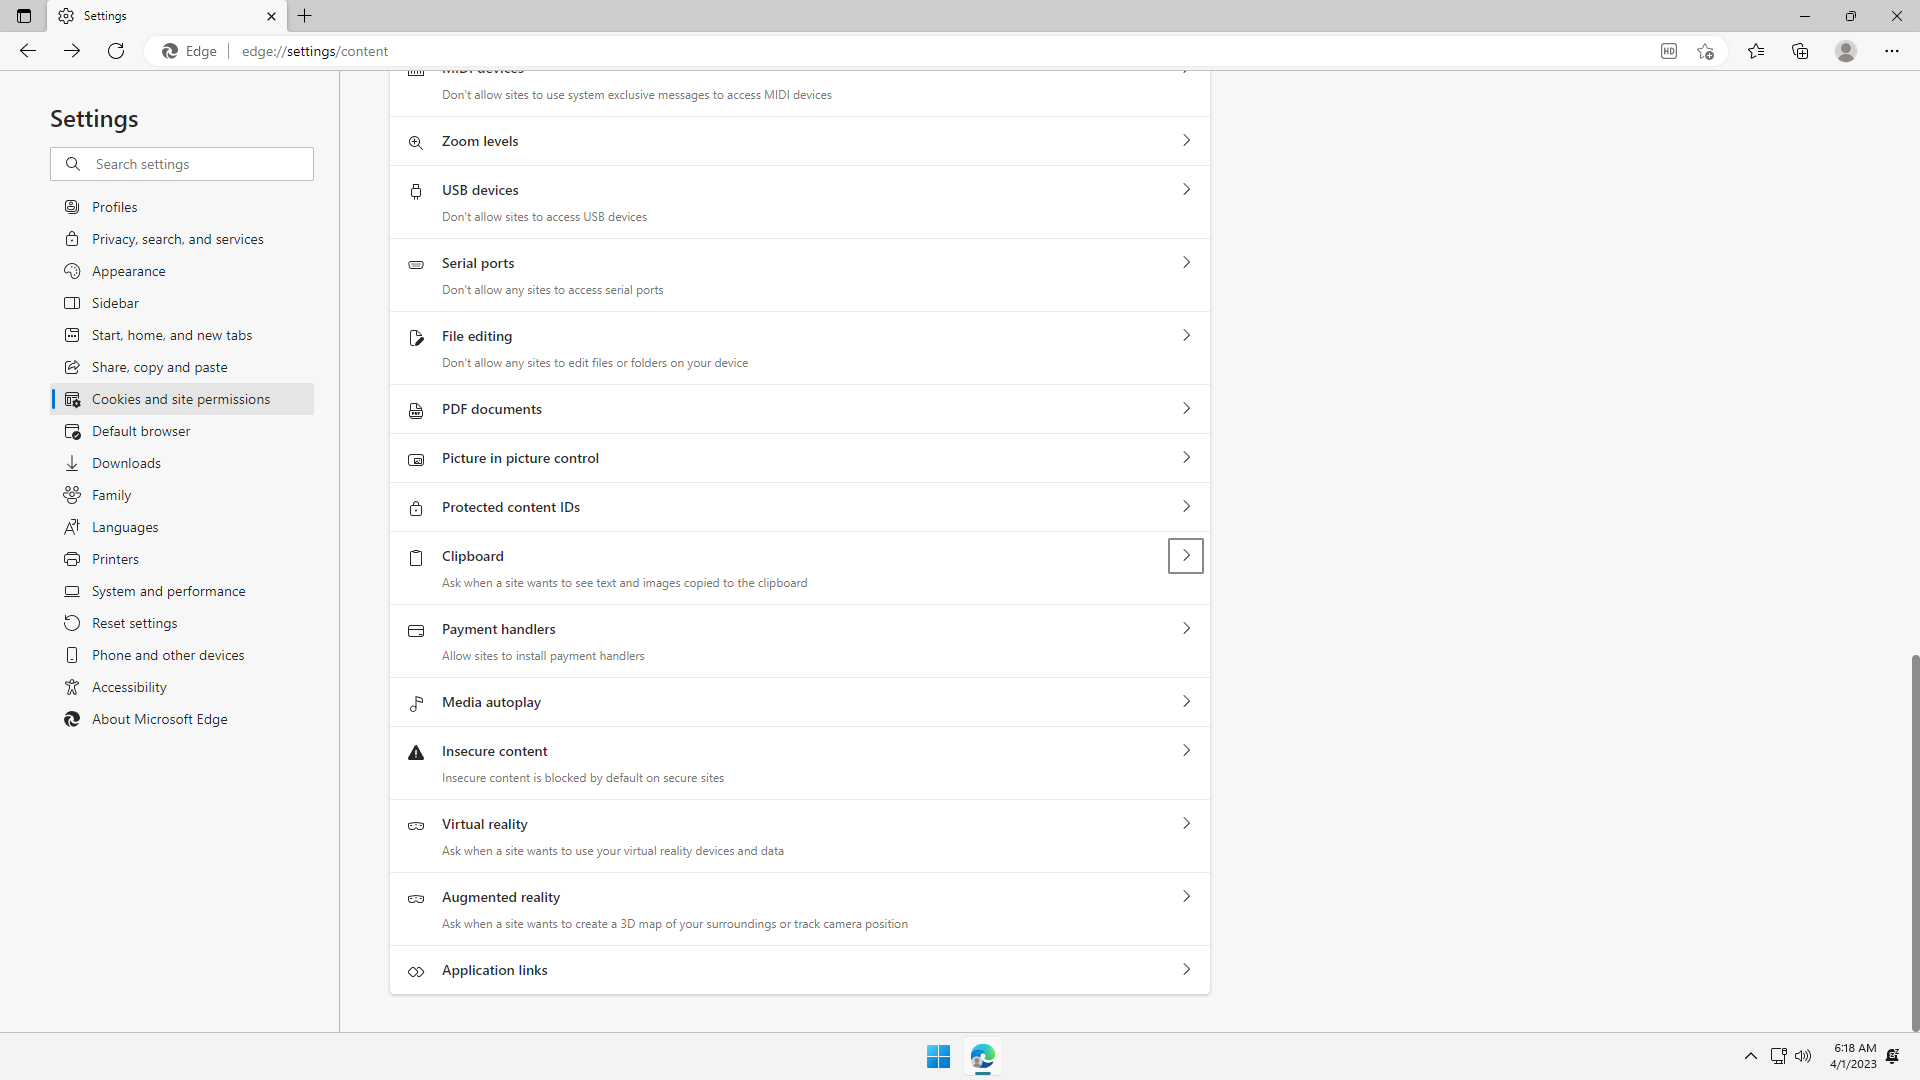
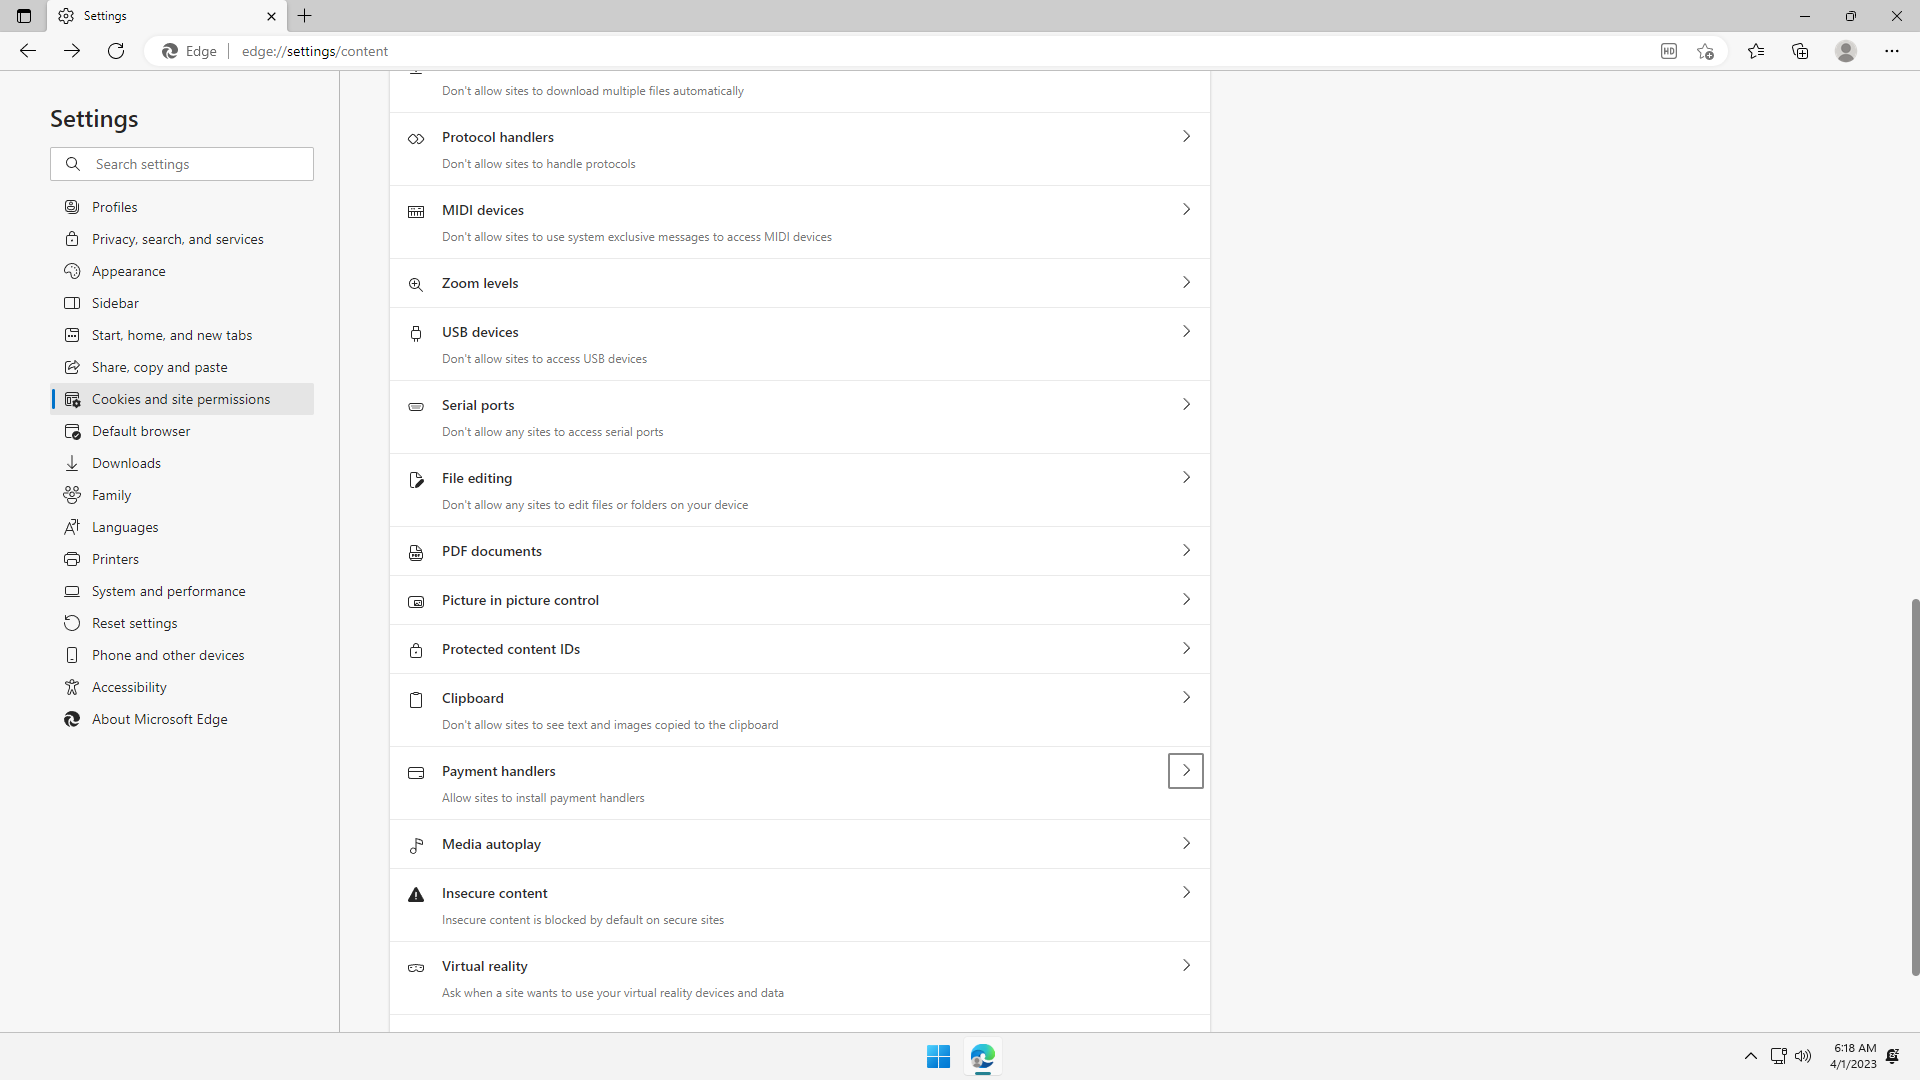
We are finally done. Site permissions should look something like the following:


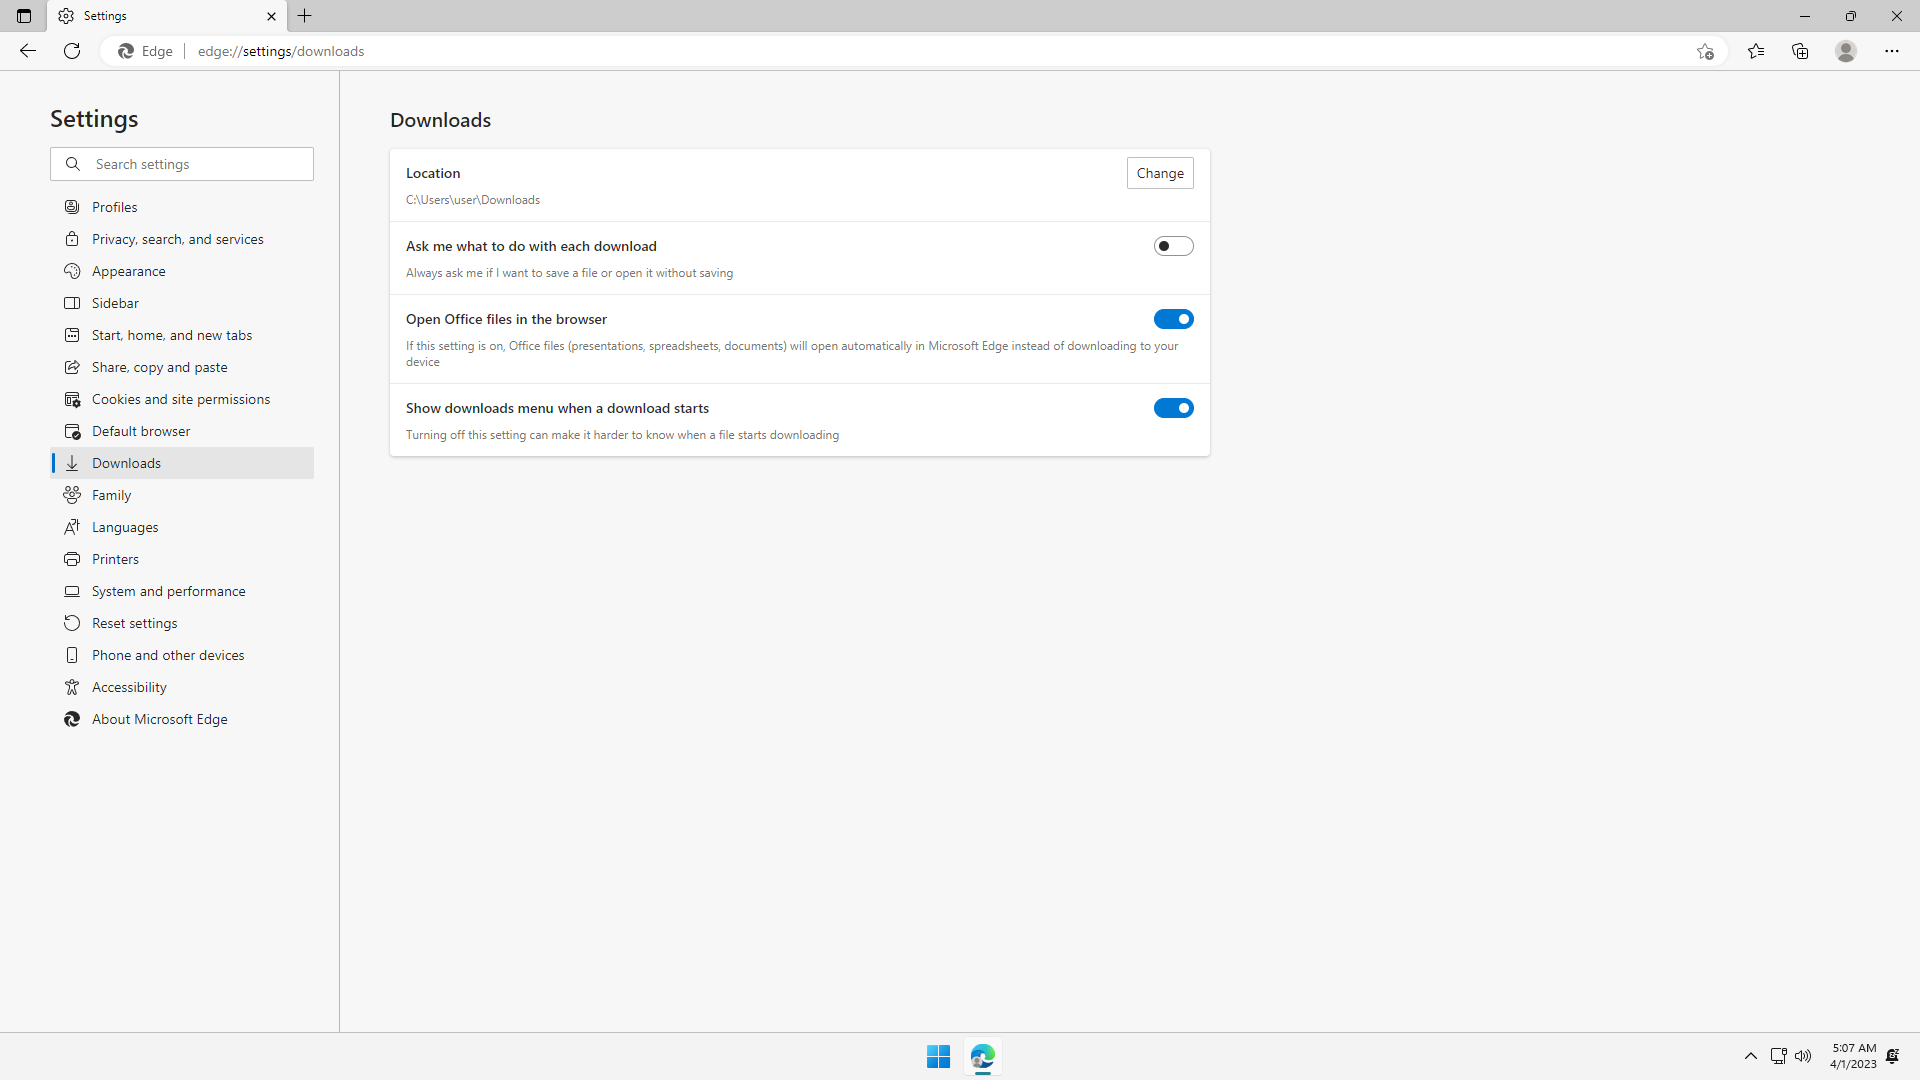
Step 7: Settings > Downloads
Click Settings > Downloads. What you choose here depends on your preference.
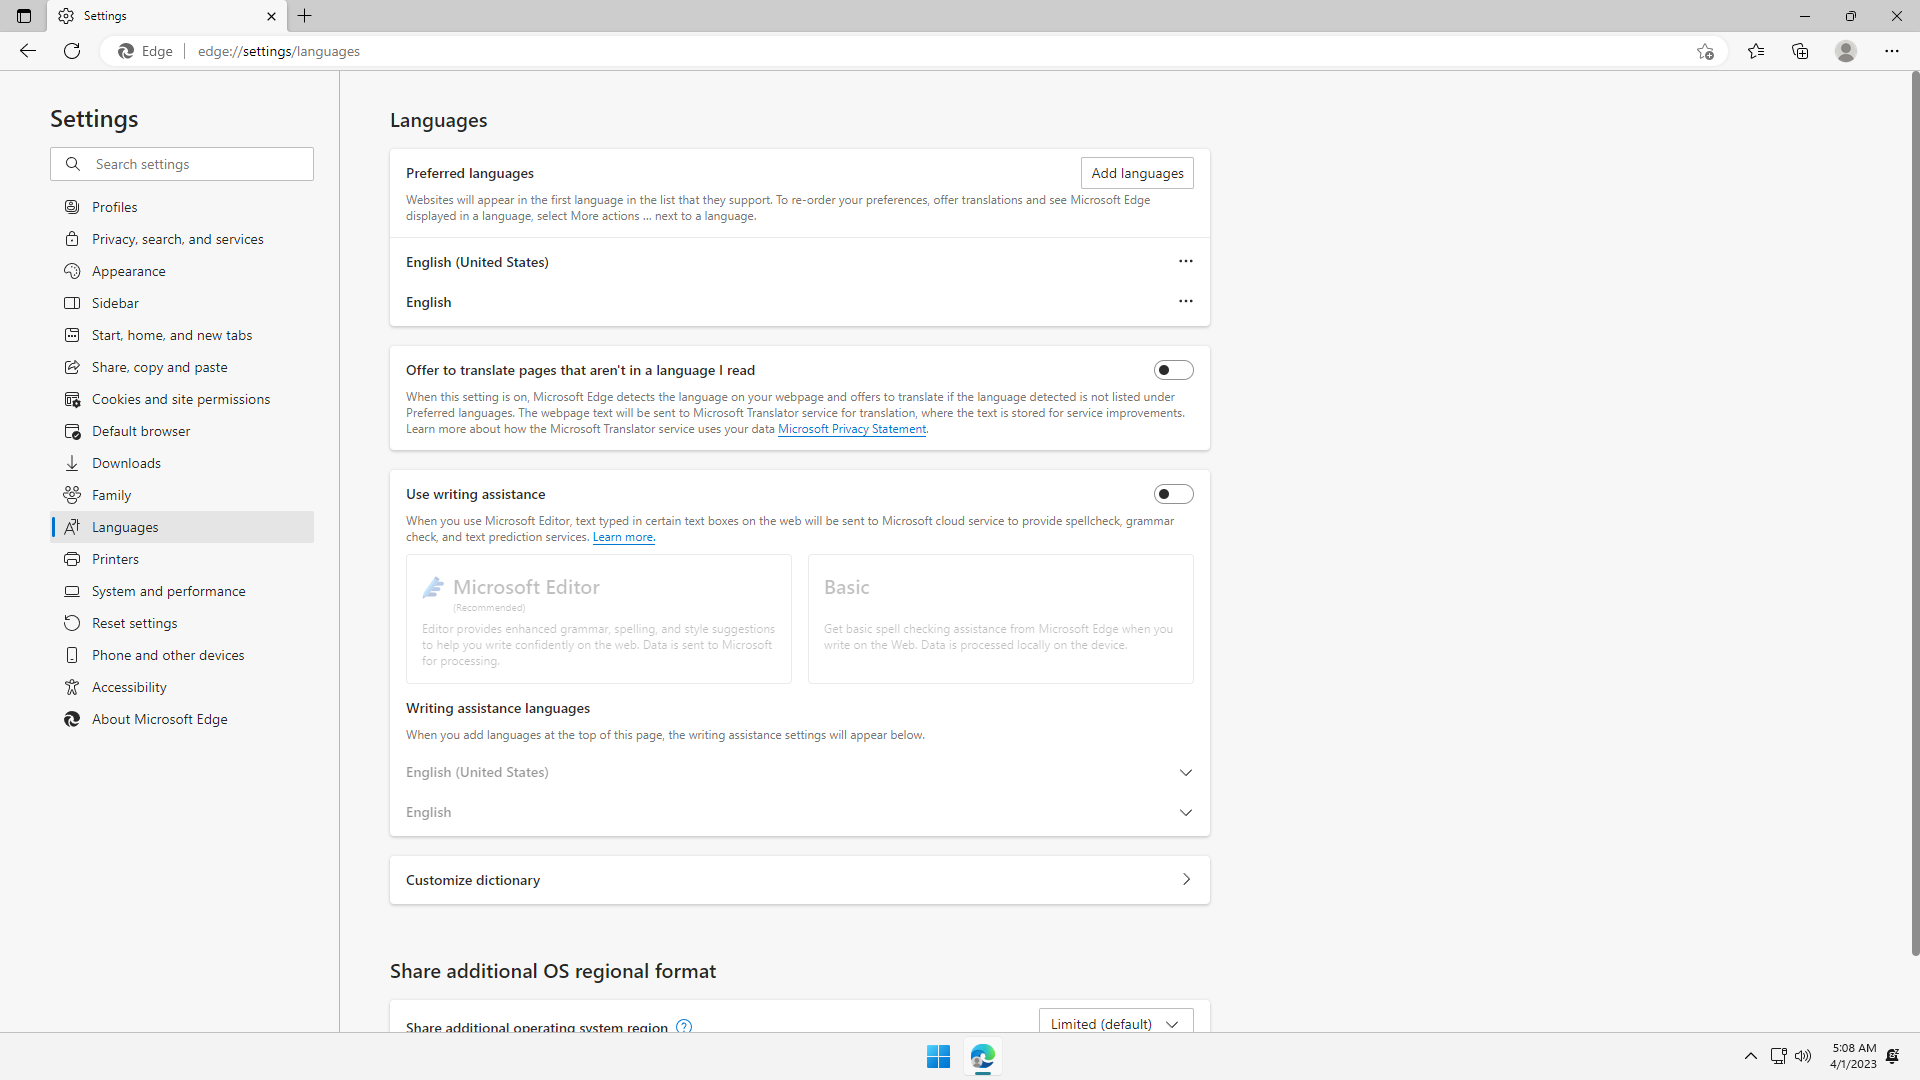
Step 8: Languages
Click Settings > Languages.
Flip off the Offer to translate pages that aren't in a language I read, unless you are doing some translation work. This setting allows Microsoft service to scan every site being browsed to detect whether it may need translation, and the browsing data may then be used to improve their language services. It is better to manually translate pages only when needed.
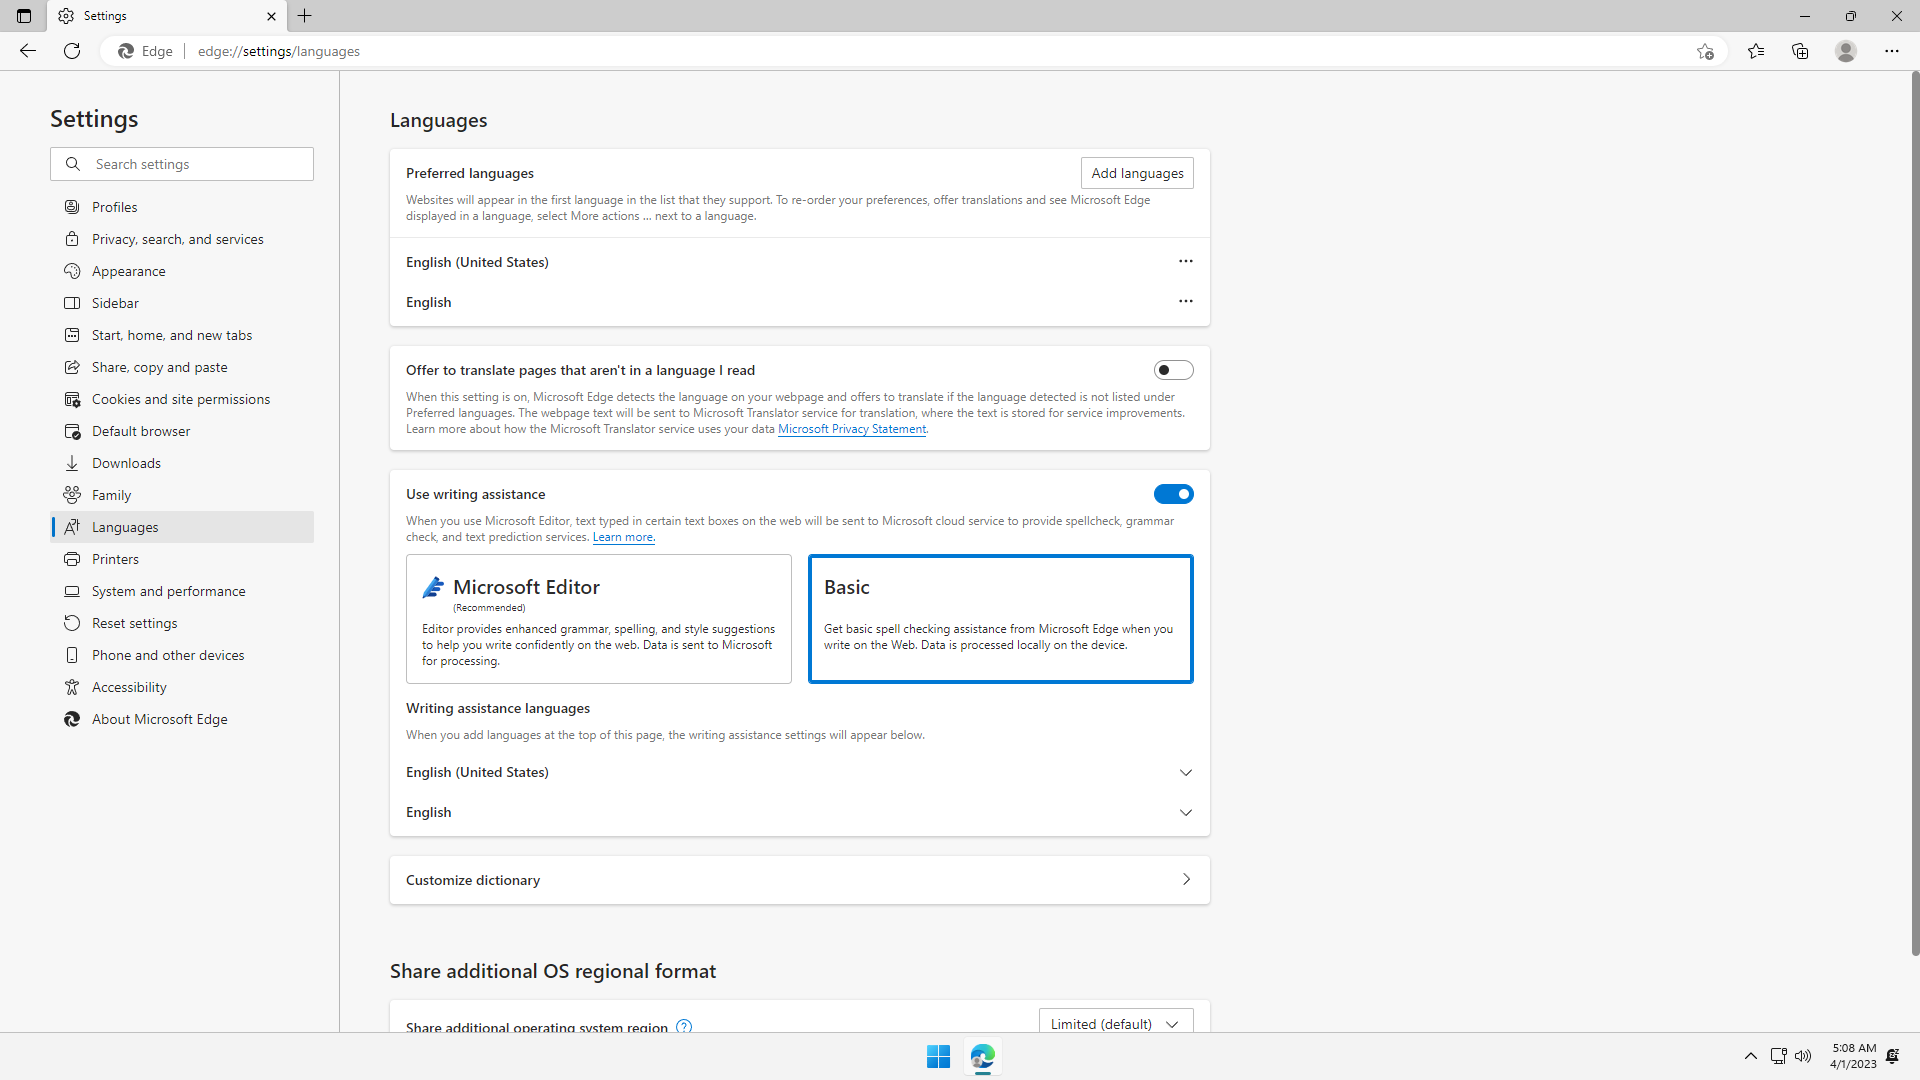
Change the User writing assistance to Basic mode, so that your typing activity is not sent to Microsoft in Microsoft Editor mode to improve their machine learning technologies. Typing activity can contain personal data of not just the user, but their contacts, or anything sensitive between individuals. If you are uncomfortable with this data being used, or dislike spell check or typing assistance making undesirable corrections or distracting suggestions, flip this off.
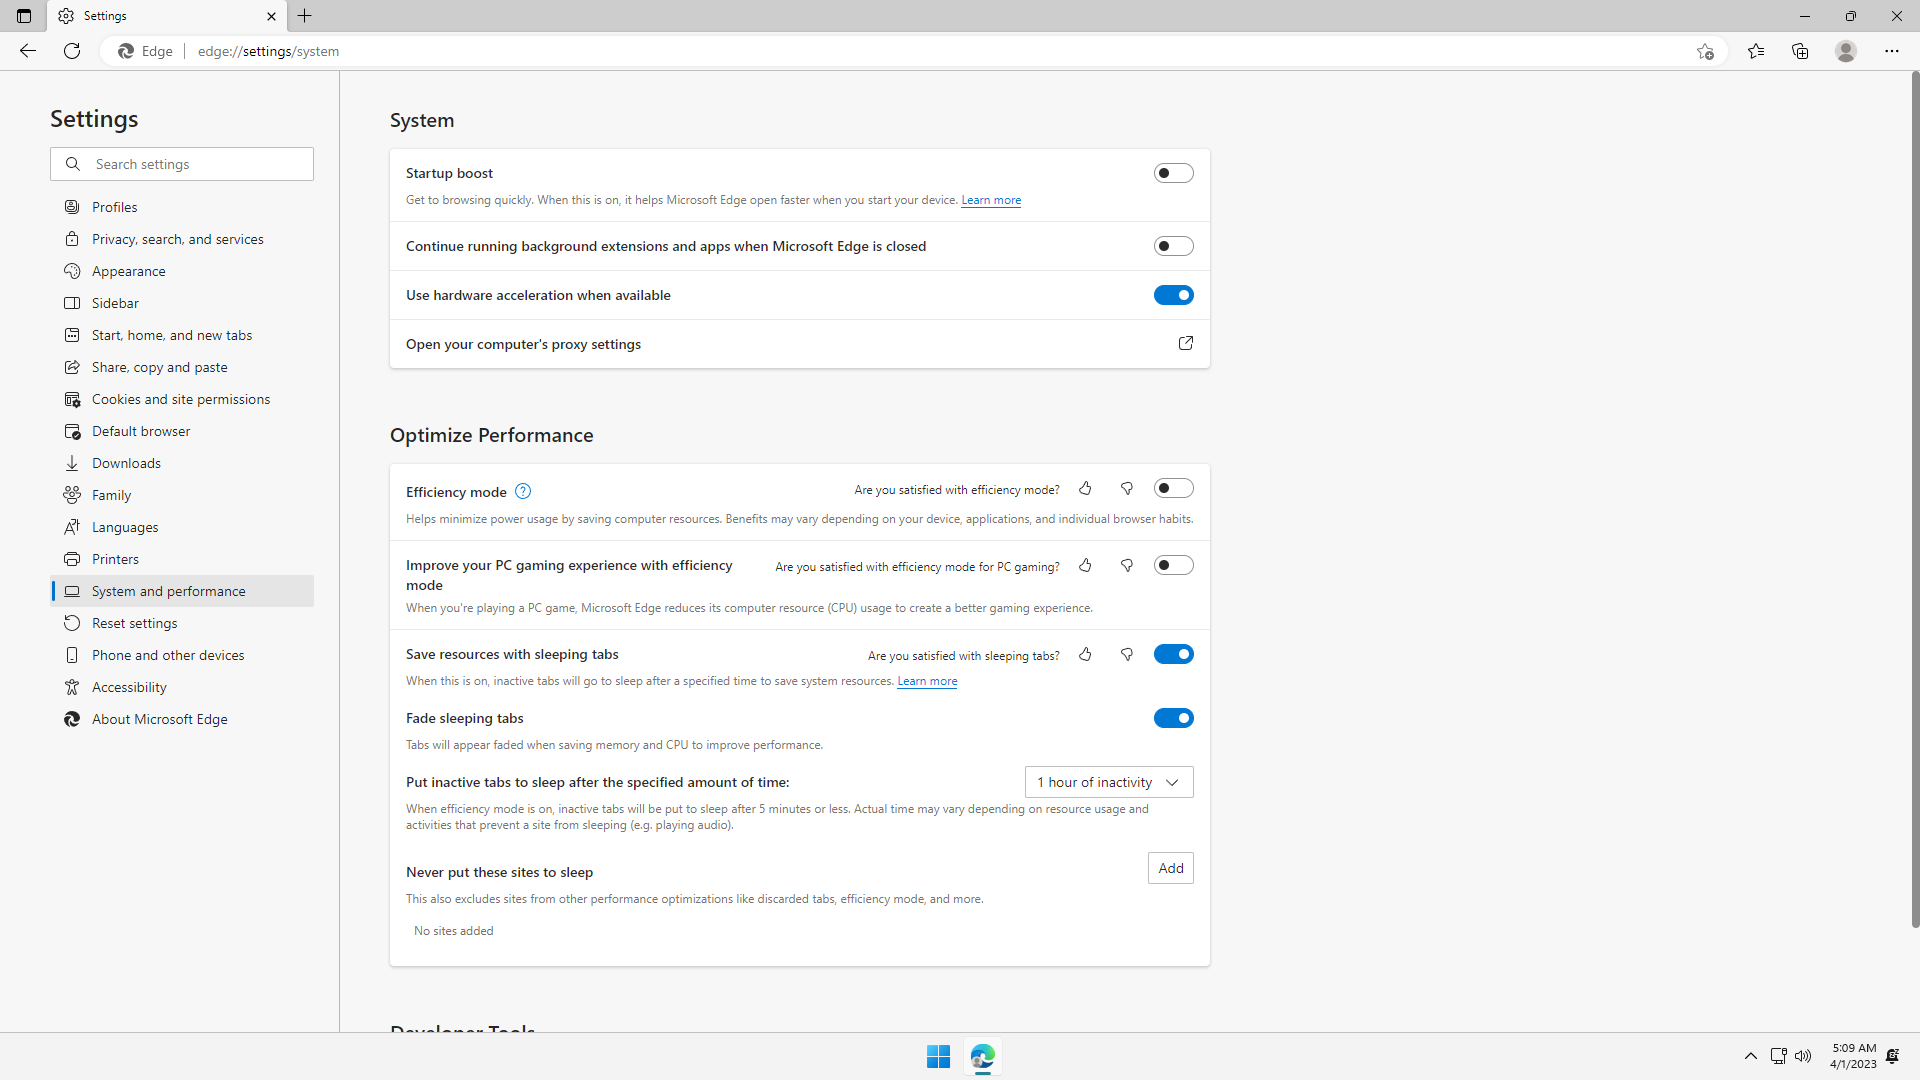
Step 9: System and performance
Click System and performance.
It is best to keep the defaults.
We are almost done! You may close the Settings page now.
Step 10: Force the New Tab page to load a blank page
In this step, we are going to force the New Tab page to load a blank page, by using a browser extension.
As discussed at the beginning, the New Tab page always loads a Microsoft web page whenever the browser is opened, or whenever a New Tab is opened. The New Tab page is actually a subtle way used by Microsoft for data-mining user browsing habits.
Open a New tab:
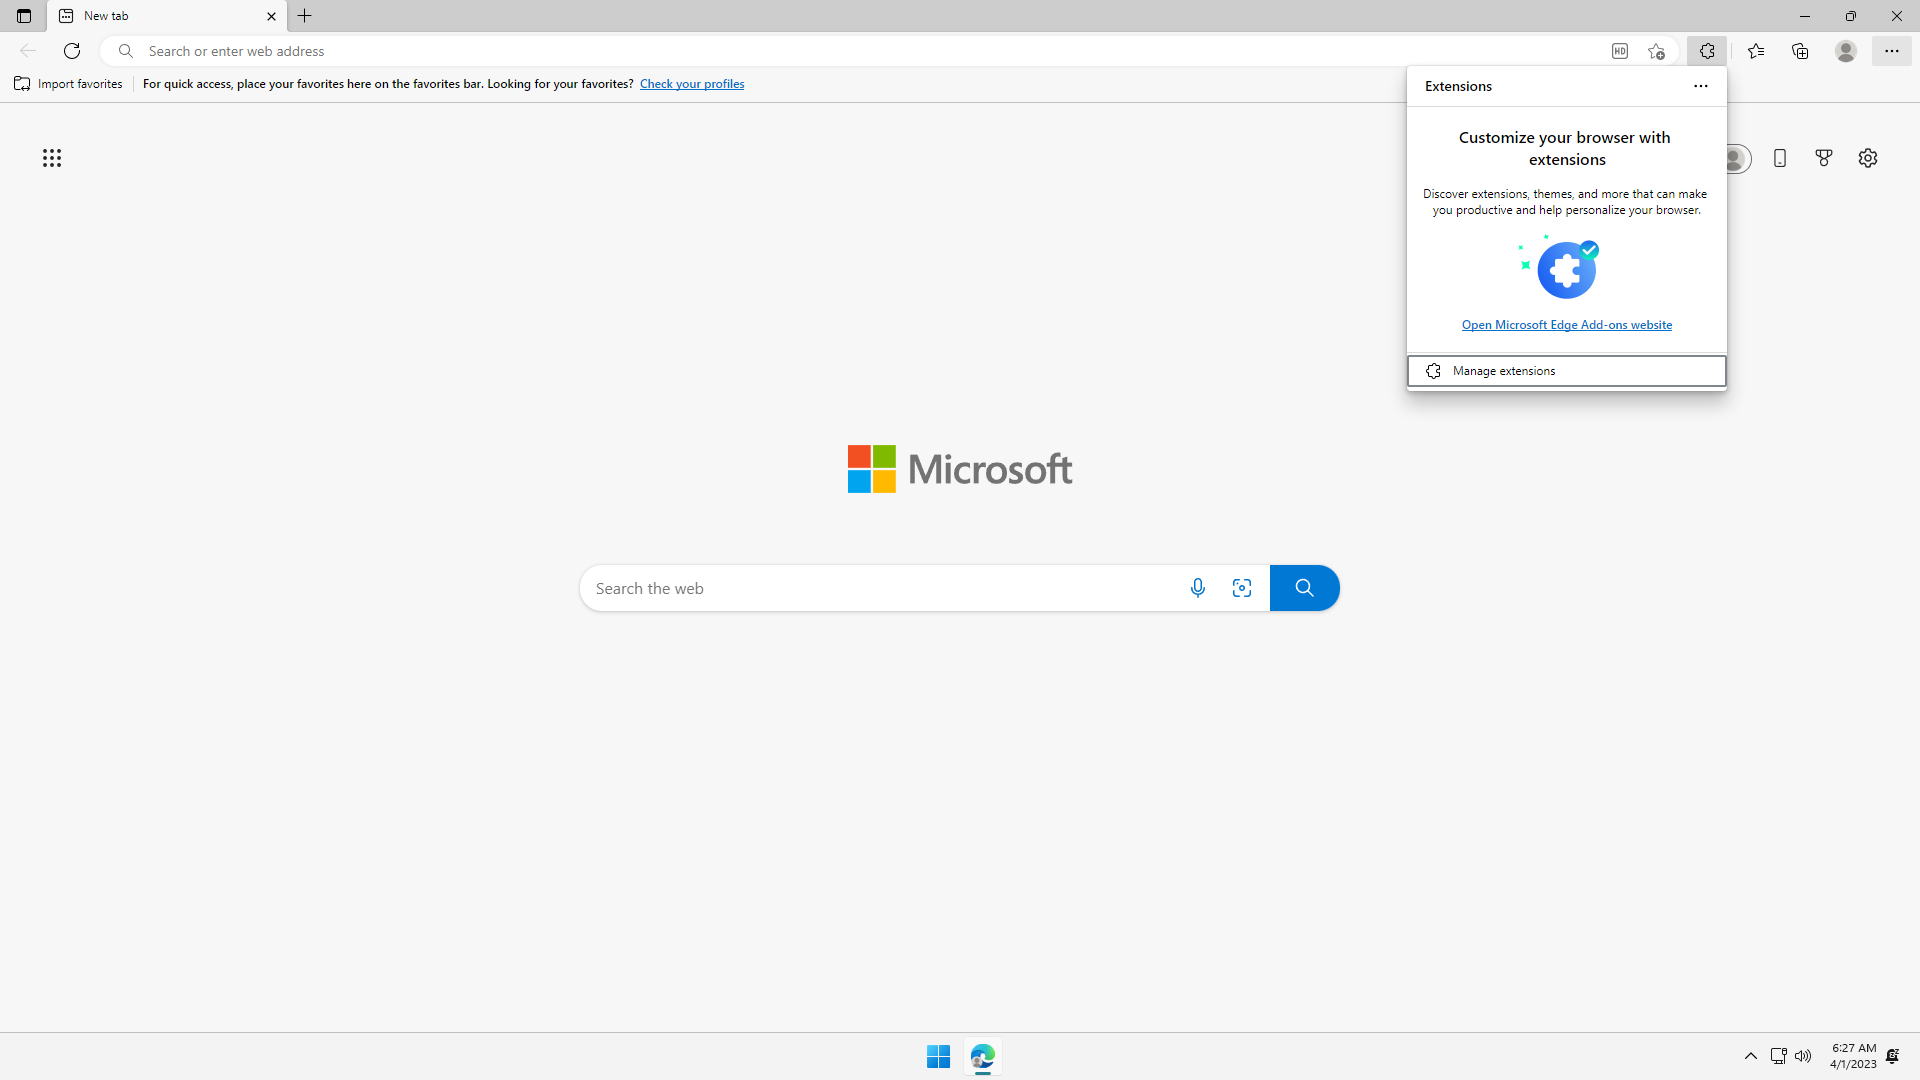
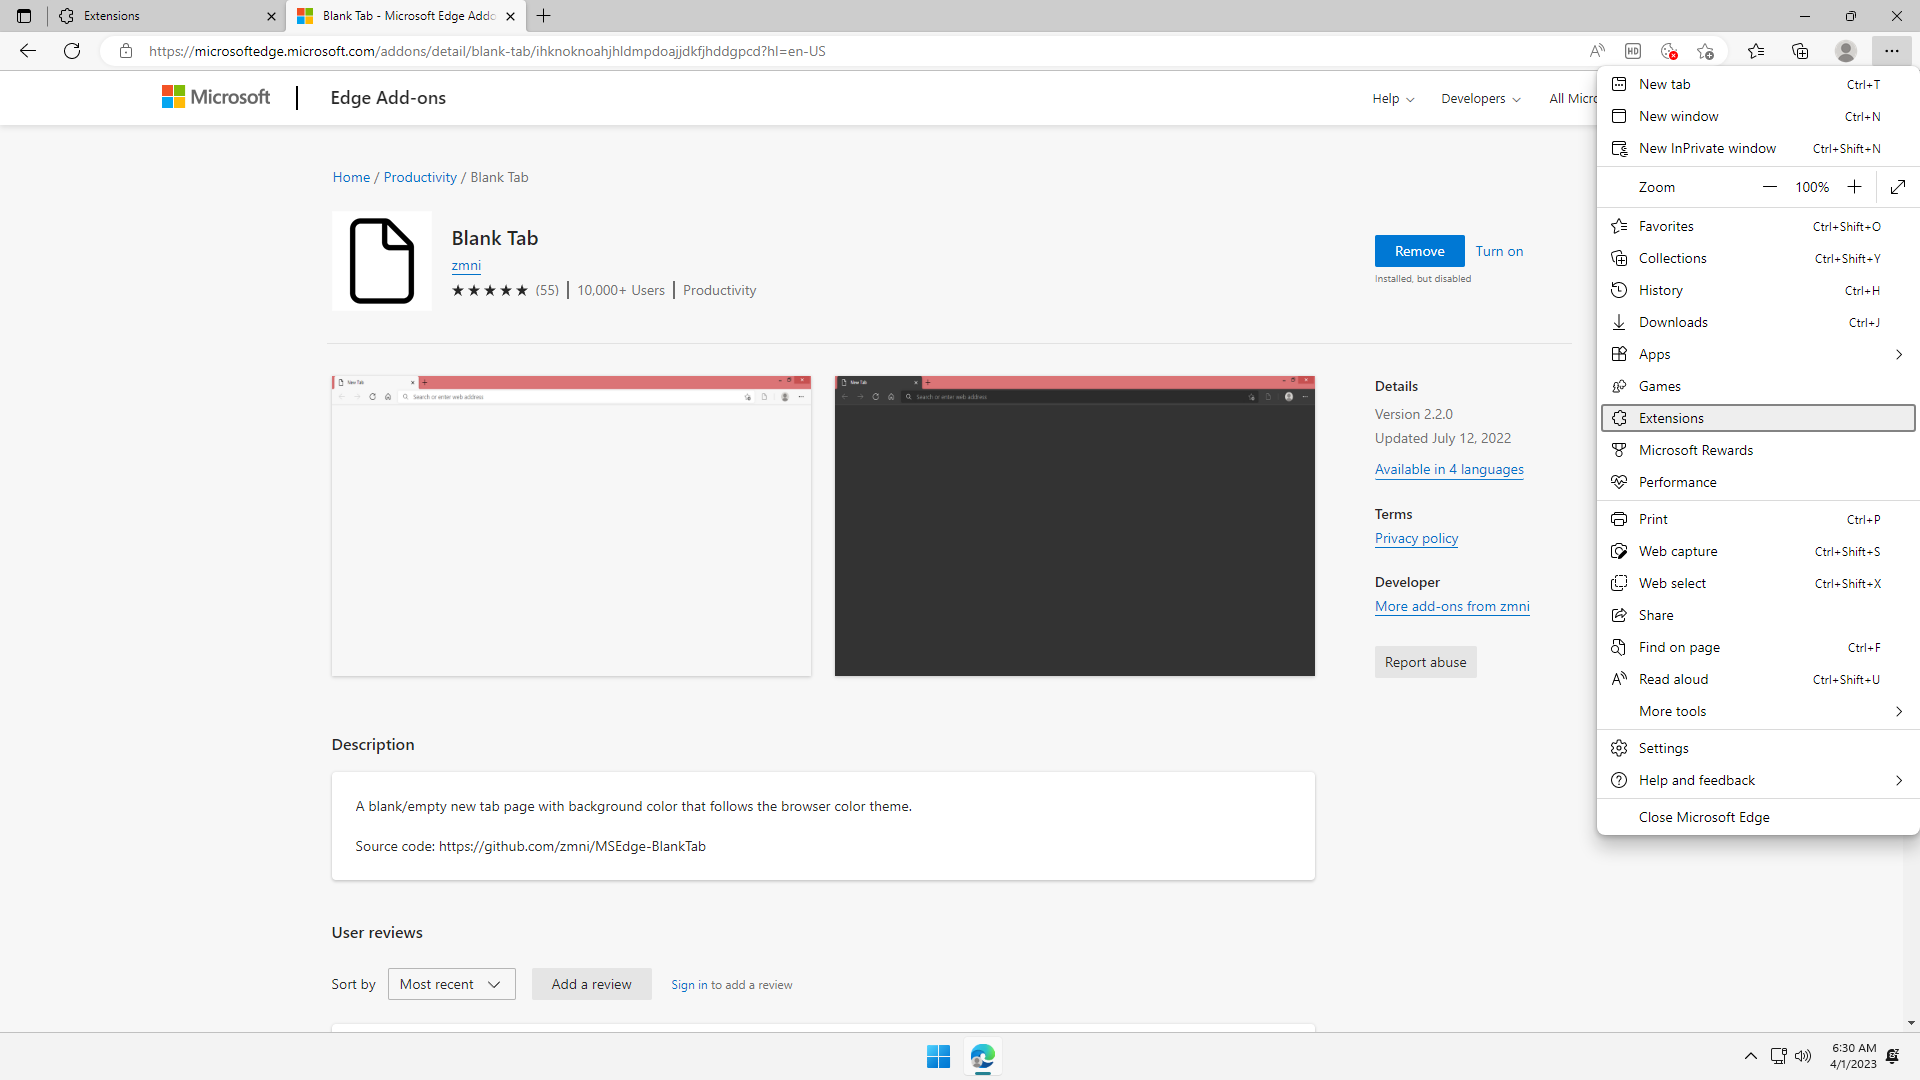
Click ... on the top right of Microsoft Edge, and click Settings:

A little popup is shown. Click Manage Extensions:
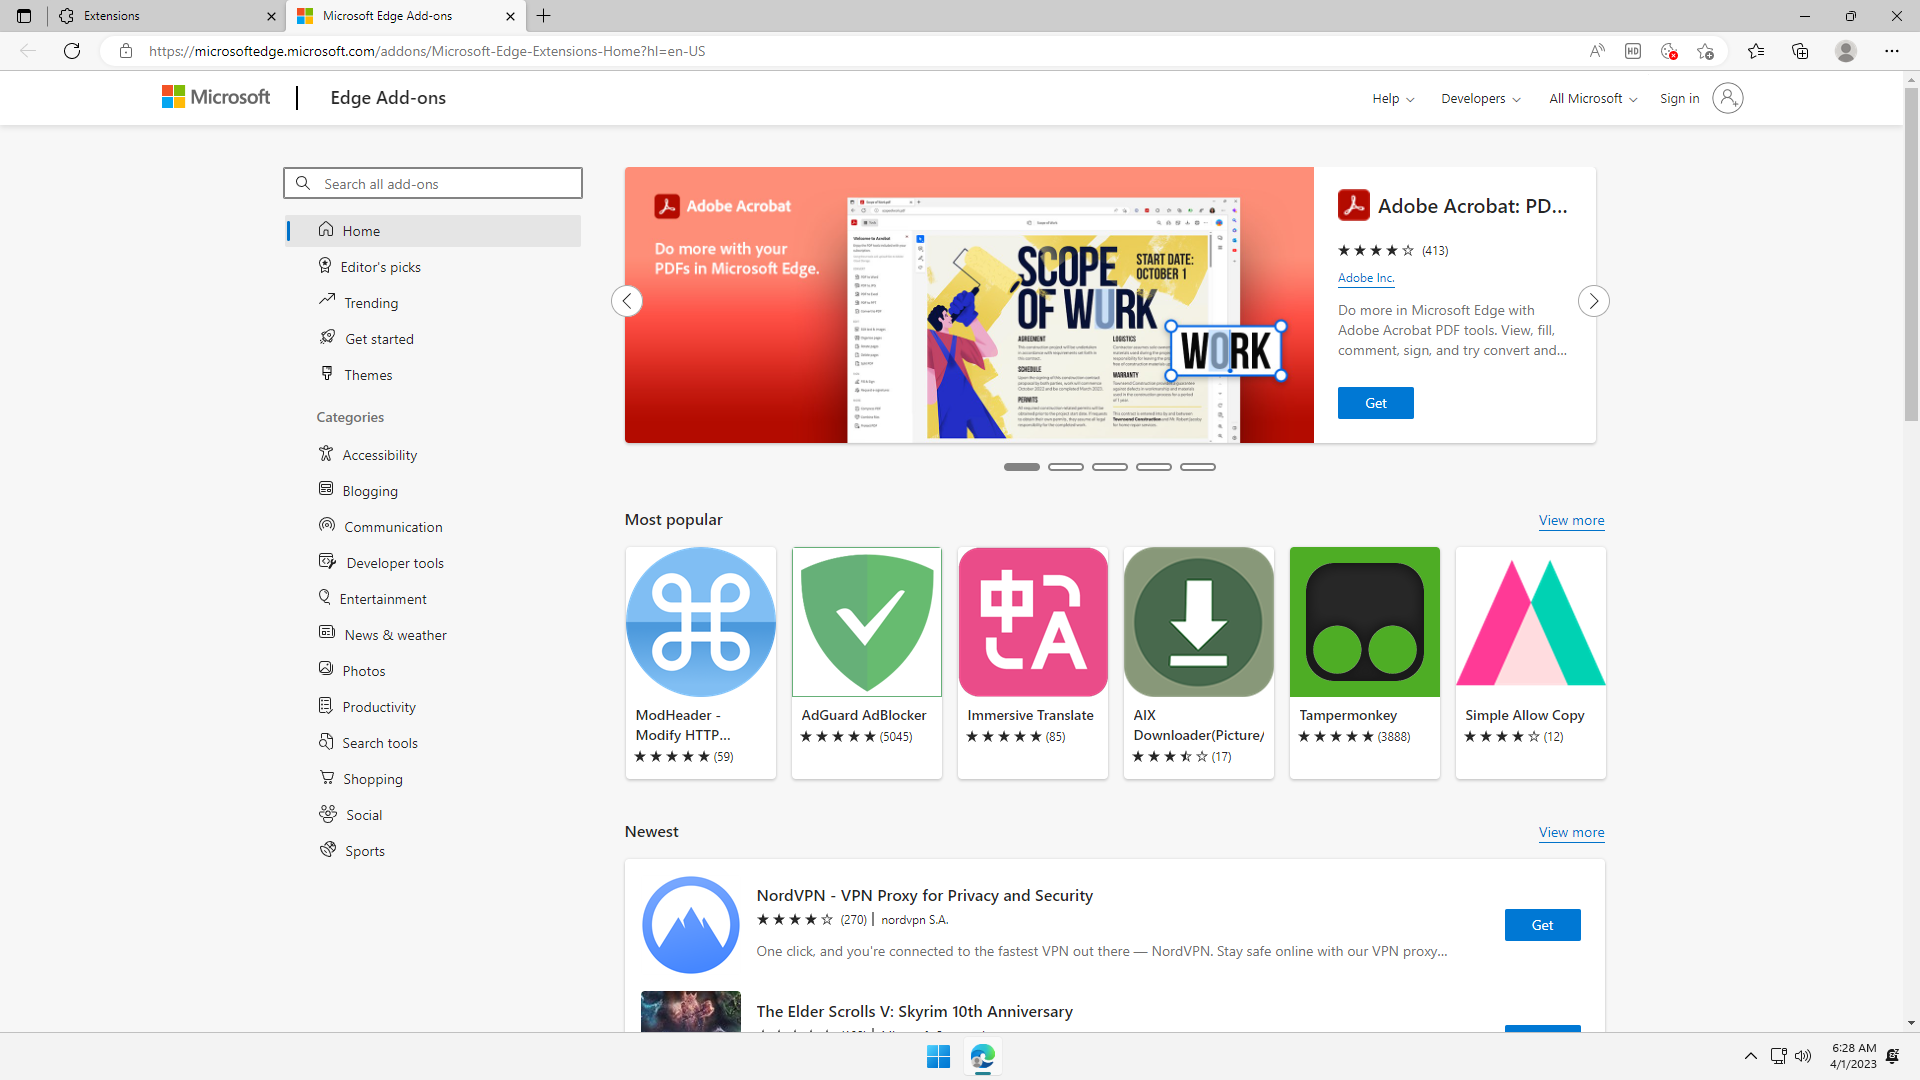
The Extensions page is shown. Under Find new extensions, click Get extensions for Microsoft Edge button:

This opens the Microsoft Edge web store:
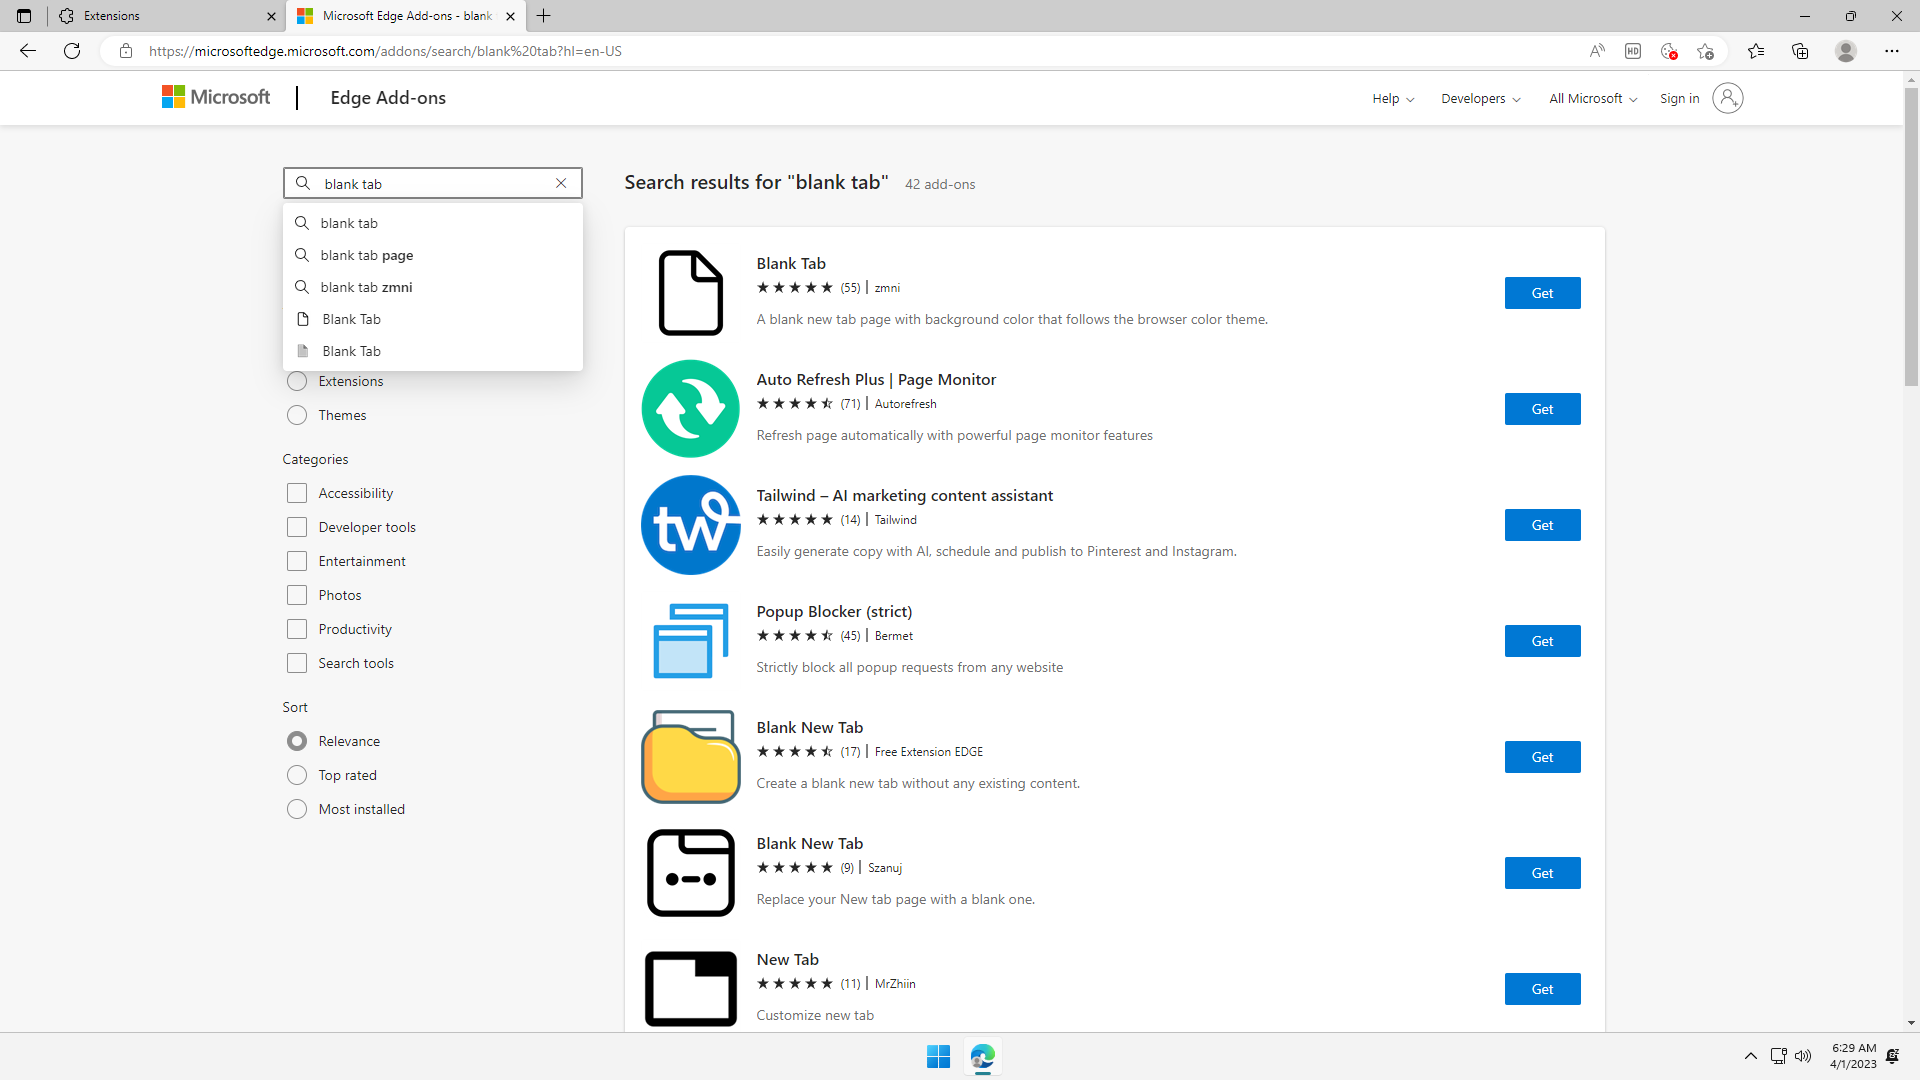
Type blank tab in the search box on the left and press Enter. Look for the search result Blank Tab, and click on it:
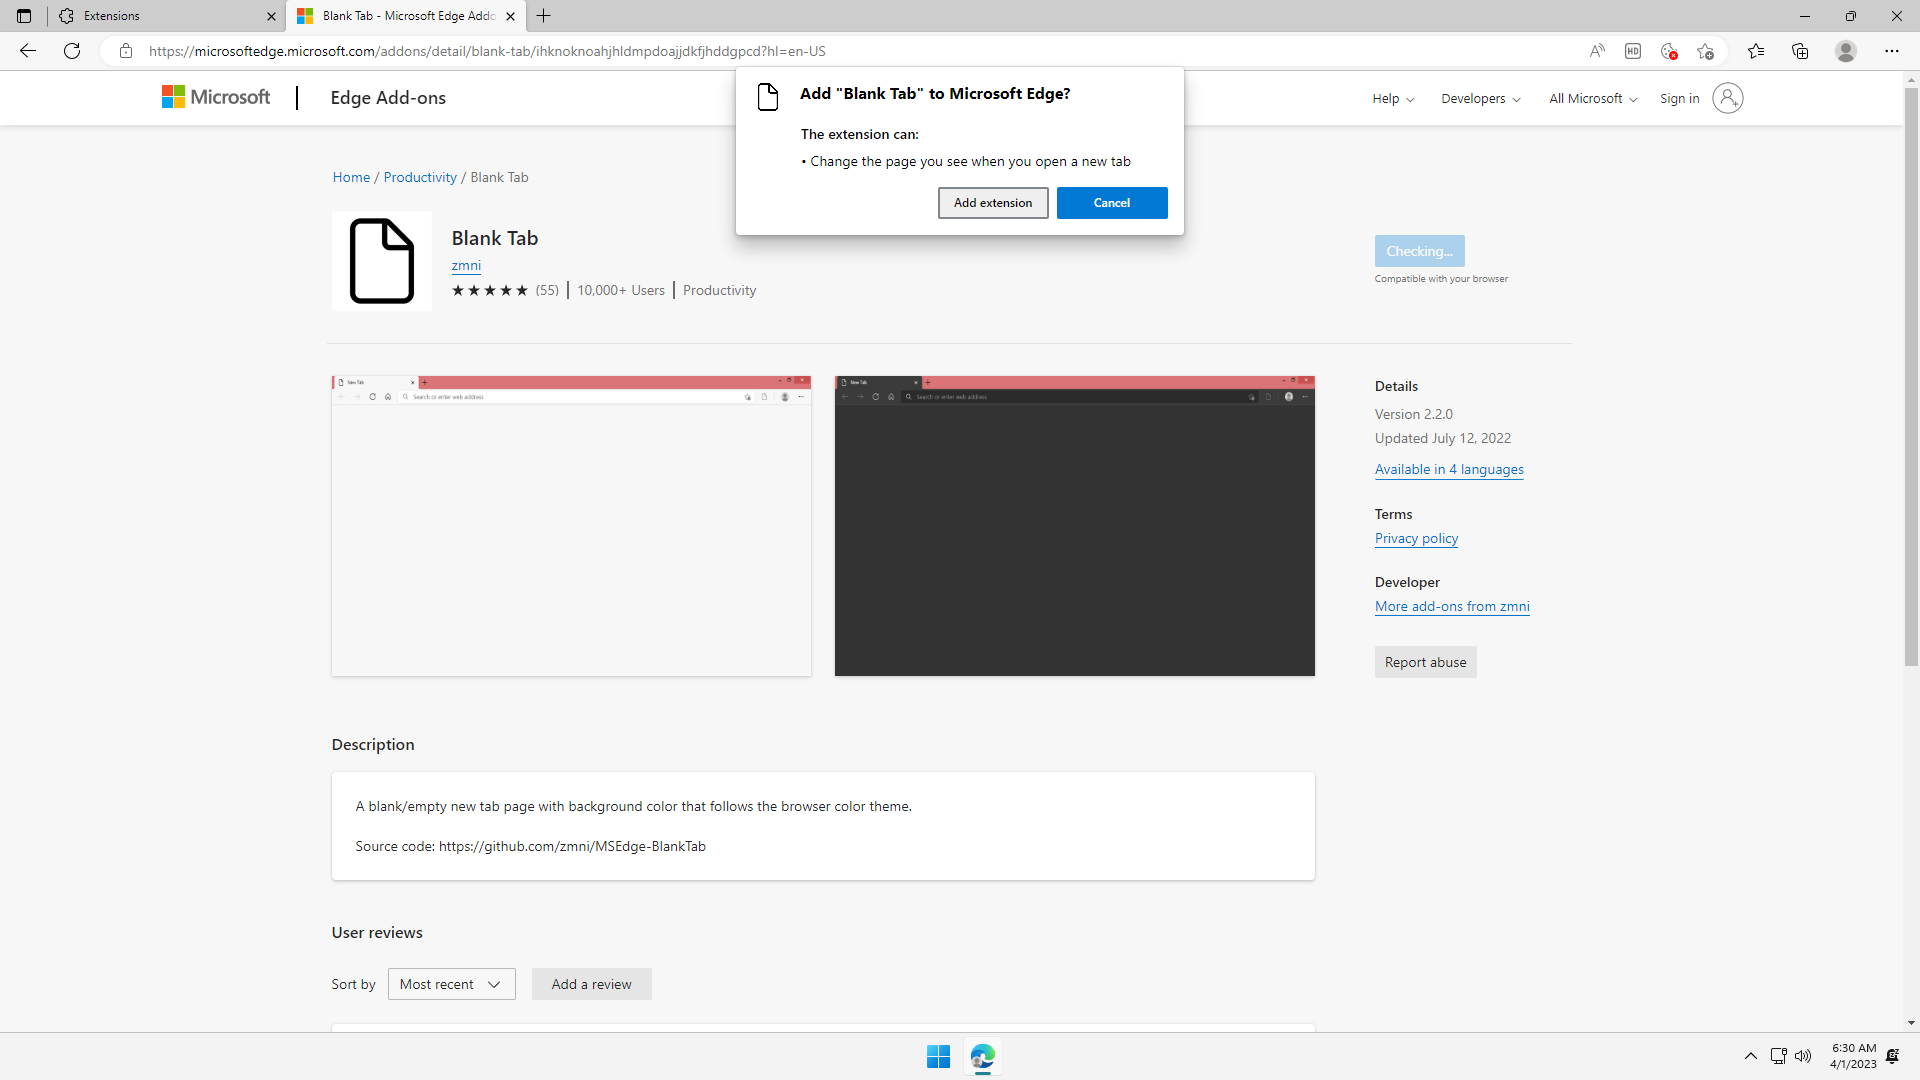
Inspect the extension's information, ensuring it is the one shown in the screenshot. If not, go back and search again for correct result:

Click the Get button on the top-right. A popup is shown. Click Add extension to install the extension to Microsoft Edge:
A message To help protect your browser settings, Microsoft Edge has turned off the "Blank Tab" extension is shown. This just means the installed extension is disabled and we have to enable it manually.

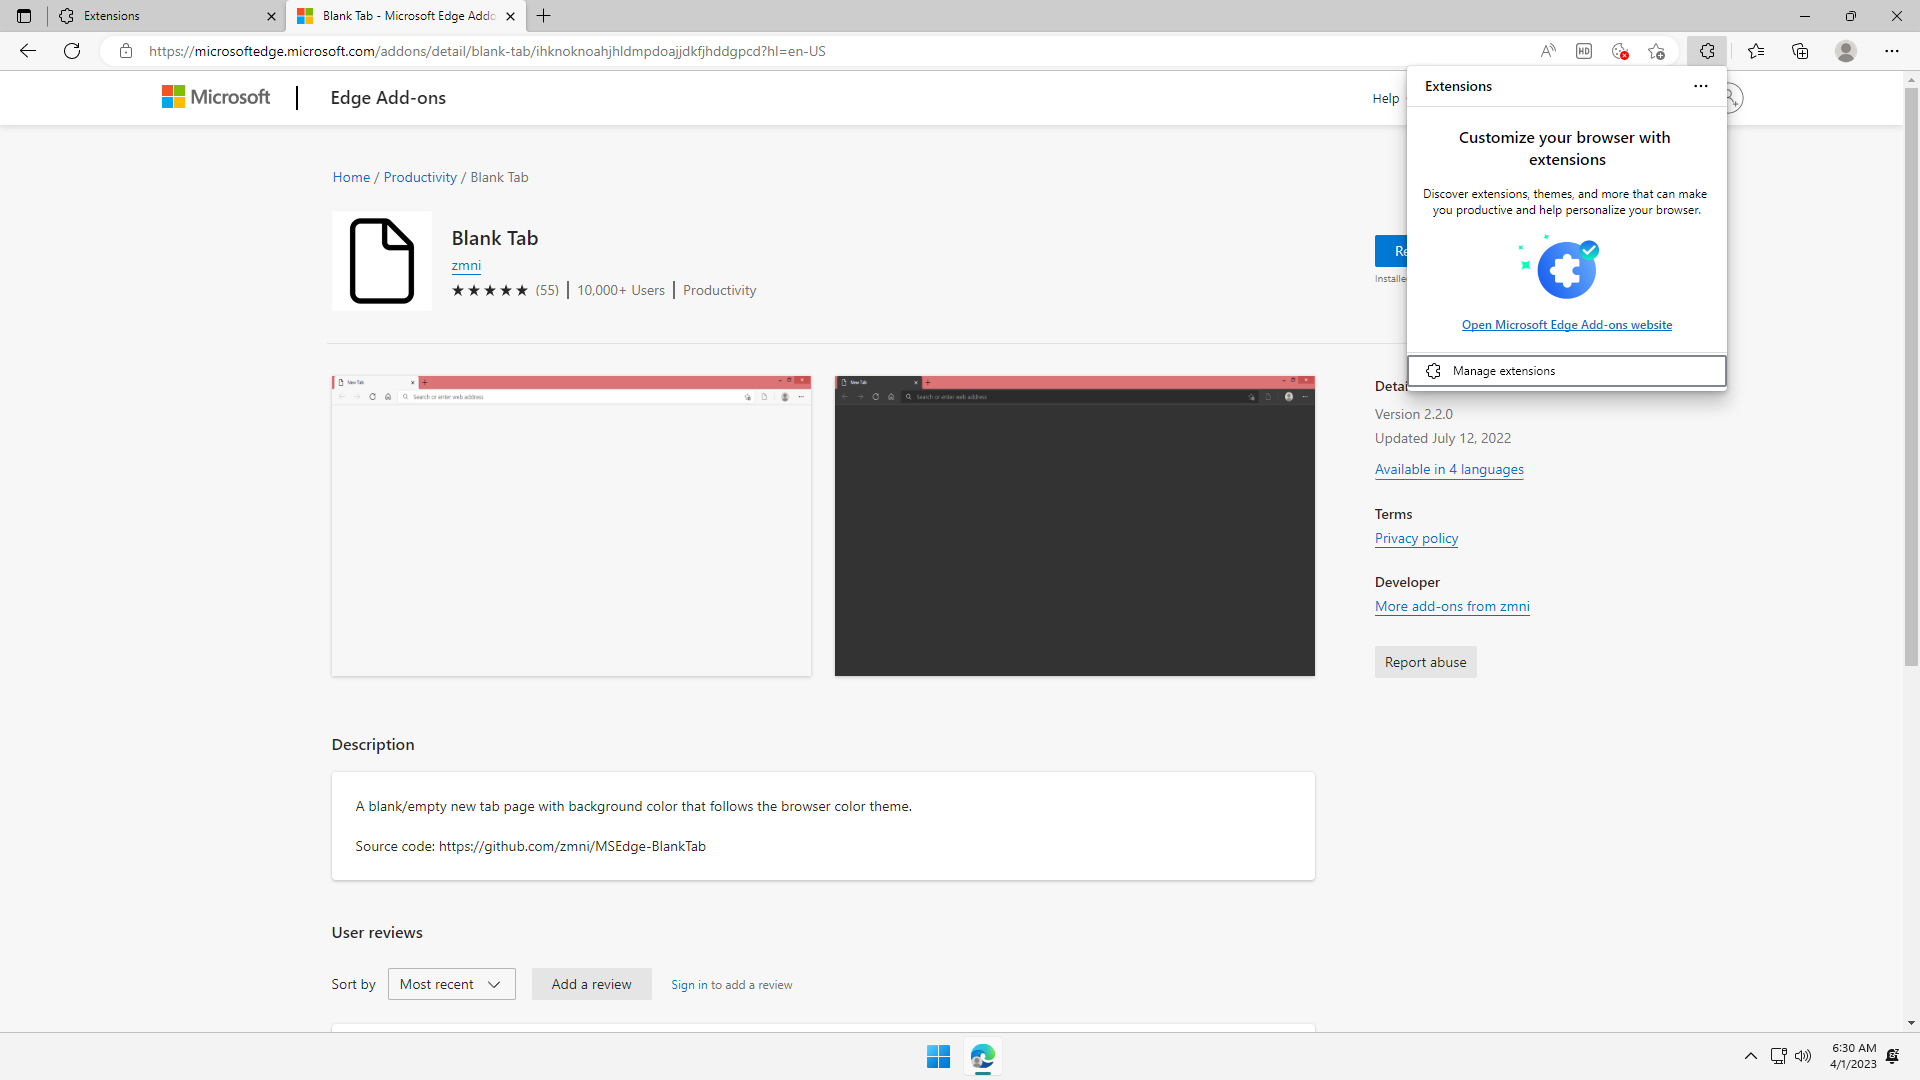
Close the message, click ... on the top right of Microsoft Edge, and click Extensions:
A little popup is shown. Click Manage Extensions:
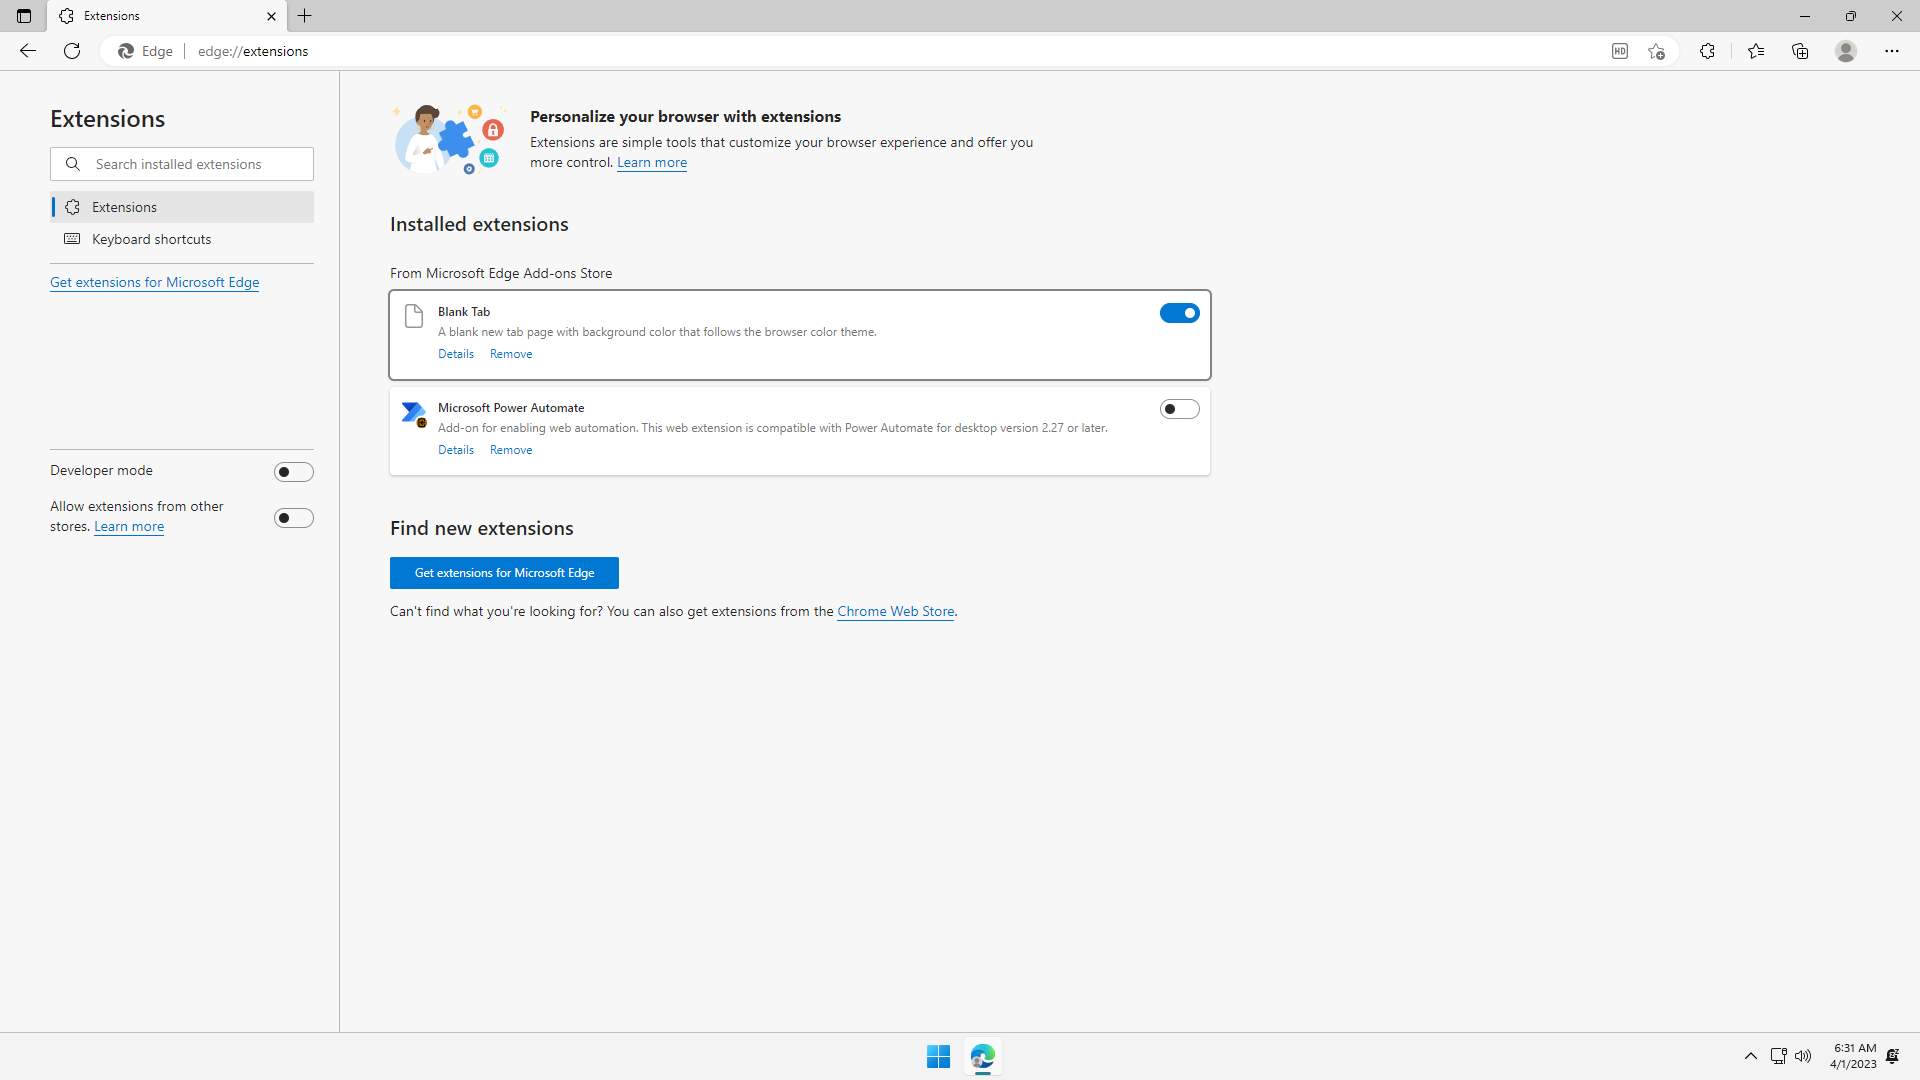
Under Installed extensions, flip on the Blank Tab extension to enable it:
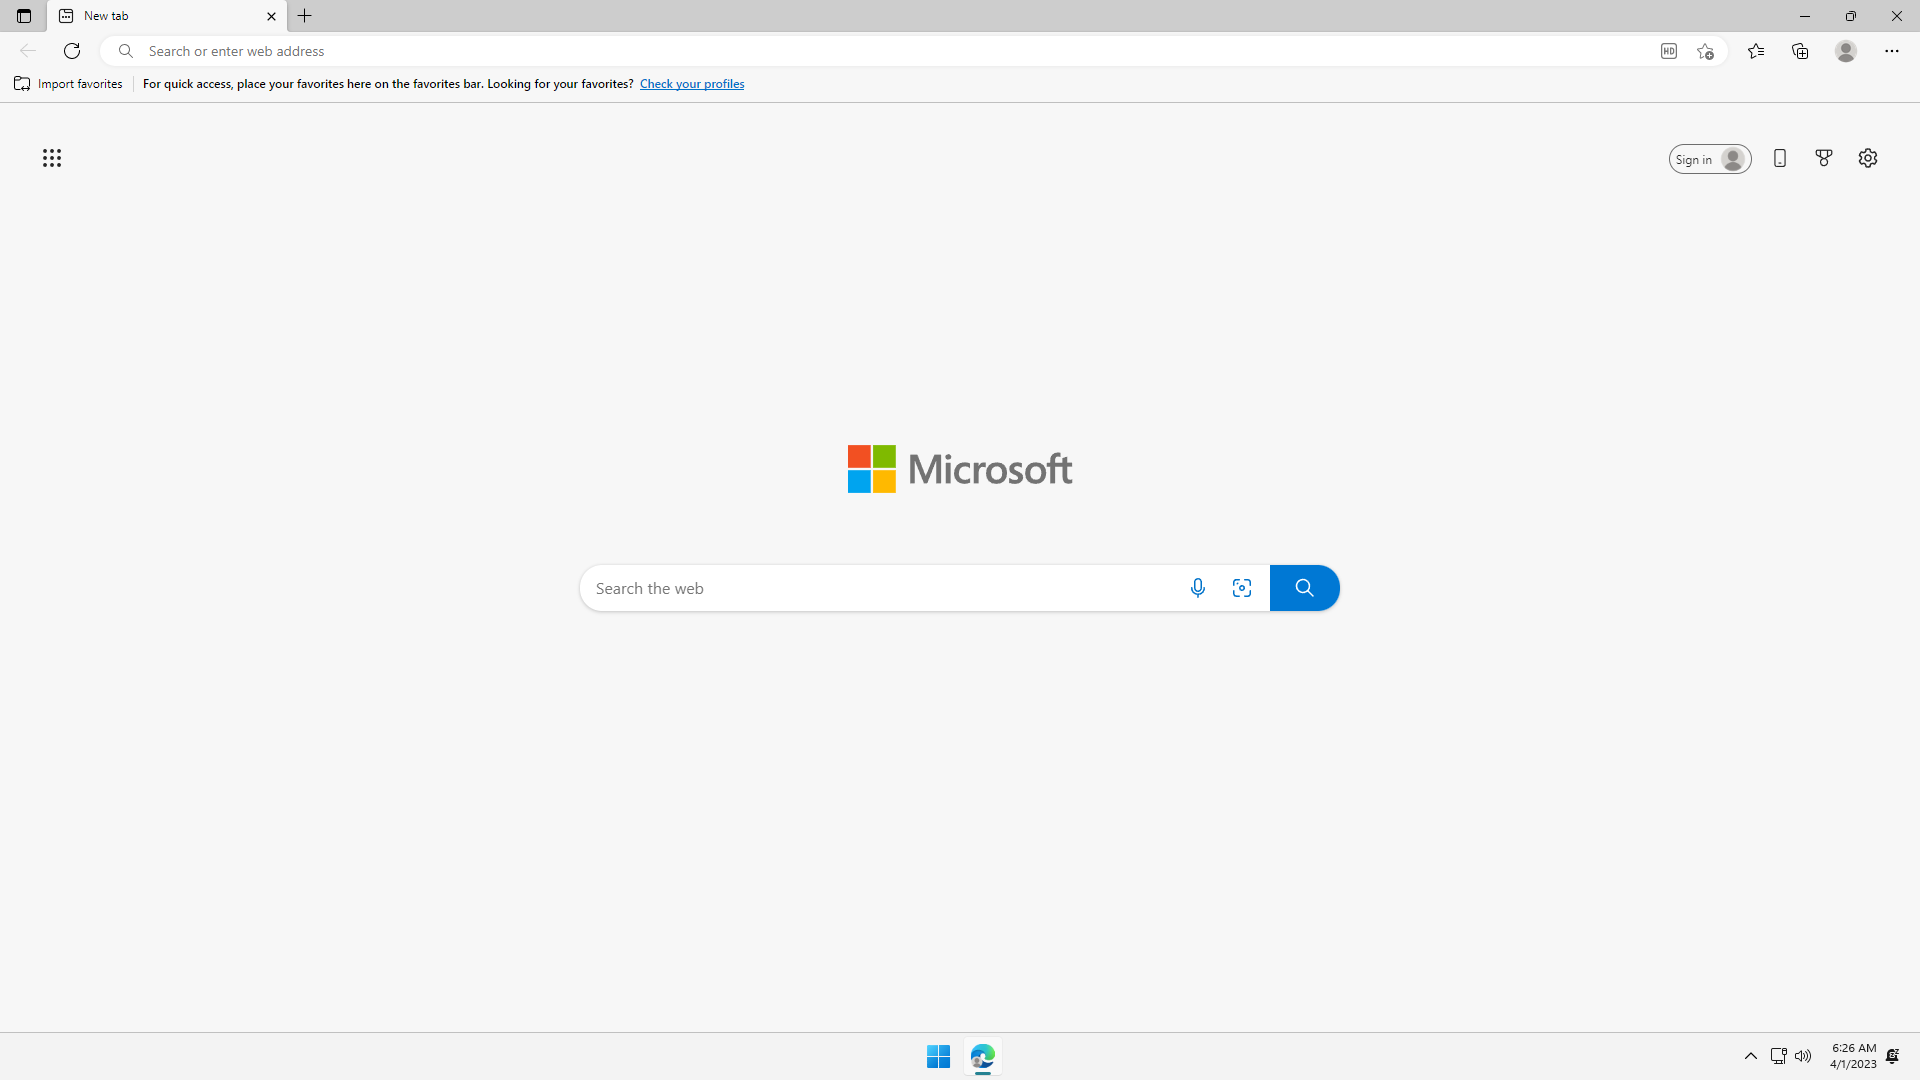
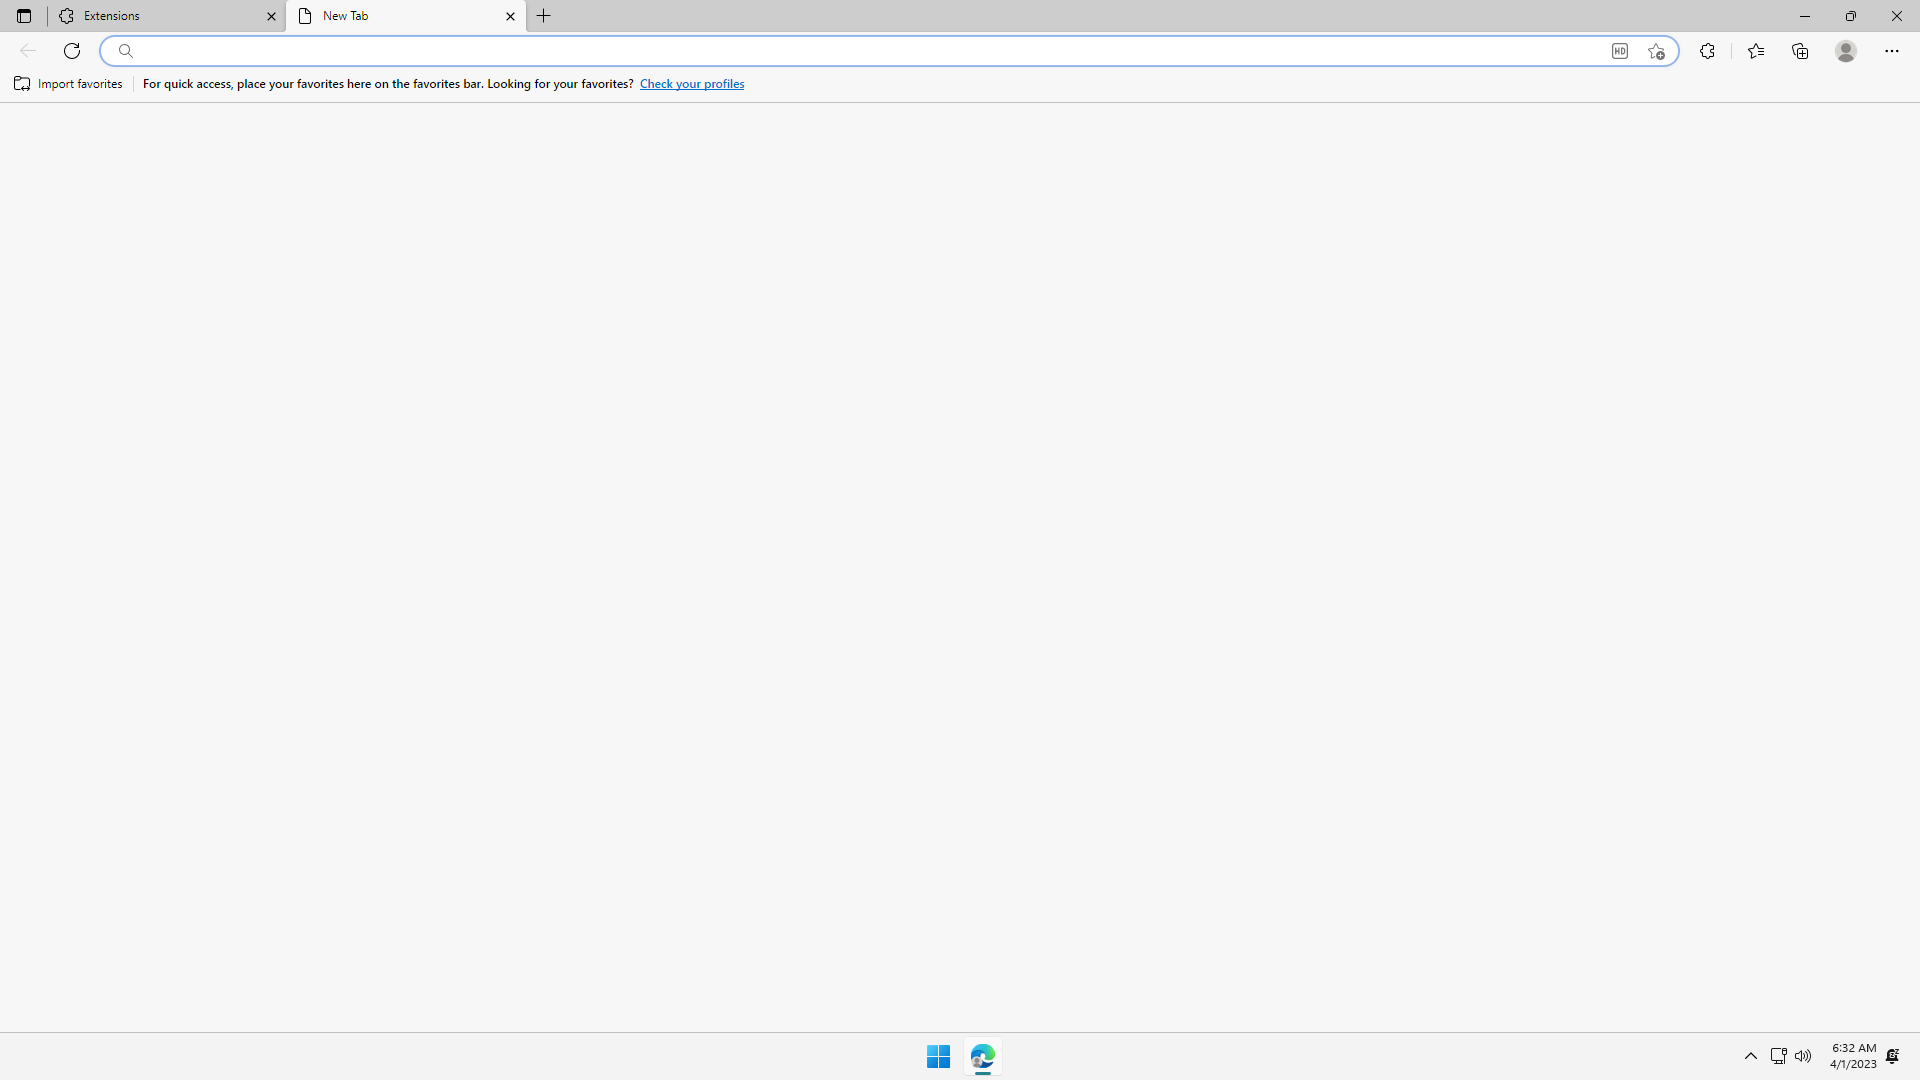
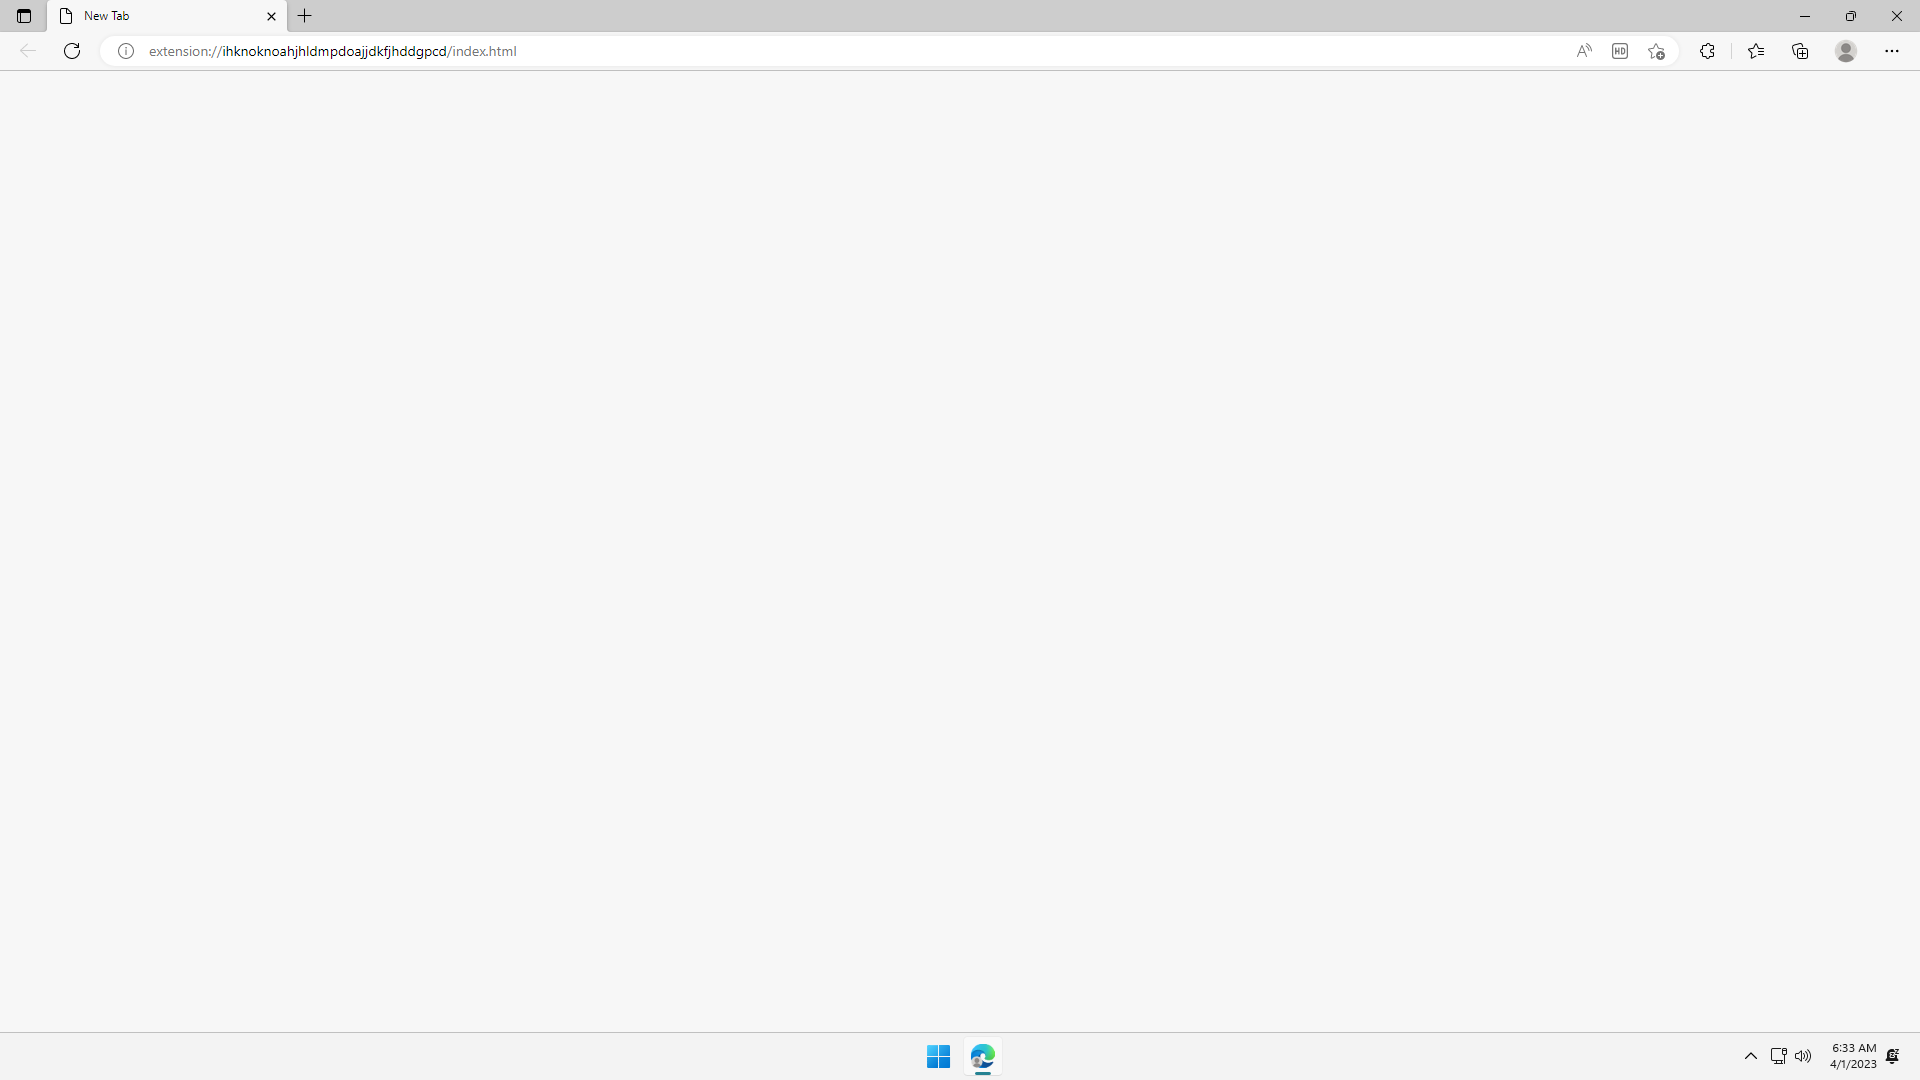
Open a New tab. It is now a blank page!
Now close Microsoft and reopen it. See that the Start page is also now a blank page! We have successfully forced the New Tab page to be a blank page.
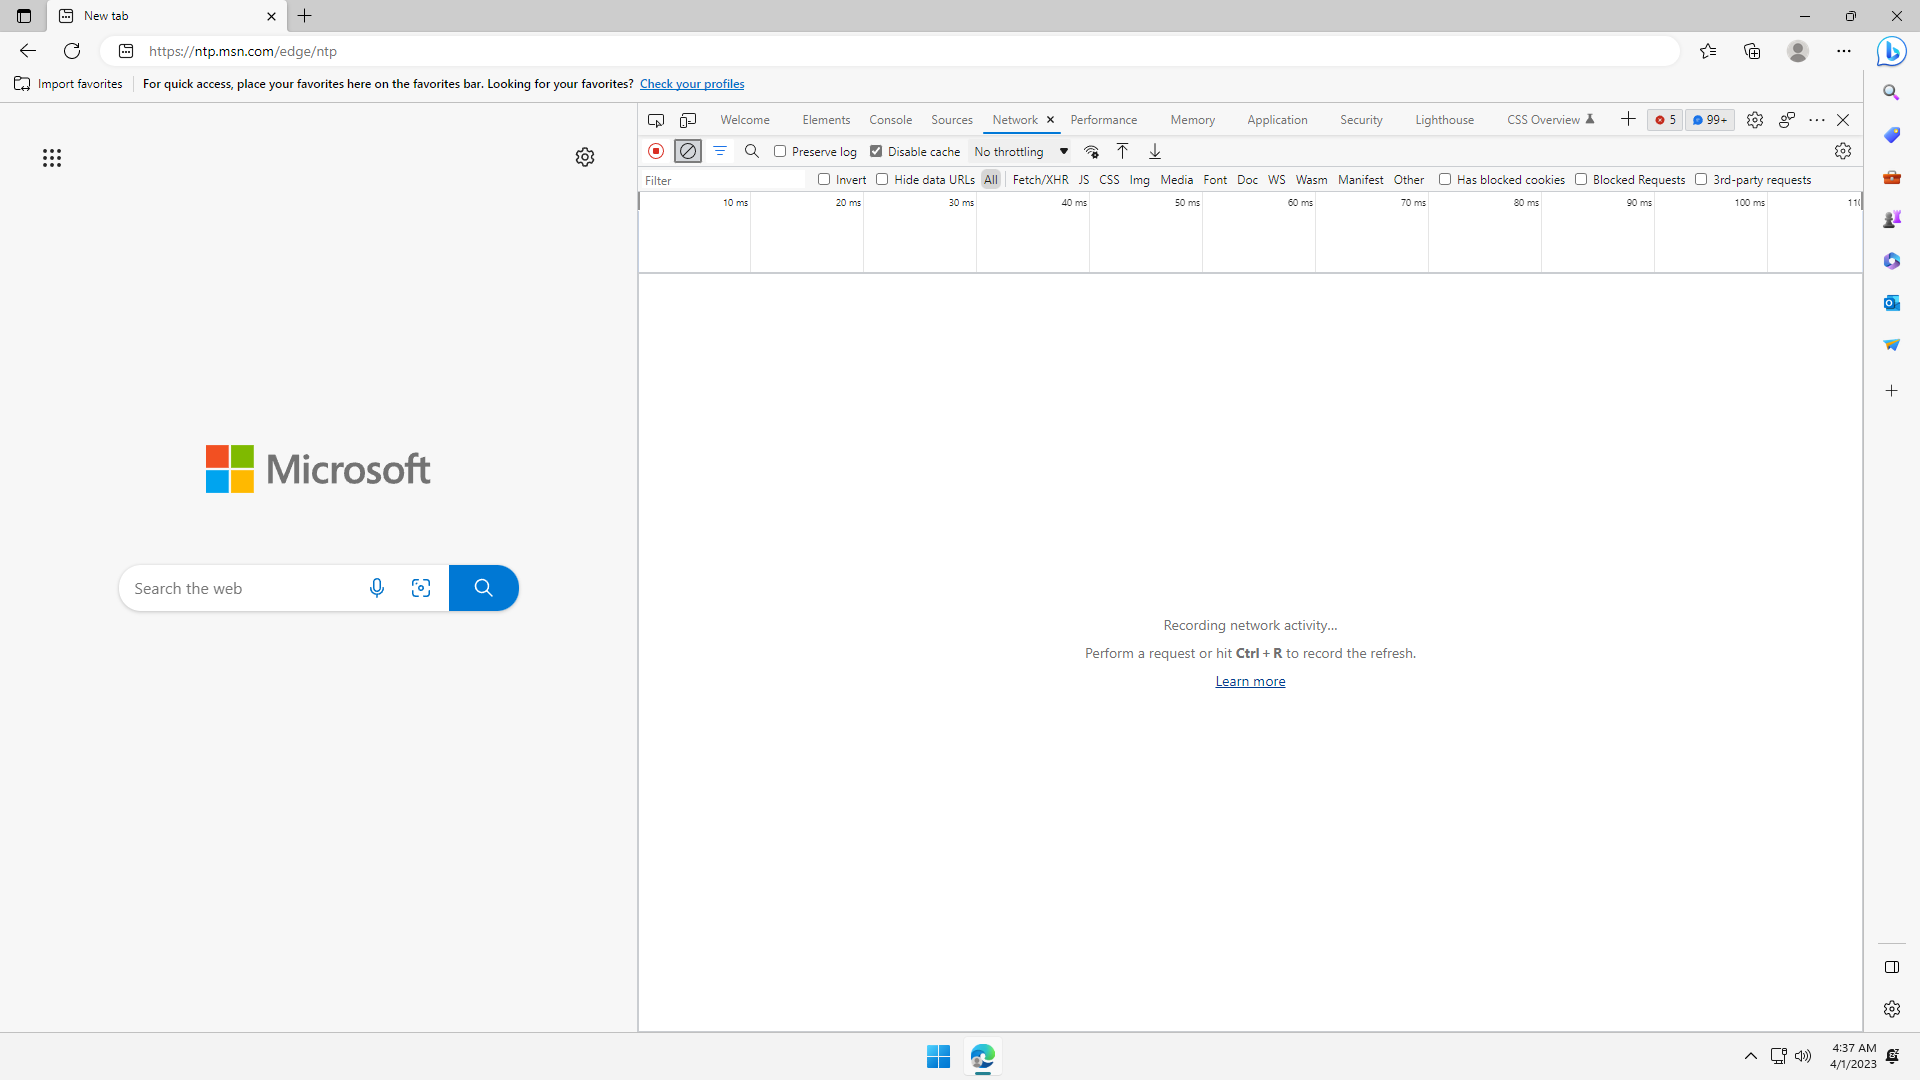
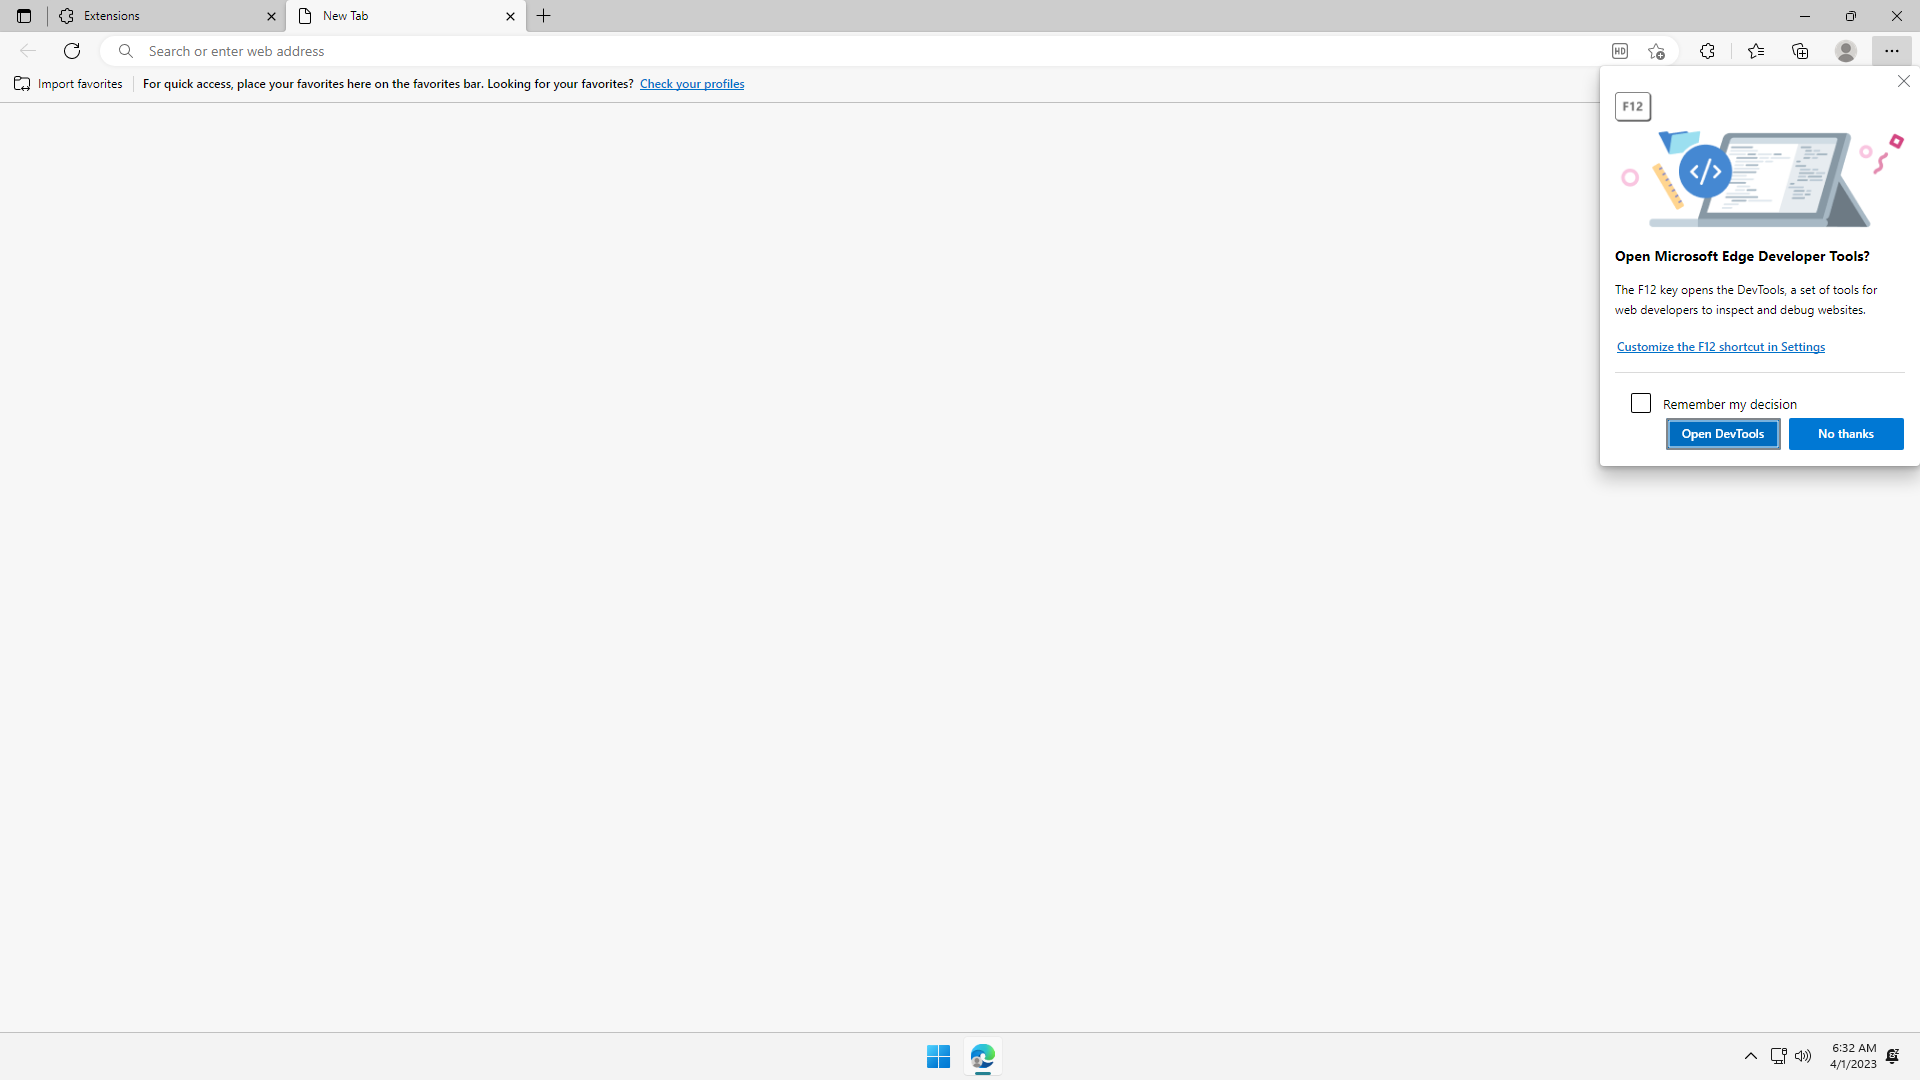
To verify that the New Tab page doesn't make external web requests, press F12 to open DevTools. A popup is shown. Click Open DevTools:
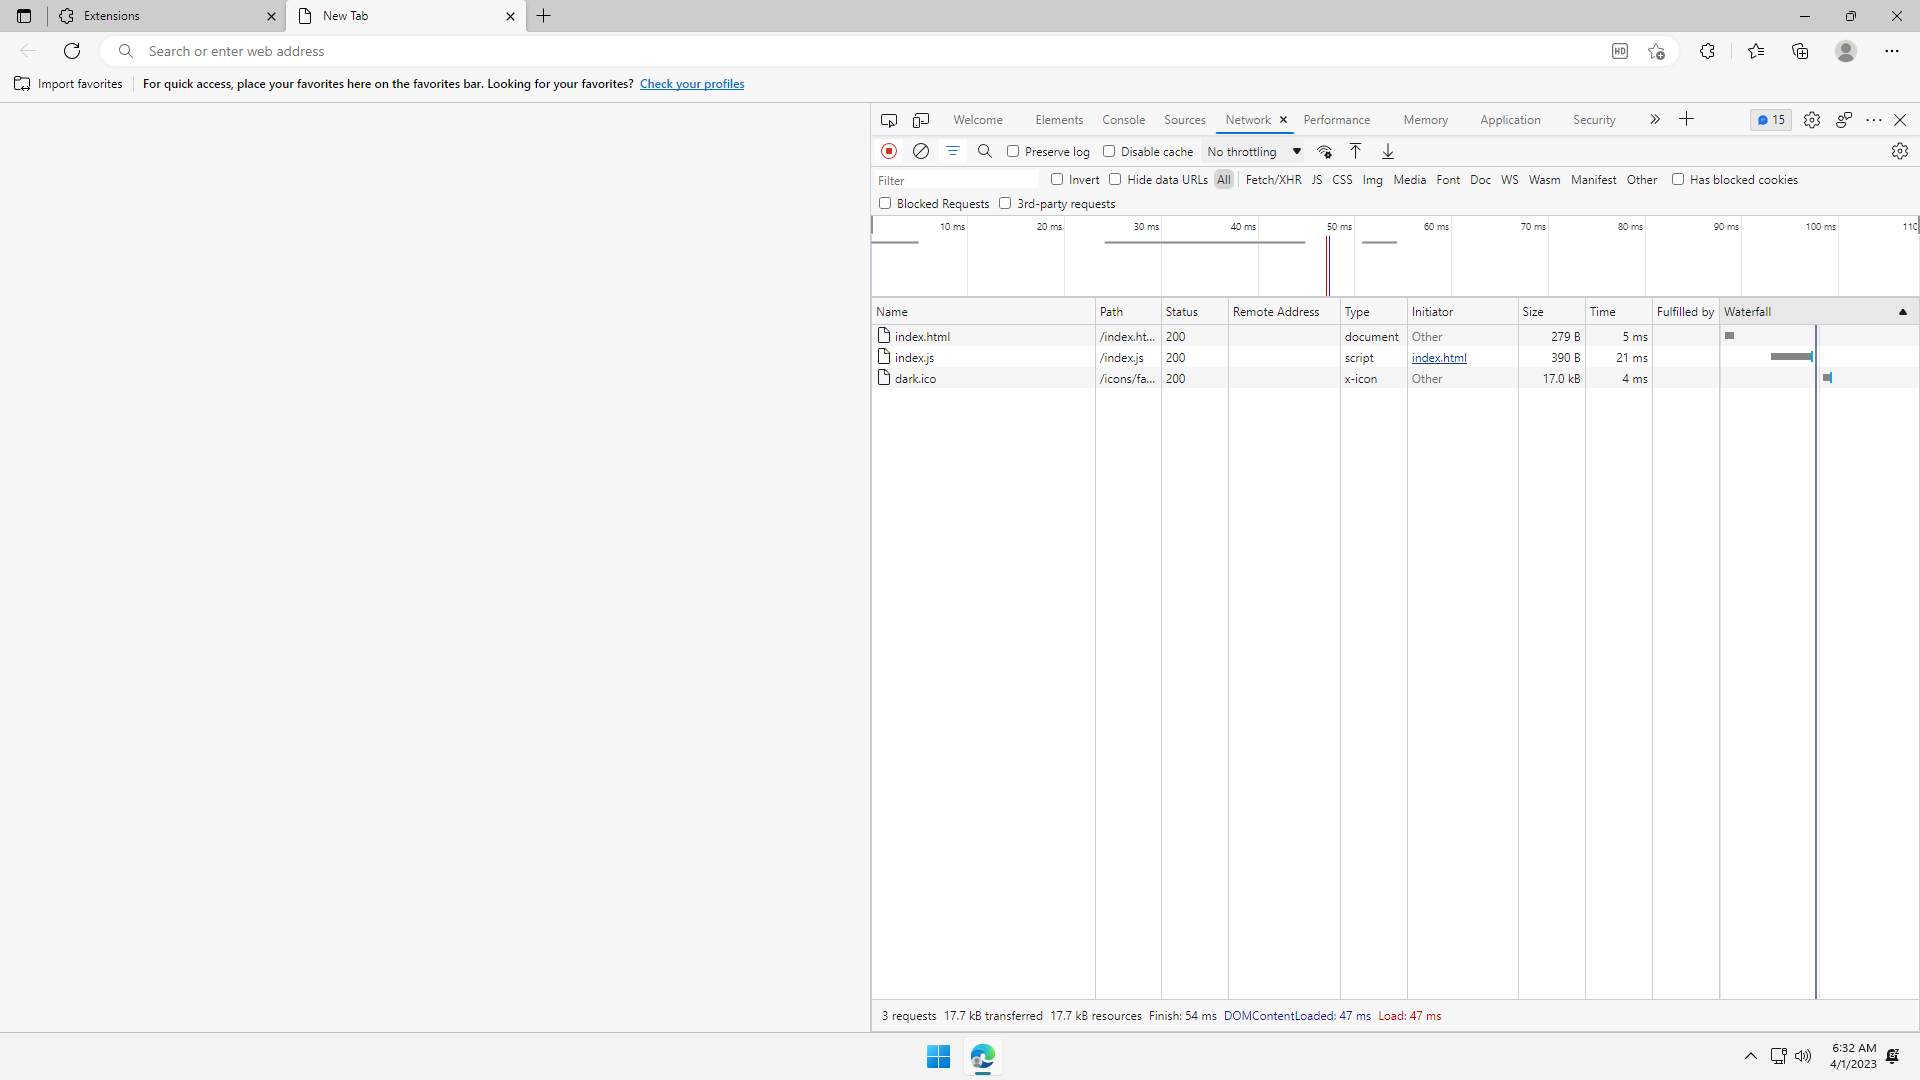
Click Network tab, and then refresh the page. See that all network requests of the New Tab page are strictly local:
Step 11: Using multiple Profiles
Remember in Step 1, we created a new profile called Profile 2. Everything we did between Step 1 and Step 10 applies only to Profile 2.
Since Profile 2 is working, we can customize it to our liking.
Click ... on the top right, and click Settings:

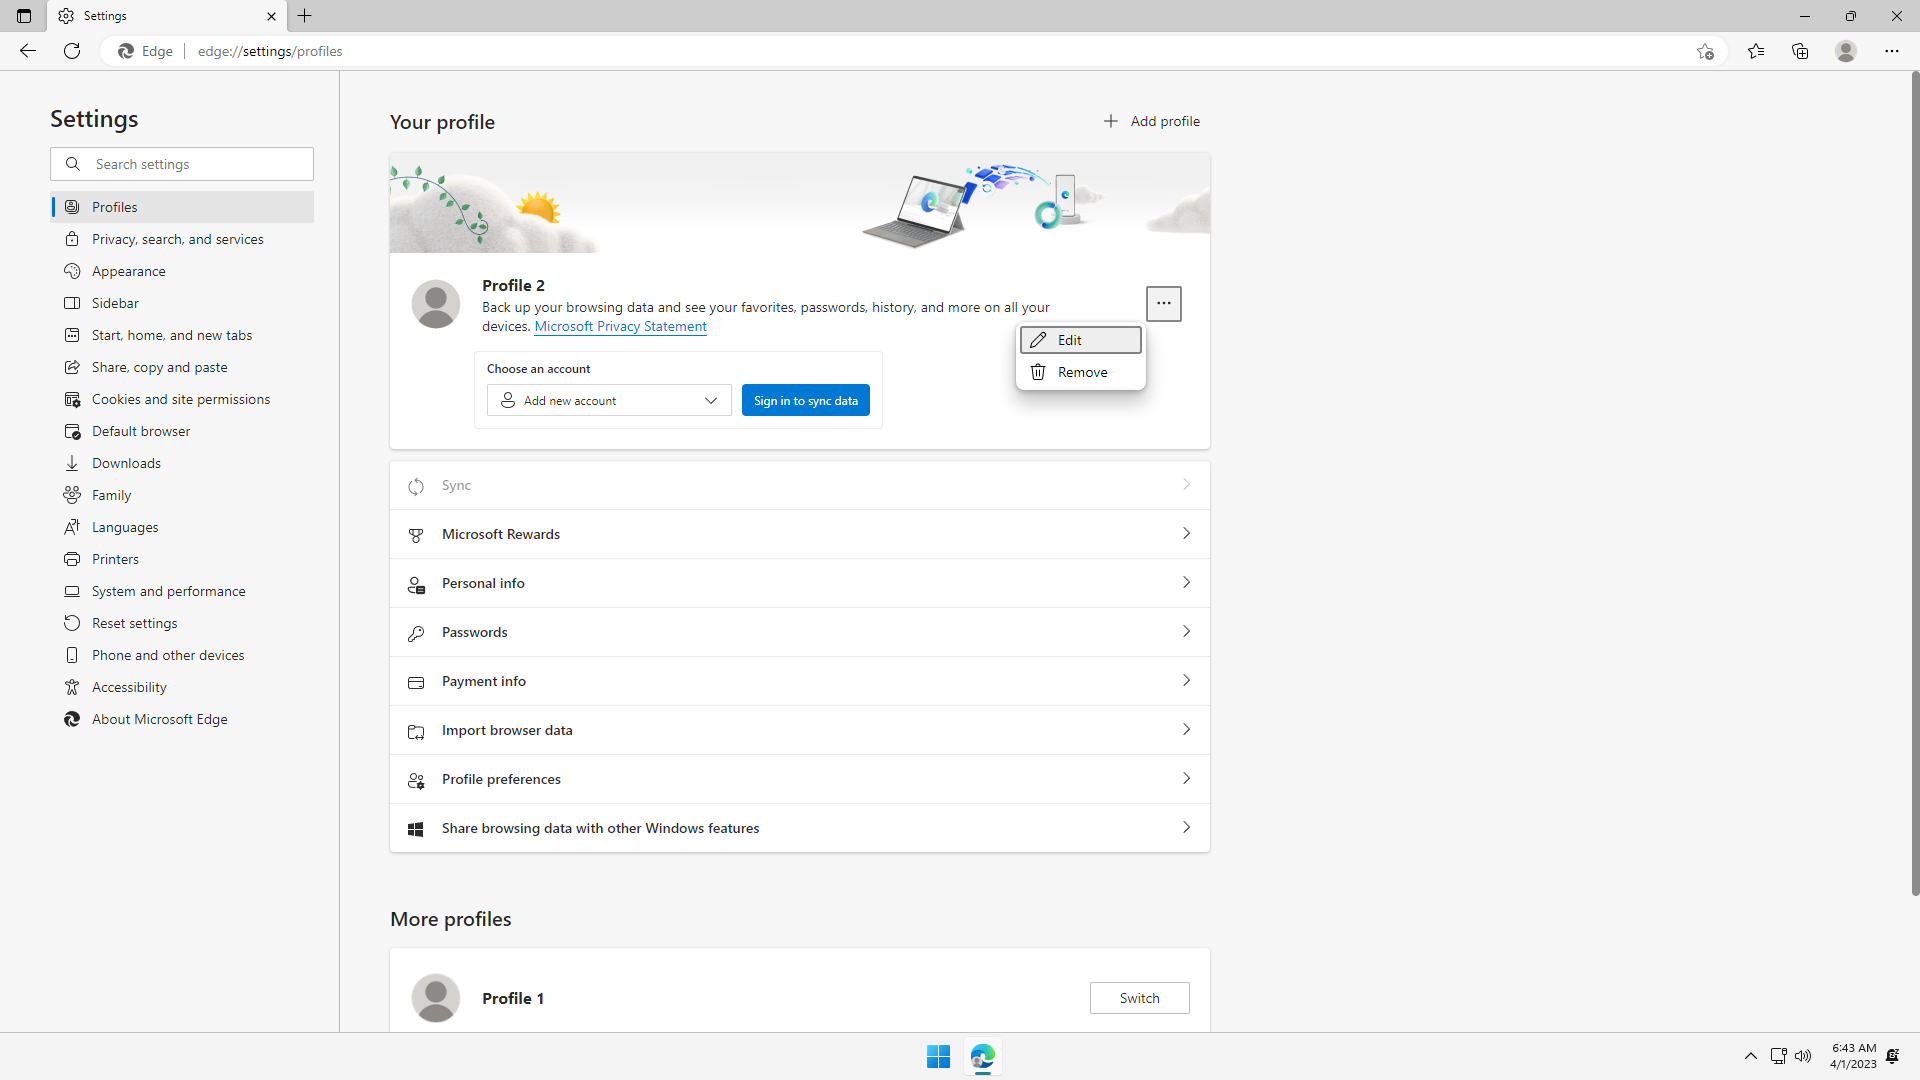
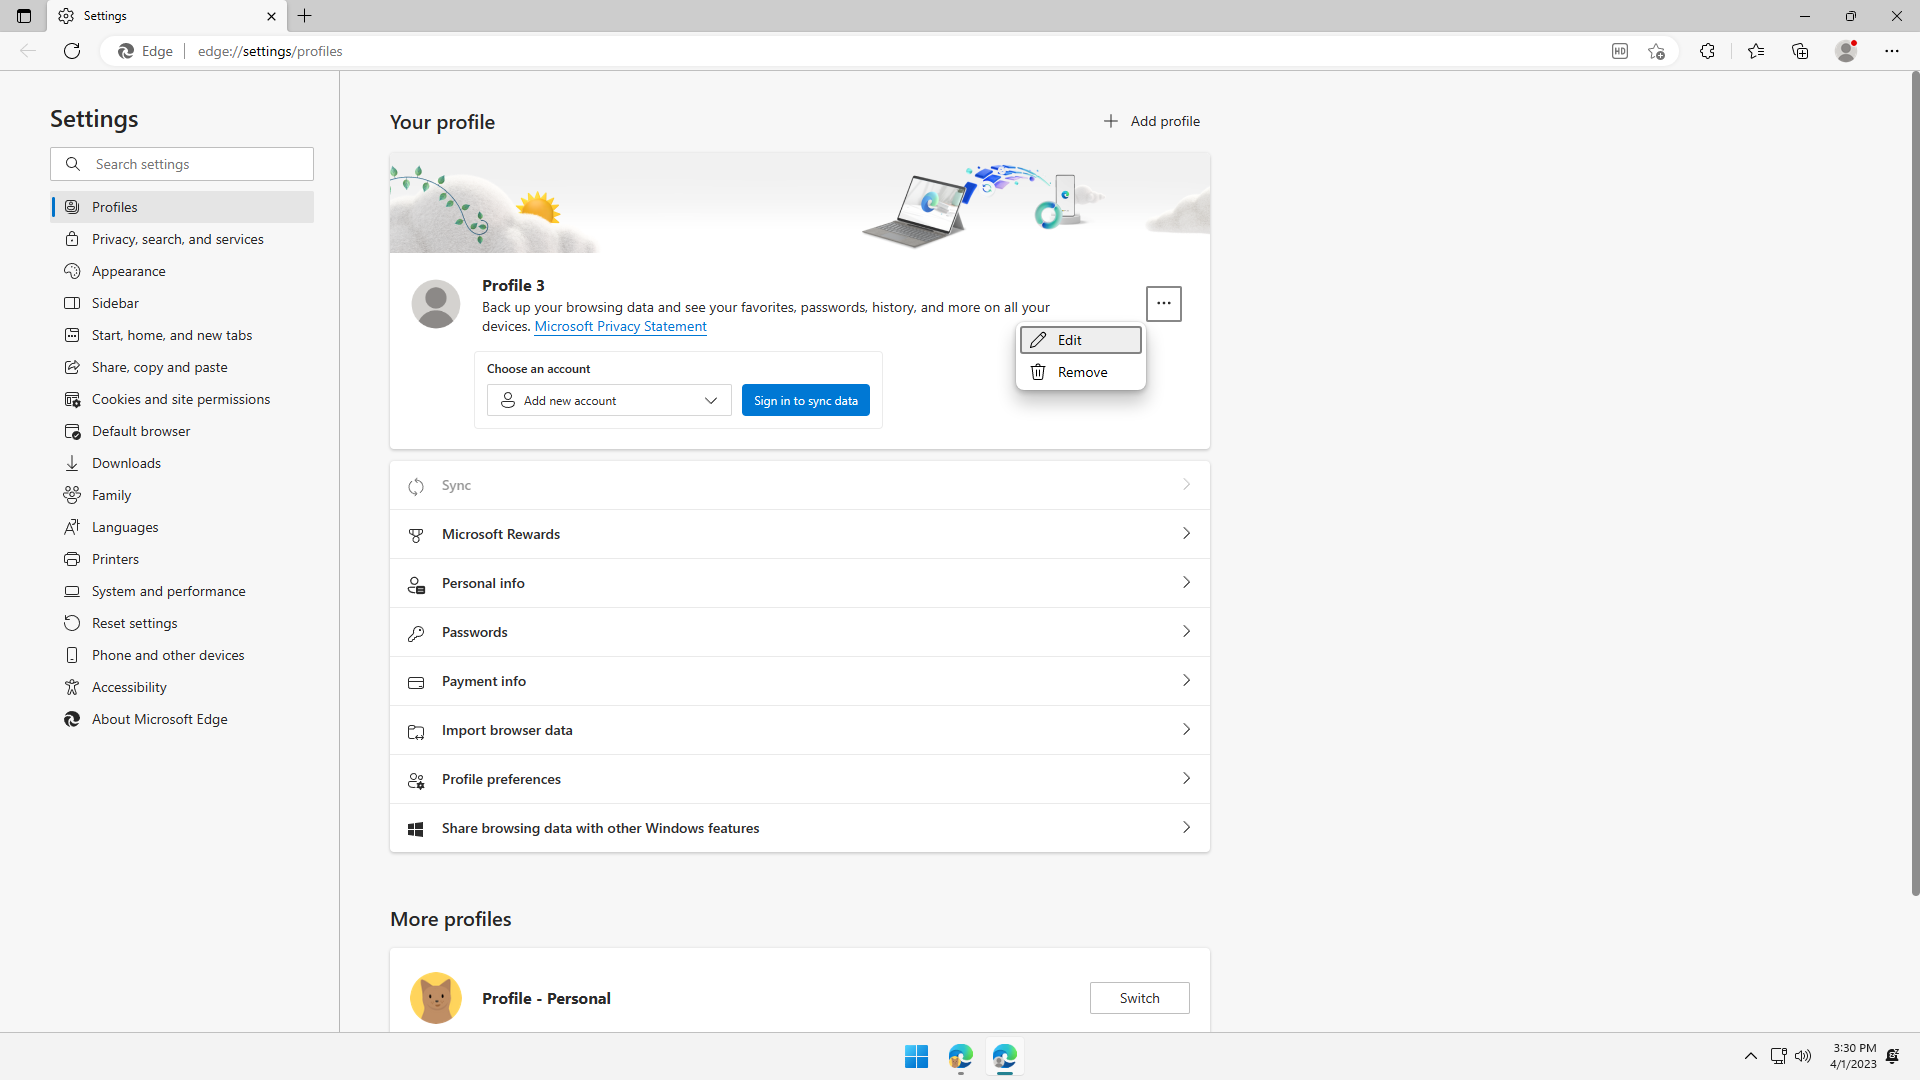
Under Your profile, on the right of Profile 2, click ... and click Edit:
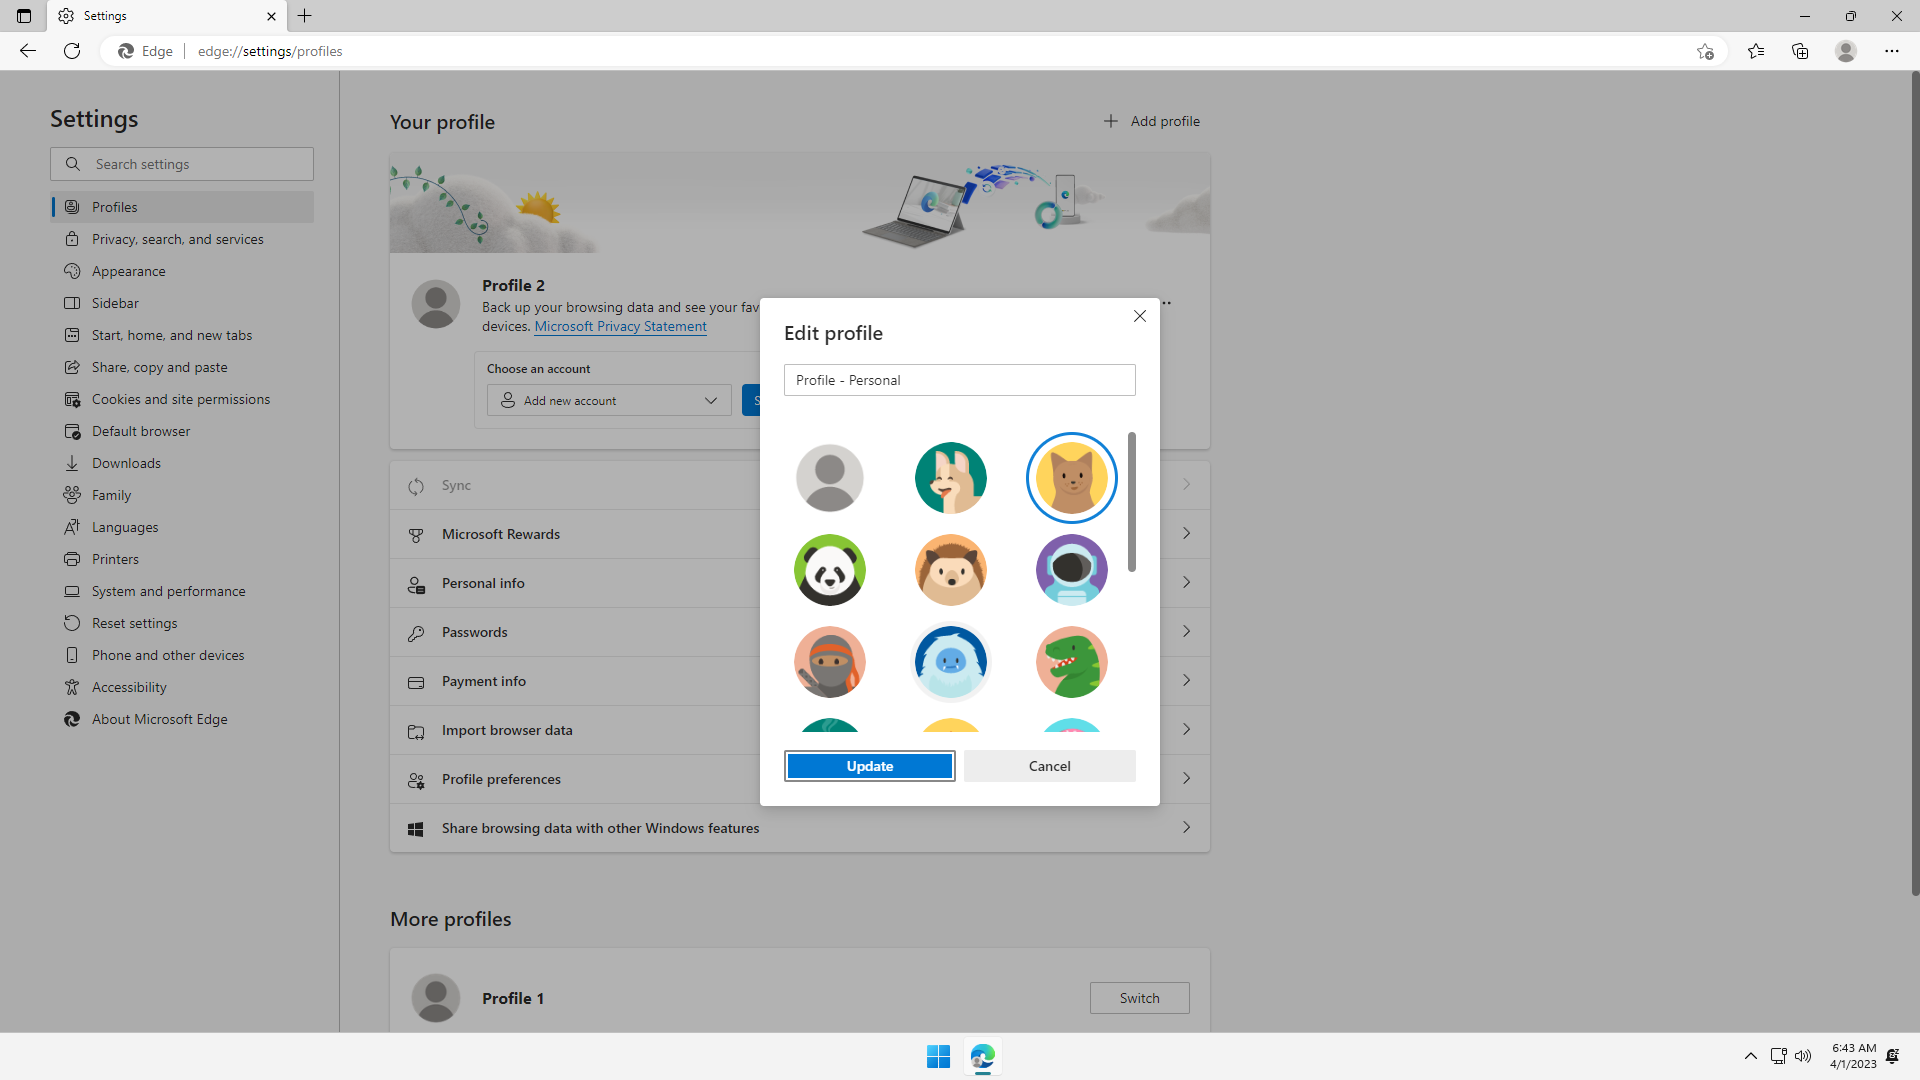
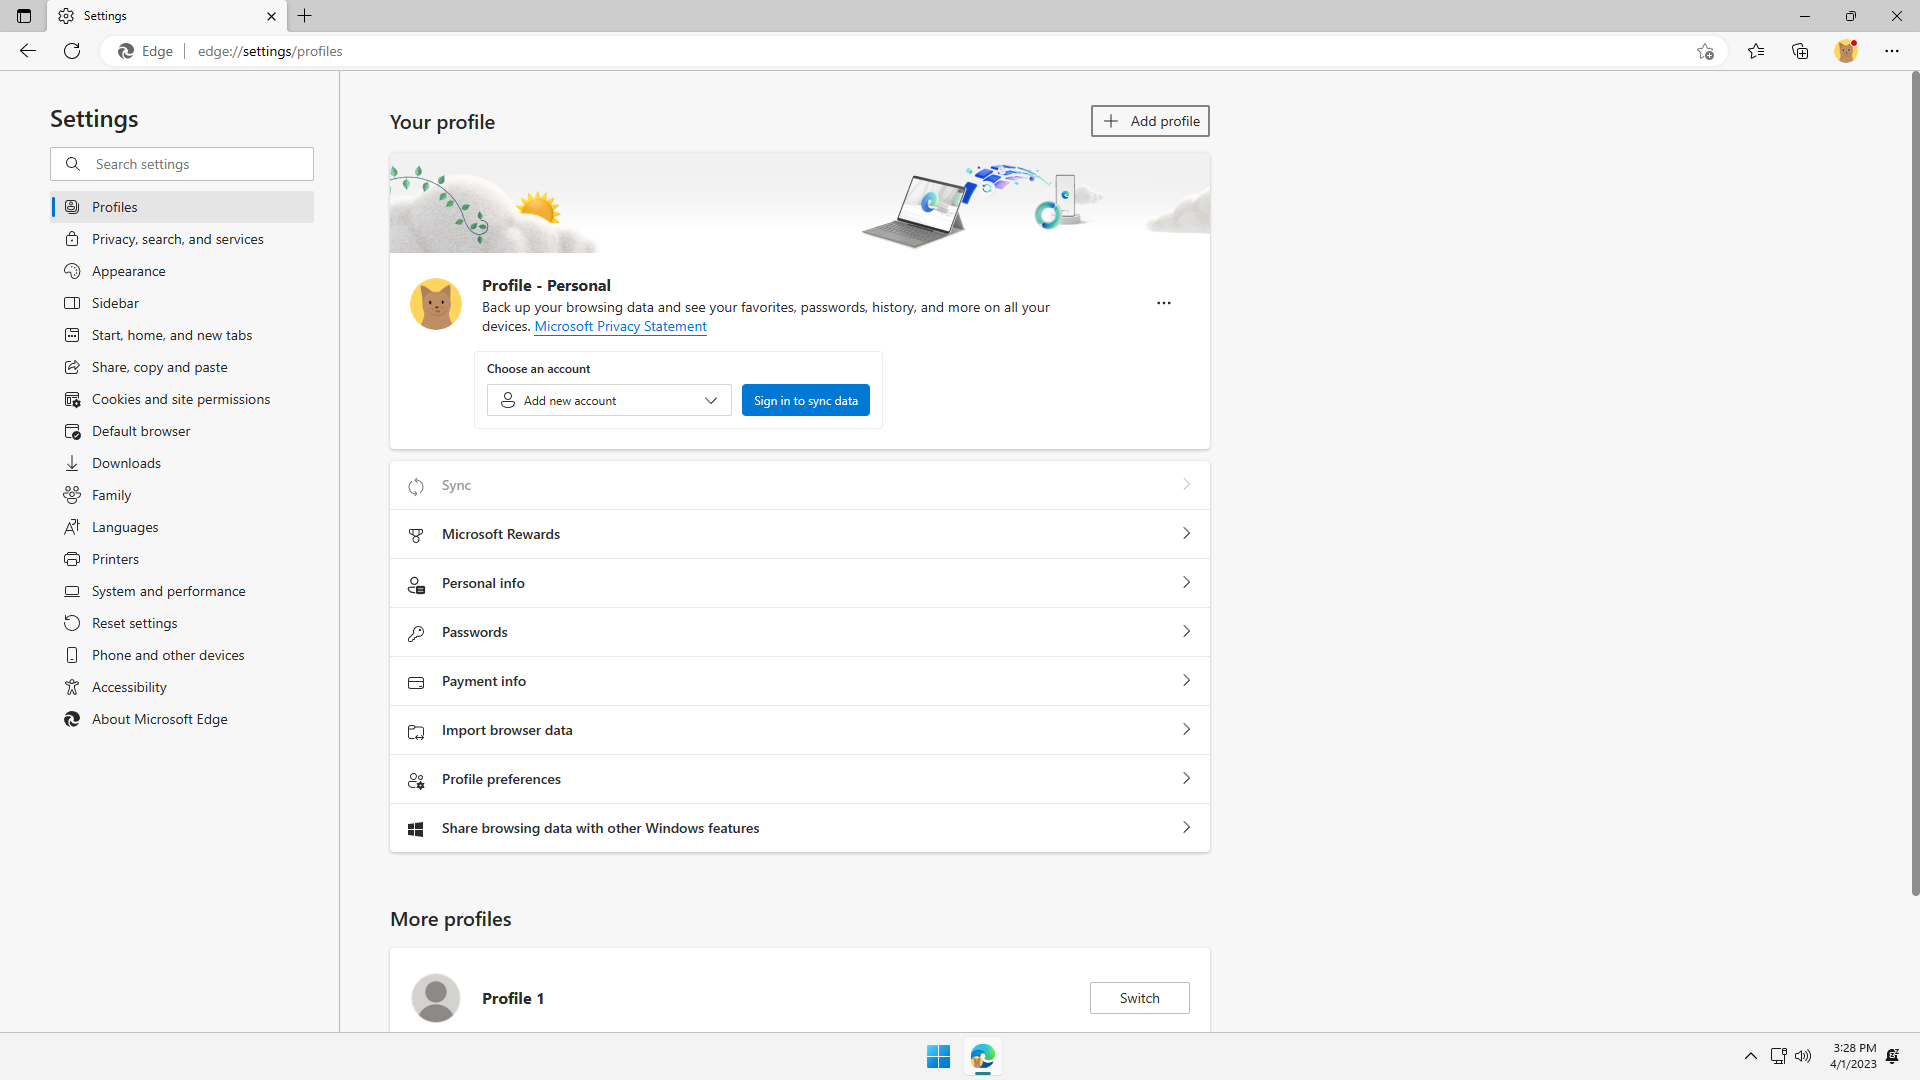
Let's rename Profile 2 to Profile - Personal, and choose an avatar:

Let's create a new profile for non-personal usage. Click + Add profile button on the top right:
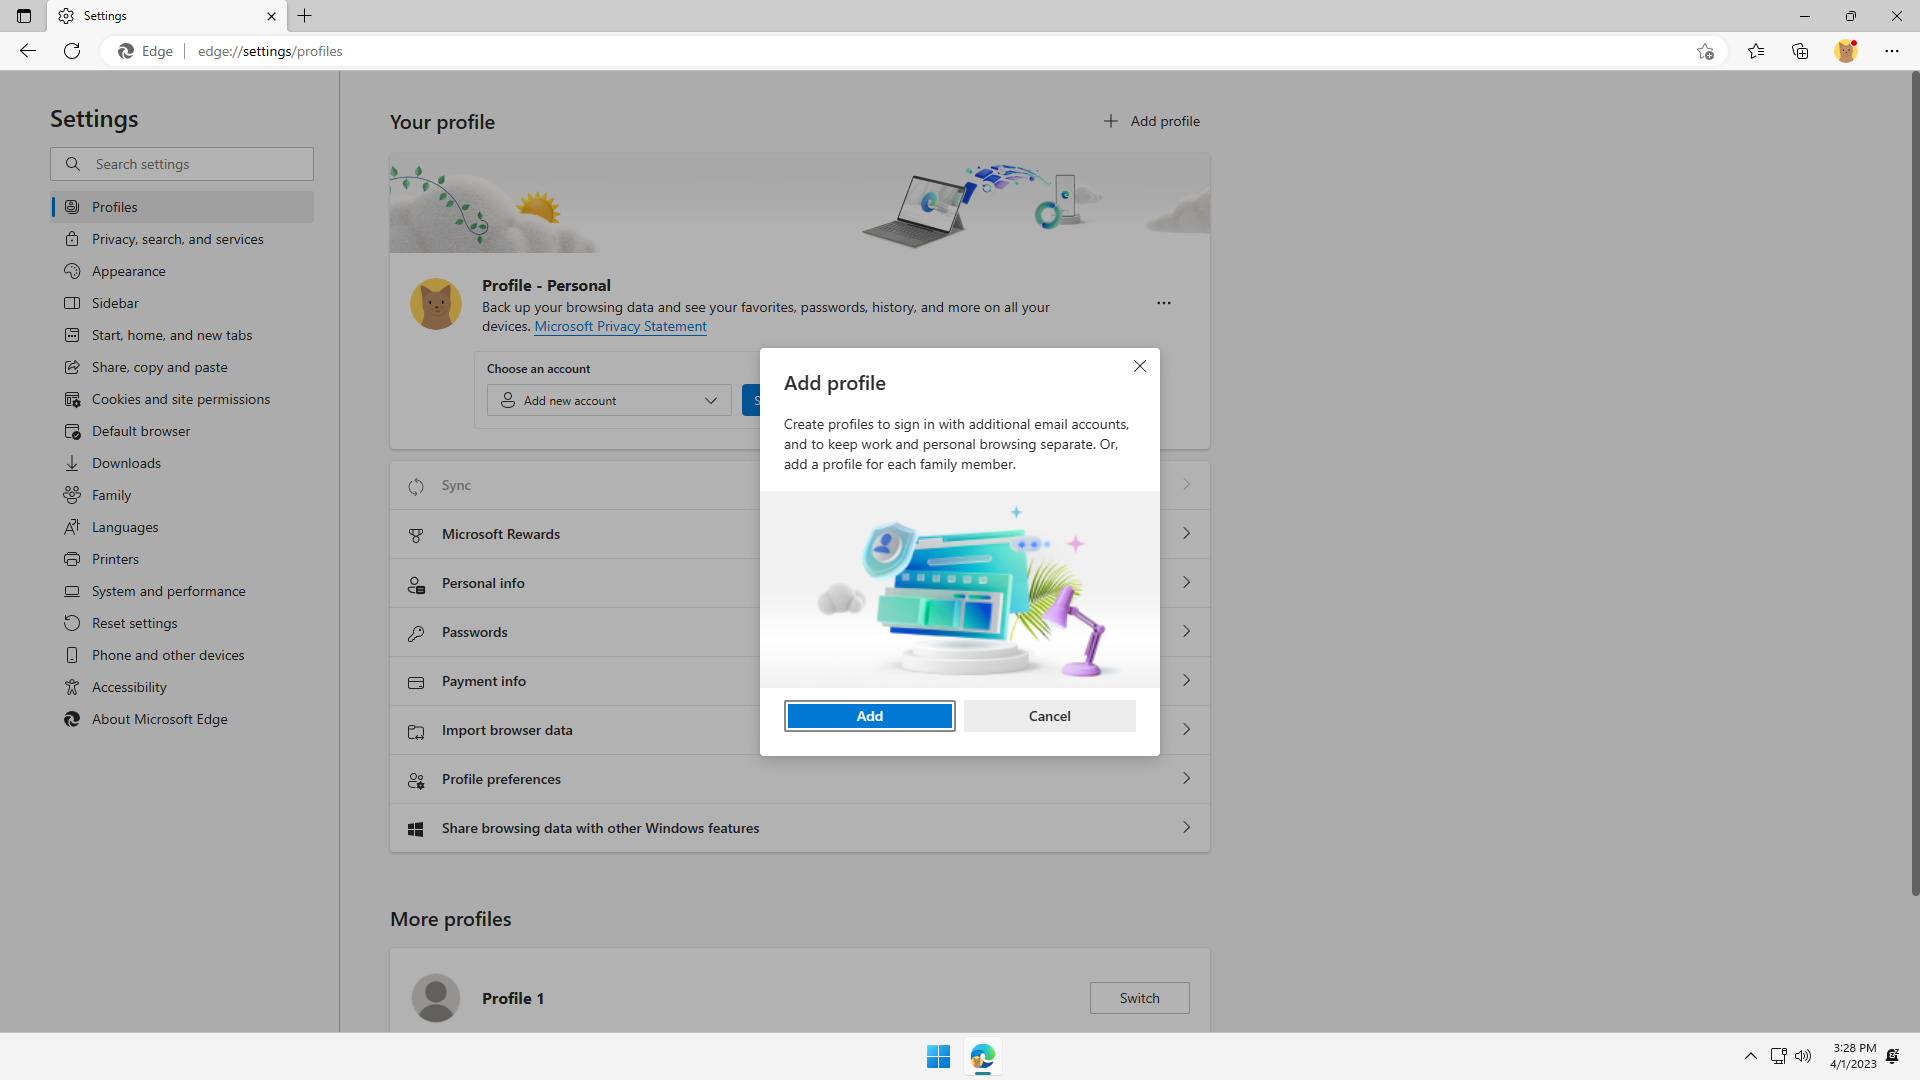
In the prompt, click Add:
As seen in the Windows Taskbar, the new profile is launched in a new Microsoft Edge window. In the new window, click ... on the top right of Microsoft Edge, and click Settings.
Under Settings > Profile, see that the active profile is now Profile 3:
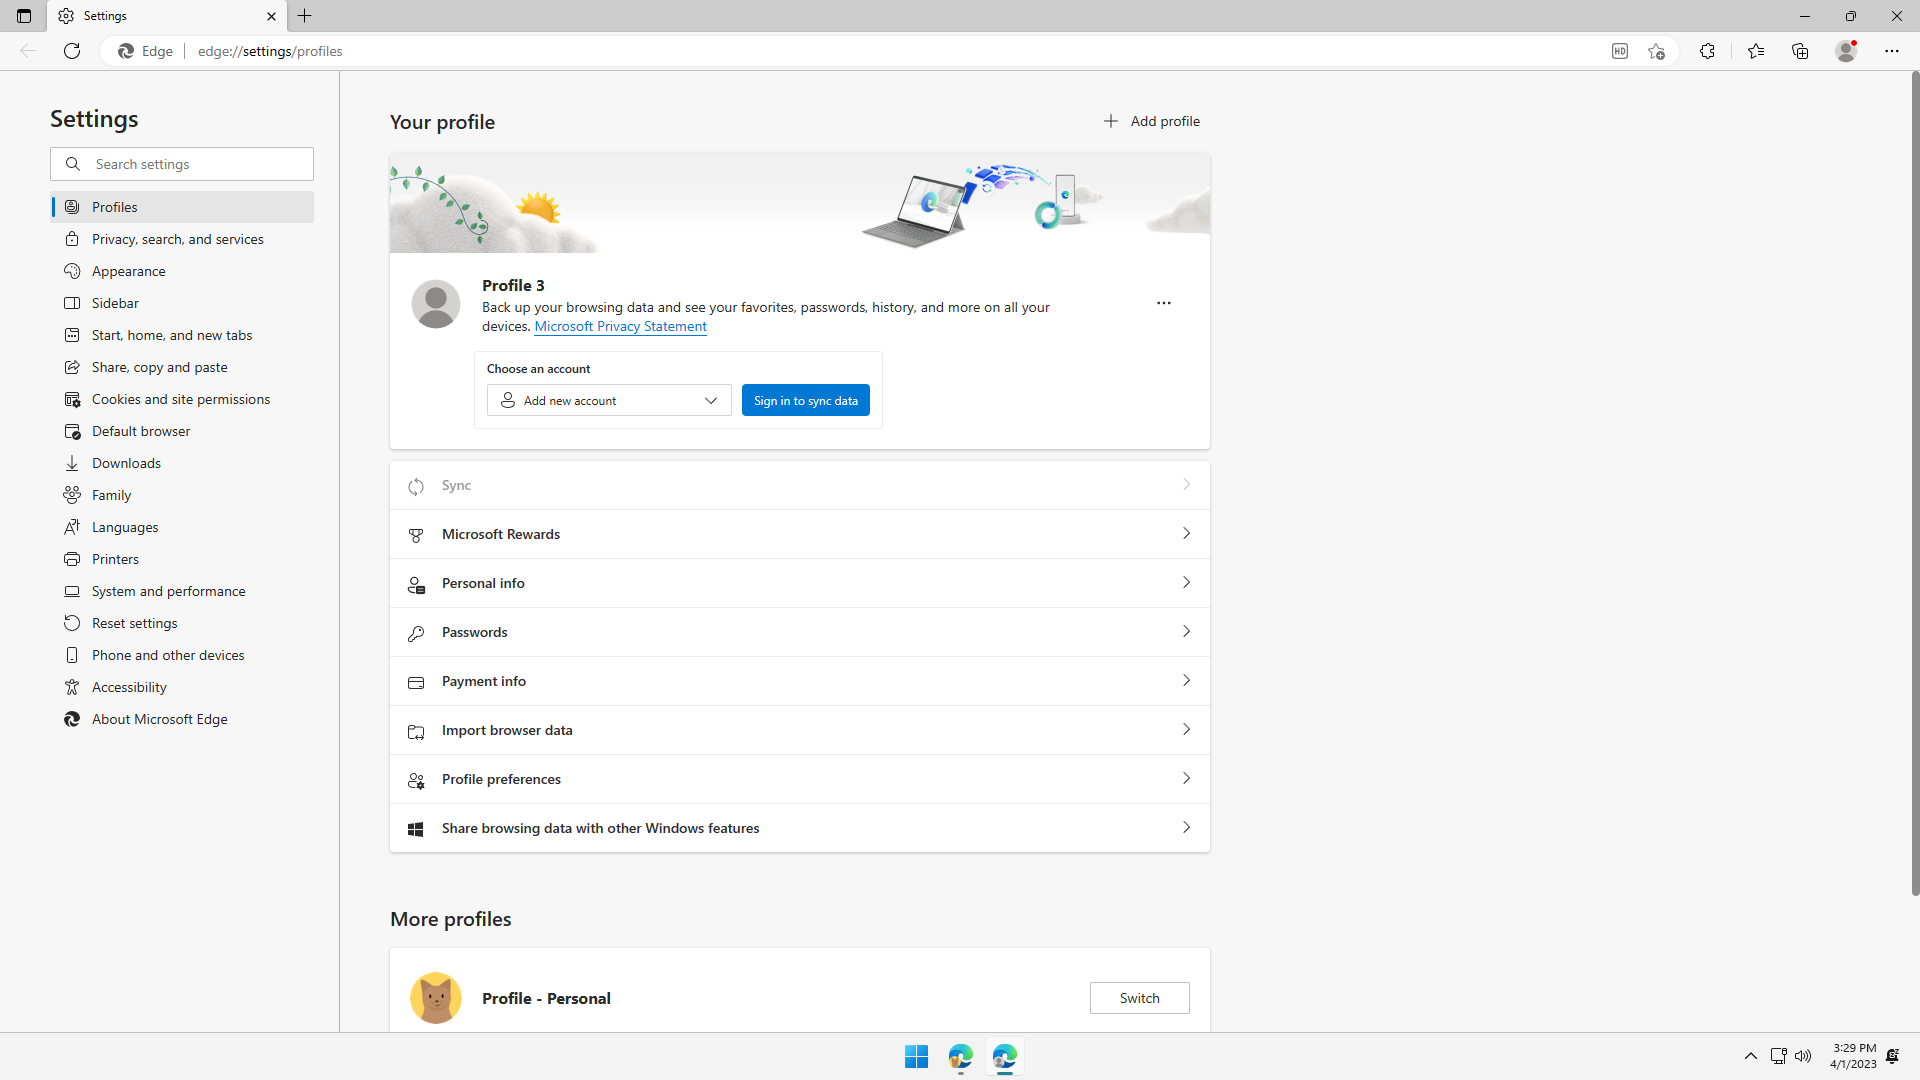
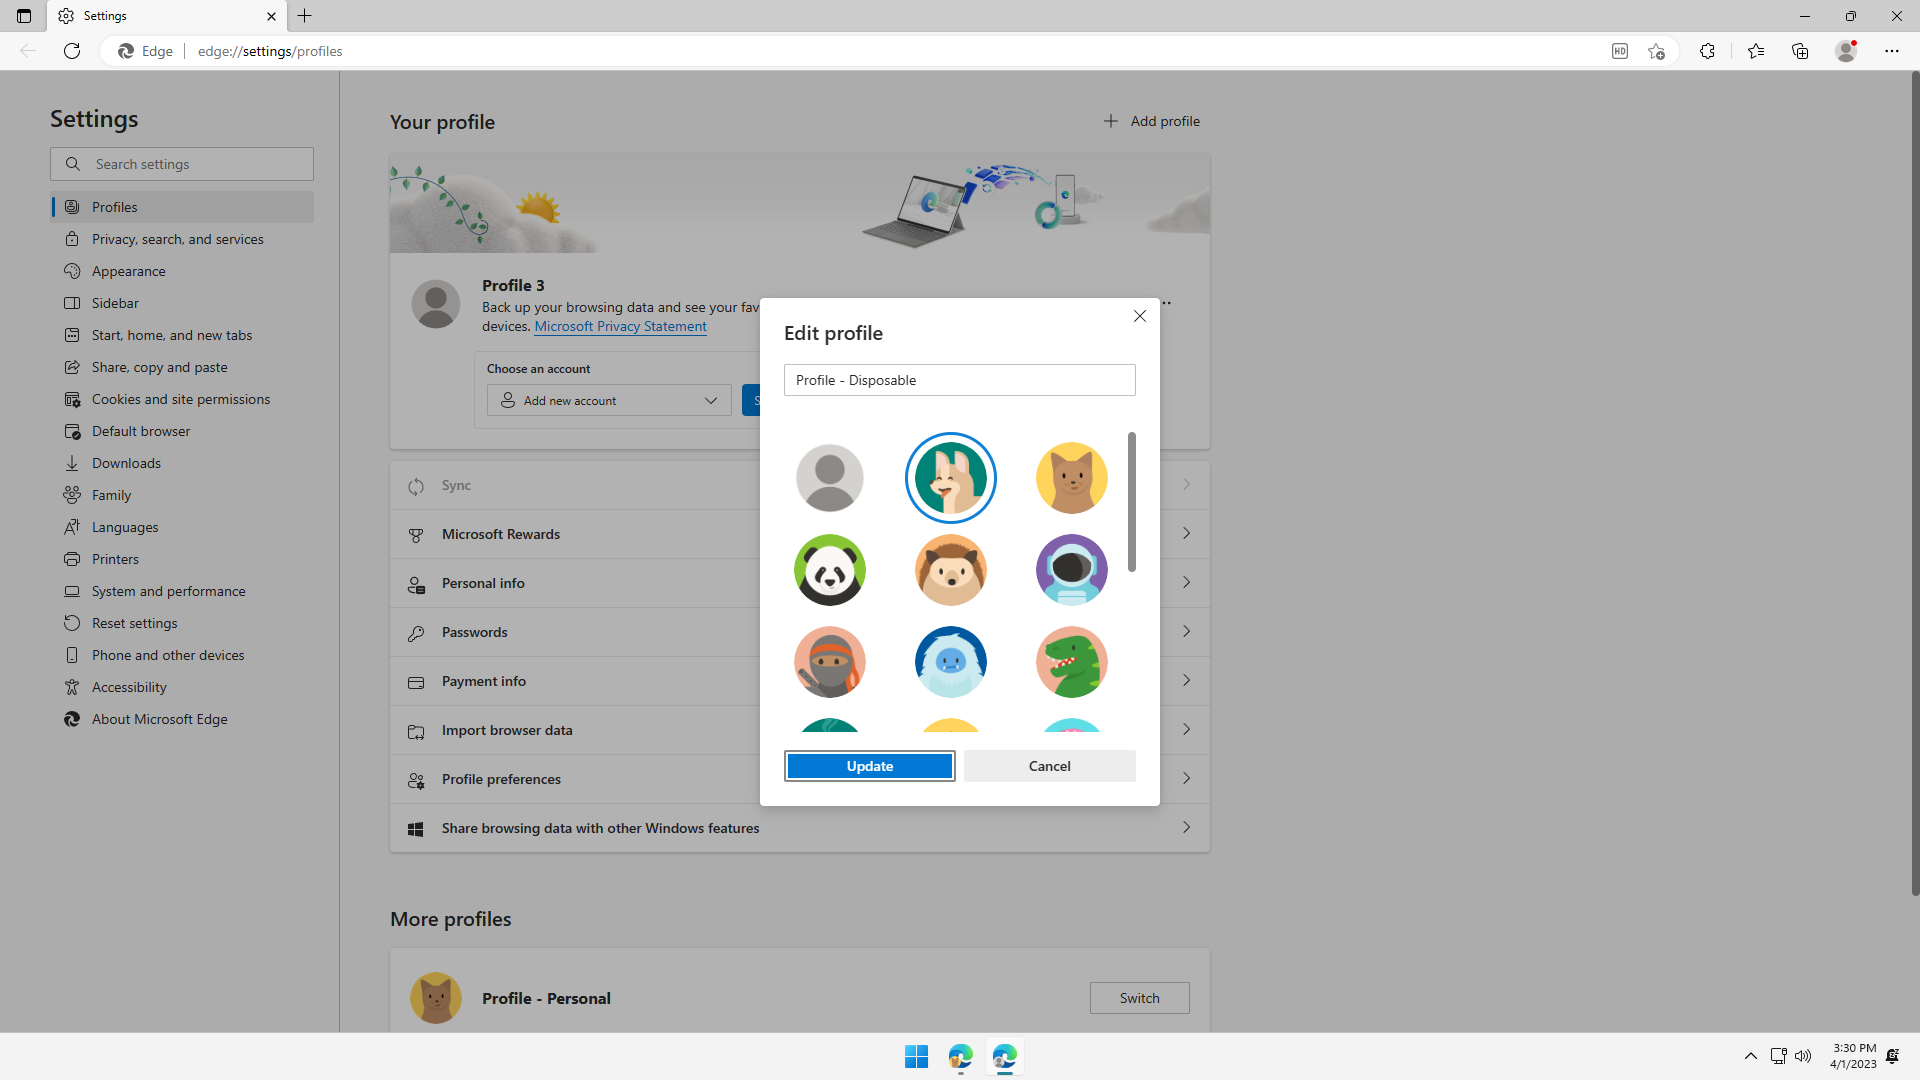
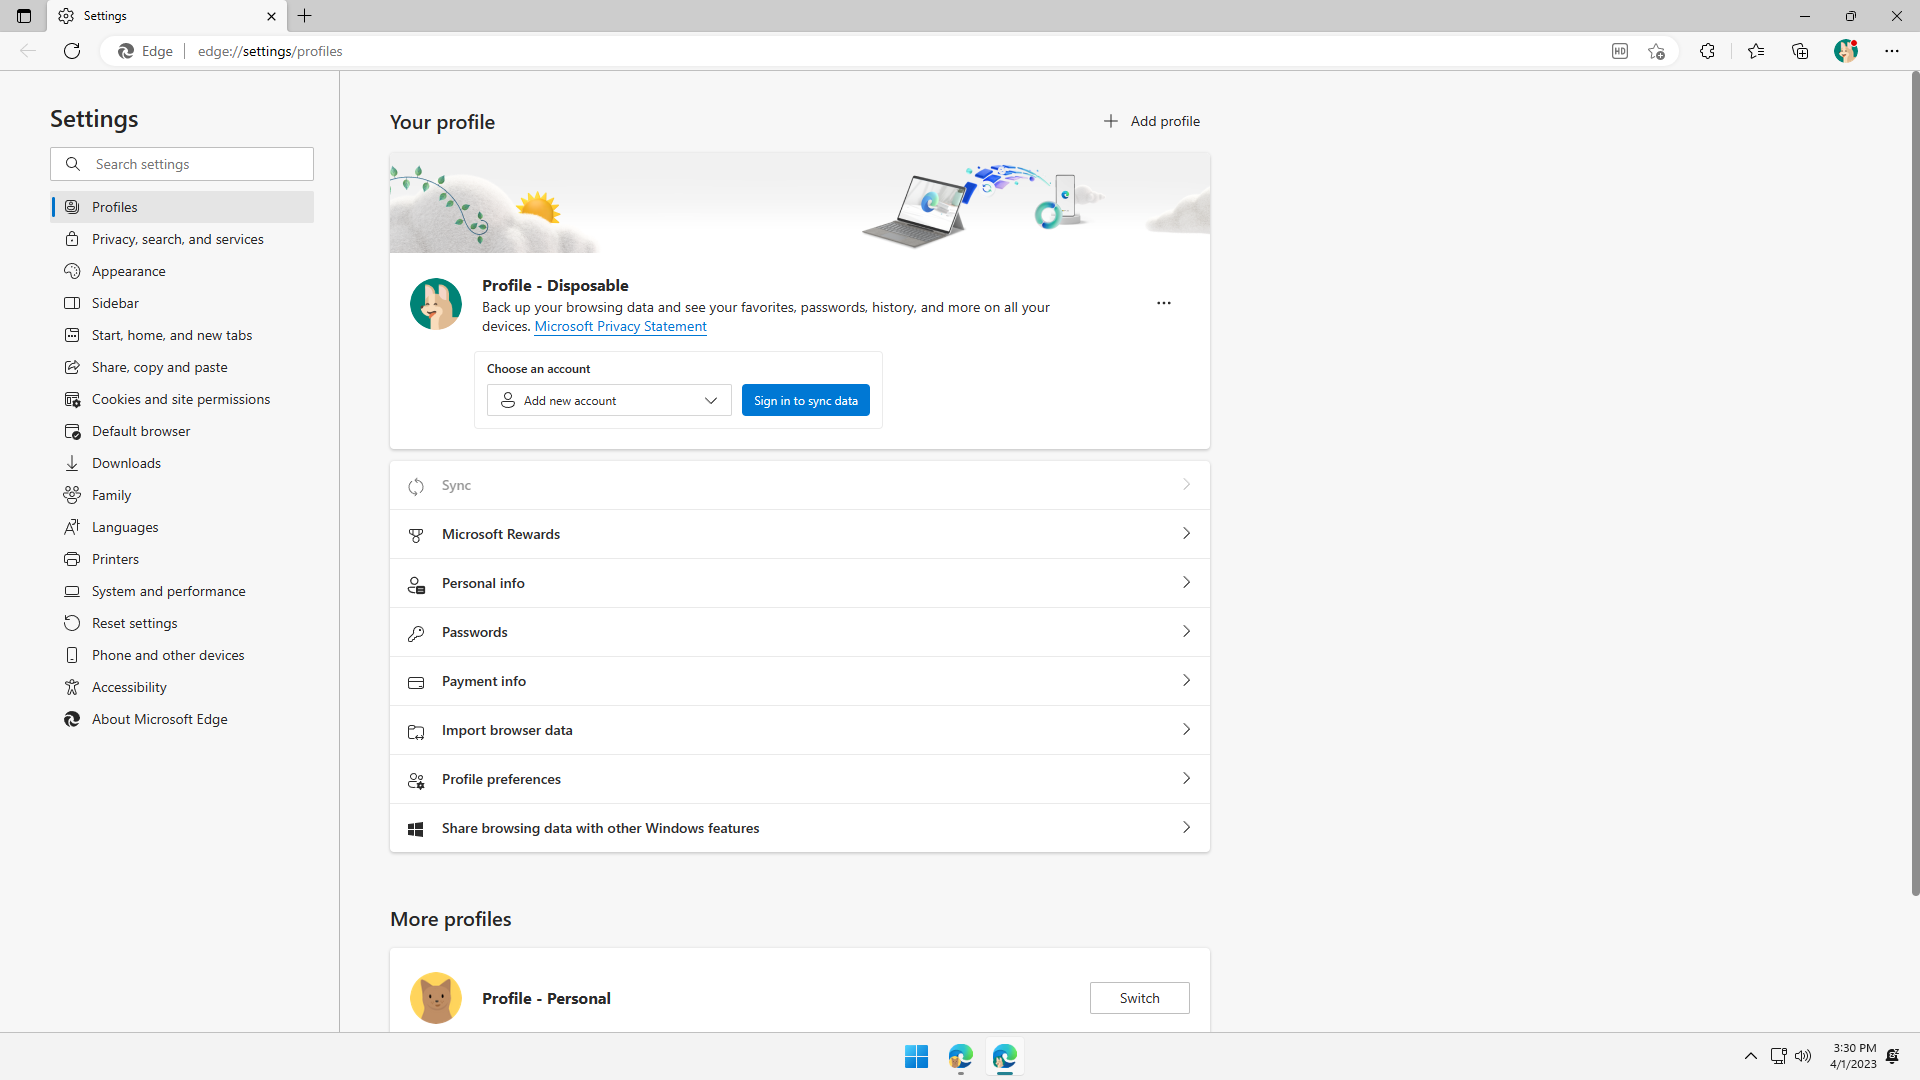
Let's rename Profile 3 to Profile - Disposable, and choose an avatar:
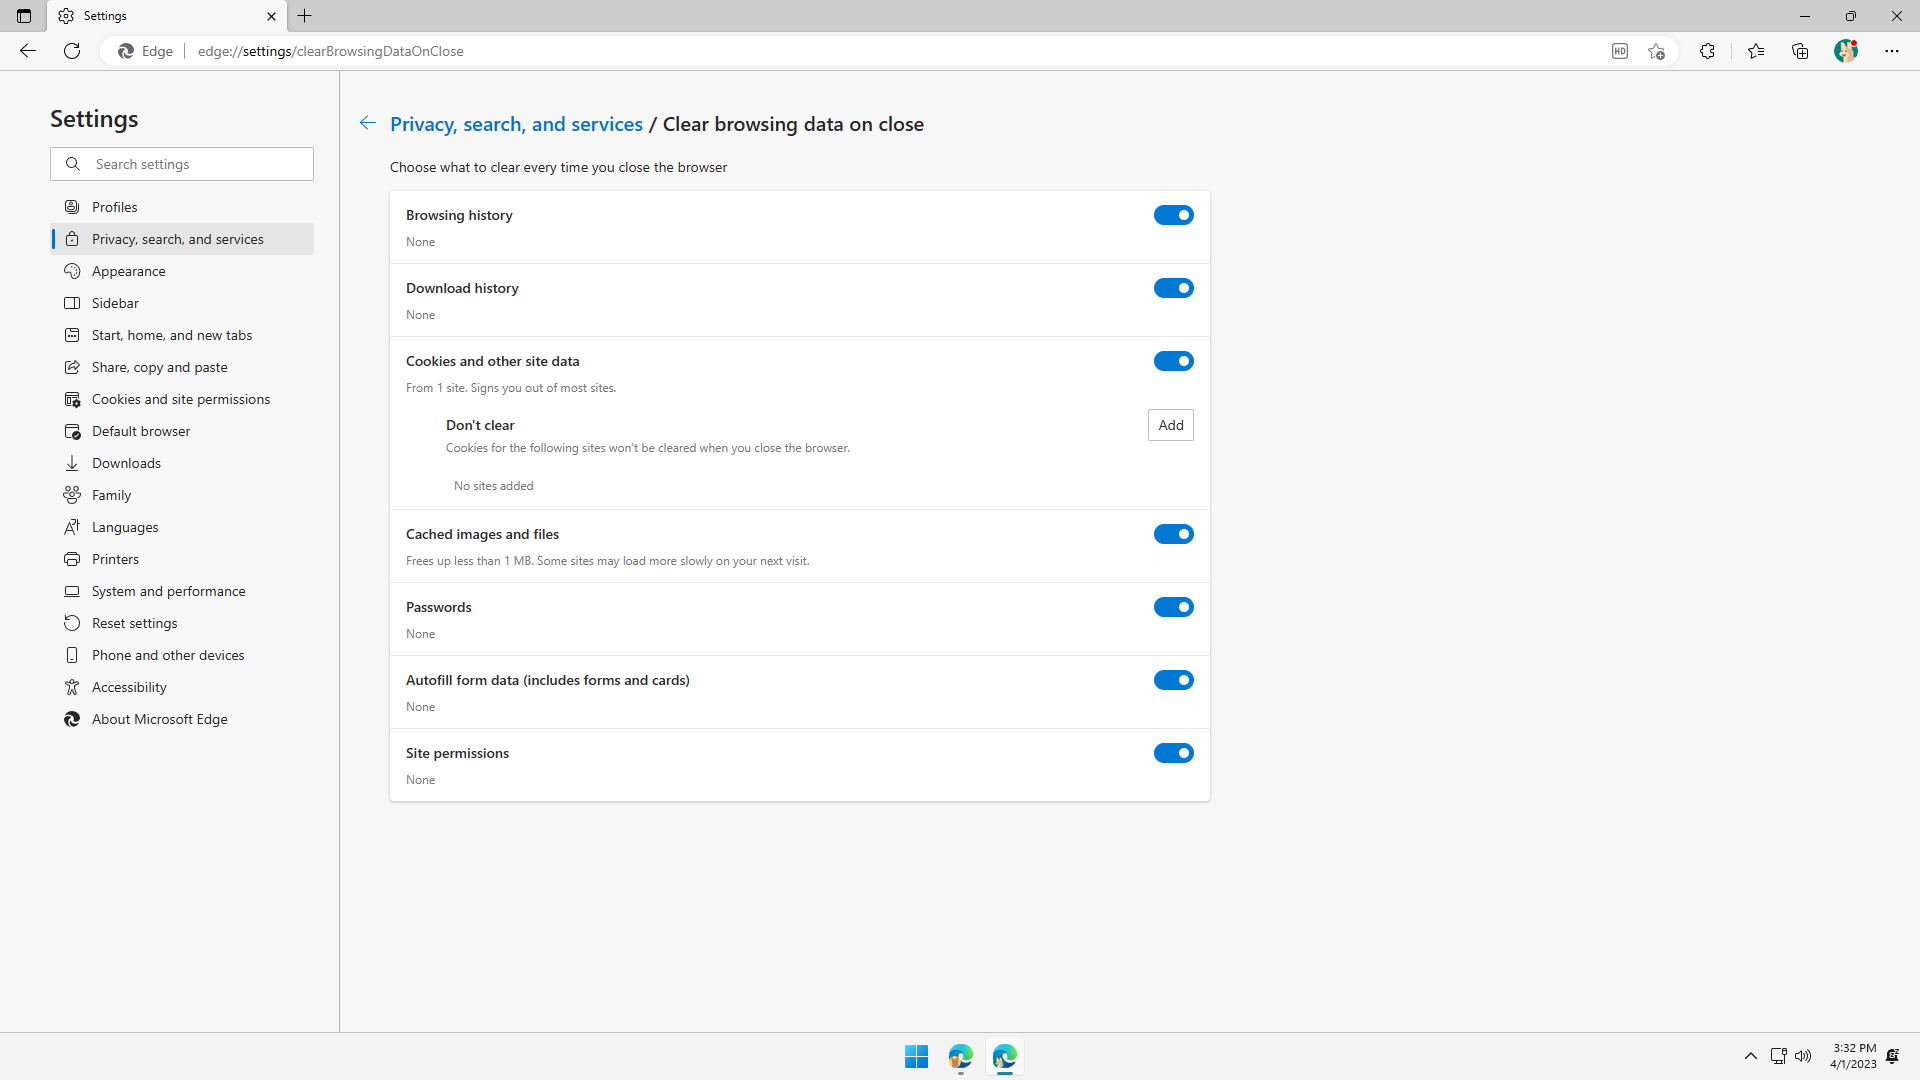
Finally, assuming we have set up this profile using Step 1 to Step 10, let's make this profile always delete all cookies and browsing data every time Microsoft Edge is closed. That protects our cookies from being followed around by trackers on the web:
Click Settings > Privacy, search, and services. Under Clear browsing data, click Choose what to clear every time you close the browser, and flip on all switches:

With this, we now have two profiles that for two purposes for better separation of concerns:
Profile - Personalfor strictly personal things, like accounts and social networks. Cookies and browsing data are always retained.Profile - Disposablefor non-personal things like reading, research, and shopping. Cookies and browsing data are deleted when browser is closed.
From now on, to switch to a desired profile, simply go to Settings > Profile and click the Switch button:
Final words
In today's world, web browsers, such as Microsoft Edge, have become very powerful and have the potential to take over Operating Systems (OSes) entirely, by simply thinking along the lines of web apps replacing regular apps, and the browser itself being an OS. Whether this will happen should be for discussion sometime else. Nevertheless, because of their power, it is important to set them up as strictly as an OS, as detailed in this article. Properly configuring web browsers is key to keeping user data safe from the hands of malicious actors and from the big tech's data mining.